Introduction
After upgrading or reinstalling a Ubuntu or Its derivatives, you have to install all applications, add PPAs, apply Themes, and adjus/change settings of applications. It is definitely a painful and time consuming task. Wouldn’t be better if it is possible to backup your favourite PPAs, themes/icons that you use now, and settings of Apps? So that, you can apply them later to your newly installed or upgraded system. Yes, It is a wise idea. This is where Aptik comes in handy.
Aptik is a tool that can be used to simplify the re-installation of packages after doing a clean installation of an Ubuntu-based distribution. It can be used while re-installing or upgrading to the next Ubuntu/Linux Mint release.
Installation
Add the Aptik PPA, and install it as shown.
sudo apt-add-repository -y ppa:teejee2008/ppa
sudo apt-get update
sudo apt-get install aptik
Usage
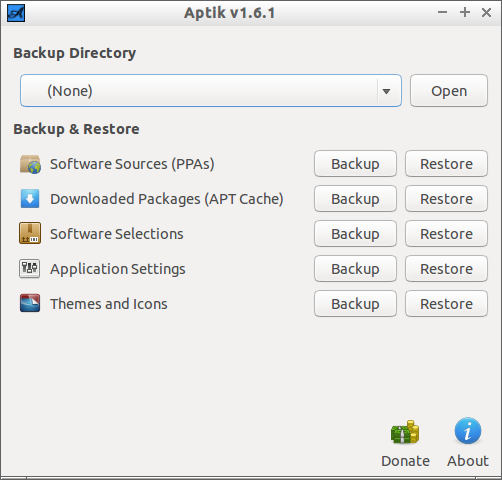
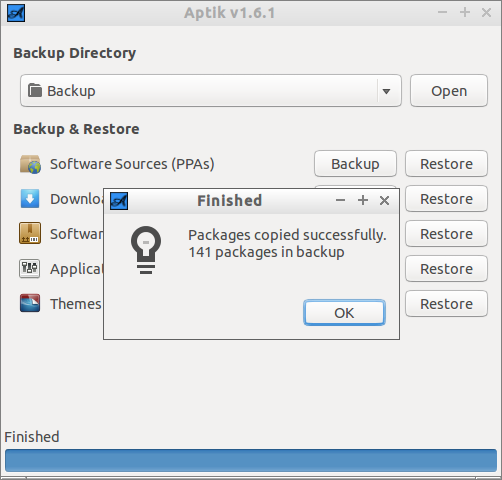
After installing Aptik, Launch it either from Menu or Dash. The Aptik default interface will look like below.
As you see in the Aptik interface, you can do the following things.
- Backup/Restore PPAs;
- Backup/Restore downloaded packages(APT cache);
- Backup/Restore Software selections;
- Backup/Restore applications settings;
- Backup/Restore Themes/Icons.
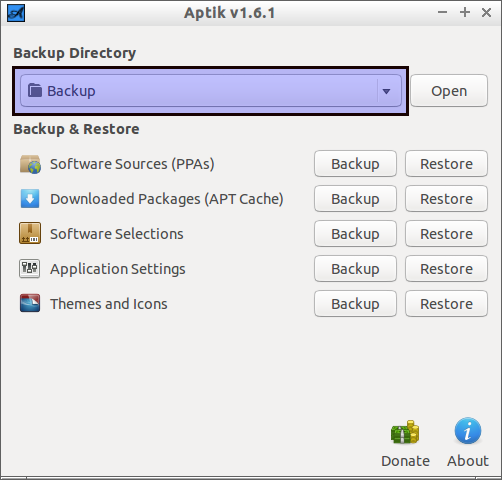
First of all, you have to create backup directory where you want to backup all of the above things. External or Usb drive might be the wise choice. Because, after doing clean installation, all files/folders will be gone, right? THat’s why we need a external USB drive to store the backup files.
Or, you can simply use a local folder, and later you can transfer the local folder to your USB drive. The choice is yours. I will go with local folder to store the backups. Let us name the local folder as Backup, and this folder is created in the home directory.
Sp, select the backup directory now.
Now, let me explore the tasks one by one.
Backup & Restore PPAs:
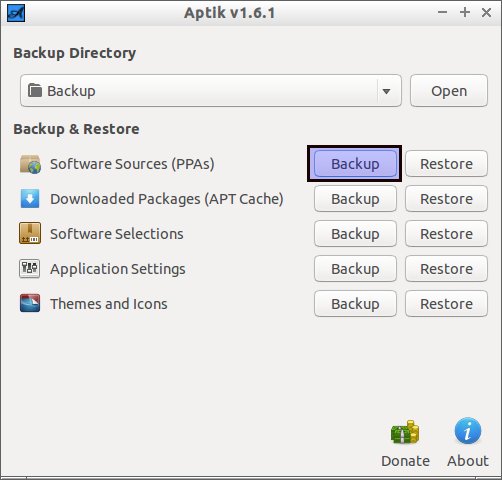
Click on the Backup button next to the Software Sources(PPAs) option,
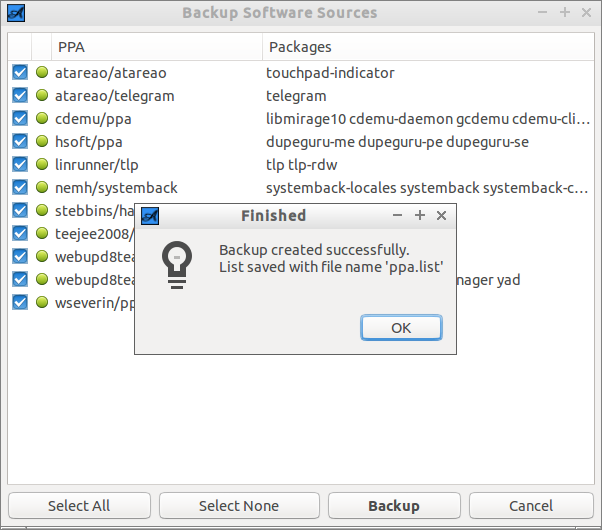
and select your desired PPAs that you want to backup, and hit the Backup button.
Now, copy the Backup folder to any safe location, ex. USB thumb drive.
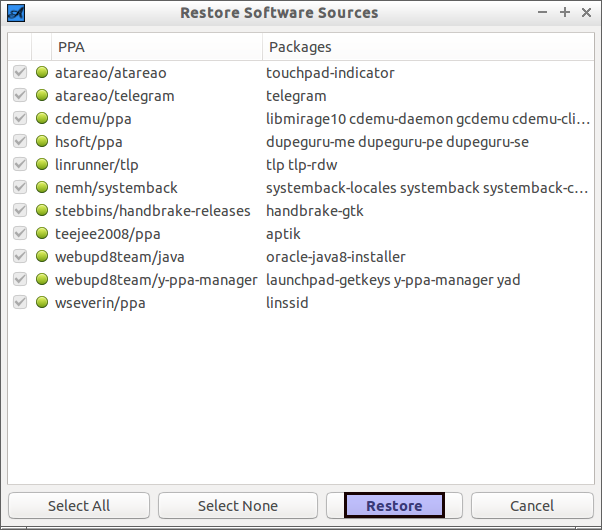
To restore the PPAs to your newly installed system, Insert the USB drive. Install and launch Aptik tool. Click the Restore button next to Software Sources button. Select the path of the backup folder. Then, select the PPAs you want to restore, and hit the Restore button.
Now, the PPAs will be restored to your newly installed system.
Backup & Restore APT Cache:
This option lets you to backup your downloaded packages(APT Cache) in your existing system. As said above, click on the Backup button next to Downloaded Packages (APT Cache) option.
Be mindful that in case the system is upgraded to the next version, you may not be required to do this. Because, the new version will need latest applications.
Software Selections:
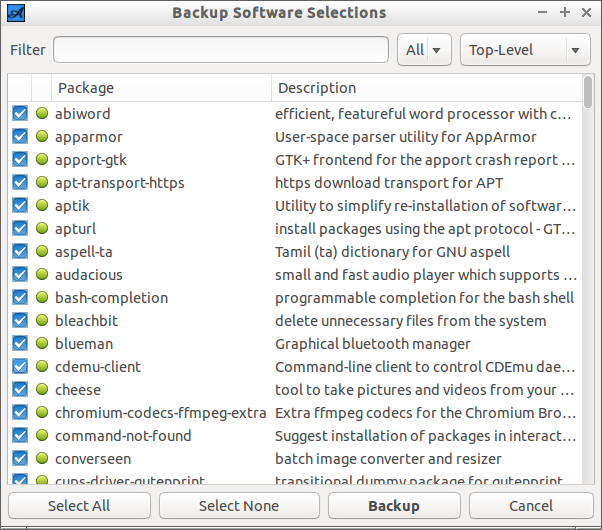
This option will backup all of your installed softwares on your system. As said above, click on the Backup button next to the Software Selections option. Select the installed softwares that you want to backup. Finally, hit the Backup button.
In case the system is upgraded to the next version, you may not be required to do this. Because, the new version will need latest applications too.
Application Settings:
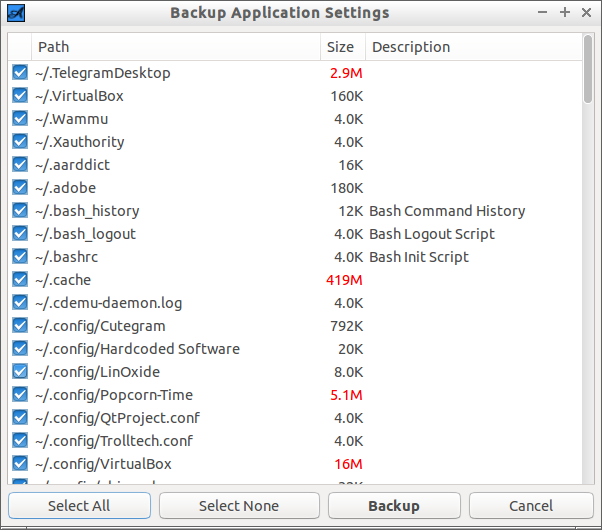
You can backup/restore the application settings using this option. Click on the Backup button, select the application settings of your choice, and hit the Backup button.
Themes And Icons:
Some of us are very fond of fancy themes and Icons. If you want to keep the same themes or Icons after re-installing or upgrading your system, then this option will help you.
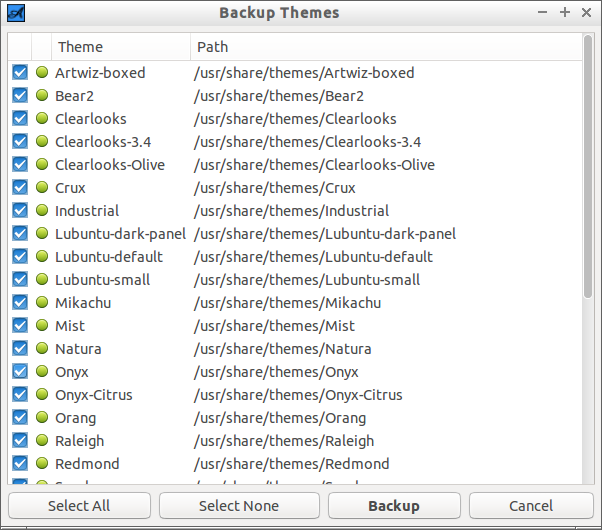
Similarly, click on the Backup button, select the themes of your choice, and finally hit the backup button.
That’s it.
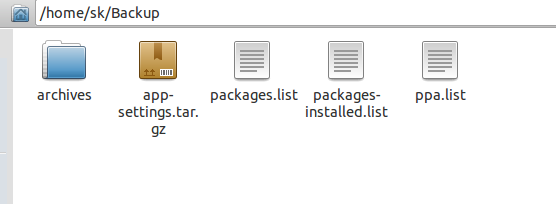
All packages, PPAs, settings will be stored in your backup folder.
You can safely move this folder to your external device, then re-install or upgrade the system. And, restore all backup things in minutes.
Conclusion
Aptik is a decent, simple tool to help you to make your life easier. While it won’t eliminate all the work that needs to be done after a fresh installation, it will reduce it greatly. And, you can save plenty of time too.
Cheers!


