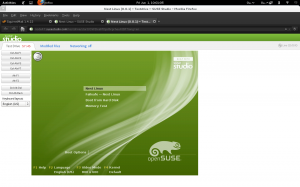
Most Linux users are happy to use mainstream distributions that are readily available. Ubuntu, Fedora and OpenSUSE being the obvious choices. But there comes a time when you begin to want and expect more from your Linux operating system.
Creating your own Linux system can be a rather difficult thing to do and is not usually attempted by anyone other than advanced and power Linux users and veterans. Thankfully, Novell and SUSE has made the task very easy. So easy in fact, that I have not seen another service available that makes it as easy. The service is called SUSE Studio. A quick Google Search will take you straight there, or you can just visit http://www.susestudio.com and take a look for yourself.
The whole concept of SUSE Studio is quite simple. And thankfully, the service caters for both advanced users and new users as the interface is kept simple and is well laid out for ease of operation.
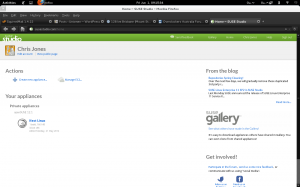
Once registered and logged in, you begin with your Home page which contains your current Linux creations, or ‘Appliance’ as SUSE Studio refers to them as.
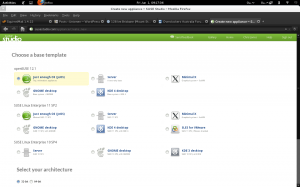
When you decide to get down to business and create your new own Linux system, the first screen you’ll be presented with is the Base core selection. Being a SUSE based service, SUSE Studio offers many different cores for you to choose from.
As you can see from the above screenshot, you can create a GNOME or KDE based desktop system, depending on your preference. Or you can select just a basic graphical system based on IceWM or even go for a command-line based server system, if that’s what you prefer. And you can also create a VMware image. And of course, you can also opt for a 32bit or 64bit architecture.
The desktop core is based on OpenSUSE 12.1. But you can also select SUSE Linux Enterprise 11 SP2 and 10 SP4, if you prefer. It all depends on the primary purpose of your intended system.
The first tab for your new system is the Software selection. This is where you can add/remove software from your system. You can also add repositories and RPM packages. There’s a wide selection of software available, so I’m sure you’ll be able to find everything you need. And if you don’t find it in the repositories, you can also add in the RPM packages if you have them. But that might be something best left for the more advanced users.
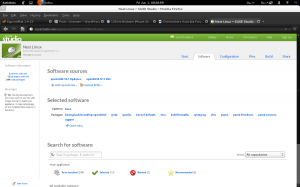
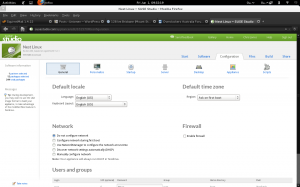
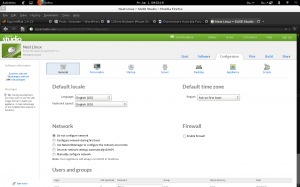
The next tab is the Configuration setup. This is where most of the fun sits. There’s a lot of different options you have to play around with here. Networking options, firewall, time zone and users and groups. But don’t be overwhelmed by the amount of options available. You don’t have to change and re-configure everything. If unsure about something, just leave it as default as that’s the safest option without getting yourself in too deep early on. Things can always be changed and re-configured at a later date.
The best section in the Configuration setup is the Personalize menu. This is where you really get to make your system “Yours” and less generic. You can upload a new background and a new logo. Or you can opt to remove the logo altogether if that’s what you prefer. And at the bottom of the screen, it displays a Preview of your preferred options which gives you a basic idea of what the personalized system will look like.
The rest of the setup you can have a look at for yourself and play around. There’s loads of interesting features for auto-startup of applications and packages and also the ability to run a script post-installation. And you can even write your own EULA for users to agree to pre-installation.
The final two parts of SUSE Studio I want to show you is the Build tab and the Testing screen.
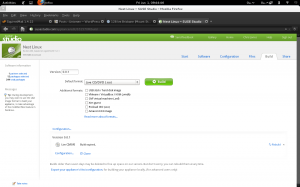
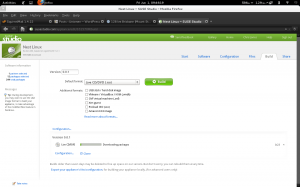
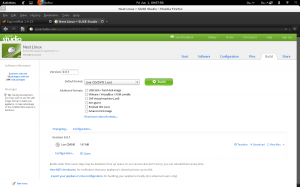
In the Build tab, once you’ve completed your configurations, you can finally build your new Linux system into a usable ISO. Or you can even create a USB image. And there’s a host of other options for virtual environments and Amazon Cloud services. And there’s even the option to give your system a version number. A neat detail for regular users of SUSE Studio and users who regularly update their system(s).
Currently, my own distribution is in early development and testing stages, which is why I am rebuilding my system, as you’ll see in the screenshot below.
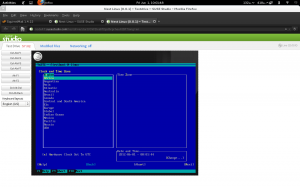
Once the system has completed building, you can test the actual system out using the virtual test environment provided by SUSE Studio, which runs completely independently of your own system and in your web browser. It works very well and is more than enough to give you an idea of how your system is going to boot and install. But keep in mind, you have a maximum virtual session time of 60 minutes.
It really is up to you how you do things and what you get as the end result. In my opinion, SUSE Studio is the best in its class and I’ve not yet seen any other service like it on the internet.
Let us know if you’ve built your own Linux system and how you done it. We’re interested in what other tools and methods users are using for such a task.
chrisjones[at]unixmen[dot]com


