Cherokee is an Open Source, cross-platform, fast and light weight web server. It supports all major web features such as FastCGI, SCGI, PHP, uWSGI, SSI, CGI, LDAP, TLS/SSL, HTTP proxying, video streaming, content caching, traffic shaping, etc. All the configurations are done through a cool web interface called Cherokee-Admin . It will run on Linux, Mac, Solaris and BSD systems.
Install Cherokee Webserver
Add the following PPA to install cherokee webserver.
sudo add-apt-repository ppa:cherokee-webserver
Then update the source list using command:
sudo apt-get update
Now install cherokee webserver.
sudo apt-get install cherokee cherokee-admin
Next start the Cherokee web server admin called ‘cherokee-admin’ using the following command:
sudo cherokee-admin
The cherokee-admin will display the administration user name, One-time Password and administration web interface. Note down your One-Time password. You will need this when you login to Cherokee admin web interface.
[10/01/2014 12:35:17.150] (warning) rrd_tools.c:121 - Could not find the
    rrdtool binary. | A custom rrdtool binary has not been defined, and the
    server could not find one in the $PATH.

Cherokee Web Server 1.2.101 (Dec  4 2013): Listening on port 127.0.0.1:9090,
TLS disabled, IPv6 enabled, using epoll, 4096 fds system limit, max. 2041
connections, caching I/O, single thread

Login:
  User:              admin
  One-time Password: 580T33IMWiFeyGDO

Web Interface:
  URL:               http://127.0.0.1:9090/
By default, cherokee-admin will connect from localhost(127.0.0.1) only. That is you can connect to cherokee-admin from the same system only. If you want to access the Cherokee console, you have to specify the Cherokee IP address using the parameter ‘-b’. If you doesn’t mention any ip address, it will automatically listen to all network interfaces. Then you can connect to cherokee-admin from other systems.
sudo cherokee-admin -b 192.168.1.101
Sample output:
 [10/01/2014 12:38:36.783] (warning) rrd_tools.c:121 - Could not find the
    rrdtool binary. | A custom rrdtool binary has not been defined, and the
    server could not find one in the $PATH.

Cherokee Web Server 1.2.101 (Dec  4 2013): Listening on port
192.168.1.101:9090, TLS disabled, IPv6 enabled, using epoll, 4096 fds system
limit, max. 2041 connections, caching I/O, single thread

Login:
  User:              admin
  One-time Password: 75KPYsVEFFSxW9cH

Web Interface:
  URL:               http://192.168.1.101:9090/
Note down the One-time Password. You have to enter this password when you login to Cherokee admin web interface. To stop the Chrokee admin, press CTRL+C.
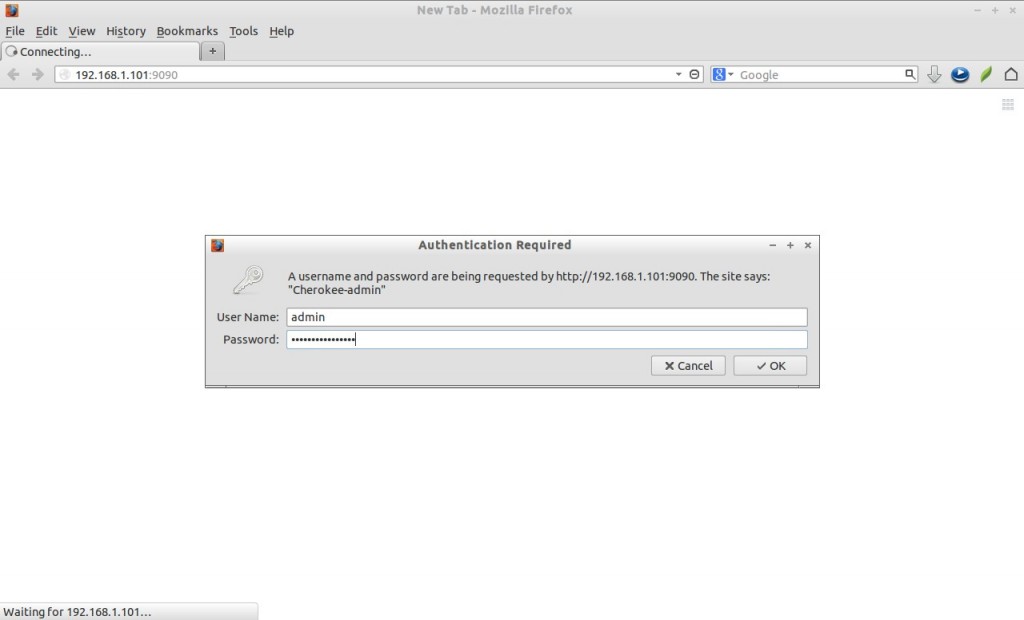
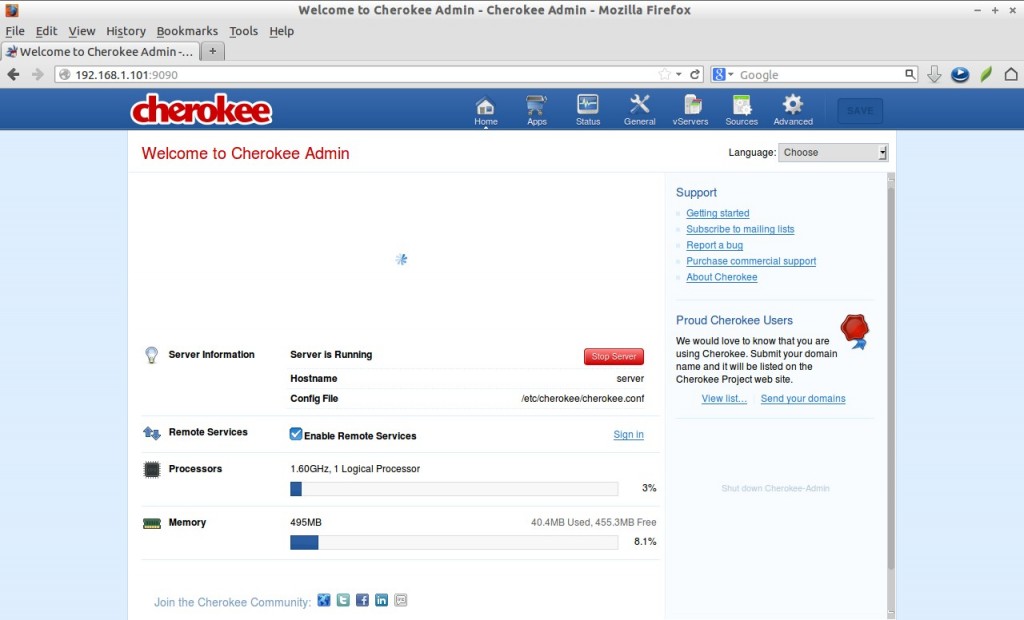
Now fire up your web browser and type the URL “http://localhost:9090/” or “http://ip-address:9090/”. Enter the username as ‘admin’ and the ‘One-time Password’ to login.

Start/Stop/Restart Cherokee Web server
sudo /etc/init.d/cherokee start
sudo /etc/init.d/cherokee restart
sudo /etc/init.d/cherokee stop
Change Cherokee default port
The default port of Cherokee is 9090. You can change the port using the parameter ‘-p’ as shown below.
sudo cherokee-admin -b 192.168.1.101 -p 1234
Sample output:
[10/01/2014 12:58:02.077] (warning) rrd_tools.c:121 - Could not find the
    rrdtool binary. | A custom rrdtool binary has not been defined, and the
    server could not find one in the $PATH.

Cherokee Web Server 1.2.101 (Dec  4 2013): Listening on port
192.168.1.101:1234, TLS disabled, IPv6 enabled, using epoll, 4096 fds system
limit, max. 2041 connections, caching I/O, single thread

Login:
  User:              admin
  One-time Password: yQOVx7B0iOBRSN5x

Web Interface:
  URL:               http://192.168.1.101:1234/
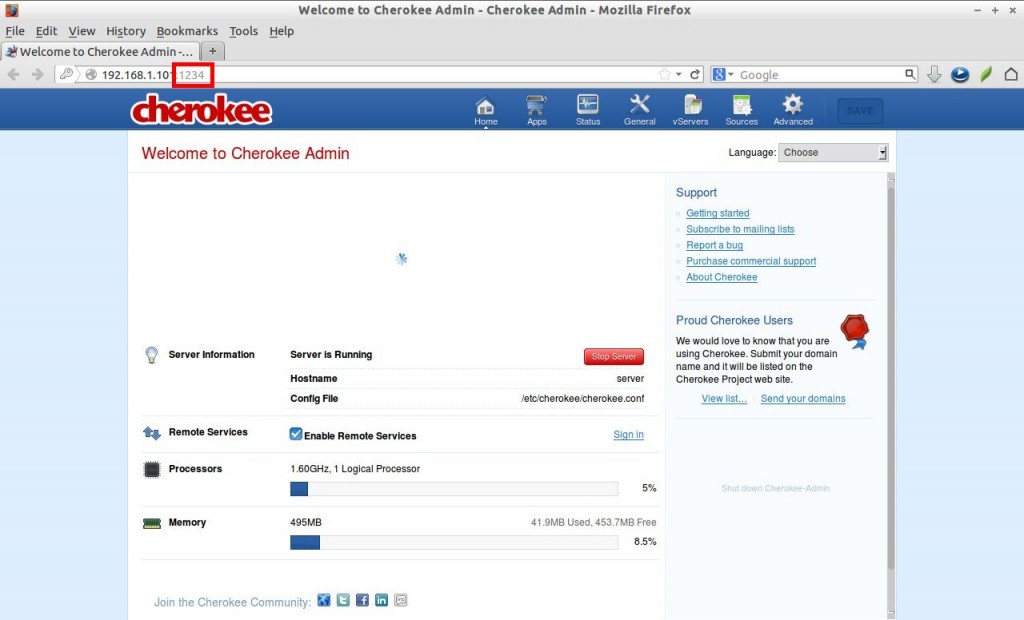
Verify this new port by navigating to your web browser using the URL “http://192.168.1.101:1234”. Enter the username as ‘admin’ and the ‘One-time Password’. Now you will be able to connect to Cherokee admin panel using the new port number.

That’s all now. Refer the Cherokee website for more detailed instructions. Good luck!.
Reference Link:


