About Cockpit
Cockpit is a free and open source web-based system management application. It is actively being developed by Red Hat. Using Cockpit, anyone can easily monitor and manage multiple servers at the same time via a Web browser. It will perfectly suitable for new system administrators to perform simple tasks such as storage administration, inspecting journals and starting and stopping services. On the other hand, a service started from the Terminal can also be stopped or monitored from the Cockpit and vice versa. Also, if an error occurs in the terminal, it can be seen in the Cockpit journal interface.
Cockpit provides:
- Systemd service management
- Docker management
- Journal log viewercockpit-a-beginner-friendly-server-management-tool
- Storage setup, including LVM
- Basic Network configuration
- Add and Remove local users
In this tutorial, we will see how to install Cockpit on a CentOS 7 server, and how to monitor and administer the server using Cockpit. These steps might work on RHEL 7 and Scientific Linux, and Fedora, but I am not sure.
Install Cockpit On CentOS 7
Open up the Terminal, and run the following command as root user to install Cockpit.
yum install cockpit
Start Cockpit daemon using command:
systemctl start cockpit
To start Cockpit automatically on every reboot, run:
systemctl enable cockpit.socket
Add Cockpit to the list of trusted services in firewallD.
firewall-cmd --permanent --zone=public --add-service=cockpit
Restart firewallD to take effect the changes.
firewall-cmd --reload
Access Cockpit web console
Now, open your web browser and point it to: https://Cockpit-server-ip-address:9090/.
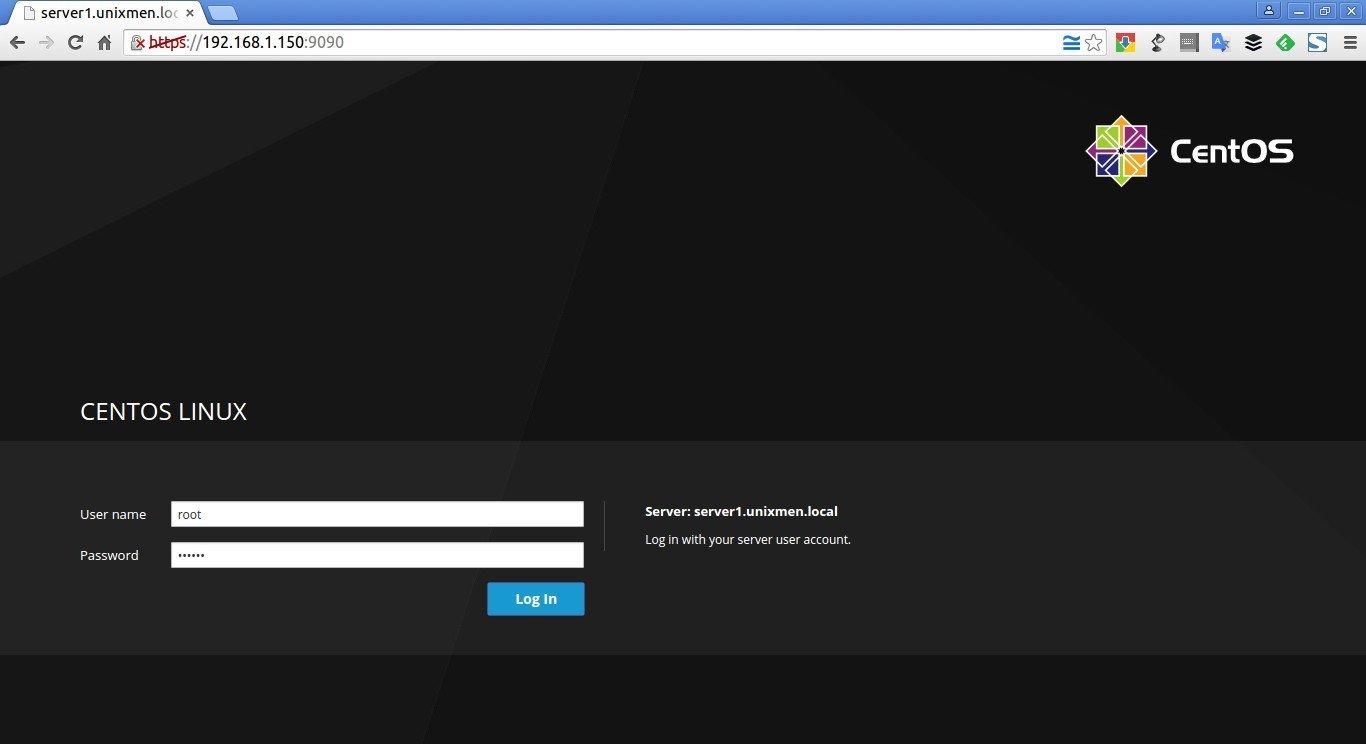
You’ll be pleased with the Cockpit log in screen. Enter your server’s user name and password.
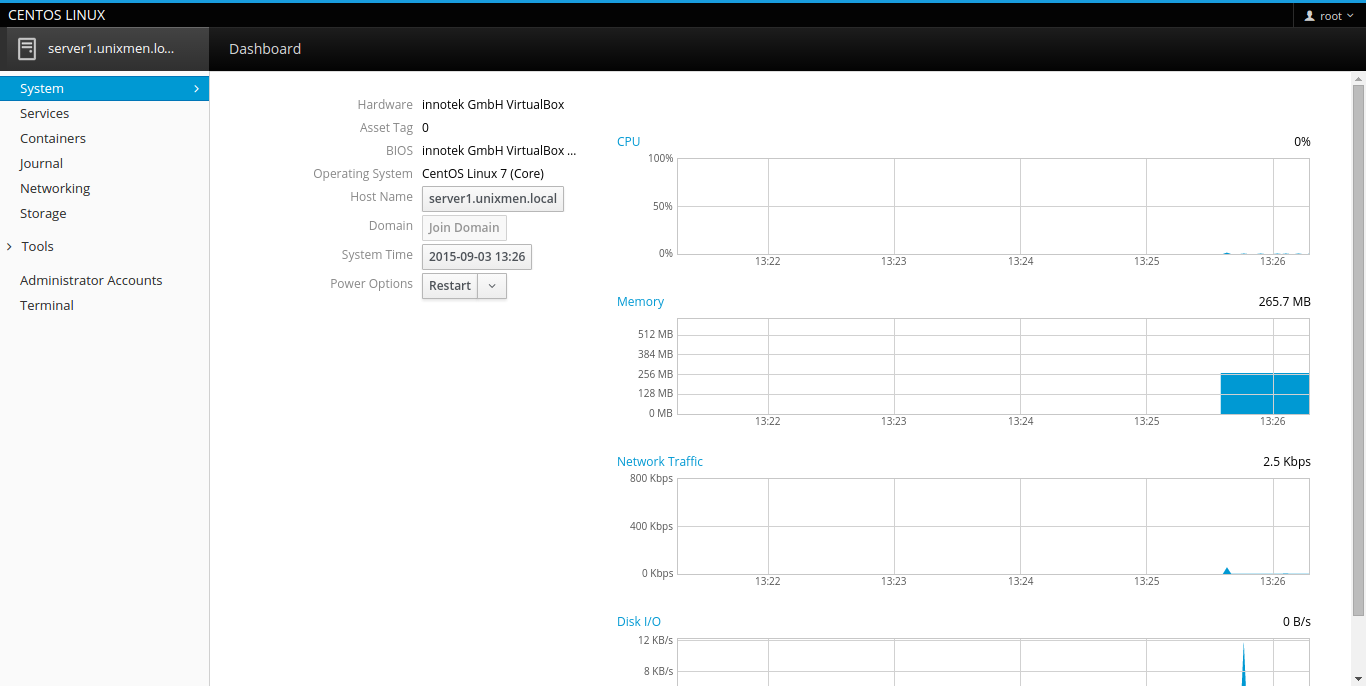
Here it is what Cockpit dashboard looks like.
That’s it. From here, you can do administrative tasks such as adding/deleting users, starting/stopping services, configuring network and so on.
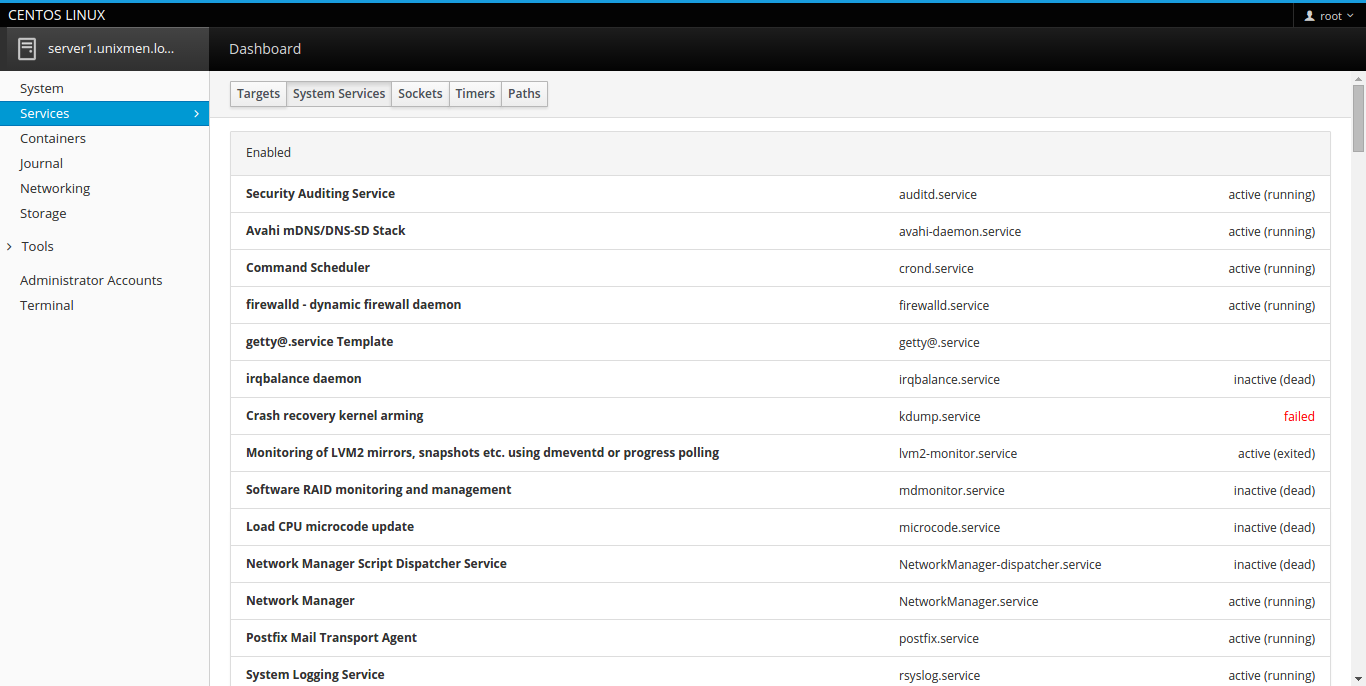
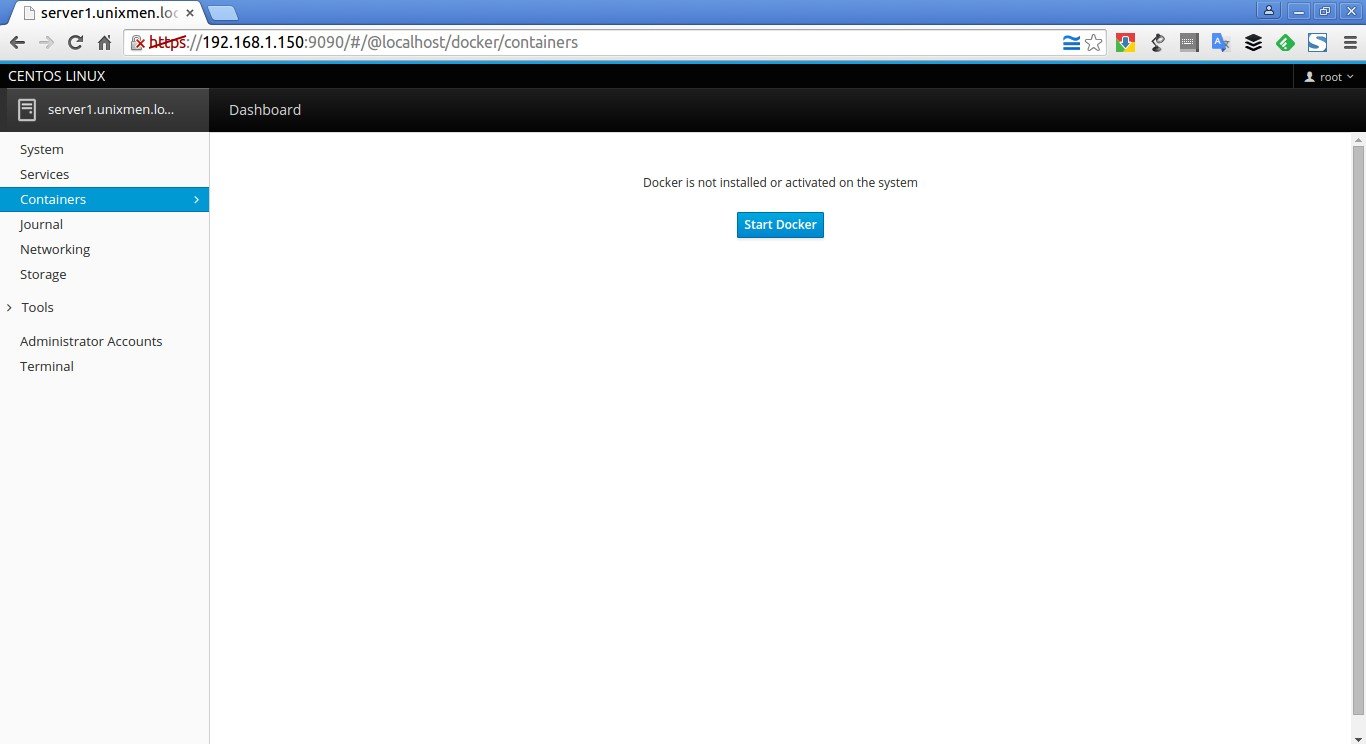
Here is some screnshots of Cockpit.
Cockpit Services tab:
Cockpit Containers tab:
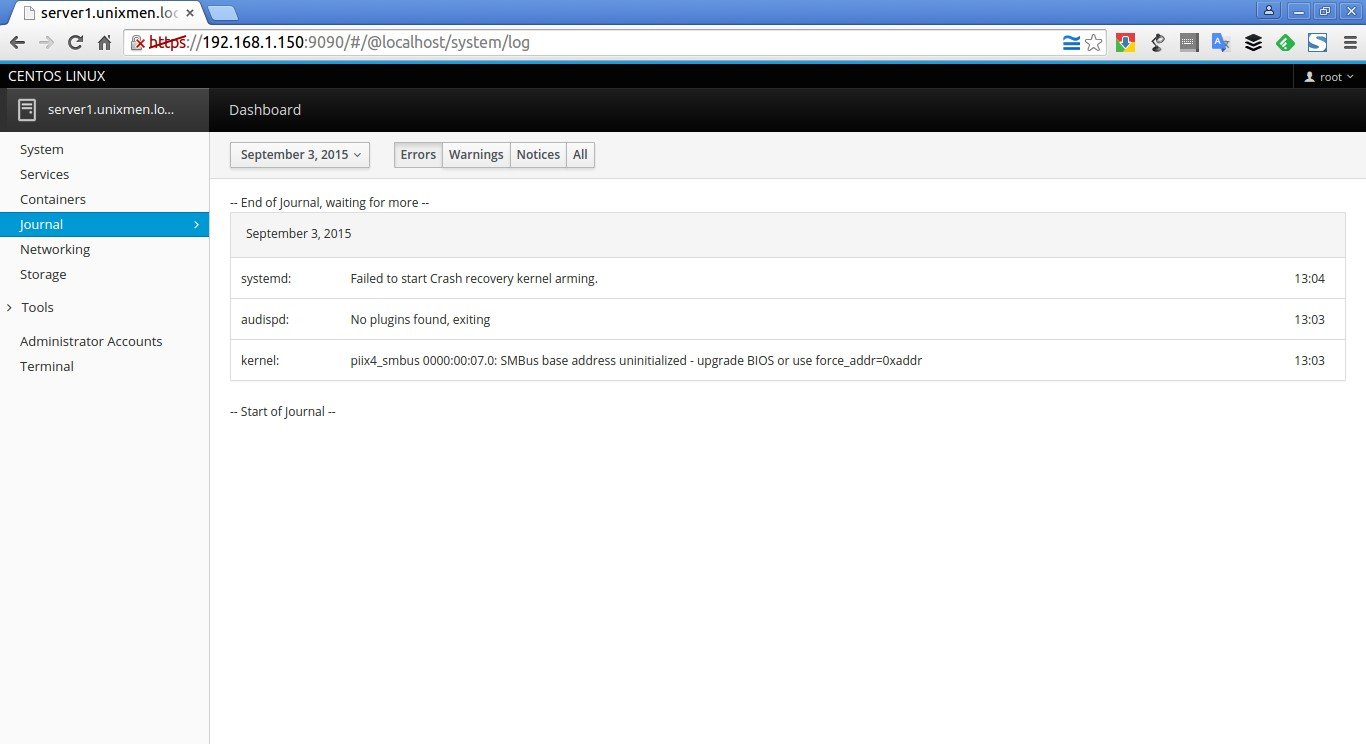
Cockpit Journal tab:
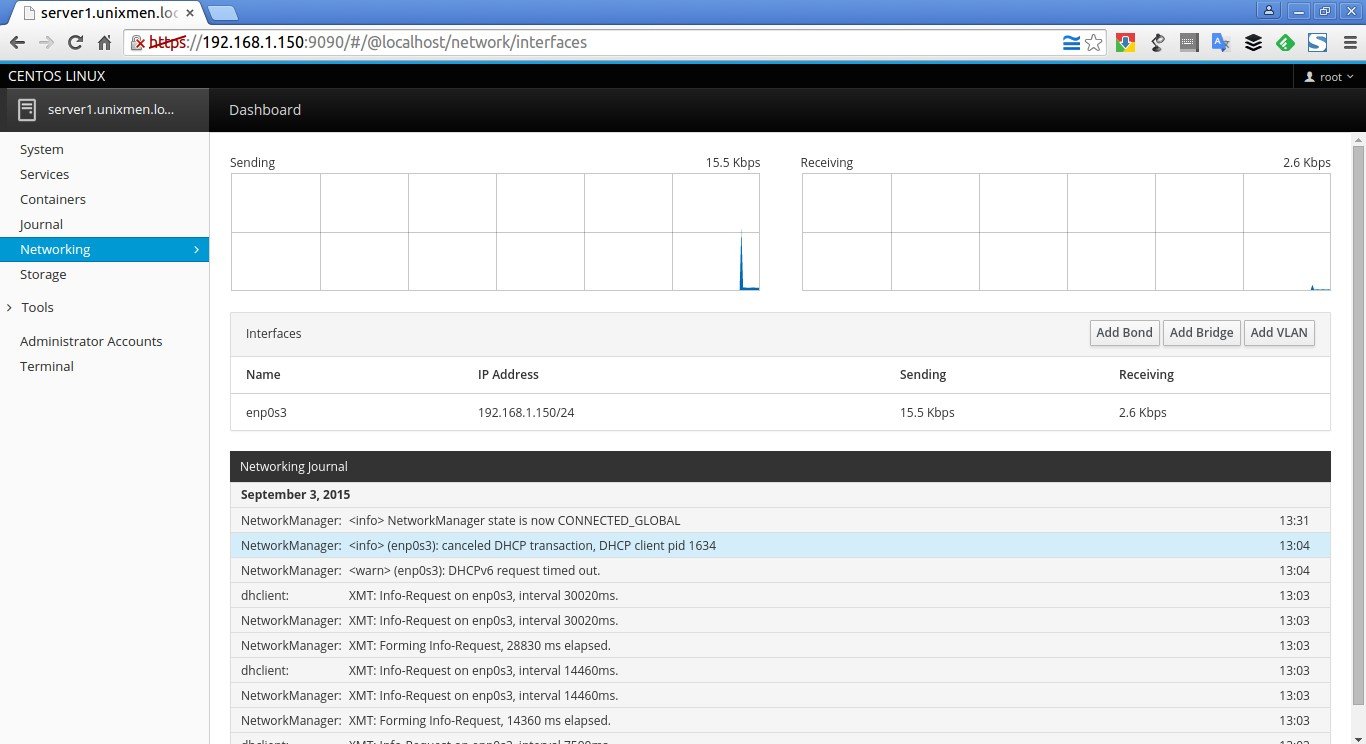
Cockpit Networking tab:
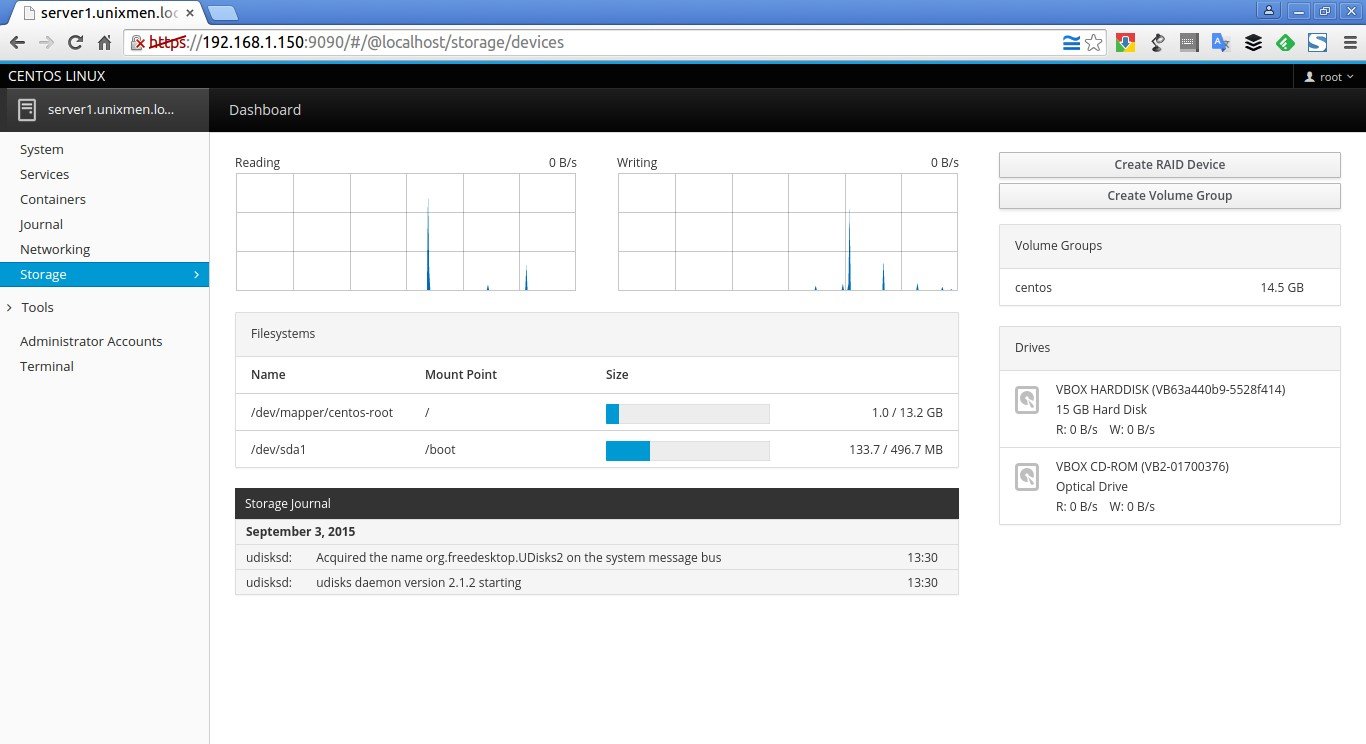
Cockpit Storage tab:
Cockpit Administrator Accounts tab:
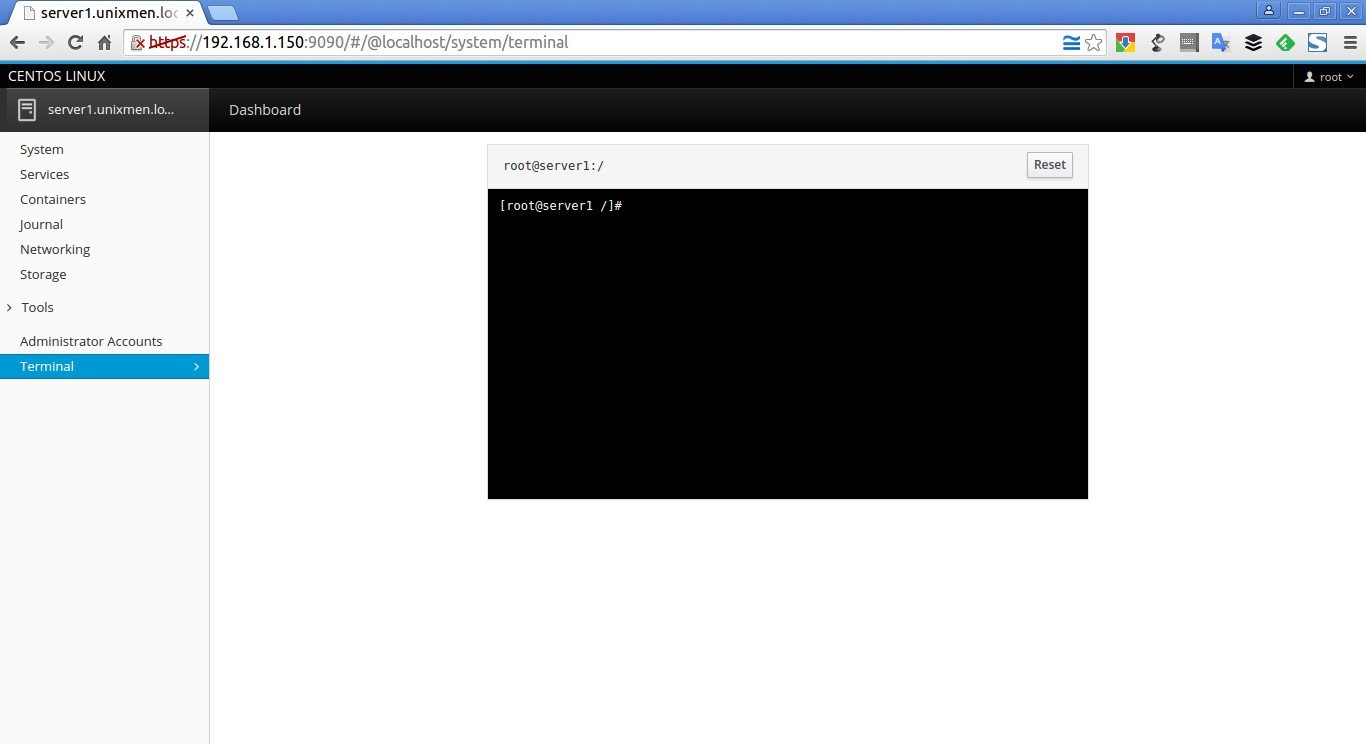
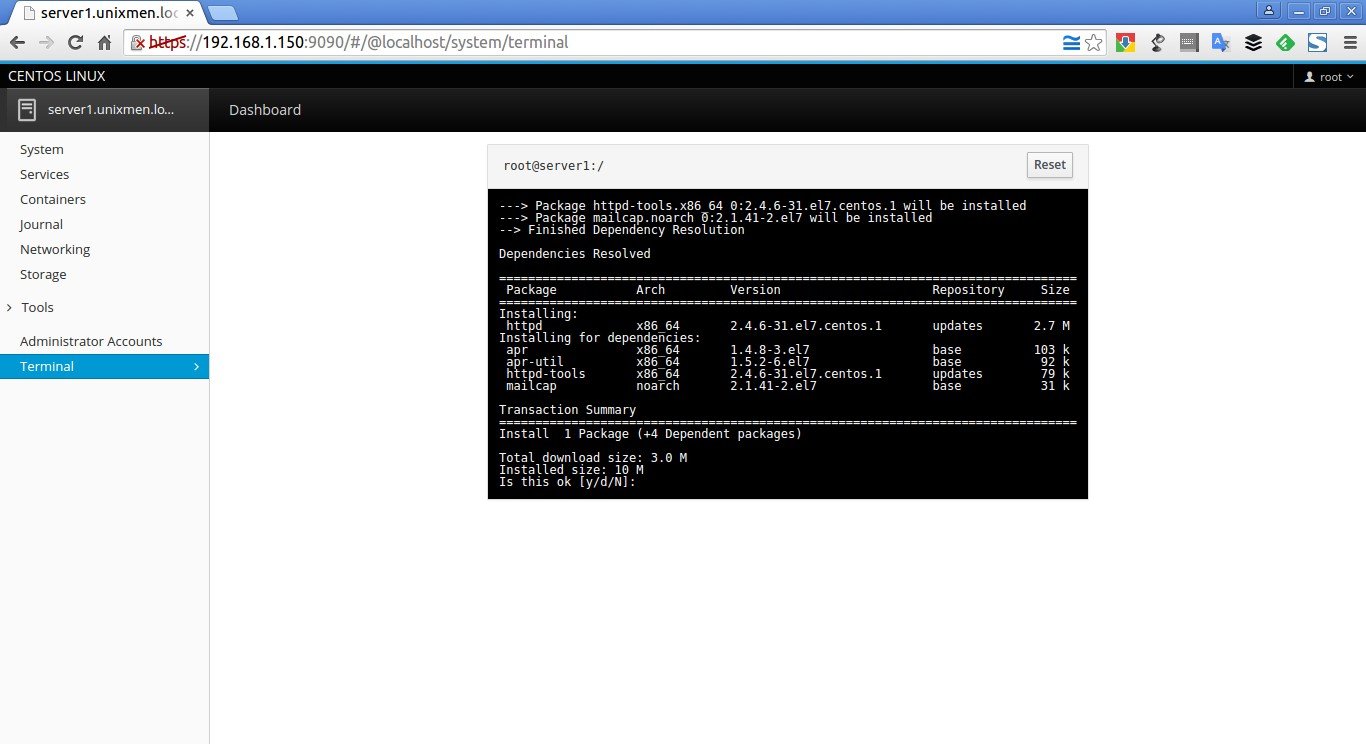
Cockpit Terminal:
As you see above, Cockpit provides a Terminal inside its console. So you don’t need SSH or any other communication tools. We can directly install any software from the Cockpit Terminal.
Adding multiple servers to Cockpit
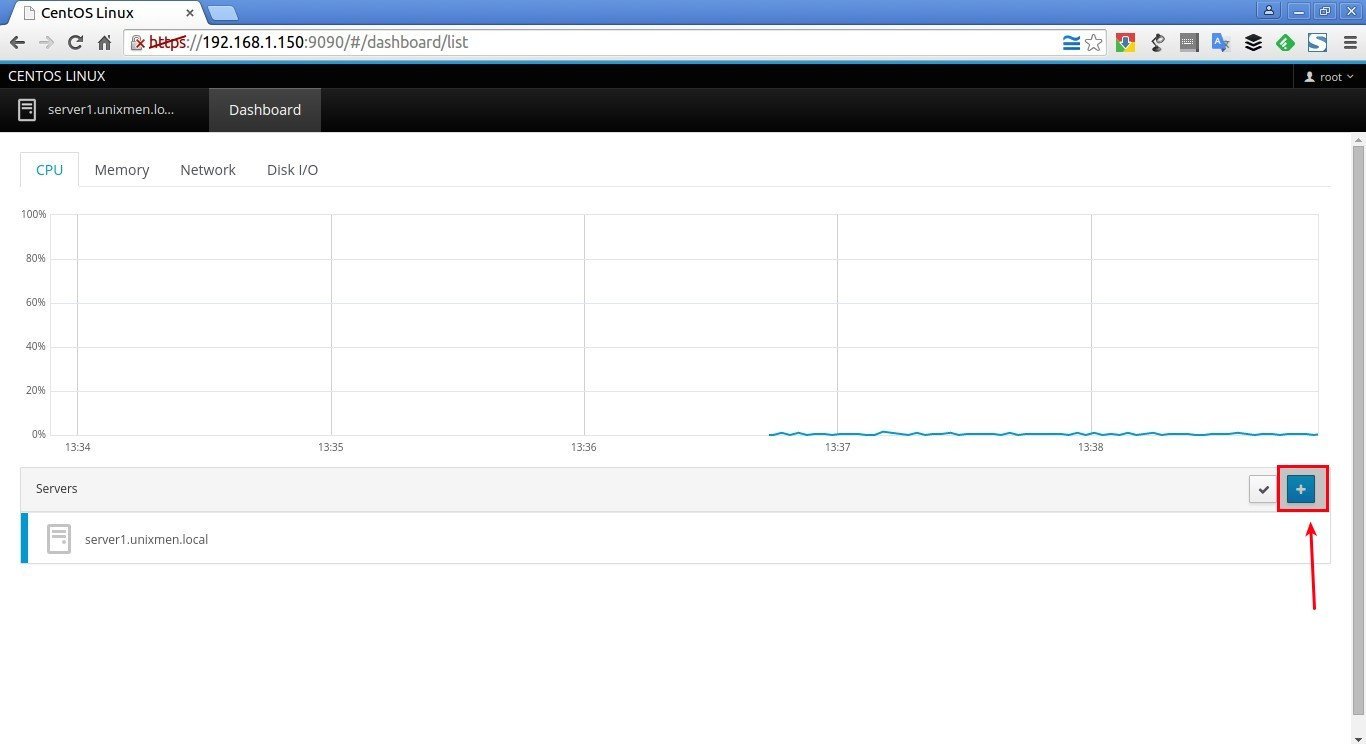
To add a new server, click on the Dashboard on the top. The Dashboard will show you list of servers added to the Cockpit.
Click on the plus (+) sign on the bottom to add new server.
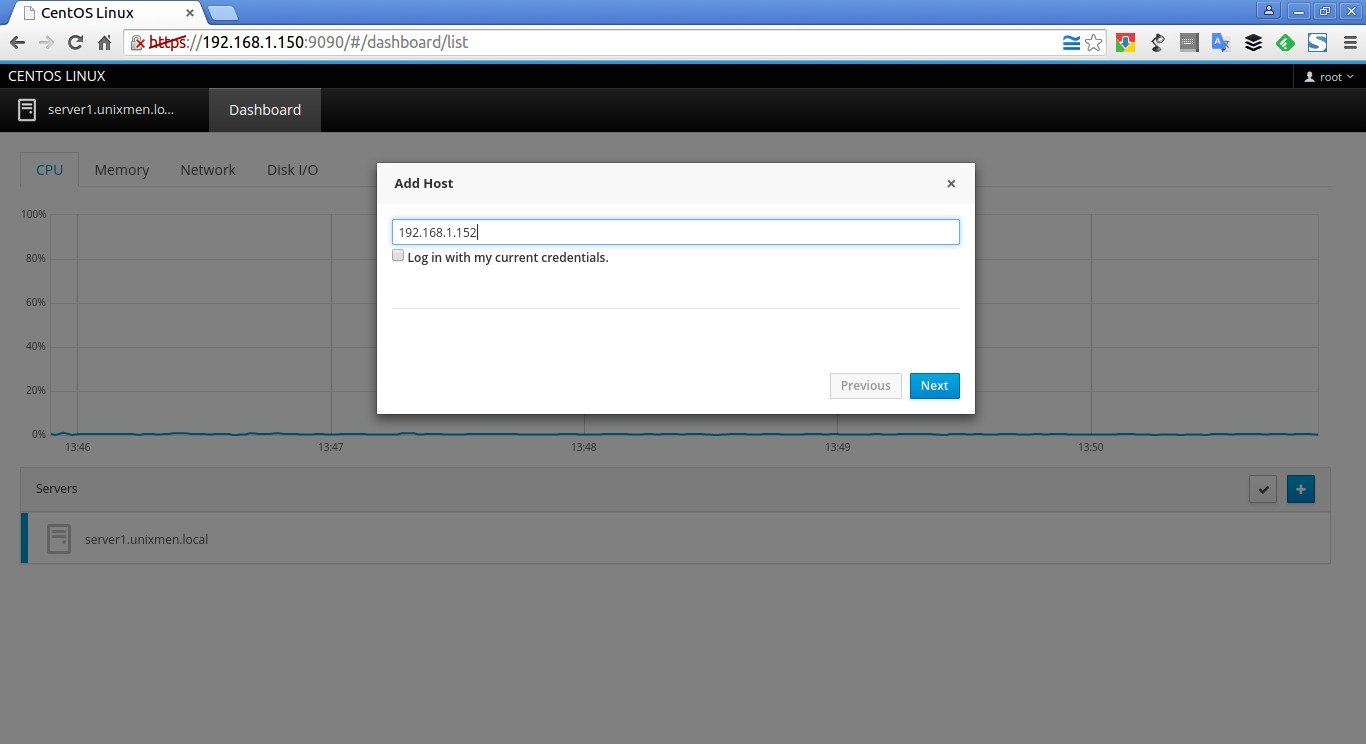
Uncheck the option that says: Log in with my current credentials. Enter your remote server IP address or Hostname.
Be mindful that you must install Cockpit on all of your remote servers in order to monitor them via Cockpit.
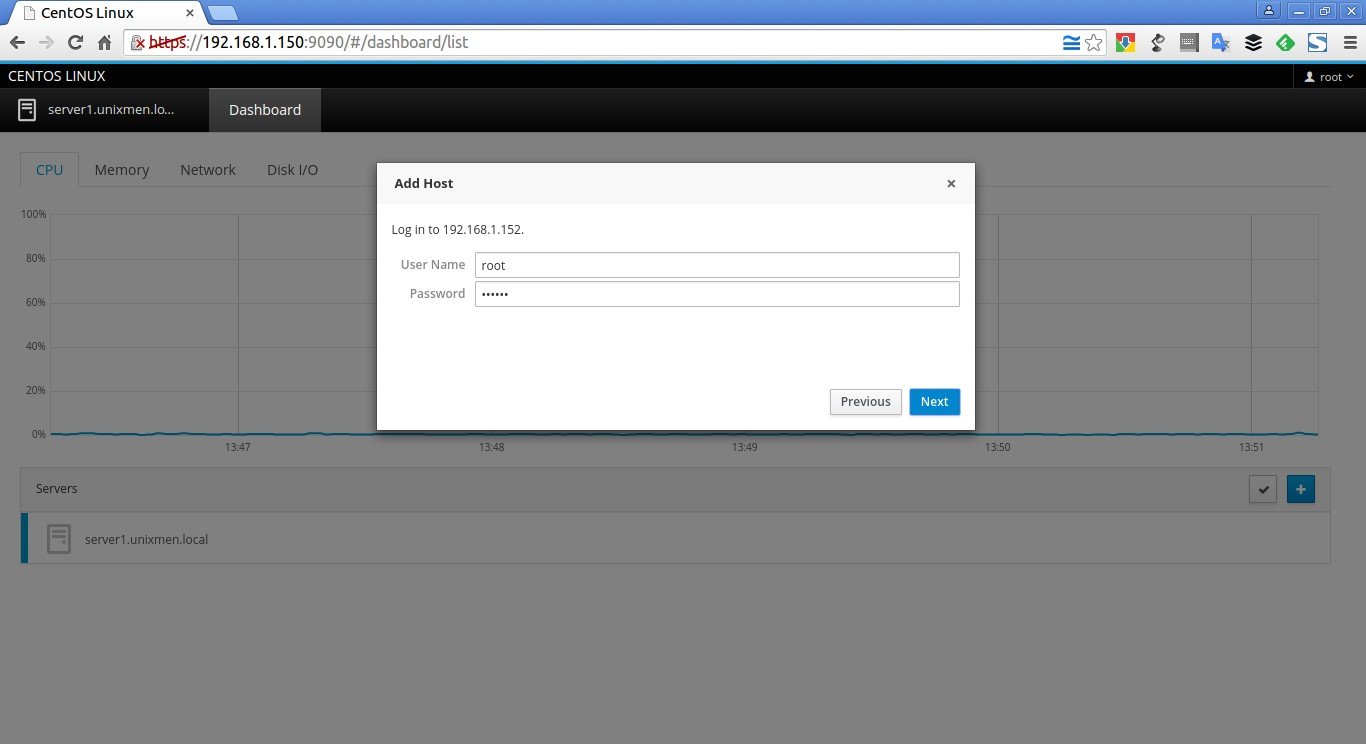
Enter your remote server’s username and password.
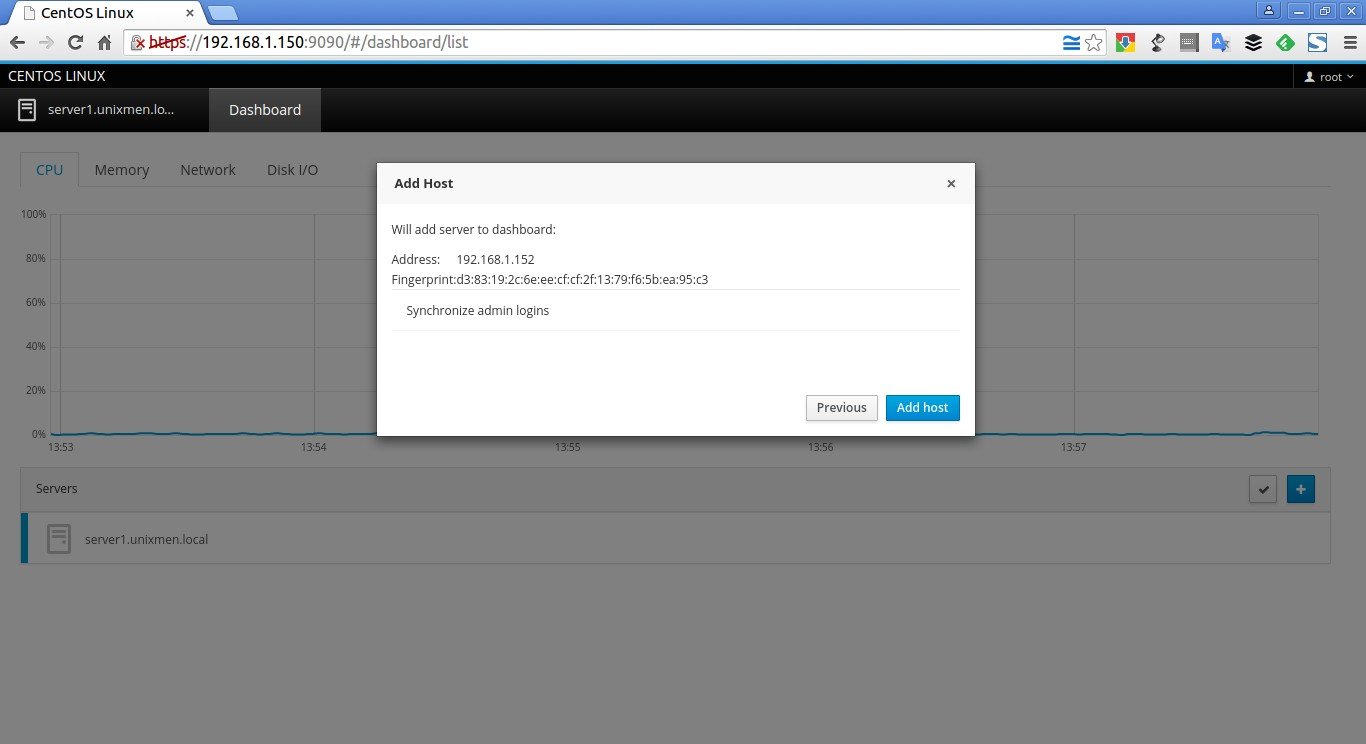
Finally click Add host to add your remote server.
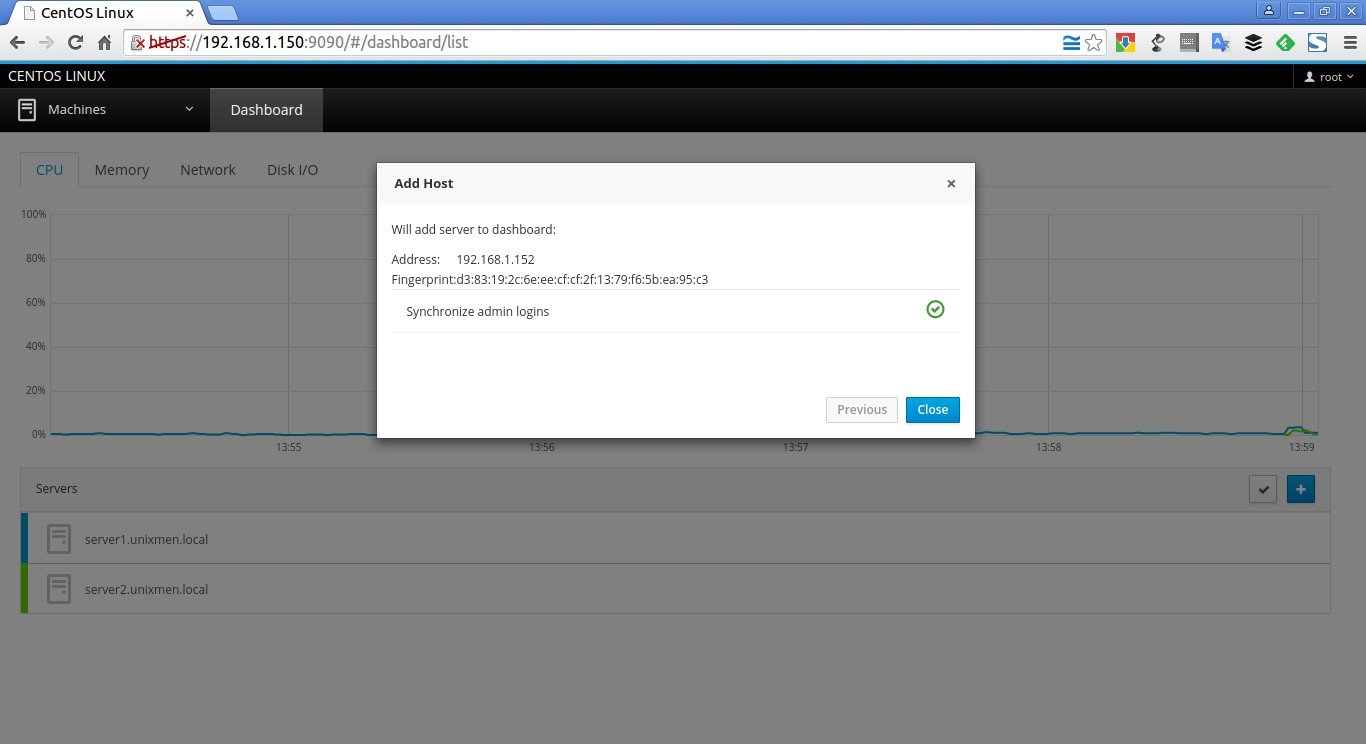
Click Close to close the Add host window.
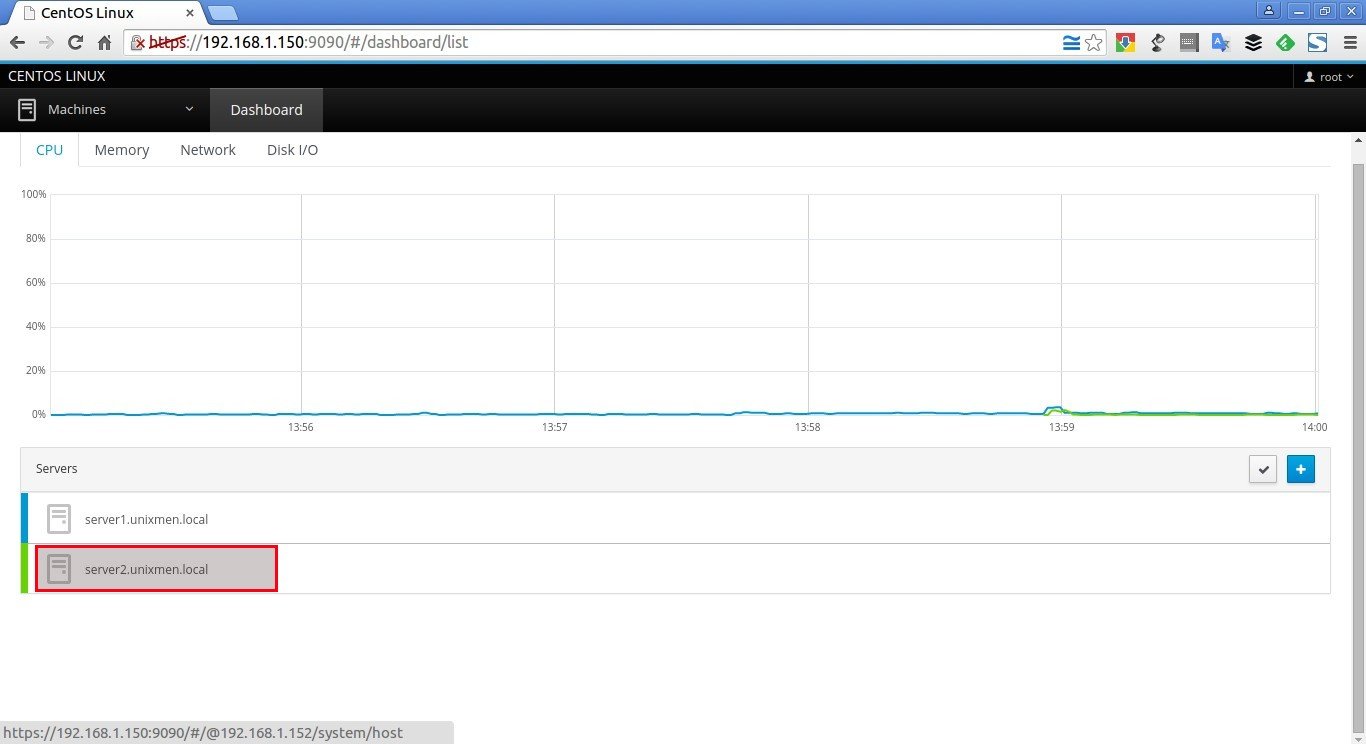
Now, you’ll see that the new server has been added to the Cockpit dashboard.
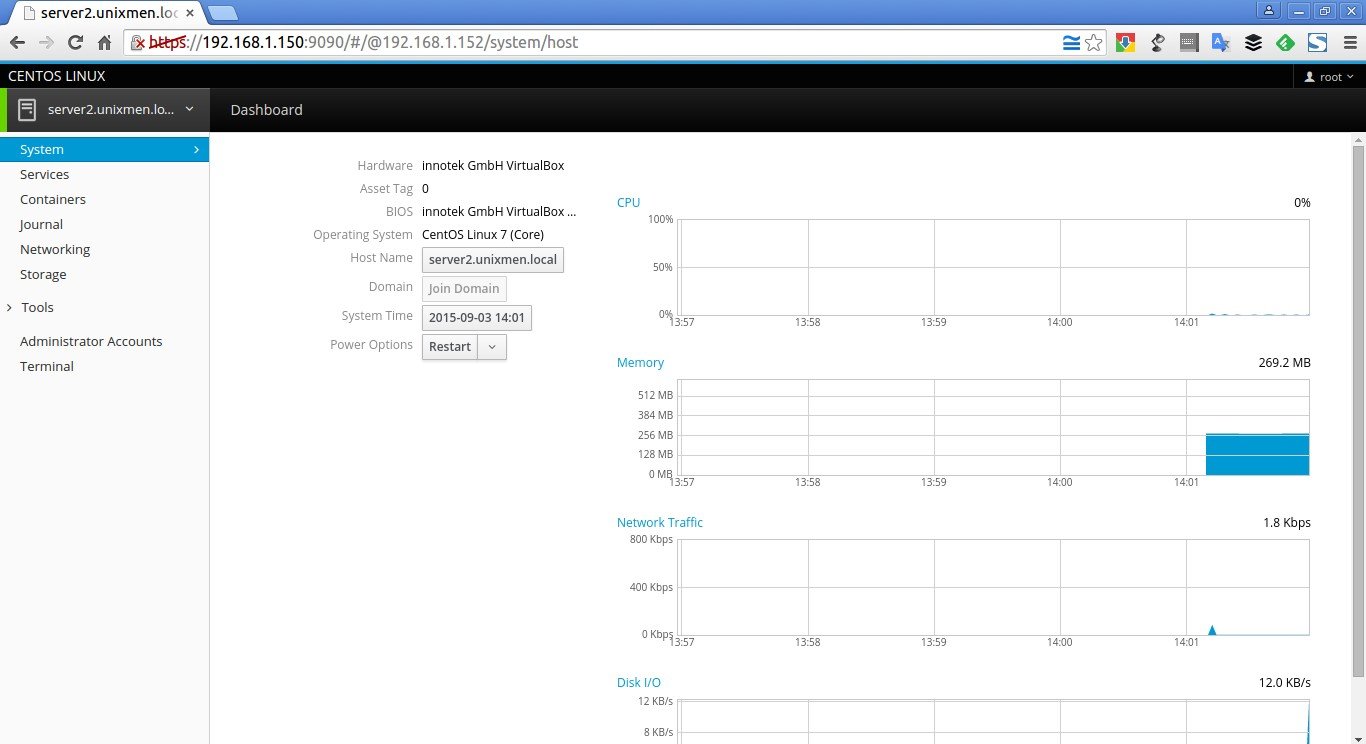
Just click on the remote server’s hostname to monitor or manage it.
Similarly, you can add as many servers as you want to manage via Cockpit. Just install Cockpit on the server or system that you want to manage and manage it like a boss anywhere on your network.
Conclusion
Cockpit is a useful tool for less experienced system administrators and makes the system administration task easier and even better. Using this application, anyone can easily administer multiple remote headless servers on the go. Don’t compare it with advanced server management tools like Webmin or anything, Cockpit is just a beginner friendly server management interface tool for managing the remote servers, not to manage the remote server’s applications. However, you can install any applications from the Cockpit Terminal as the way you do in your remote system’s Terminal.
Give it a try, you won’t be disappointed.
Have a good day!
Reference links:
Featured Image: Dirk-Jan Kraan via Flickr.


