
A year ago, we wrote an article about Grive, an unofficial, open source client for Google drive. Unfortunately, the developers of Grive abandoned it, and it is no longer being developed now. Don’t be disappointed. Vitaliy Filippov forked it and named his fork “Grive2”. The fork supports the new Google Drive REST API and it also includes a new feature called partial (directory) sync.
As you may know, Grive2 is a command line, open source, unofficial client for Google Drive. Grive can do two-side synchronization between the Google Drive and the local directory. The changes in the files/folders will be updated on both local and remote location(Google drive).
In this tutorial, let us see how to install, configure and use Grive2 in Ubuntu 15.04 LXDE desktop.
Install Grive2
To install latest Grive2 in Ubuntu 15.04 and previous versions, add the following PPA:
sudo add-apt-repository ppa:nilarimogard/webupd8
Update the sources list using command:
sudo apt-get update
Finally install Grive using command:
sudo apt-get install grive
That’s it.
Grive2 Command line Usage
To view all list of available options of grive command, run:
sudo grive --help
Sample output:
Grive options:
  -h [ --help ]         Produce help message
  -v [ --version ]      Display Grive version
  -a [ --auth ]         Request authorization token
  -p [ --path ] arg     Path to sync
  -s [ --dir ] arg      Subdirectory to sync
  -V [ --verbose ]      Verbose mode. Enable more messages than normal.
  --log-xml             Log more HTTP responses as XML for debugging.
  --new-rev             Create new revisions in server for updated files.
  -d [ --debug ]        Enable debug level messages. Implies -v.
  -l [ --log ] arg      Set log output filename.
  -f [ --force ]        Force grive to always download a file from Google Drive
                        instead of uploading it.
  --dry-run             Only detect which files need to be uploaded/downloaded,
                        without actually performing them.
Create a download/upload folder (Ex. sync) in your local system.
mkdir /home/sk/sync
Change to the newly created ‘sync’ directory.
cd sync/
Run the following command for the first time.
grive -a
The above command will display an URL.
-----------------------
Please go to this URL and get an authentication code:

https://accounts.google.com/o/oauth2/auth?scope=https%3A%2F%2Fwww.googleapis.com%2Fauth%2Fuserinfo.email+https%3A%2F%2Fwww.googleapis.com%2Fauth%2Fuserinfo.profile+https%3A%2F%2Fdocs.google.com%2Ffeeds%2F+https%3A%2F%2Fdocs.googleusercontent.com%2F+https%3A%2F%2Fspreadsheets.google.com%2Ffeeds%2F&redirect_uri=urn:ietf:wg:oauth:2.0:oob&response_type=code&client_id=22314510474.apps.googleusercontent.com

-----------------------
Copy and paste that URL in your browser. Next, you’ll be asked to give permission to access your Google drive. Enter your gmail credentials. Finally, an authentication code will be displayed. Copy the authentication code and paste it in the Terminal where you ran “grive -a” command. That’s it.
Now, whenever you want to synchronize files/folders to and from your Google drive, go to the “sync” folder and run the following command:
cd /home/sk/sync/
sync
Note that you don’t have to include “-a” parameter every time. Because we already have authenticated with google drive.
Install Grive-tools, a GUI Front-end for Grive
Working from Command Line is a bit difficult for Newbies. So, the fansclub team has developed a GUI front-end called grive-tools for Grive.
First, add the Grive-tools PPA for Ubuntu 15.04 and older versions and other Ubuntu derivatives.
sudo add-apt-repository ppa:thefanclub/grive-tools
Update the repositories and install Grive-tools using the following commands:
sudo apt-get update
sudo apt-get install grive-tools
Configure Grive
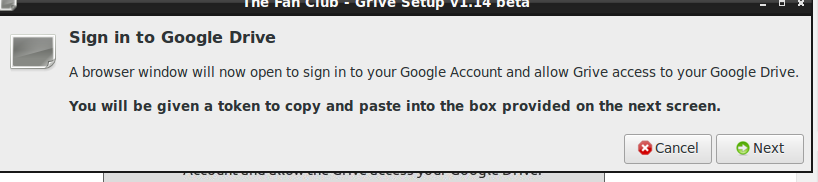
After installing Grive and Grive-tools, You should configure Google accounts for Grive. Search for “Grive Setup” either from the Menu or Dash. Also you can open it from the Terminal by typing “sudo grive-setup”:
Click Next to sign in to your google account.
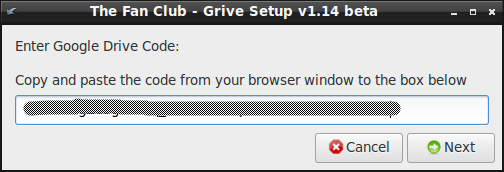
A new browser window will now open and ask you to sign in to your Google Account. Enter your Gmail credentials and allow the Grive to access your Google Drive. An authentication code will be displayed. Copy/paste the code in the Grive window and click Next to continue.
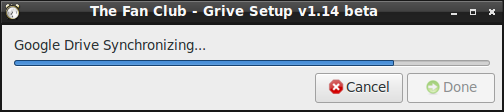
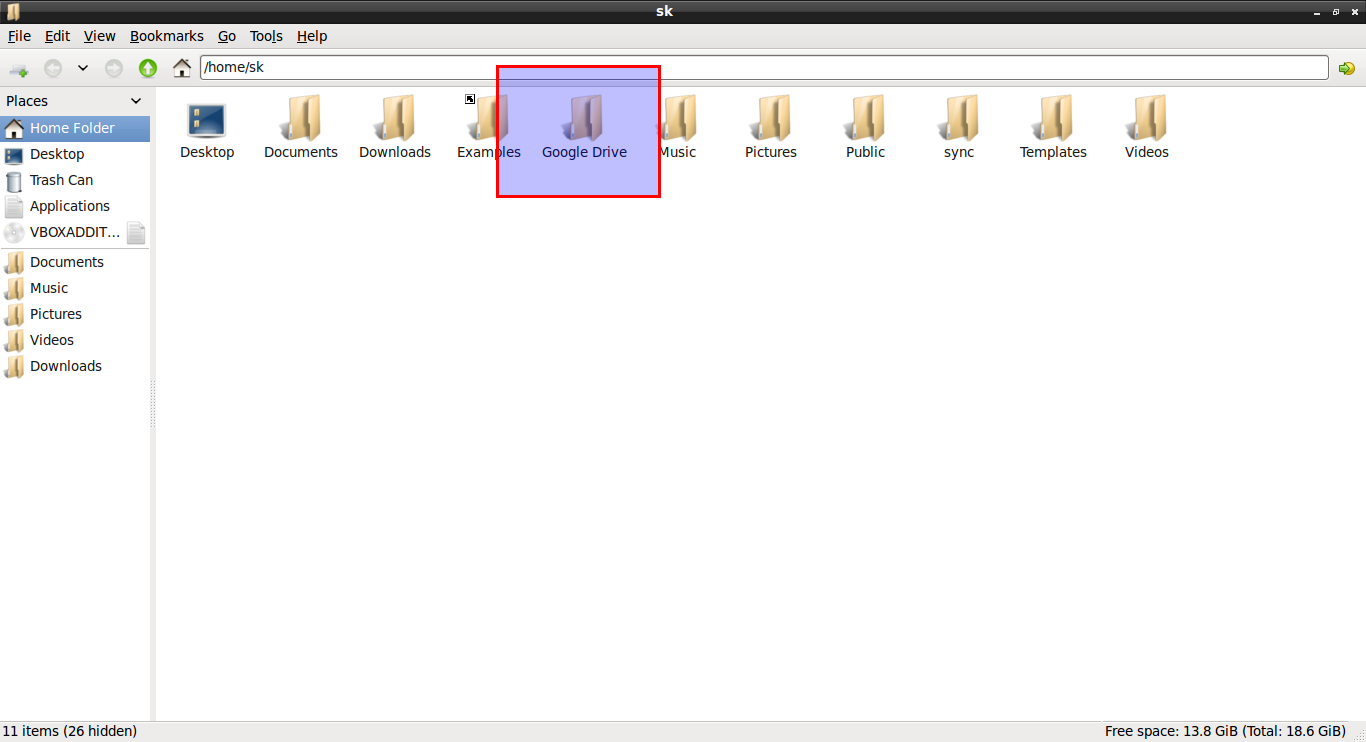
Now the installer will create a folder called Google Drive on your Home folder (ex. /home/sk/Google Drive), and sync all files from your google drive to your local folder.
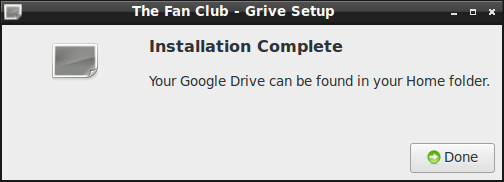
After sync is done, you should see a confirmation message that says: Installation is complete.
Click Done to complete the installation.
Now you can see all files from your Google Drive will be found in your local system Google Drive Folder.
You can find your local Google Drive folder in your home directory. Refer the following screenshot.
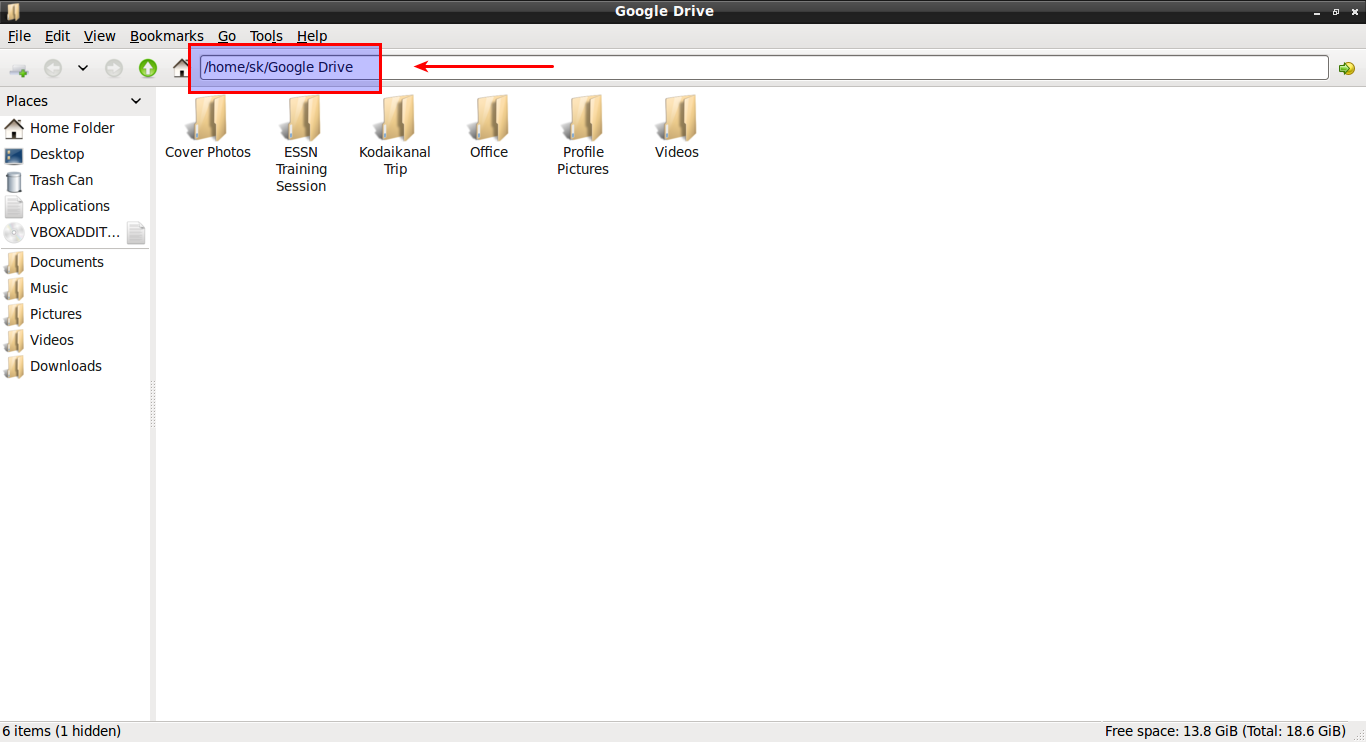
From now on, copy and paste the files/folders in the local Google Drive folder that you want to sync to your online Google Drive account.
That’s it. Start using your Google drive from your Ubuntu desktop.
Cheers!
Reference Links:


