In this post we will see a compatible alternative to the “LAMP” (Linux, Apache, MySQL, and PHP) , known as “LEMP” (Linux, Nginx, MySQL, PHP) . The LEMP replaces the Apache web server component with nginx which can increase the ability of the server to scale in response to demand.
1- Installing MySQL
First we install MySQL 5 like this:
yum install mysql mysql-server
– Create the system startup links for Mysqld and start it
systemctl enable mysqld.service
systemctl start mysqld.service
– Set root MySQL password with
mysql_secure_installation
#or
mysqladmin -u root password “newpassword”
2- Installing Nginx
Before to install Nginx you have to remove any other apache application with yum remove httpd
Nginx is available as a package for Fedora 17
yum install nginx
– Create the system startup links for nginx and start it:
systemctl enable nginx.service
systemctl start nginx.service
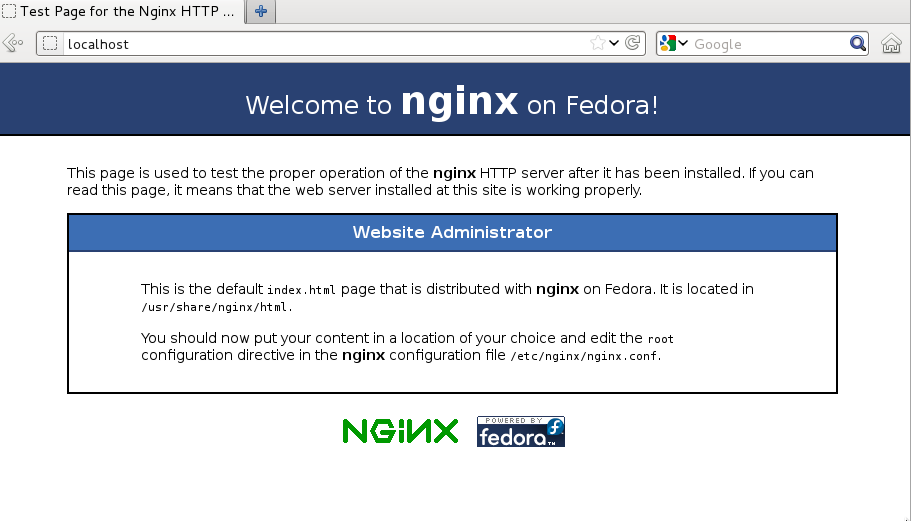
Now open the browser and open http://ip
 3- Install php5 PHP-FPM 5.4
yum install php php-fpm php-common
-Install Php modules
yum install install php-pecl-apc php-cli php-pear php-pdo php-mysql php-pgsql php-pecl-mongo
php-sqlite php-pecl-memcache php-pecl-memcached php-gd php-mbstring php-mcrypt php-xml
– Now edit /etc/php.ini and set.
date_timezone = "Europe/Amsterdam"
cgi.fix_pathinfo=0
– Create the system start-up links for php-fpm and start it:
systemctl enable php-fpm.service
systemctl start php-fpm.service
Now edit nginx to run php pages
vi /etc/nginx/conf.d/default.conf
and make it like this :
###################################################
 server {
 listen       80;
 server_name  _;
#charset koi8-r;
#access_log  logs/host.access.log  main;
location / {
root   /usr/share/nginx/html;
index  index.php index.html index.htm;
}
error_page  404              /404.html;
location = /404.html {
root   /usr/share/nginx/html;
}
# redirect server error pages to the static page /50x.html
#
error_page   500 502 503 504  /50x.html;
location = /50x.html {
root   /usr/share/nginx/html;
}
# proxy the PHP scripts to Apache listening on 127.0.0.1:80
#
#location ~ \.php$ {
#    proxy_pass   http://127.0.0.1;
#}
# pass the PHP scripts to FastCGI server listening on 127.0.0.1:9000
 #
 #location ~ \.php$ {
 #    root           html;
 #    fastcgi_pass   127.0.0.1:9000;
 #    fastcgi_index  index.php;
 #    fastcgi_param  SCRIPT_FILENAME  /scripts$fastcgi_script_name;
 #    include        fastcgi_params;
 #}
 location ~ \.php$ {
 try_files $uri =404;
 root           /usr/share/nginx/html;
 fastcgi_pass   127.0.0.1:9000;
 fastcgi_index  index.php;
 fastcgi_param  SCRIPT_FILENAME  $document_root$fastcgi_script_name;
 include        fastcgi_params;
 }
 # deny access to .htaccess files, if Apache's document root
 # concurs with nginx's one
 #
 #location ~ /\.ht {
 #    deny  all;
 #}
 location ~ /\.ht {
 deny  all;
 }
 }
 ######################################################################################
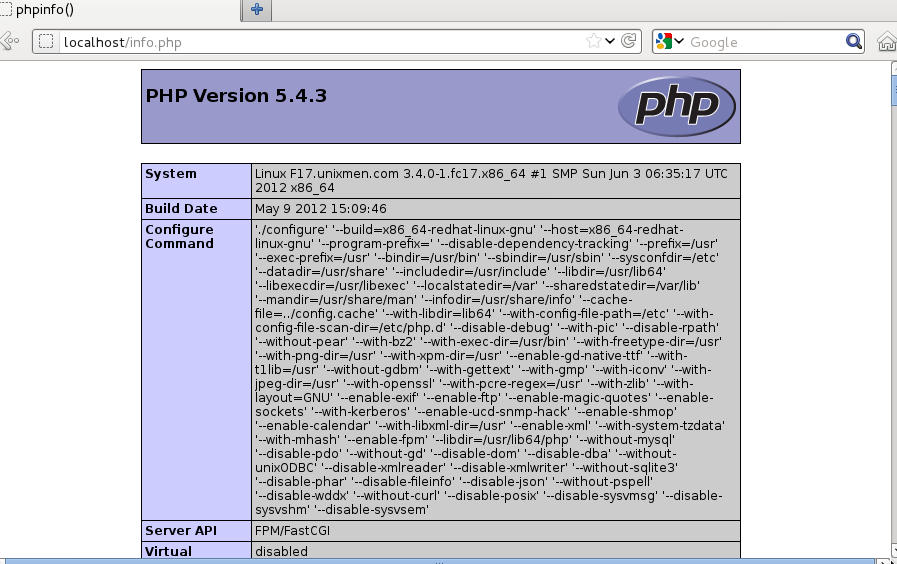
Now check phpinfo page
edit /usr/share/nginx/html/info.php
and add
<?php
 phpinfo();
 ?>
save and exit
Now open http:/ip/info.php
4-Install PhpMyAdmin
If you you want topmake phpmyadmin working with Nginx dont forget to add this to /etc/nginx/conf.d/default.conf
Alias for phpMyAdmin (after the commented section about PHP)
location /phpMyAdmin {
 alias   /usr/share/phpMyAdmin;
 index  index.php index.html index.htm;
 }
PHP Configuration for phpMyAdmin
location ~ /phpMyAdmin/.*\.php$ {
 fastcgi_pass   127.0.0.1:9000;
 fastcgi_index  index.php;
 fastcgi_param  SCRIPT_FILENAME  /usr/share/$uri;
 fastcgi_intercept_errors on;
 include        fastcgi_params;
 }
Reload Nginx anad enjoy


