Cacti is an open source, front-end for the data logging tool called RRDtool. It is a web based network monitoring and graphing tool. For more information about Cacti refer the official link.
Install required packages
Install the following required packages for Cacti. Cacti and some of the below prerequisites are not included in the CentOS official repository. So let us install them from EPEL repository. To install EPEL repository enter the following commands.
[root@server ~]# wget http://dl.fedoraproject.org/pub/epel/6/i386/epel-release-6-8.noarch.rpm
[root@server ~]# rpm -ivh epel-release-6-8.noarch.rpm
Install Apache
Apache is used to display the the network graphs created by PHP and RRDtool.
[root@server ~]# yum install httpd httpd-devel -y
Install MySQL
MySQL is used to store the Cacti Database details.
[root@server ~]# yum install mysql mysql-server -y
Install PHP
PHP script is used to create graphs using RRDtool.
[root@server ~]# yum install php-mysql php-pear php-common php-gd php-devel php php-mbstring php-cli php-mysql -y
Install PHP-SNMP
It is an extension for SNMP to access data.
[root@server ~]# yum install php-snmp -y
Install NET-SNMP
It is used to manage network.
[root@server ~]# yum install net-snmp-utils net-snmp-libs php-pear-Net-SMTP -y
Install RRDtool
It is a database tool to manage and retrieve data’s like Network Bandwidth and CPU Load etc.
[root@server ~]# yum install rrdtool -y
After installing all the above softwares, start them.
[root@server ~]# /etc/init.d/httpd start
[root@server ~]# /etc/init.d/mysqld start
[root@server ~]# /etc/init.d/snmpd start
Let the above services to start automatically on every reboot.
[root@server ~]# chkconfig httpd on
[root@server ~]# chkconfig mysqld on
[root@server ~]# chkconfig snmpd on
Installing Cacti Tool
[root@server ~]# yum install cacti -y
Configure MySQL
Login to MySQL server as root user and create a database for Cacti. Here i use Cacti database name as cacti, username as cacti and password as centos respectively.
[root@server ~]# mysql -u root -p
Enter password:
Welcome to the MySQL monitor.  Commands end with ; or \g.
Your MySQL connection id is 7
Server version: 5.1.69 Source distribution

Copyright (c) 2000, 2013, Oracle and/or its affiliates. All rights reserved.

Oracle is a registered trademark of Oracle Corporation and/or its
affiliates. Other names may be trademarks of their respective
owners.

Type 'help;' or '\h' for help. Type '\c' to clear the current input statement.

mysql> create database cacti;
Query OK, 1 row affected (0.01 sec)

mysql> GRANT ALL ON cacti.* TO cacti@localhost IDENTIFIED BY 'centos';
Query OK, 0 rows affected (0.00 sec)

mysql> flush privileges;
Query OK, 0 rows affected (0.01 sec)

mysql> exit
Bye
Now import Cacti Tables to Cacti Database. Find the location of the file cacti.sql and import it to cacti database. To find out this file, enter the following command.
[root@server ~]# rpm -ql cacti | grep cacti.sql
/usr/share/doc/cacti-0.8.8a/cacti.sql
Note down the path of cacti.sql file and import it using the following command.
[root@server ~]# mysql -u cacti -p cacti < /usr/share/doc/cacti-0.8.8a/cacti.sql
Enter password:
Now the tables are imported into cacti database.
Open the /etc/cacti/db.php and make the following changes.
[root@server ~]# vi /etc/cacti/db.php
/* make sure these values refect your actual database/host/user/password */
$database_type = "mysql";
$database_default = "cacti";        ## Name of the Cacti Database ##
$database_hostname = "localhost";
$database_username = "cacti";       ## Username for Cacti database ##
$database_password = "centos";              ## Database password ##
$database_port = "3306";
$database_ssl = false;

/*
Configure Apache server
Open the file /etc/httpd/conf.d/cacti.conf and add your network range or you can add a single ip. In this case, i add my local network ip range 192.168.1.0/24.
[root@server ~]# vi /etc/httpd/conf.d/cacti.conf
Alias /cacti    /usr/share/cacti

<Directory /usr/share/cacti/>
        <IfModule mod_authz_core.c>
                # httpd 2.4
                Require host localhost
        </IfModule>
        <IfModule !mod_authz_core.c>
                # httpd 2.2
                Order deny,allow
                Deny from all
                Allow from 192.168.1.0/24
        </IfModule>
</Directory>
Restart your apache server finally.
[root@server ~]# /etc/init.d/httpd restart
If you wanna to start the installer from a remote machine, you should allow the apache default port 80 through your iptables.
[root@server ~]# vi /etc/sysconfig/iptables
# Firewall configuration written by system-config-firewall
# Manual customization of this file is not recommended.
*filter
:INPUT ACCEPT [0:0]
:FORWARD ACCEPT [0:0]
:OUTPUT ACCEPT [0:0]
-A INPUT -p udp -m state --state NEW --dport 80 -j ACCEPT
-A INPUT -p tcp -m state --state NEW --dport 80 -j ACCEPT
-A INPUT -p udp -m state --state NEW --dport 53 -j ACCEPT
-A INPUT -p tcp -m state --state NEW --dport 53 -j ACCEPT
-A INPUT -m state --state ESTABLISHED,RELATED -j ACCEPT
-A INPUT -p icmp -j ACCEPT
-A INPUT -i lo -j ACCEPT
-A INPUT -m state --state NEW -m tcp -p tcp --dport 22 -j ACCEPT
-A INPUT -j REJECT --reject-with icmp-host-prohibited
-A FORWARD -j REJECT --reject-with icmp-host-prohibited
COMMIT
Restart iptables.
[root@server ~]# /etc/init.d/iptables restart
Configure Cron for Cacti
Open the file /etc/cron.d/cacti and uncomment the following line.
[root@server ~]# vi /etc/cron.d/cacti
*/5 * * * *     cacti   /usr/bin/php /usr/share/cacti/poller.php > /dev/null 2>&1
The above cron job runs the poller.php script every five minutes and collects the data of the known hosts by Cacti.
Run Cacti installer
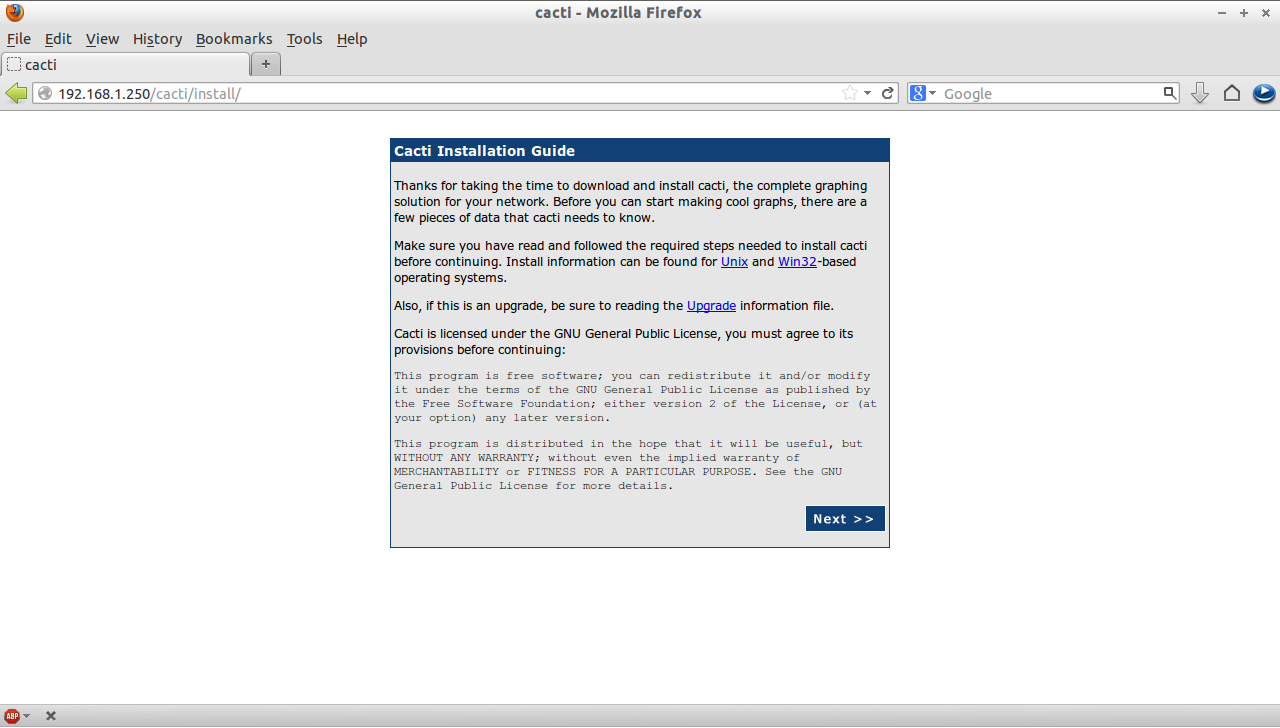
Navigate to your web browser using the URL http://ip-address/cacti. The following screen should appear, Click Next.
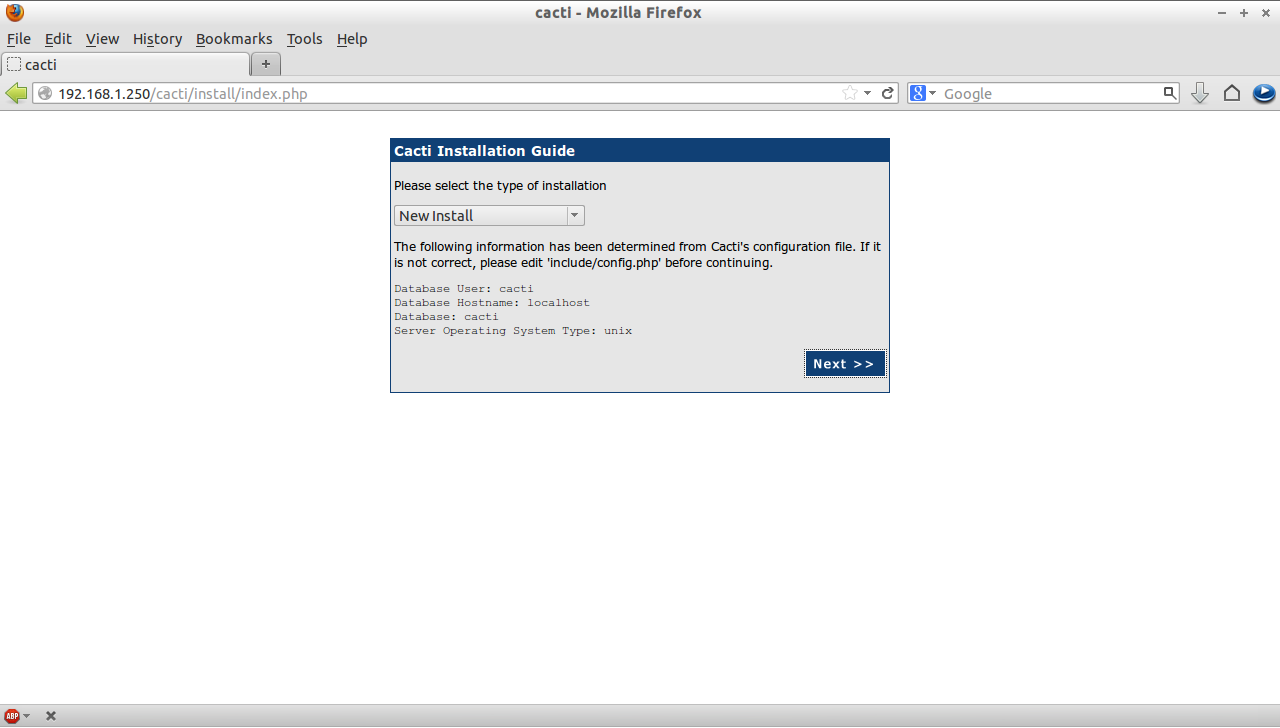
Select New install from the drop down box and click Next.
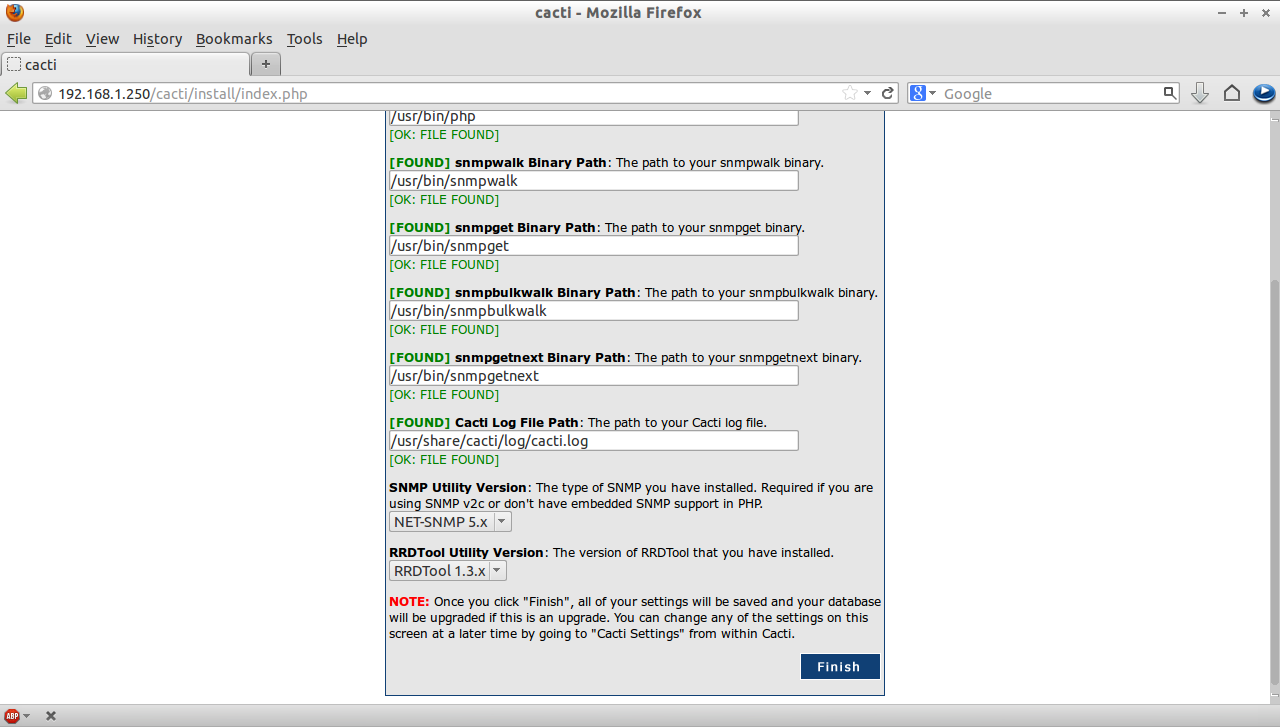
In the next screen make sure that all the values are valid and click Finish.
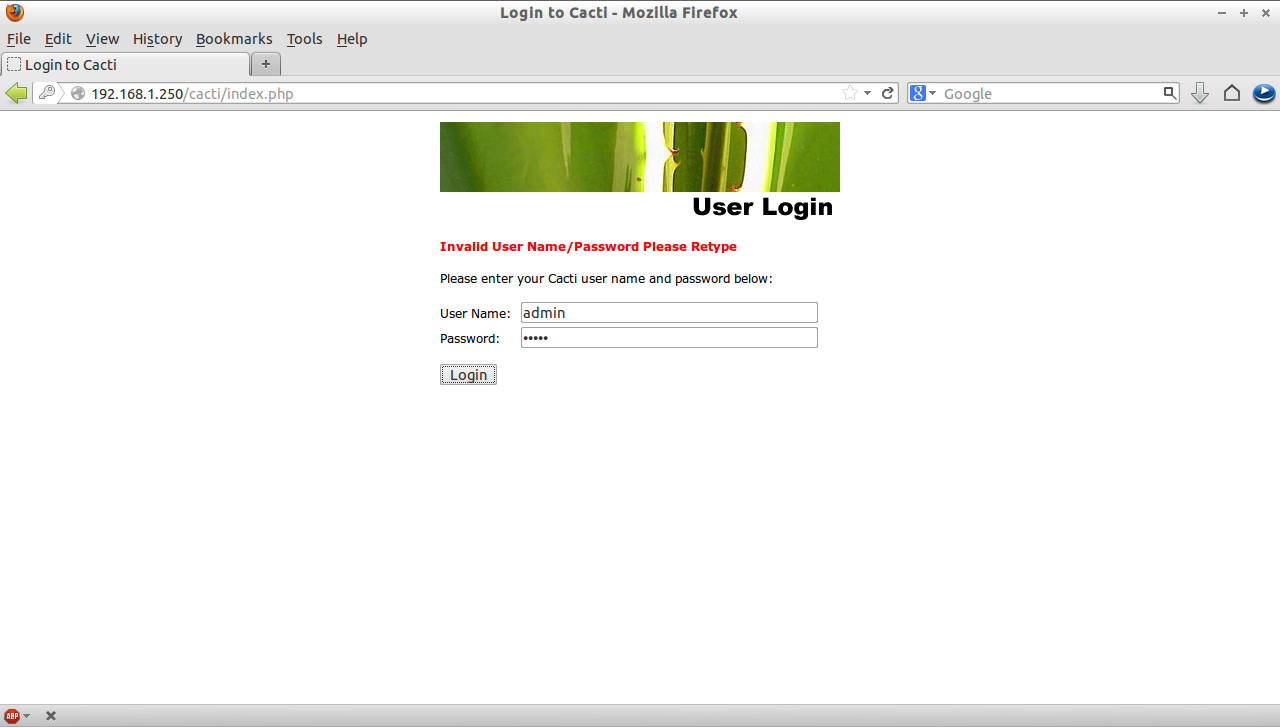
Now the installation is completed and it will ask the cacti username and password to login to admin console. The default username and password of Cacti is admin.
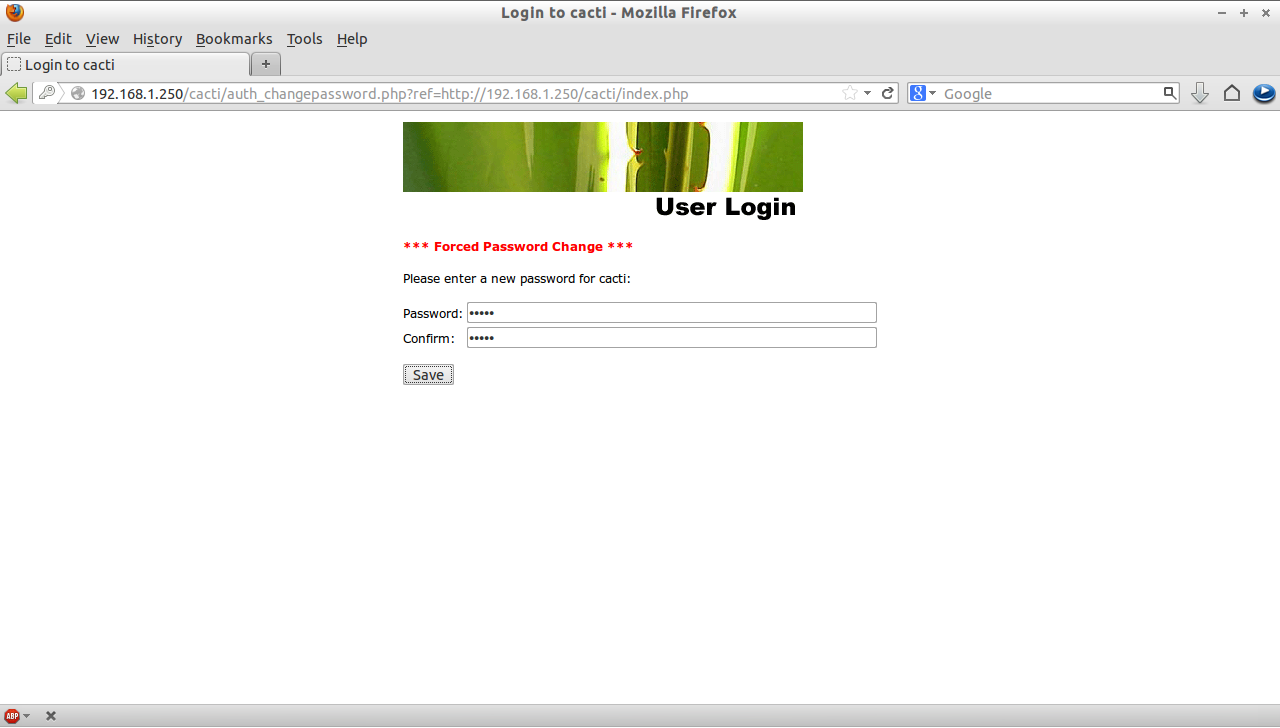
It will ask you to change the admin password now. Enter the new password and click Save.
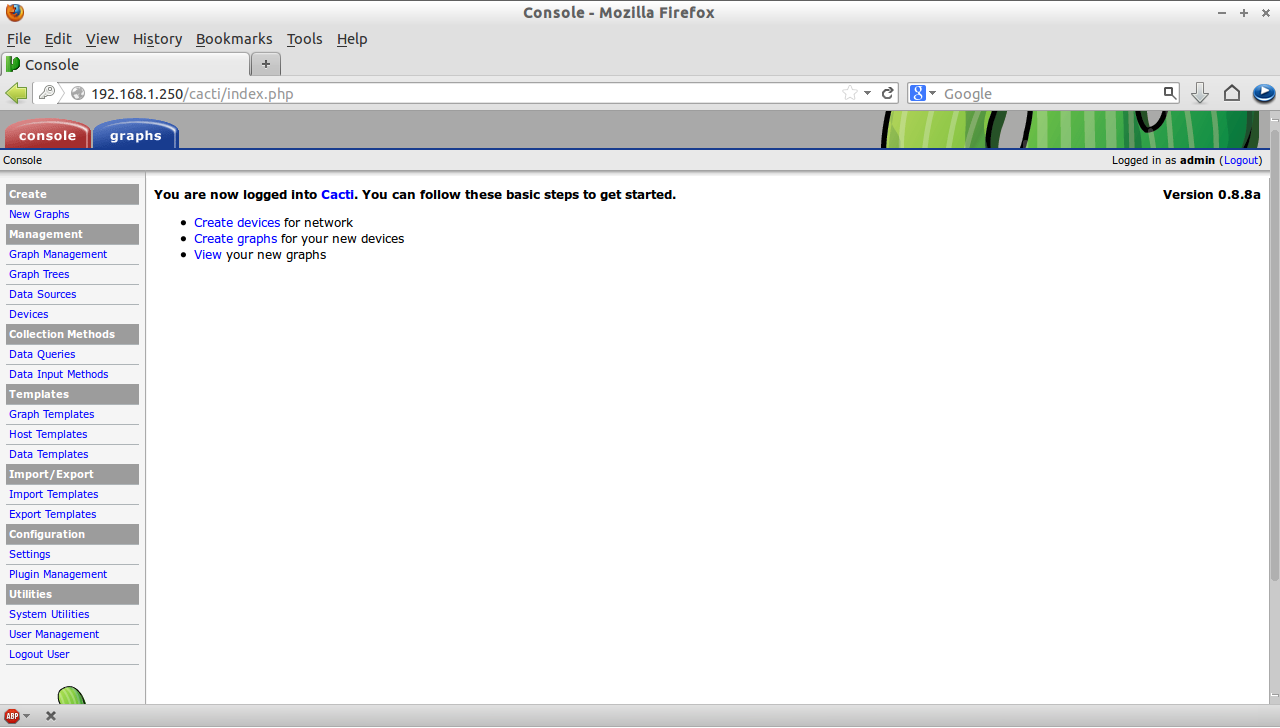
Now you will get the main console window of Cacti.
Create Graphs
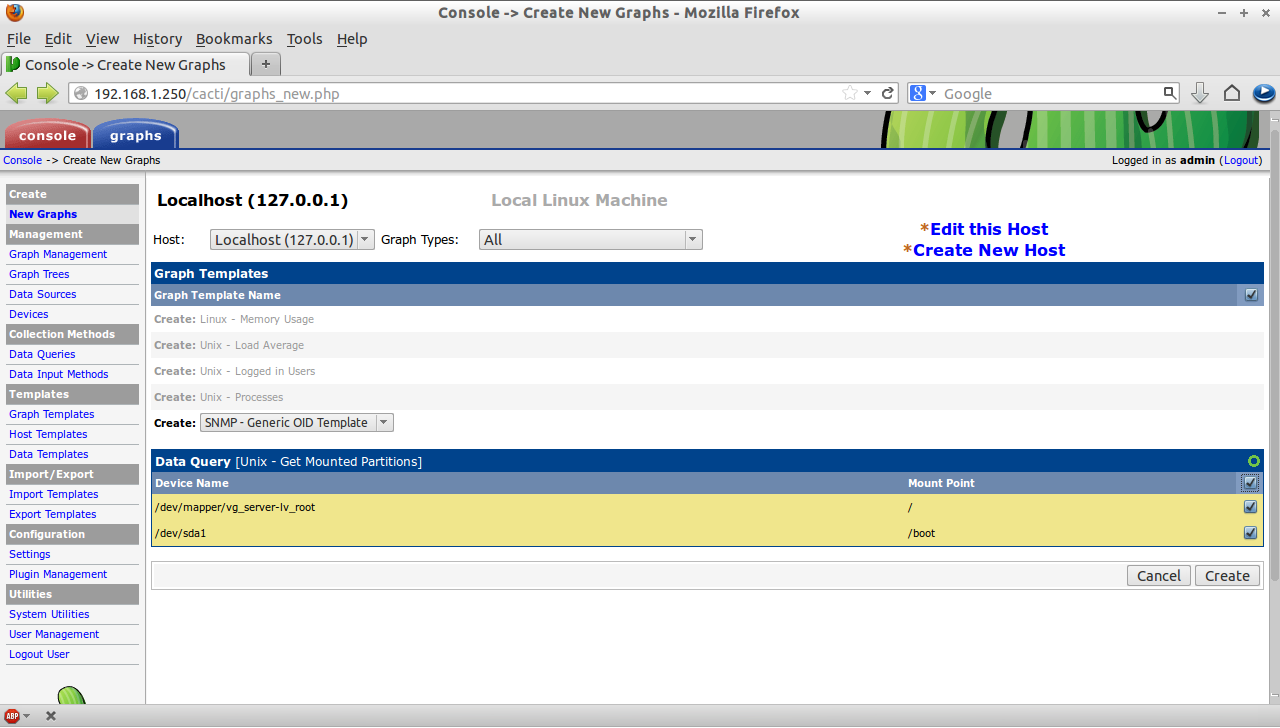
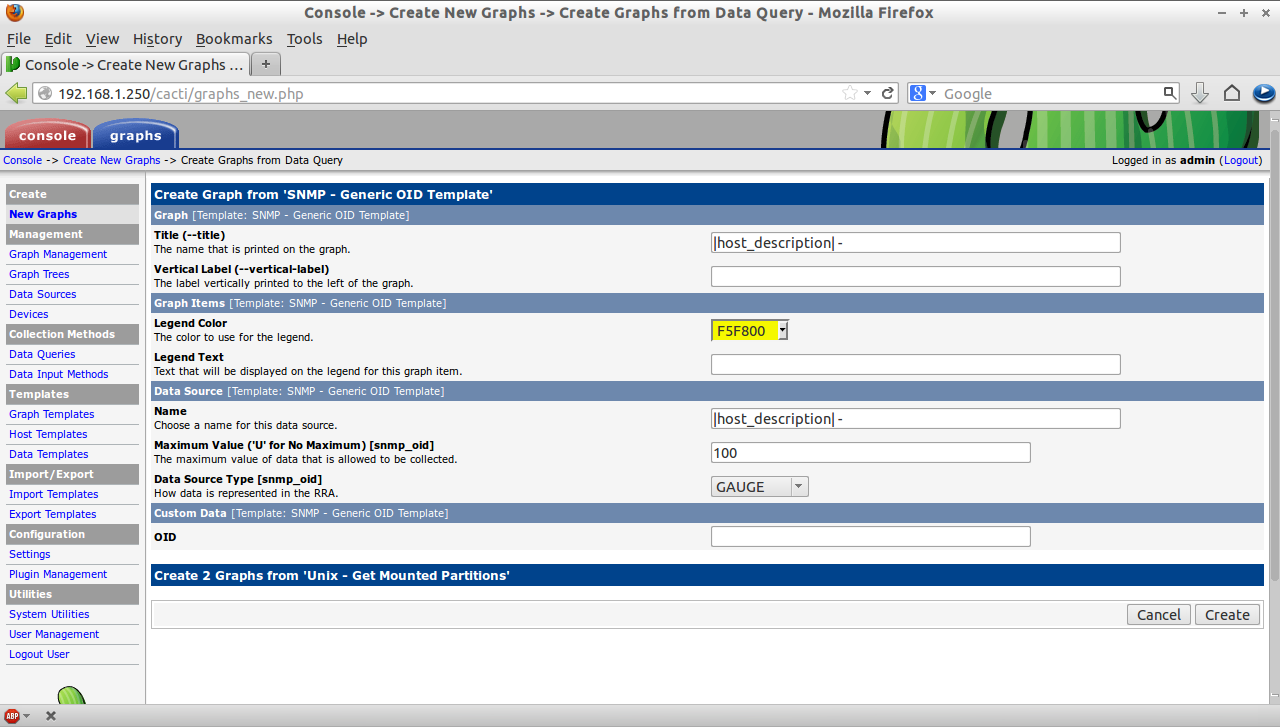
Click New Graphs on the left pane of console screen. Select the Host or create a new one and Select SNMP – Generic OID Template in Graph Templates section and click Create.
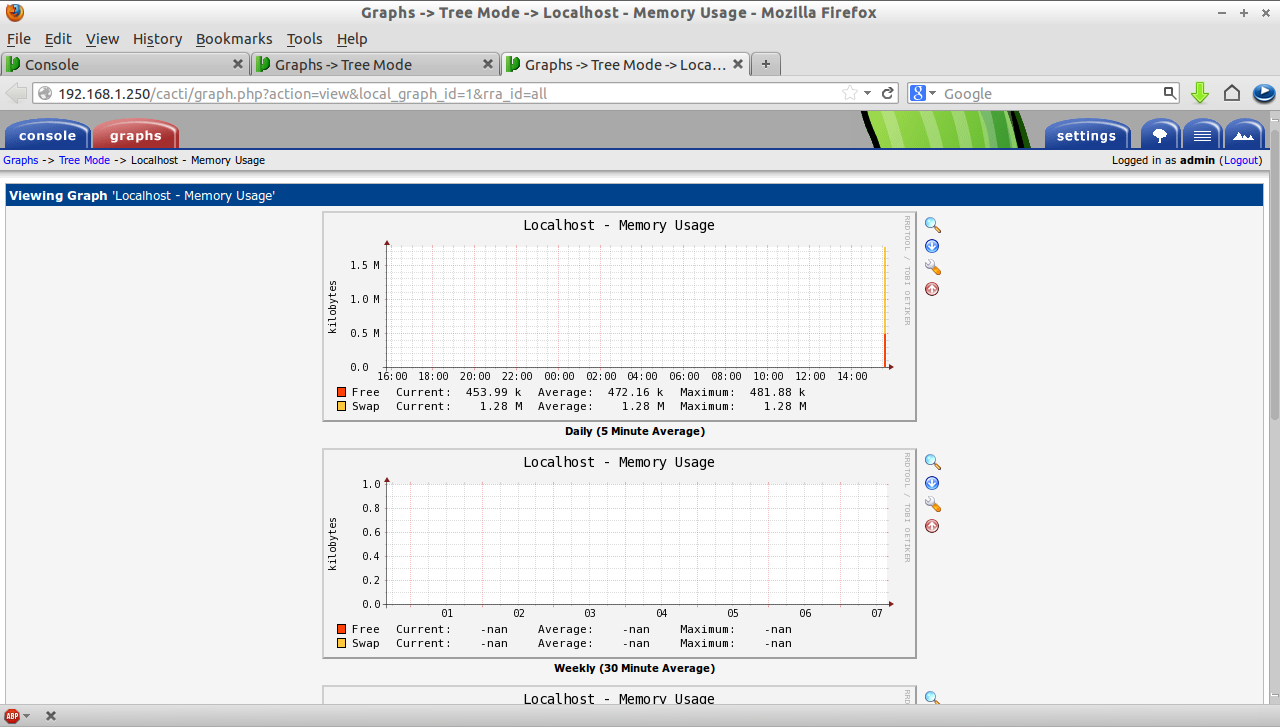
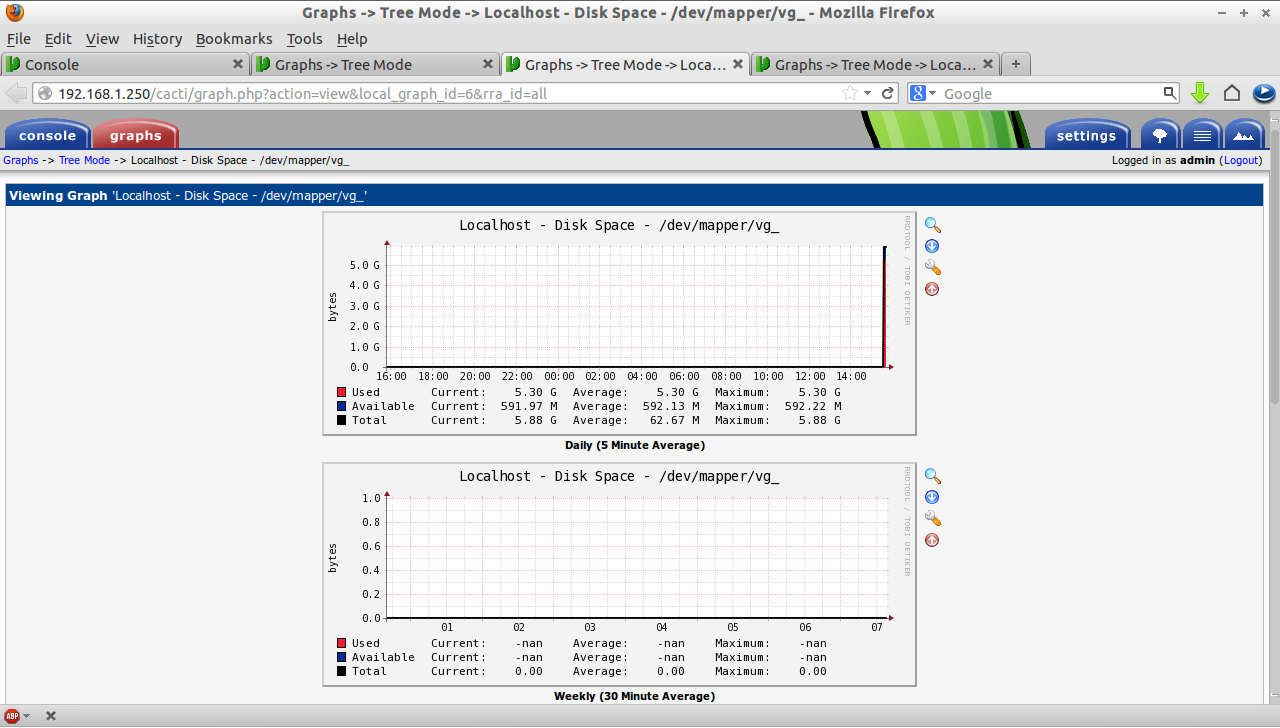
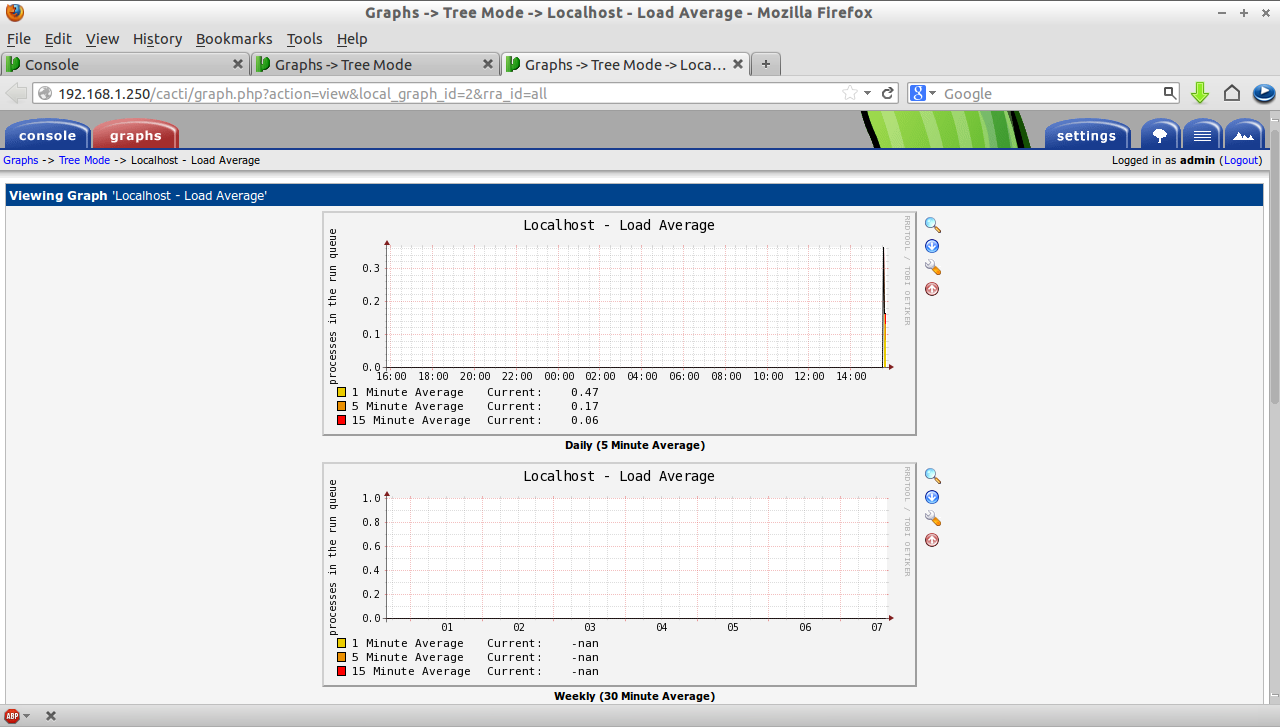
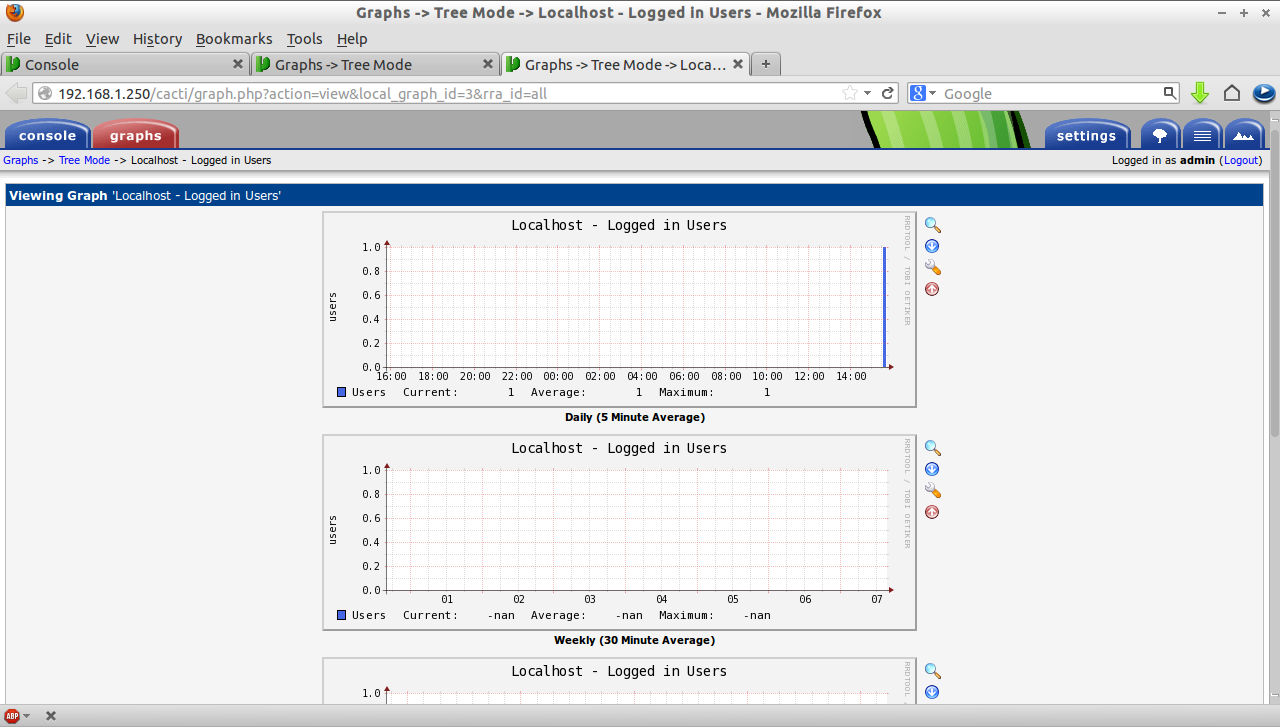
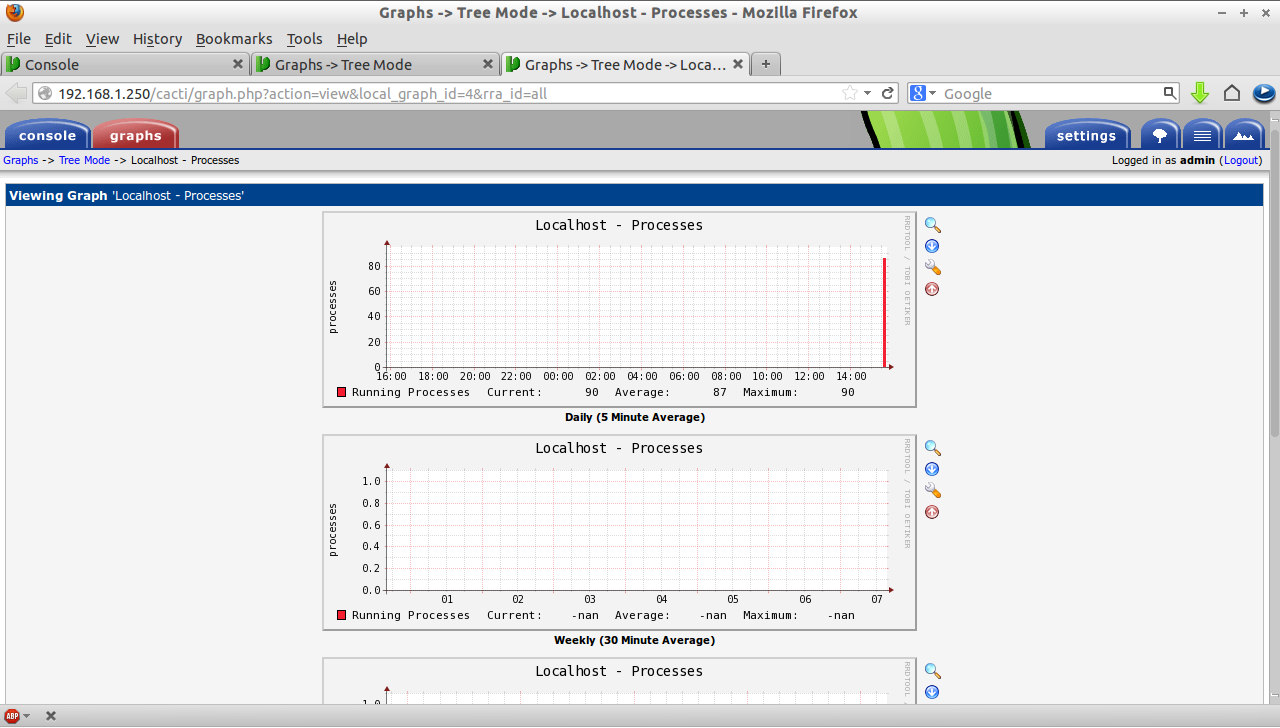
After creating the graphs, you can preview them using graphs tab on the menu bar. Here are some of my localhost Cacti screen-shots.
Localhost – Memory Usage Graph
Localhost – Disk space Graph
Localhost – Load Average Graph
Localhost – Logged in users Graph
Localhost – Processes Graph
Thats it. Happy Monitoring!!!


