If you need to make an analysis of logs, note that there is an open source tool called Graylog which can collect, index and analyze structured and unstructured data from various sources.
Graylog is a fully integrated open source log management platform for collecting, indexing, and analyzing both structured and unstructured data from almost any source.
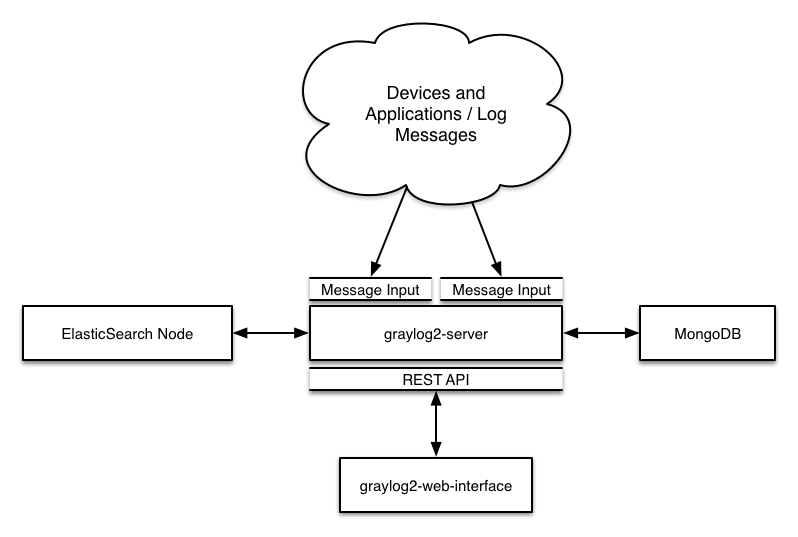
Working with MongoDB for the metadata’s management and with ElasticSearch for storing logs and searching text, Graylog can help you to better understand the use made within your applications, improve their security, and reduce costs.
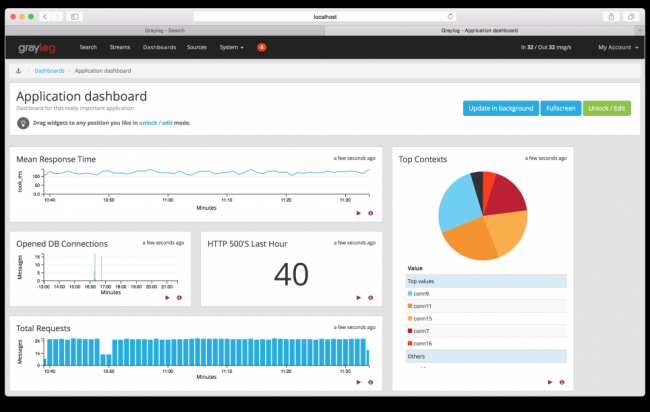
So Graylog indexes all events existing in your logs, it enables you to make research of all of them, sends you alerts based on keywords that you defined, give you a clear dashboard.
This is an interesting, simple solution and easy to test since there is an available virtual machine.
On this tutorial, we will try to install and GrayLog.
Install GrayLog
The easiest way to get started with a production ready Graylog setup is using our official virtual machine appliances.
This is a minimum Graylog setup that can be used for smaller, non-critical, or test setups. None of the components is redundant but it is easy and quick to setup.
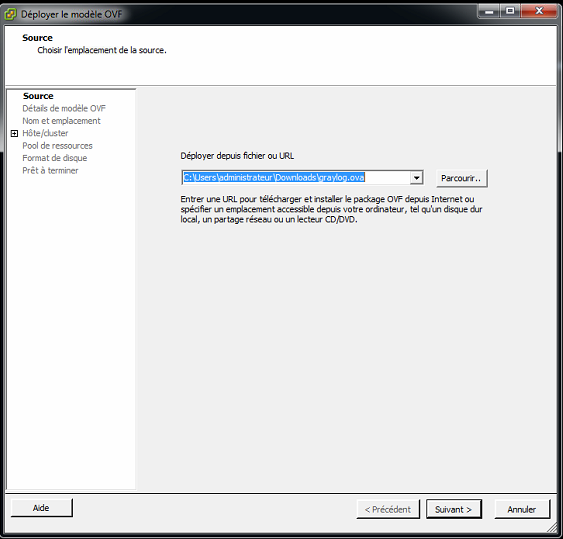
First of all, you need to download the OVA file from this link.
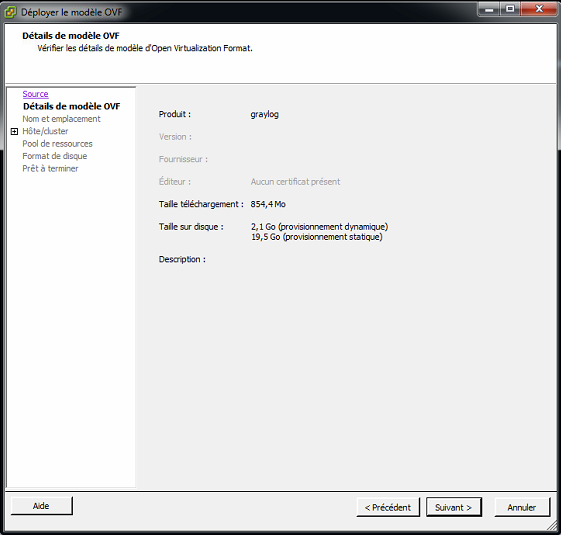
The second step is to deploy GrayLog appliance on a VMware vSphere™ environment.
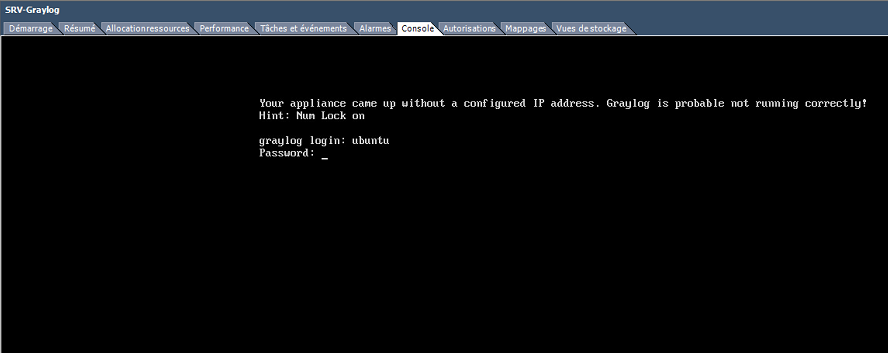
After running the vm , you need to log in and modify somes configuration like network setting , admin password etc.
Configuring the appliance
The great thing about the new appliances is the
tool that we are shipping with them. We want you to get started with a customized setup as soon as quickly as possible so you can now do things like:
Change the password of the Web interface Admin
The default login and password for the admin web interface is admin and admin. If you want to change it you need to run the following command:
graylog-ctl set-admin-password <password>
Assign a static IP
Per default the appliance make use of DHCP to setup the network. If you want to access Graylog under a static IP you can edit the file /etc/network/interfaces like this (just the important lines):
auto eth0
  iface eth0 inet static
  address <static IP address>
  netmask <netmask>
  gateway <default gateway>
  pre-up sleep 2
Activate the new IP and reconfigure Graylog to make use of it:
$ sudo ifdown eth0 && sudo ifup eth0
$ sudo graylog-ctl reconfigure
Setting up the email configuration
If you want to get alerts from GrayLog, you need to set the email config using this command.
graylog-ctl set-email-config <smtp server> [--port=<smtp port> --user=<username> --password=<password>]
graylog-ctl set-timezone <zone acronym>
After any change you need to reconfigure Graylog to make use of it:
sudo graylog-ctl reconfigure
Wait some time until all services are restarted and running again. Afterwards you should be able to access Graylog with the new IP.
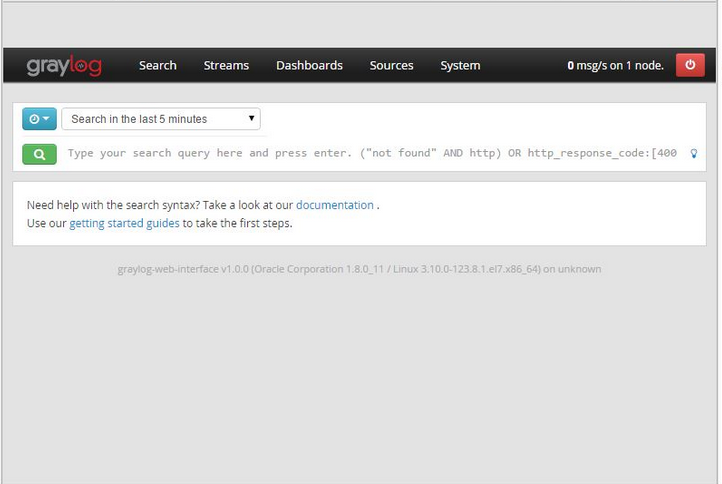
Once you logged in, you will get the following search page.
That’s all. Thank you.


