
Introduction
Linxconsole is a low resource consumer distribution for kids; the primary goal of this operating system was to turn old or semi-old computers into something more useful. This distro comes with LXDE desktop environment and a very lightweight package manager called Opkg-gui . This distributions runs fine on both old or new graphics cards computers, boots quickly and can be installed as a dual boot with Microsoft Windows operating system as well . LinuxConsole 2.4 is out now which adds more features to this distro. In this article, we will be focusing our discussion on its prominent features and installation process.
Prominent Features
Although, it might not have a long features list, but it successfully fulfills the purpose of its development. Here are some of the noteworthy features in this operating system.
- Binary compatible with many Debian packages, can run apt-get on it as well
- Support for French,English,Italian,Breton,German and Portuguese language sets
- Smart variety of games already included in the distribution
- Includes Mesa and Xorg 1.16.2
- Includes useful utilities for office and Educations purposes
Installing LinuxConsole 2.4
Installing LinuxConsole is pretty easy as well, it takes hardly 10 min to complete the install process. Here are two ways you can initiate the installation process for this OS.
Download the ISO file for latest release and burn it to DVD/USB drive and boot your system using this DVD/USB
Create a new Virtual Machine on your current operating system using Oracle Virtual Box and boot newly created Virtual Machine using ISO of LinuxConsole.
Whichever option you choose, here is the very first screen you see when you boot your system using LinuxConsole.
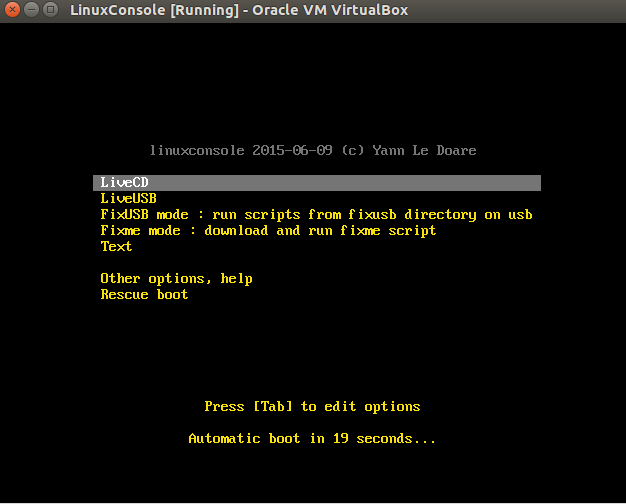
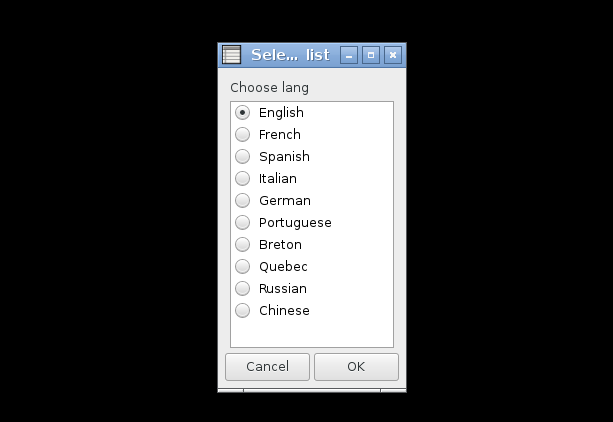
Choose the very first option and hit “Enter” to proceed further. Select your preferred language for this distro from here and Hit “Ok” once done.
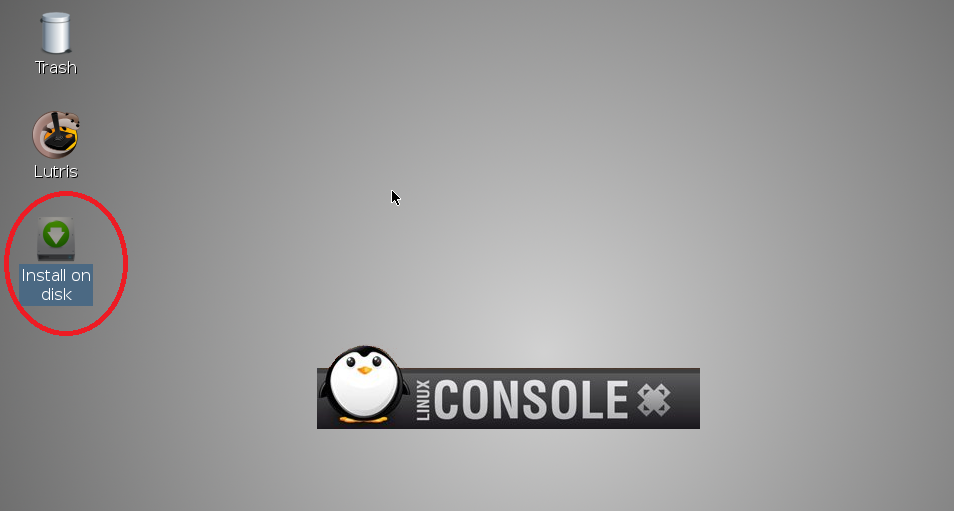
It will take you to Live Desktop , from here click “Install to Disk” link as shown encircled in the following screenshot.
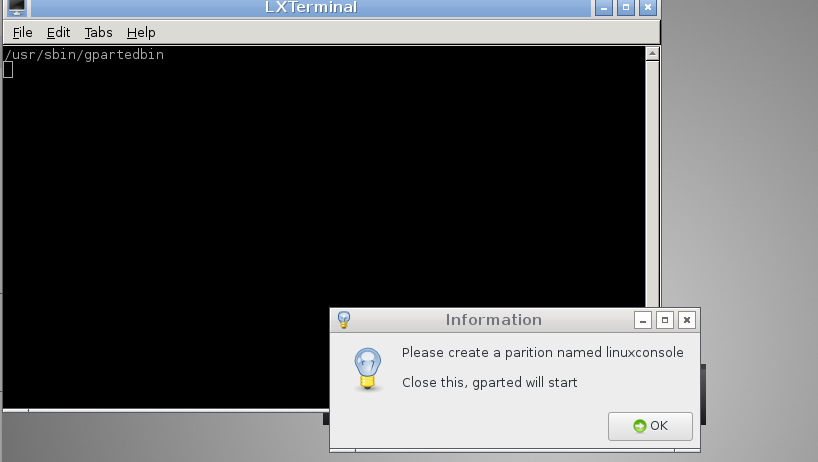
The installation process will start now, At very first stage it will ask you to create a partition with label “linuxconsole”, simply click “ok”, it will close this window and will launch Gparted utility for creation of disk partition.
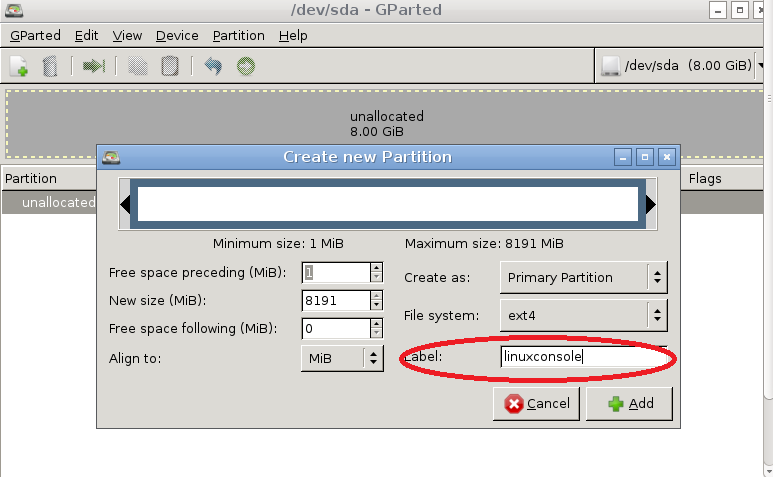
Once Gparted is launched, click Device >> Add New partition, from here specify Partition size and partition label as “linuxconsole” as instructed before.
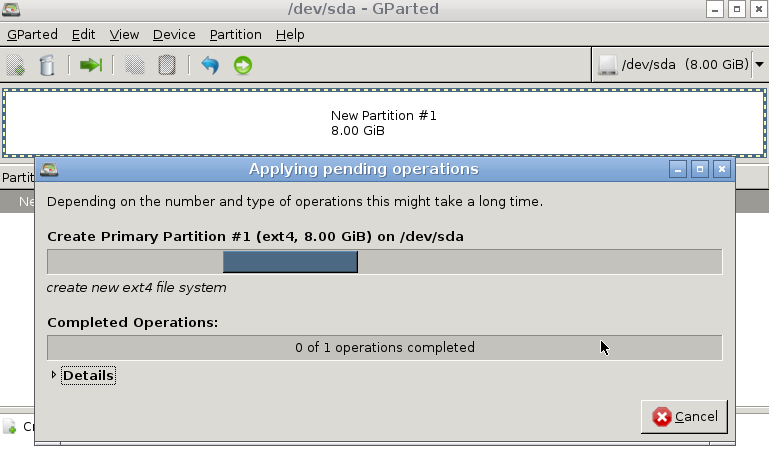
Click “Apply” button in Gparted and it will start creating the partition. The Process shouldn’t take more than couple of min.
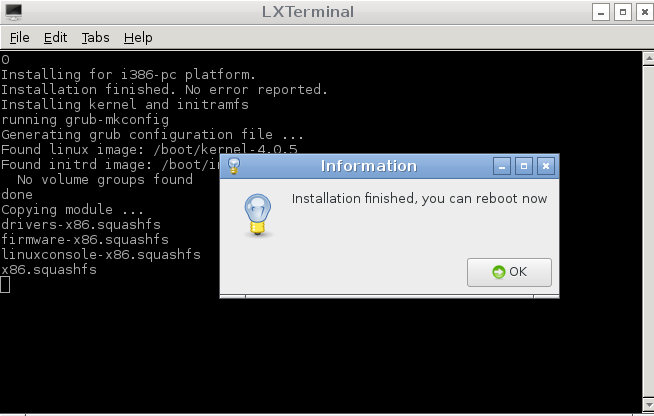
As soon as partition is created, gparted will be closed and you will see that installation process for this distro is proceeding further on console window.

Just wait for couple of min and it will ask you to Reboot your system to complete installation.
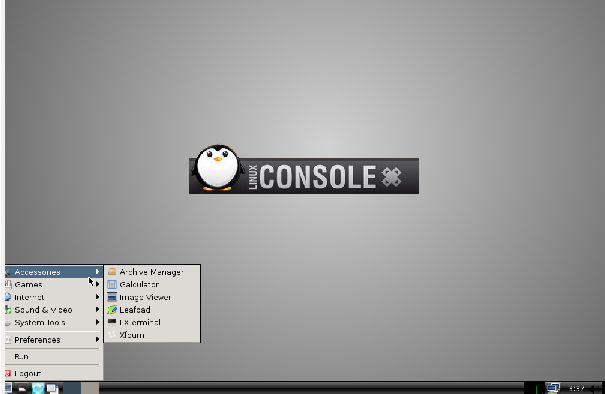
That’s all, your operating system has been installed, start using this lightweight distro.
Conclusion
LinuxConsole 2.4 is one tiny useful distribution, Kids can use such operating system for educational and gaming purposes. It’s not resource hungry operating system, even 128 MB memory systems can run it fine.
Additional Note: This operating system is available in 32bit currently, although 64-bit version is also available for download, but it is in Beta stage yet.


