About NConf
NConf is a PHP based web-tool for configuring the Nagios monitoring software. It differs from similar tools by offering enterprise-class features like templates, service to hostgroup assignment, dependencies and the ability to configure a large-scale, distributed Nagios server topology.
If you still didn’t install Nagios Core , check the following articles.
- Install and Configure Nagios On CentOS, RHEL, Scientific Linux 6.5/6.4
- Install and configure Nagios 4 In CentOS 7
- Install and configure Nagios 4 in Ubuntu 15.04
This guide will help you get started with NConf. It begins with an overview of NConf & Nagios, how to install NConf and shows you how to setup.
Features
The main NConf features include:
- effortlessly maintain a distributed Nagios topology
- user-friendly web-GUI based on jQuery
- host & service templates
- service to hostgroup assignment
- host- & service-dependencies, auto-generated service dependencies
- graphical parent/child relationship viewer
- multiple authentication modes (LDAP, AD, SQL, local)
- deployment mechanism supports multiple protocols (SCP, rsync, HTTPs, local)
- Nagios config import
- CSV file import / export
- Perl database API
- data schema customizable and extendable via the GUI
- runs on Linux / Apache / PHP / MySQL
Requirements
-
Apache webserver
-
PHP 5.x or higher, php-mysql, php-ldap (only if using LDAP auth)
-
MySQL 5.0.2 or higher (with InnoDB!)
-
Perl 5.6 or higher, perl-DBI, perl-DBD-MySQL
-
Nagios 3.x or Icinga 0.8x (binary required to run syntax checks)
To install those requirements under centos you can use this command:
yum install mysql-server perl-DBI perl-DBD-MySQL php-mysql sudo -y
php.ini settings:
-
short_open_tag = On
-
register_globals = Off
-
magic_quotes_gpc = Off
Compatibility:
NConf has been tested on Red Hat, Fedora and CentOS Linux.
It has not been tested on Windows or any UNIX, nor with SELinux.
Let’s start.
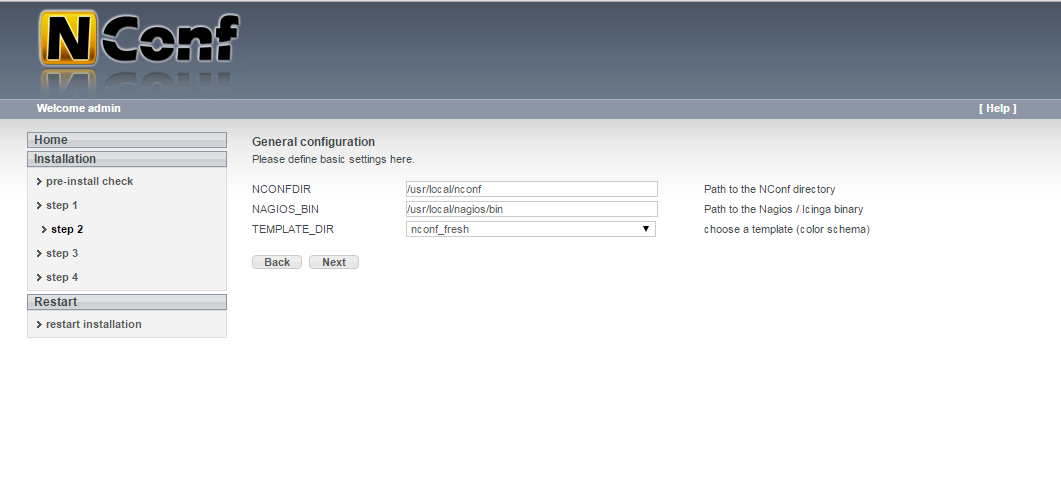
NConf Installation
First step to do is to download the NConf archive from this link. Upload it onto a webserver of your choice.
Upload the uncompressed archive to your server and uncompress it there using this command
tar-zxvf nconf-VERSION.tgz
mv nconf-VERSION/* <span class="crayon-o">/</span><span class="crayon-v">usr</span><span class="crayon-o">/</span><span class="crayon-v">local</span><span class="crayon-o">/</span><span class="crayon-v">nagios</span><span class="crayon-o">/</span><span class="crayon-v">share</span><span class="crayon-o">/</span><span class="crayon-v">nconf</span>
Give permission to the webserver user on nconf folder
chown -R apache:apache /usr/local/nagios/share/nconf
chmod 775 /usr/local/nagios/share/nconf/bin/*
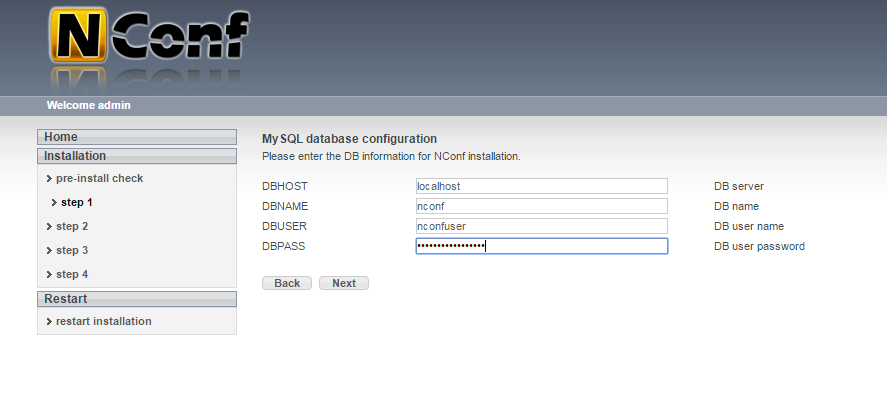
Database and MySQL user creation for NConf
You need to have the password of the MySQL root user.
Log into MySQL:
mysql -u root -p
After successful authenticated, you need to create the database for the Typo3 Website.
CREATE DATABASE nconf;
The database Name is typo. You will need this information later.
Now, you should create the database administrator.
CREATE USER nconfadmin@localhost IDENTIFIED BY 'nconfpassword';
Next, you need to give this user permissions to administer the database you created.
GRANT ALL PRIVILEGES ON typo.* TO nconfadmin@localhost;
You need to flush the privilege information to disk to activate the new MySQL user:
FLUSH PRIVILEGES;
exit
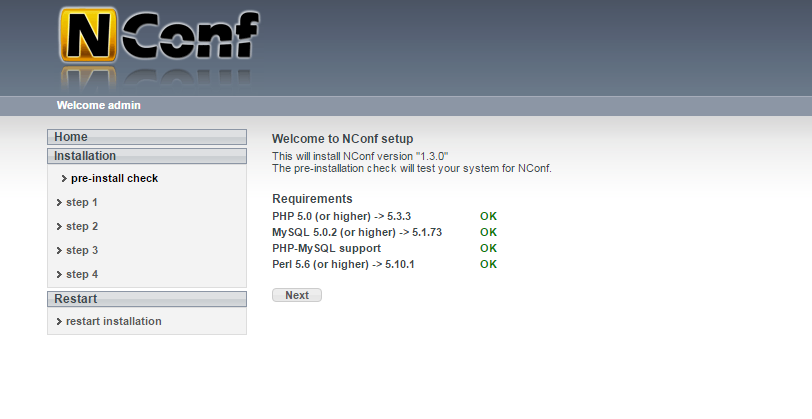
NConf Web Installation
After finished the database creation , you need to restart your webserver using this command.
service httpd restart

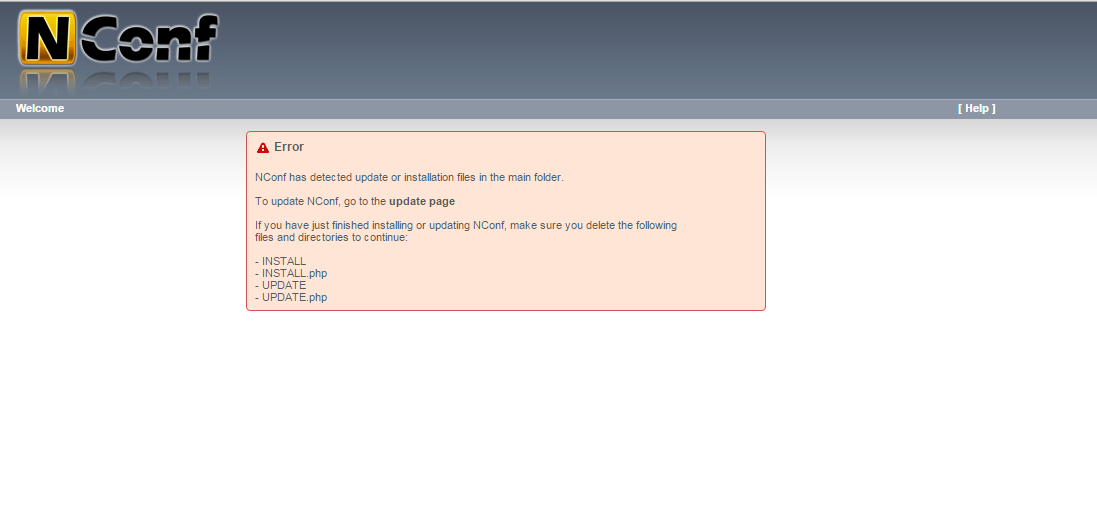
- INSTALL
- INSTALL.php
- UPDATE
- UPDATE.php
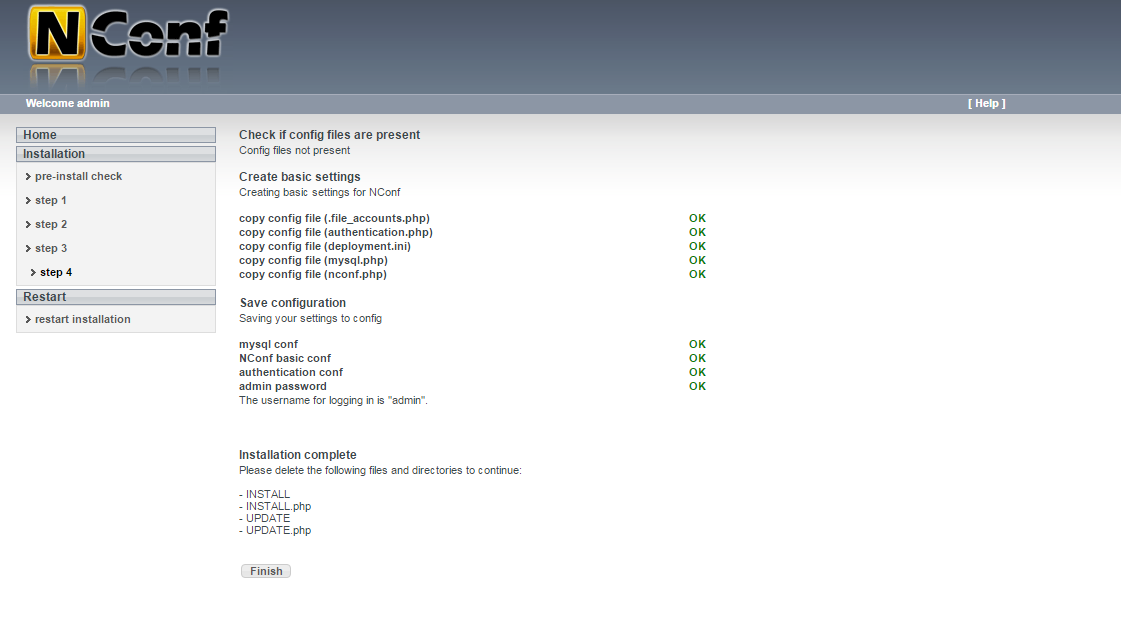
Else you will get this error.
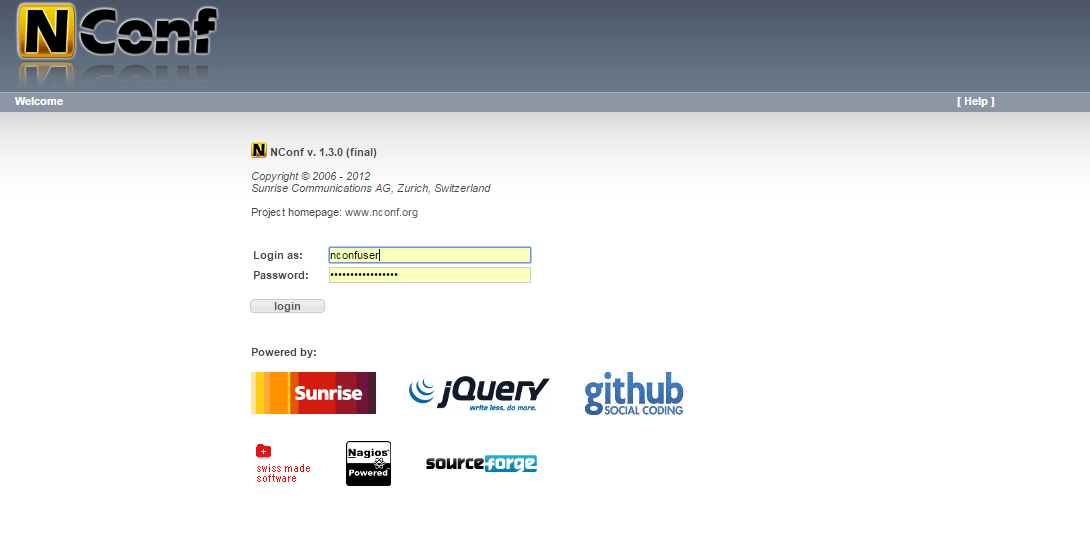
The final step is to log under Nconf using your logins inforamtions.
That’s all for this artilce. For more information about using Nconf please visit http://www.nconf.org.
Thanks.


