Scanning and identifying vulnerabilities on our Linux machine is the most important step in our way to protect and secure our private data. In this article I will teach you how to install, configure and start Nessus on Ubuntu. Do you want to learn about what vulnerabilities your target is susceptible to? Then read this article and learn about Nessus.
What is Nessus?
Nessus is a vulnerability scanner which is very easy to deploy. It has more than ten million downloads and is offered in 1-, 2-, or 3-year subscriptions, as well as in bundled solutions. Do you want to perform security checks on your network? With the largest collection of network security checks Nessus will be your best friend in identifying hosts and vulnerability identifying in your network. Some features of the Nessus tools are listed below. A very good thing to mention is the fact that Nessus comes in two flavors, Home and Professional. The Home Feed is for personal usage and it does the job in a non professional environment. Professional Feed includes additional features and it is for commercial usage.
– Broad Asset Coverage & Profiling
– Mobile Device Auditing
– Botnet / Malicious Process / Anti-virus (AV) Auditing
– Patch Management Integration
– Sensitive Content Auditing
– SCADA / Control Systems Auditing
Before you install and configure Nessus you have to download it for your operating system. Grab it here. Since this article is about installing and configuring Nessus on Ubuntu I will select Linux as my operating system and under Linux I will select Ubuntu. Figure 1 shows the deb package I downloaded. You can right click on this deb file and click on “Open With Ubuntu Software Center”. Then, once you are in the Ubuntu Software Center click Install. After the installation we need to configure Nessus so we can use it.
Figure 1
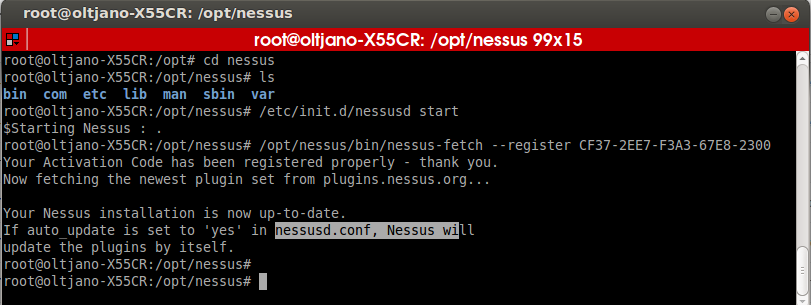
Ok, now that you have installed Nessus, it is time to start it. Open a new terminal. You can you can run Nessus by typing “/etc/init.d/nessusd start”. Since I am utilizing the Home Feed I need valid license for it.
Enable your Nessus install by executing the command shown in Figure 2.
Figure 2
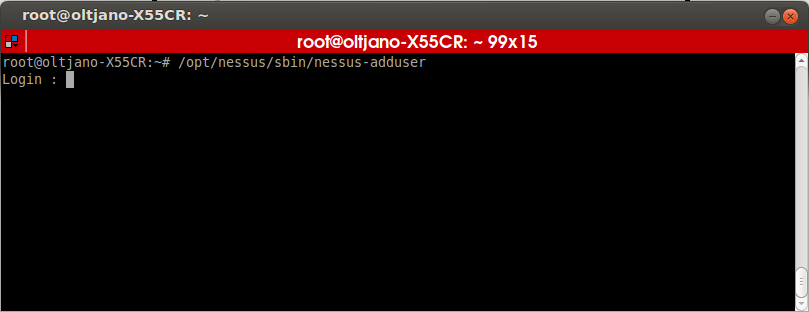
Now it is time to add a user, enter the command shown in Figure 3.
Figure 3
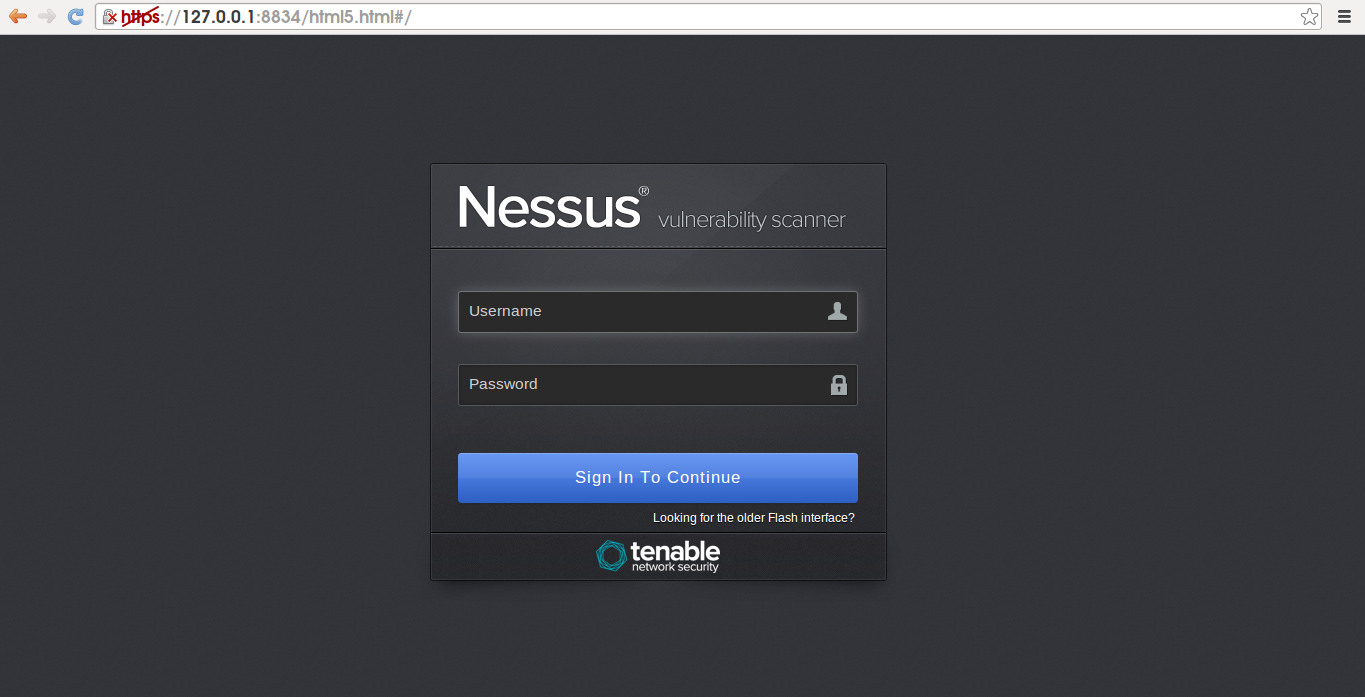
At the login prompt shown in Figure 3 enter the username of the user you want to add and after you have entered the password twice answer as y (yes) to make this user an administrator. Once complete run Nessus by typing “/etc/init.d/nessusd start” command and log in to Nessus at https://127.0.0.1:8834.
Happy Vulnerability Hunting!


