
OpenLiteSpeed is a free and open source HTTP server developed by LiteSpeed Technologie. OpenLiteSpeed is a high-performance, lightweight application gives the ability to free download, use, distribute, and modify its source code under the conditions of the third version of the GNU General Public License. It supports Apache rewrites rules via the Admin page and it is used to manage and serve sites.
In this article we will explain how to install and configure OpenLiteSpeed on an Ubuntu server.
OpenLiteSpeed features
OpenLiteSpeed has a large set of features where we can list the following ones:
- It is characterized by its high performance coding using kqueue (FreeBSD and OS X), epoll (Linux), /dev/poll (Solaris), and poll.
- and event-driven architecture with extremely low resource (CPU and RAM) overhead
- It is a support light weight with a minimal CPU and memory footprint
- It is compatible to Apache rewrite rules
- It is also characterized by WebAdmin GUI with real-time statistics and High-performance page caching.
- It has an easy virtual host configuration via templates
Before starting the installation, it is required to have a non-root user account configured on your server and complete with “sudo” privileges.
Installation of OpenLiteSpeed
We will start our installation by updating the local package index file and by installing all the needed components. So use the following command to update the file:
sudo apt-get update
And this command to install the needed components which will be used to compile the software:
sudo apt-get install build-essential libexpat1-dev libgeoip-dev libpng-dev libpcre3-dev libssl-dev libxml2-dev rcs zlib1g-dev
Now we will install the OpenLiteSpeed from its official website (http://open.litespeedtech.com/mediawiki/index.php/Downloads) it is recommended to install the version 1.3.10 to make its installation using this article. Copy the link address which will be used in the following commands to make the installation with the “wget” command:
cd ~
wget http://open.litespeedtech.com/packages/openlitespeed-1.3.10.tgz
After making the download extract the file and move to its directory using the following commands:
tar xzvf openlitespeed*
cd openlitespeed*
Then use the following command to configure the software and to compile it:
sudo ./configure
sudo make
And to start the installation of this software into your system use the following command:
sudo make install
You can find it under the /usr/local/lsws directory.
Now we will need the MySQL database to be able to store data. So if you haven’t an installed MySQL you can use the following instructions. You can make the installation of the MySQL database management system from the Ubuntu’s repositories using the following command:
sudo apt-get install mysql-server
Then, enter an administrative password while making the installation and initialize the MySQL directory structure using the following command:
sudo mysql_install_db
sudo mysql_secure_installation
After typing those commands, enter your made administrative password, you will have also the possibility to change or to keep the same password. Then press “enter” to accept the default suggestions.
Now we will start the web server. We will start by changing the administrative password using the following command:
sudo /usr/local/lsws/admin/misc/admpass.sh
By default, the “admin” username will be chosen and if you want you can change. After changing the password and the username use the following command to start the web server:
sudo service lsws start
Then access to the default web page by navigating to your domain name or IP address using the following command:
http://your_server_domain_or _your_IP:8088
After discovering and surfing through this site, we will move to the administrative interface using the following command:
https://your_server_domain_or_your_IP:7080
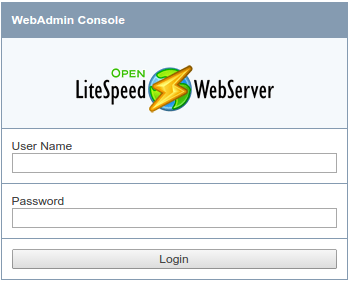
You will be informed that the SSL from the server can’t be validated, which is a self-signed certificate. Click through the available options to proceed to the site. You will be asked to enter the administrative name and password already done with the “admpass.sh”.
After the authentication you will be in front of the OpenLiteSpeed administration interface.
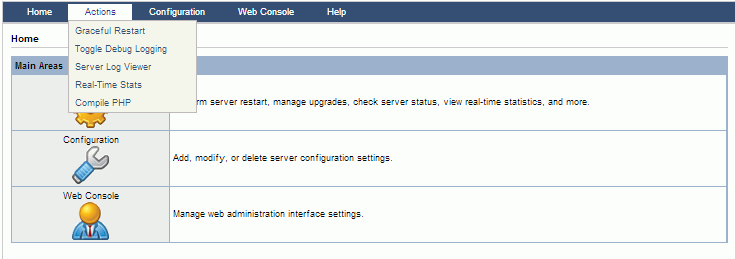
Now we will change the port from the one used by the default site “8088” to the conventional port “80”. So we will do as follow:
- Under the “Configuration” menu item in the menu bar select the “listeners”.
- Under the “listeners” click on the “View/Edit” button.
- Click the edit button in the top-right corner of the “Address Settings” table and change the port “8088” to the port “80” then click “save”.
To restart the server, under the “Actions” menu select “Graceful Restart”.
Everything associated with OpenLiteSpeed can be found under the following directory.
/usr/local/lsws
If you want to stop the OpenLiteSpeed use the following command:
/usr/local/lsws/bin/lswsctrl stop
And if you aren’t satisfied and want to remove completely the installed directory use the following command:
rm -rf /usr/local/lsws
So you will lose nothing give it a try and discover this tool.
Conclusion
In this article, we gave you the instructions to fellow for installing the OpenLiteSpeed application and also MySQL database management system in an Ubuntu server. The OpenLiteSpeed is a great performance interface used to manage and serve site.


