
About Poweradmin
Poweradmin is a free, web-based PowerDNS administration tool. Using this tool, anyone, even a novice user, can easily manage PowerDNS. Poweradmin allows us to easily define Zone files and record types. The current version of Poweradmin is adapted from a very old version of Poweradmin that was originally written by Jorn Ekkelenkamp and Roeland Nieuwenhuis. The current version has extended enhancements, feature and performance improvements.
Poweradmin is released under GPL, and it supports GNU/Linux, Windows, and Mac OS X.
Features
The following are the list notable features of Poweradmin.
- Full support for all zone types: master, native or slave.
- Full support for supermasters, for automatic provisioning of slave zones.
- Full support for A, AAAA, CNAME, HINFO, MX, NS, PTR, SOA, SRV and TXT record types.
- Multi-language support.
- Support for larger databases.
- Support for custom layouts.
- Enhanced user and permission management setup. It now allows for fine-grained control of the permissions a user has, using “permission templates”, assigned to users.
- Full support for IPv6.
- And many.
Install Poweradmin
In this tutorial, let us see how to install Poweradmin in DEB and RPM based systems.
Install Poweradmin On RPM based systems:
First, make sure you have installed PowerDNS on your system.
After installing PowerDNS, install the following prerequisites.
yum install httpd php php-mcrypt php-pdo php-mysql wget
Start httpd service and make it to start automatically on every reboot.
service httpd start
chkconfig httpd on
Next, edit /etc/sysconfig/iptables file,
vi /etc/sysconfig/iptables
Allow the apache web server default port ’80’ through firewall.
[...]
-A INPUT -p tcp -m state --state NEW --dport 80 -j ACCEPT
[...]
Then, restart iptables service.
service iptables restart
If you use DEB based system like Ubuntu, then follow the instructions given below.
Install Poweradmin On DEB based systems:
Check out the following link to install PowerDNS on DEB based systems.
After installing PowerDNS, install the following prerequisites.
sudo apt-get install apache2 gettext libapache2-mod-php5 php5 php5-common php5-curl php5-dev php5-gd php-pear php5-imap php5-ming php5-mysql php5-xmlrpc php5-mhash php5-mcrypt wget
Then, Install PEAR modules using command:
sudo pear install DB
sudo pear install pear/MDB2#mysql
Enable Mcrypt module with command:
sudo php5enmod mcrypt
Finally, start/restart apache service using command:
sudo service apache2 start
Download and Install Poweradmin:
Download the latest version of Poweradmin as shown below.
wget http://sourceforge.net/projects/poweradmin/files/poweradmin-2.1.7.tgz
Extract the downloaded file.
tar xvfz poweradmin-2.1.7.tgz
Move the extracted files to the apache document root as shown below.
mv poweradmin-2.1.7/ /var/www/html/poweradmin
Note: If you use Ubuntu version lower than 14.04 such as Ubuntu 13.10, 13.04, 12.04 etc., then the apache root document folder will be /var/www/.
Set the proper permission and ownership to /var/www/html/poweradmin directory.
On RPM based systems:
chown -R apache:apache /var/www/html/poweradmin/
On DEB based systems:
sudo chown -R www-data:www-data /var/www/html/poweradmin/
Finally, restart apache service to take effect the changes.
On RPM based systems:
service httpd restart
On DEB based systems:
sudo service apache2 start
Starting Poweradmin Web-based installer:
Once you completed all the above steps, open up your web browser, and type http://ip-address/poweradmin/install/ to start the web-based installation.
On RPM based systems, you might be end up with: “403 forbidden” error.
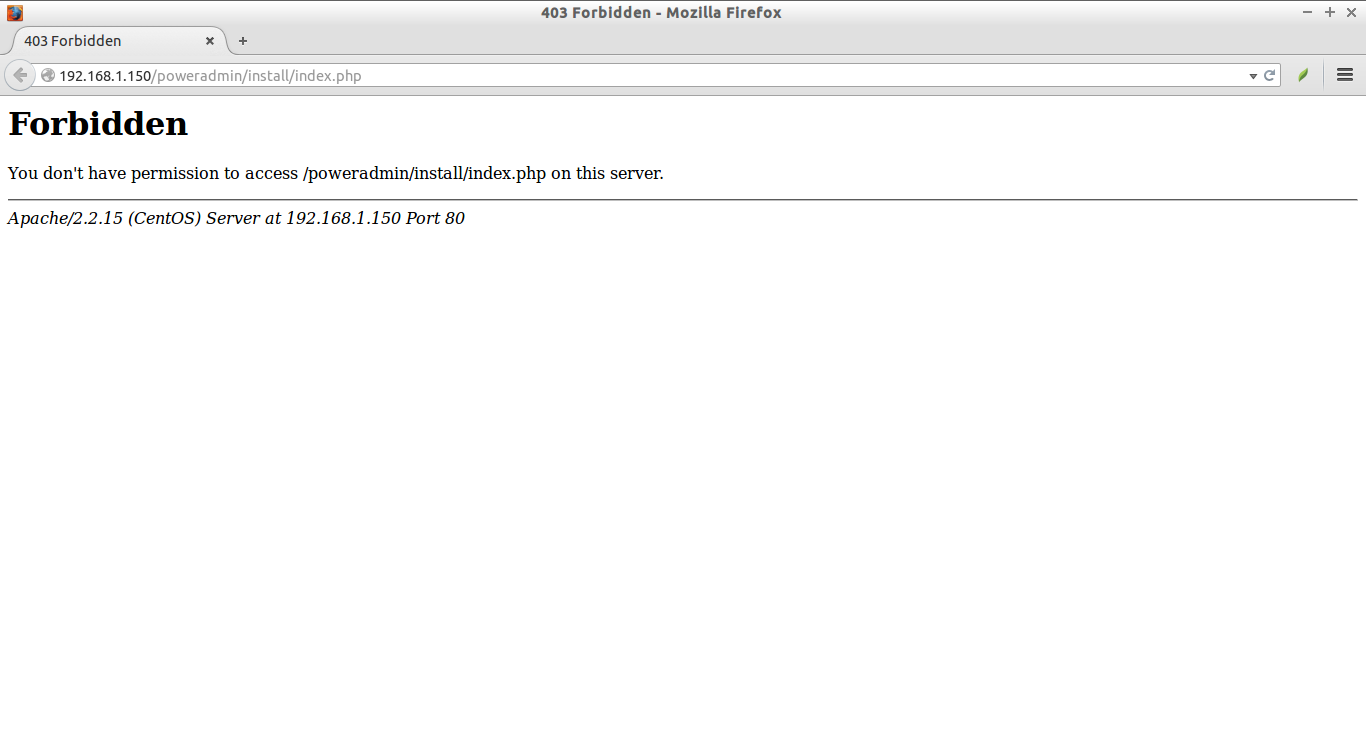
To fix this error, setup the proper SELinux policies using commands:
setsebool -P httpd_enable_homedirs true
chcon -R -t httpd_sys_content_t /var/www/html/poweradmin/
After running the above commands, refresh your web page. You should see the following screen. Select your preferred language and Click Go to step 2 button.

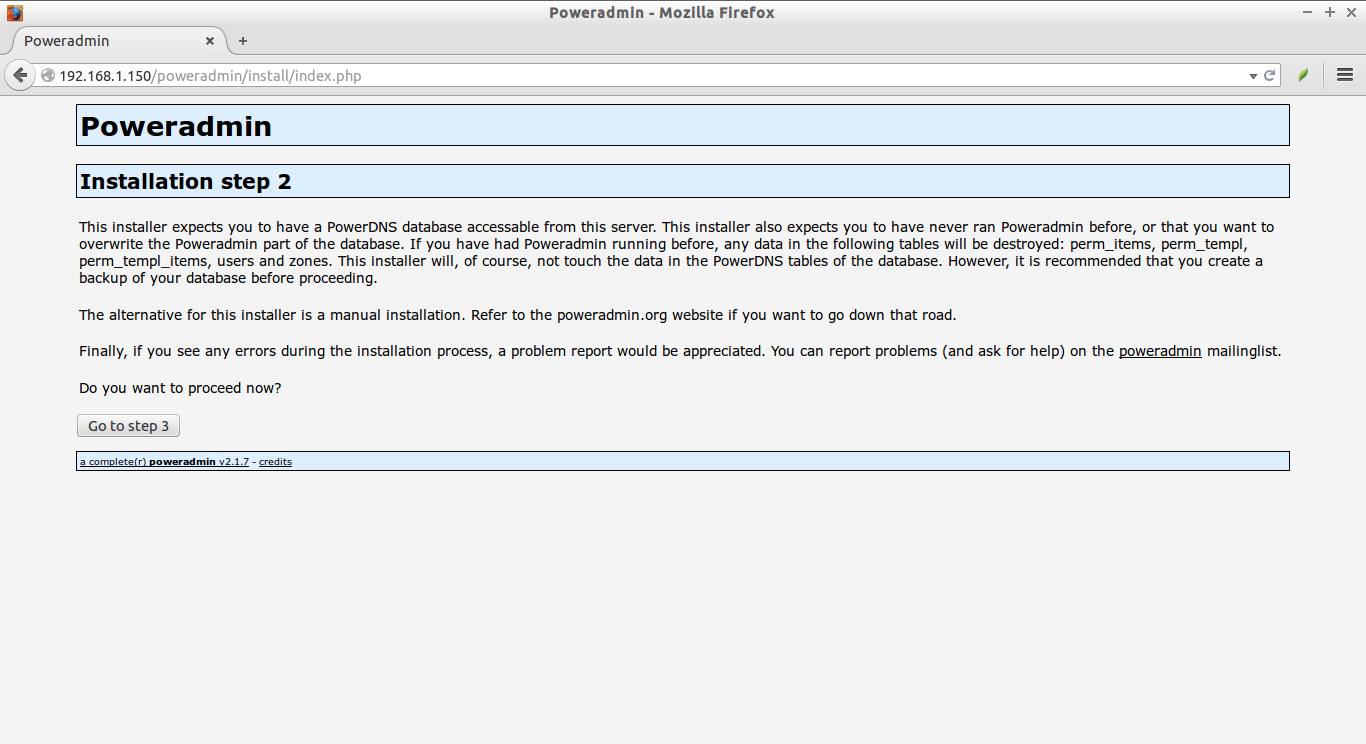
Now you should get warning message like:
“This installer expects you to have a PowerDNS database accessable from this server. This installer also expects you to have never ran Poweradmin before, or that you want to overwrite the Poweradmin part of the database. If you have had Poweradmin running before, any data in the following tables will be destroyed: perm_items, perm_templ, perm_templ_items, users and zones. This installer will, of course, not touch the data in the PowerDNS tables of the database. However, it is recommended that you create a backup of your database before proceeding.”
That means, if you have any zone files created in your PowerDNS server, plas backup them first.
Click the Go to step 3 button.
This is the important step. Keep attention. Enter the database username and password to connect to the database. As you may know, we have created the database for PowerDNS with proper permission during PowerDNS installation in our previous articles. Also, select your database type(Ex.MySQL, PostgreSQL etc). Enter the name of the PowerDNS database and the password of the Poweradmin administrator. This administrator has full rights to Poweradmin using the web interface.
Then, click Go to step 4 button.
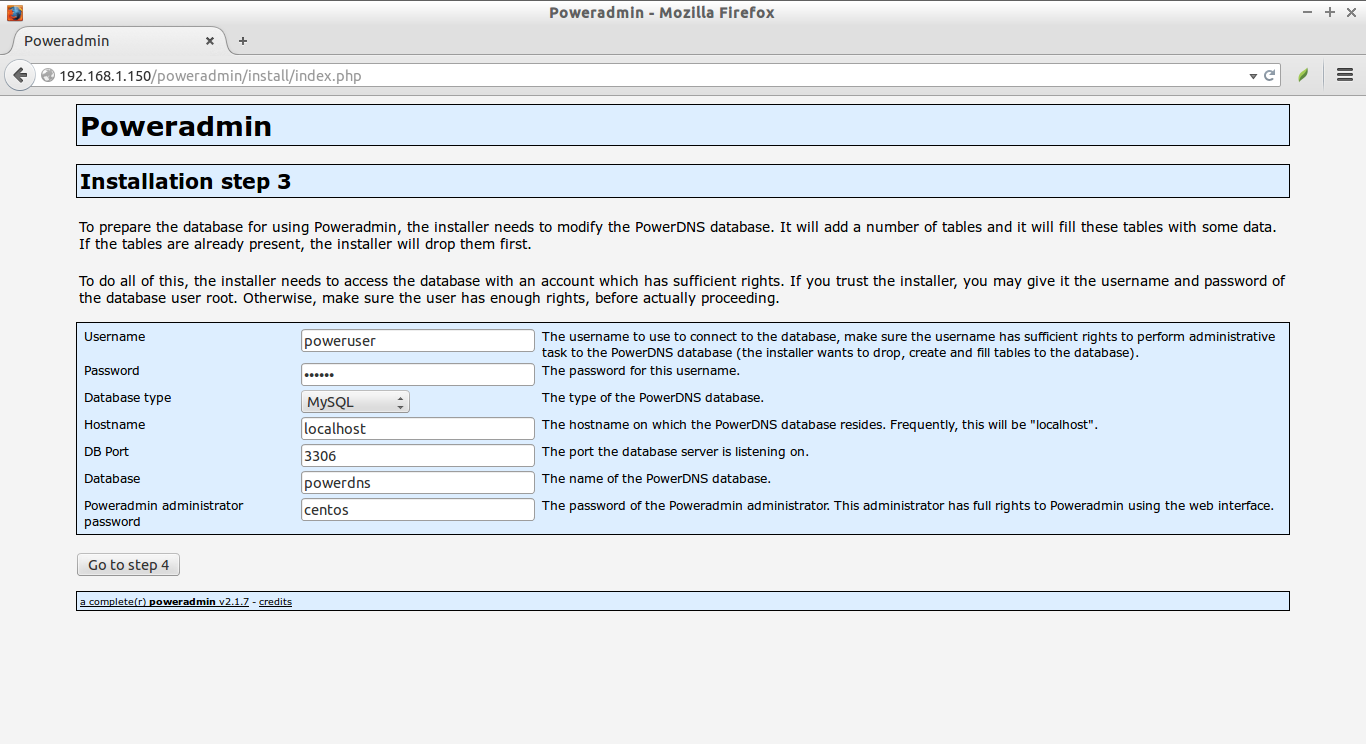
Here,
- powerdns (You can also use ‘root’ in the Username section) – The username to use to connect to the database, make sure the username has sufficient rights to perform administrative task to the PowerDNS database (the installer wants to drop, create and fill tables to the database).
- MySQL – The type of the PowerDNS database.
- localhost – The hostname on which the PowerDNS database resides. Frequently, this will be “localhost”.
- 3306 – The port the database server is listening on.
- powerdns – The name of the PowerDNS database.
If you have entered the correct values, you should see the following screen. Otherwise, make sure you have entered the correct database name, user name and password details.
Now, enter the username and password for Poweradmin. This new user will have limited rights only. Click Go to step 5 button to continue.
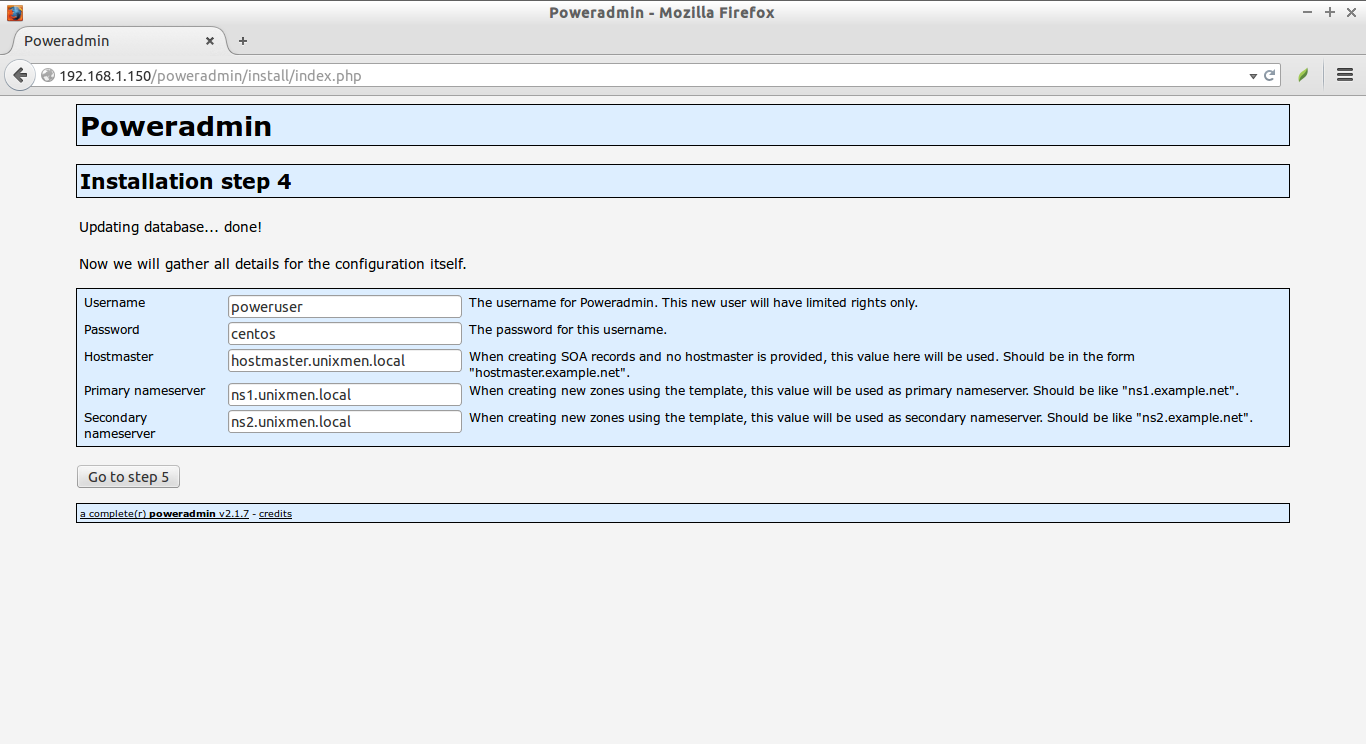
Here,
- poweruser – The username for Poweradmin.
- centos – The password for this username.
- hostmaster.unixmen.local – When creating SOA records and no hostmaster is provided, this value here will be used. Should be in the form “hostmaster.example.net”.
- ns1.unixmen.local – When creating new zones using the template, this value will be used as primary nameserver. Should be like “ns1.example.net”.
- ns2.unixmen.local – When creating new zones using the template, this value will be used as secondary nameserver. Should be like “ns2.example.net”.
Click Go to step 6 to update records in the PowerDNS database.
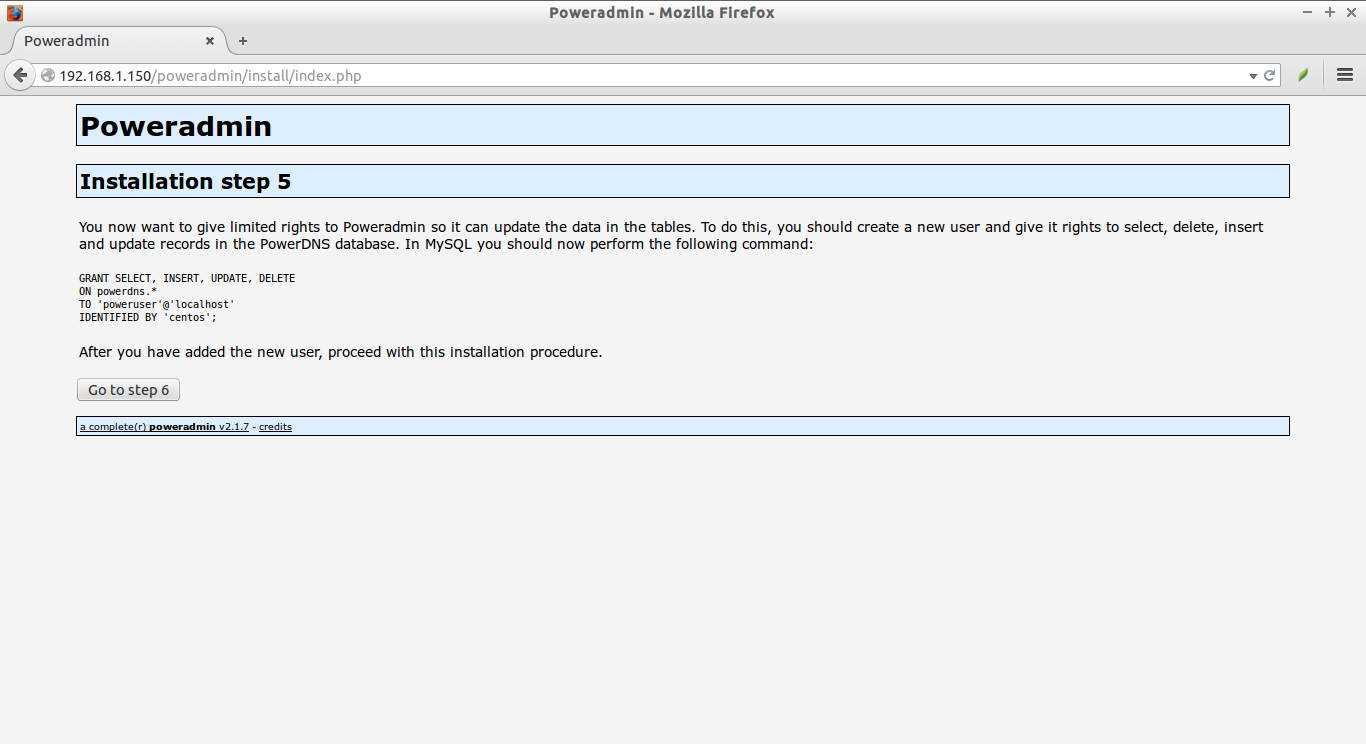
Now, the installer will ask you should now create the file “../inc/config.inc.php” in the Poweradmin root directory yourself. And update the contents of the config.inc.php file with the contents as shown in the below screen.
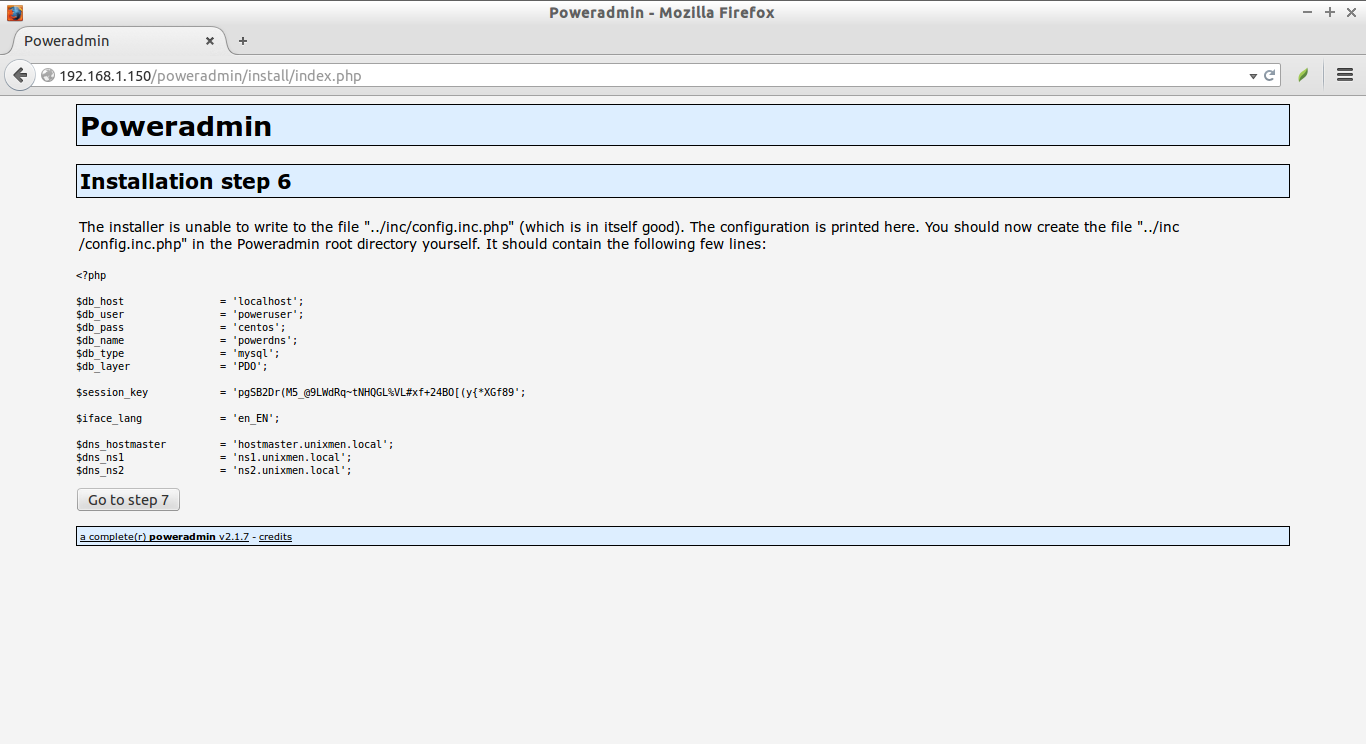
To do that, open terminal and create config.inc.php file in the Poweradmin root directory,
vi /var/www/html/poweradmin/inc/config.inc.php
Add the following lines as shown in the above screenshot.
<?php

$db_host		= 'localhost';
$db_user		= 'poweruser';
$db_pass		= 'centos';
$db_name		= 'powerdns';
$db_type		= 'mysql';
$db_layer		= 'PDO';

$session_key		= 'pgSB2Dr(M5_@9LWdRq~tNHQGL%VL#xf+24BO[(y{*XGf89';

$iface_lang		= 'en_EN';

$dns_hostmaster		= 'hostmaster.unixmen.local';
$dns_ns1		= 'ns1.unixmen.local';
$dns_ns2		= 'ns2.unixmen.local';
After creating the config.inc.php file, return back to your installation screen and click Go to step 7 button.
Done! Now we have finished the configuration.
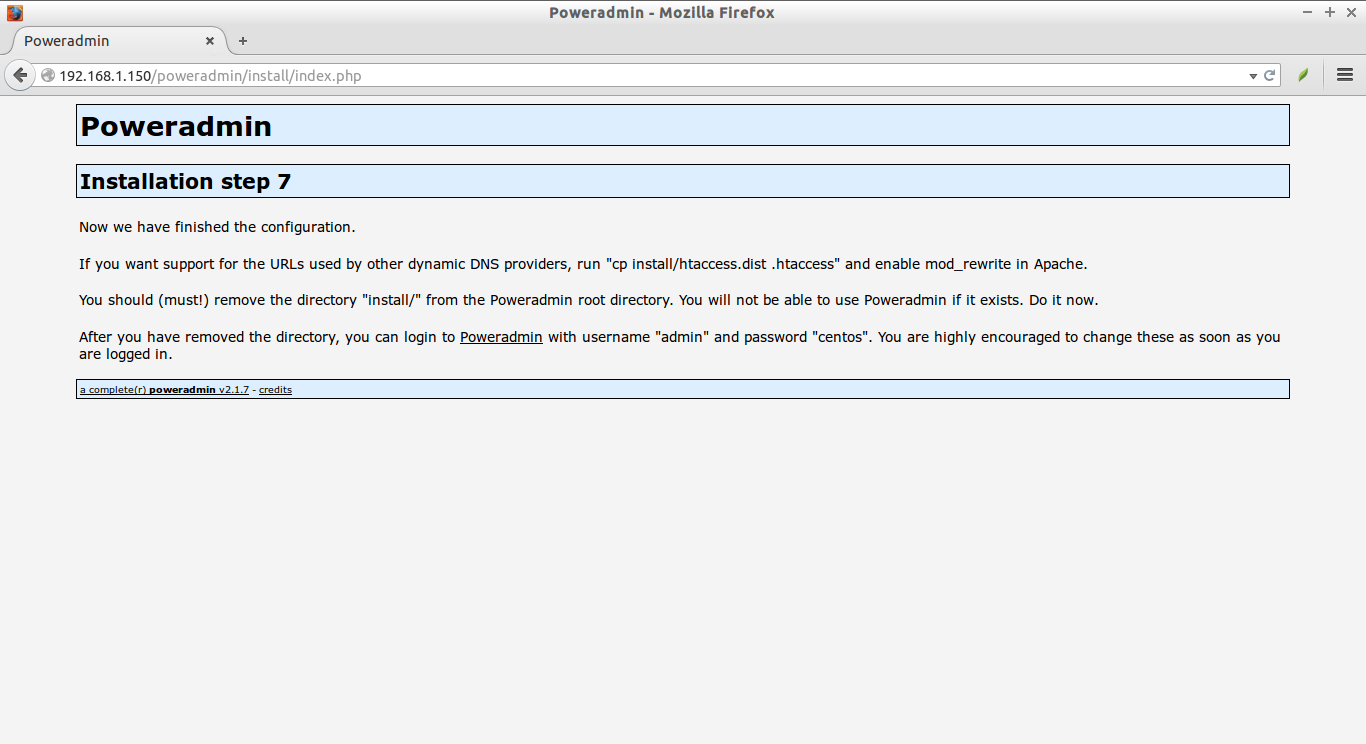
If you want support for the URLs used by other dynamic DNS providers, run “cp install/htaccess.dist .htaccess” and enable mod_rewrite in Apache.
You must remove the directory “install/” from the Poweradmin root directory. You will not be able to use Poweradmin if it exists.
rm -fr /var/www/html/poweradmin/install/
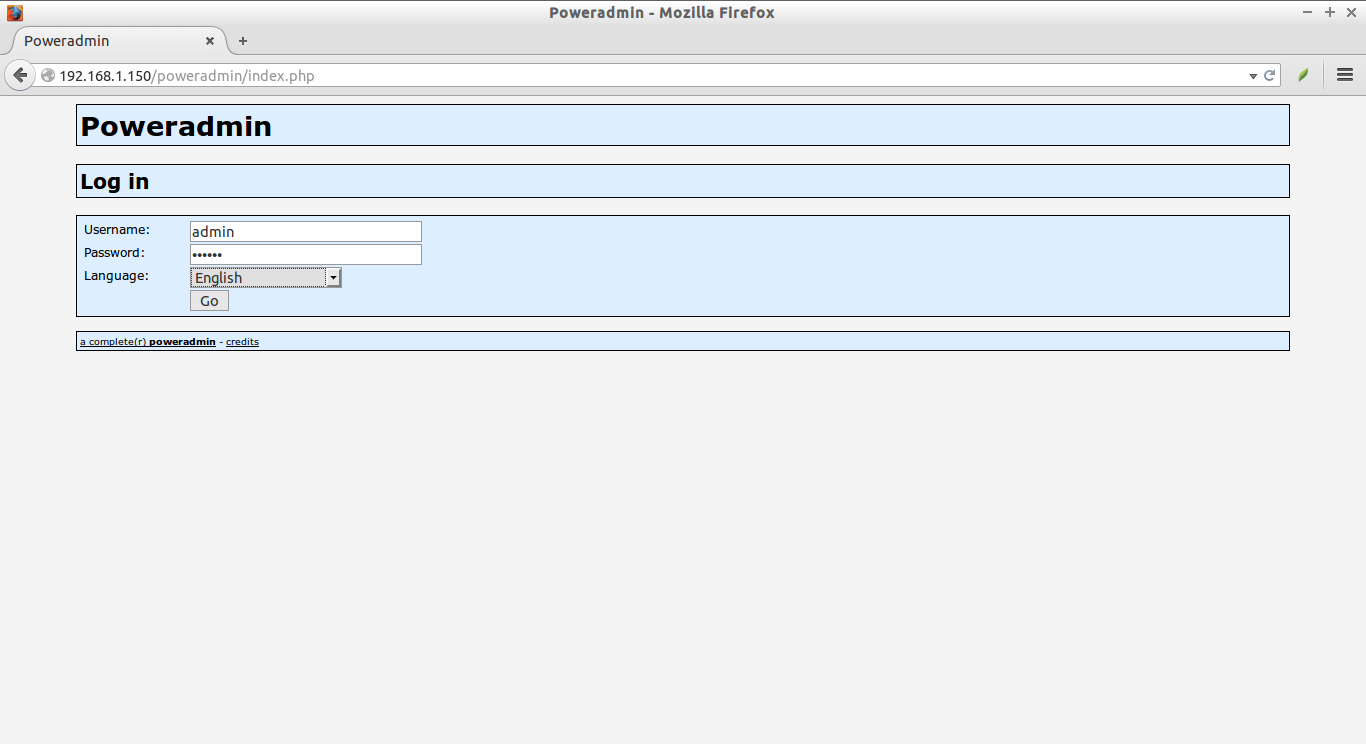
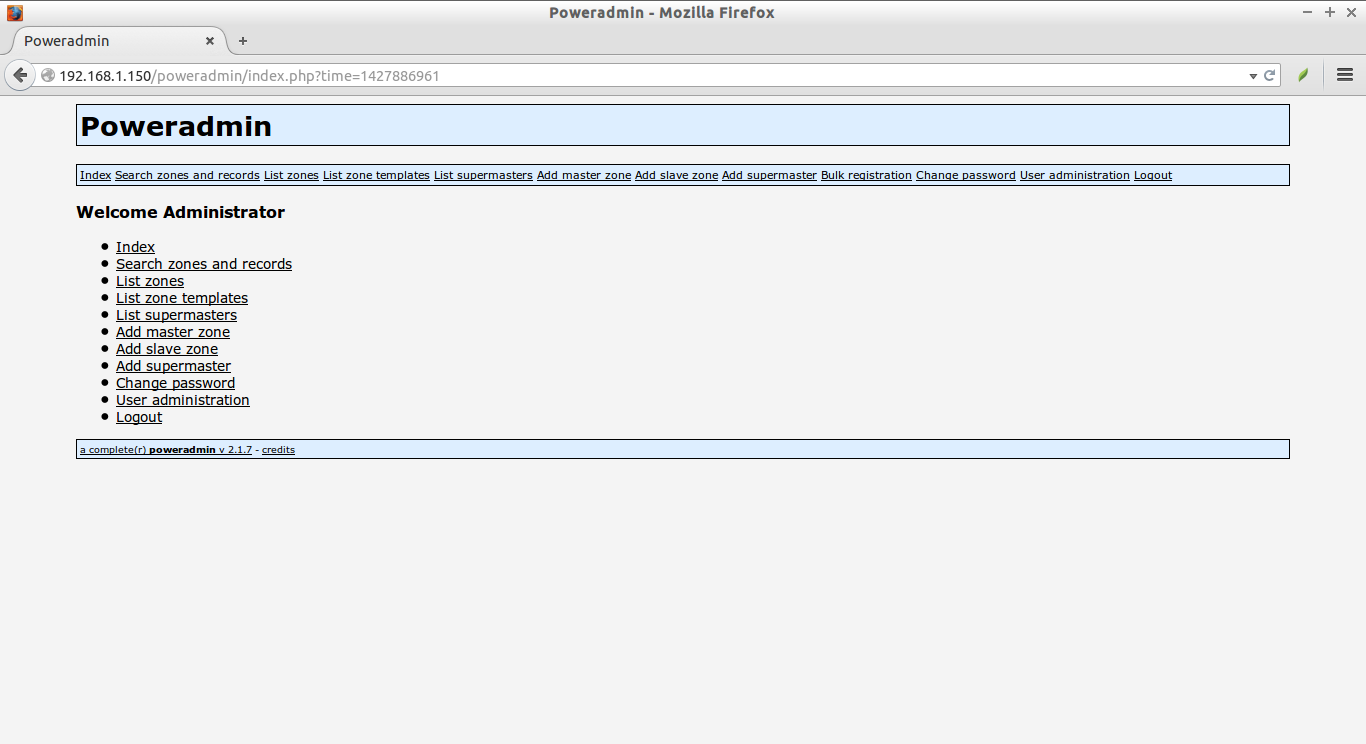
After you have removed the directory, you can login to Poweradmin web console using URL http://IP-address/poweradmin/index.php with username “admin” and password “centos”(which we created in the previous steps).
This is how my Poweradmin Dashboard looked after entering into it.
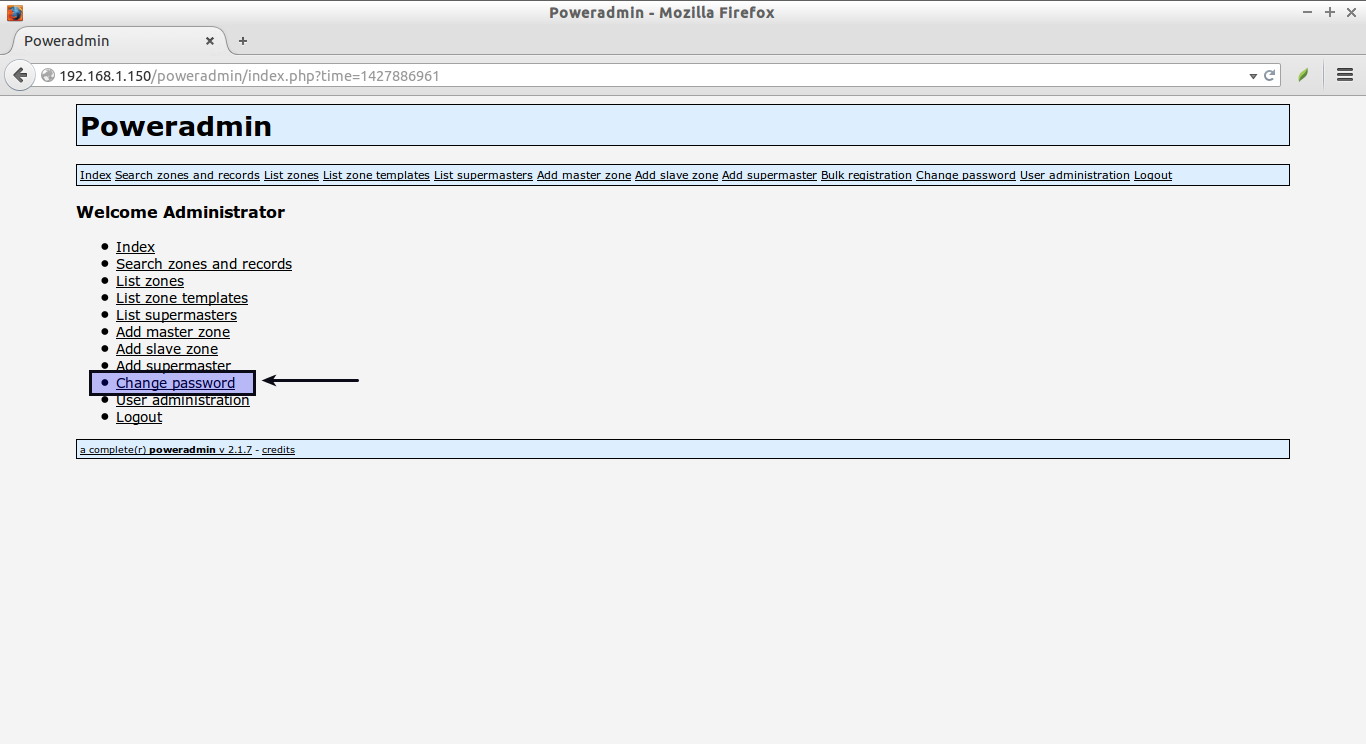
It is highly recommended to change and set a strong password for Poweradmin user.
To do that, click on the Change password link in the Dashboard.
Enter the current and new passwords twice.

Now, our Poweradmin web console has been secured.
In our next tutorial, we will see how to create Zone files using Poweradmin.
That’s it. Cheers!


