About Shinken Monitoring Framework
Shinken is an open source monitoring framework based on Nagios core. It is written using Python and is licensed under the terms of the GNU Affero General Public License. Hence, It is based on Nagios core you can use the nagios configuration and plugins without modifying or re-writing them. Shinken has no limits regarding distribution. You can scale it to your LAN, through your DMZs and even across several datacenters. Shinken is very easy compared to Nagios in terms of usage and installation. It is multi-platform, and you can easily migrate from nagios.
Features
The following are the features of Shinken.
- Ready to run monitoring packs;
- Endless scalability and RAID-like availability;
- Focus on critical business impacts only;
- Full virtualization integration;
- Keep your Nagios configuration and plugins;
- Load balancing;
- High availability;
- Multi-paltform;
- Multi sites management;
- and many.
In this guide, we will see how to install and configure Shinken on Ubuntu 14.04 system. Although, the same steps should work on Debian too.
Installation
Change to root user with command:
sudo su
Install the following required dependencies.
apt-get update
apt-get install python-pip python-pycurl python-cherrypy3 python-setuptools -y
Create a new user namely shinken.
adduser shinken
Now, run the following command to download and install Shinken.
pip install shinken
Sample output:
Downloading/unpacking shinken
  Downloading Shinken-2.2.tar.gz (27.1MB): 27.1MB downloaded
  Running setup.py (path:/tmp/pip_build_root/shinken/setup.py) egg_info for package shinken

[...]

Changing owner of /etc/shinken to shinken:shinken
    Changing owner of /var/run/shinken to shinken:shinken
    Changing owner of /var/log/shinken to shinken:shinken
    Changing owner of /var/lib/shinken/ to shinken:shinken
    Changing owner of /var/lib/shinken/libexec to shinken:shinken
    Changing owner of /usr/bin/shinken to shinken:shinken
    Changing owner of /usr/bin/shinken-receiver to shinken:shinken
    Changing owner of /usr/bin/shinken-scheduler to shinken:shinken
    Changing owner of /usr/bin/shinken-broker to shinken:shinken
    Changing owner of /usr/bin/shinken-poller to shinken:shinken
    Changing owner of /usr/bin/shinken-arbiter to shinken:shinken
    Changing owner of /usr/bin/shinken-reactionner to shinken:shinken
    Changing owner of /usr/bin/shinken-discovery to shinken:shinken
    Shinken setup done
Successfully installed shinken
Cleaning up...
Shinken has been installed now.
Change to the ‘shinken’ user and initialize shinken.
su shinken
shinken --init
Sample output:
Creating ini section paths
Creating ini section shinken.io
Saving the new configuration file /home/shinken/.shinken.ini
Now, install Shinken web user interface using command:
shinken install webui
Sample output:
Grabbing : webui
OK webui
Install Shinken identification module too.
shinken install auth-cfg-password
Sample output:
Grabbing : auth-cfg-password
OK auth-cfg-password
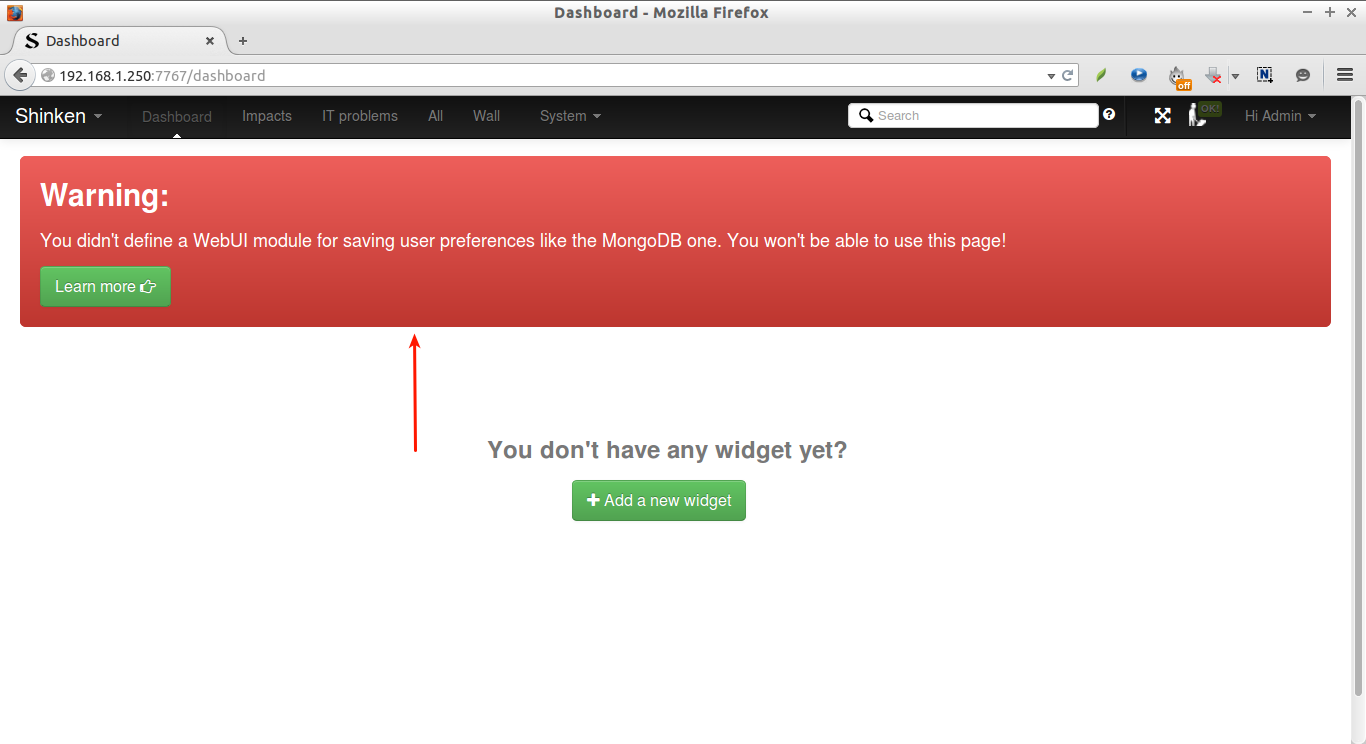
Here is an important part. We need to install a module to store user data in a database. If you didn’t install this module, you will have the following error while accessing Shinken Dashboard:
Warning:
You didn’t define a WebUI module for saving user preferences like the MongoDB one. You won’t be able to use this page!
Here, we will install sqlitedb module using command:
shinken install sqlitedb
Sample output:
Grabbing : sqlitedb
OK sqlitedb
We have finished the installation of Shinken and it’s modules now. You can find the installation and configuration files in the following locations.
- /etc/shinken for configuration files
- /var/lib/shinken for shinken modules, retention files…
- /var/log/shinken for log files
- /var/run/shinken for pid files
Next, we will see Shinken configuration.
Shinken Configuration
First we need to enable Webui by editing the broker-master.cfg file,
nano /etc/shinken/brokers/broker-master.cfg
Add the following line:
[...]
modules     webui
[...]
Edit webui.cfg file to enable authentication modules and SQLite database for the user interface.
nano /etc/shinken/modules/webui.cfg
Add the following line:
[...]
modules         auth-cfg-password,SQLitedb
[...]
Save and close the file.
Restart shinken service.
service shinken restart
Now, you’ll be able to access the Shinken webui using URL: http://ip-address:7767. The default username/password is admin/admin.
However, It is recommended to change the admin user password to something strong.
Edit the following file and change the default admin user password.
nano /etc/shinken/contacts/admin.cfg
# This is a default admin
# CHANGE ITS PASSWORD!

define contact{
    use             generic-contact
    contact_name    admin
    email           sk@unixmen.com
    pager           0600000000   ; contact phone number
    password        <put-strong-password>
    is_admin        1
    expert          1
}
Save and close the file.
Now, restart shinken service.
service shinken restart
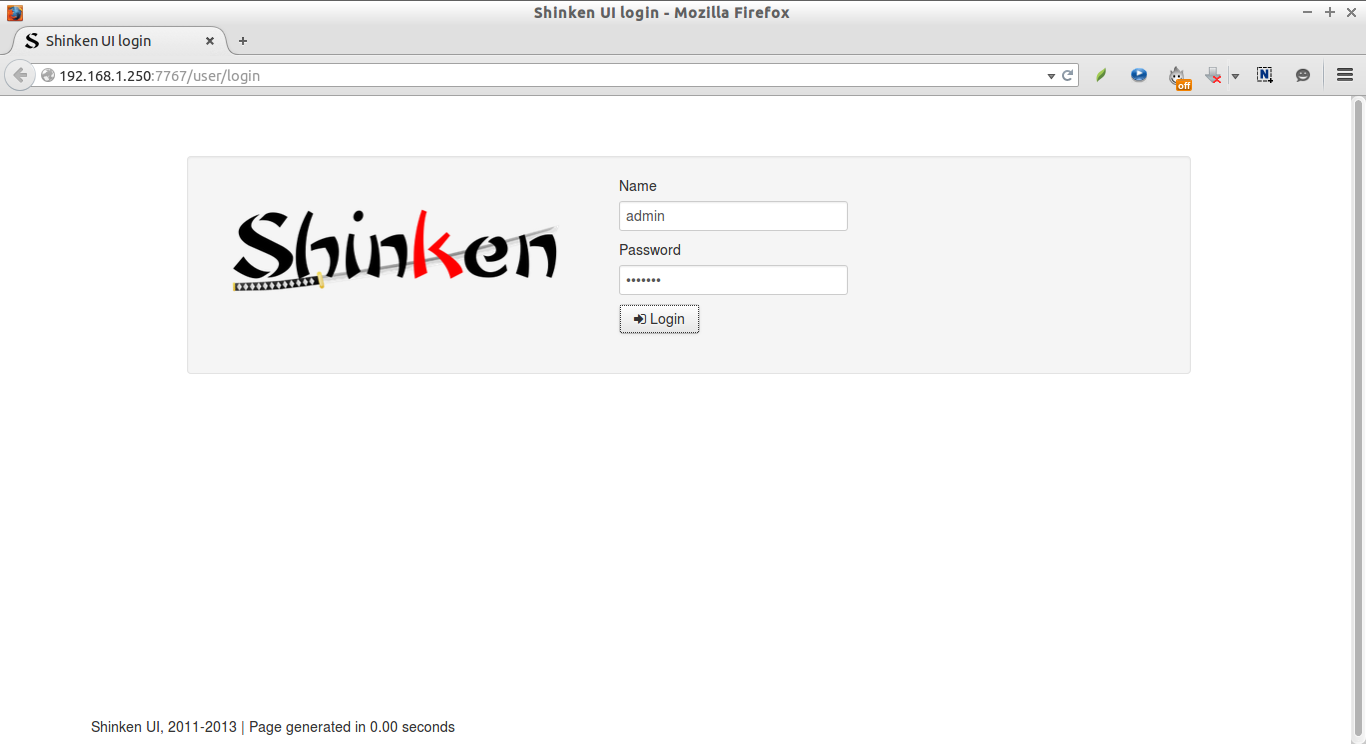
Now, open up your web browser and access the Shinken web console using URL: http://ip-address:7767.
Enter the username and password which we defined in the above steps.
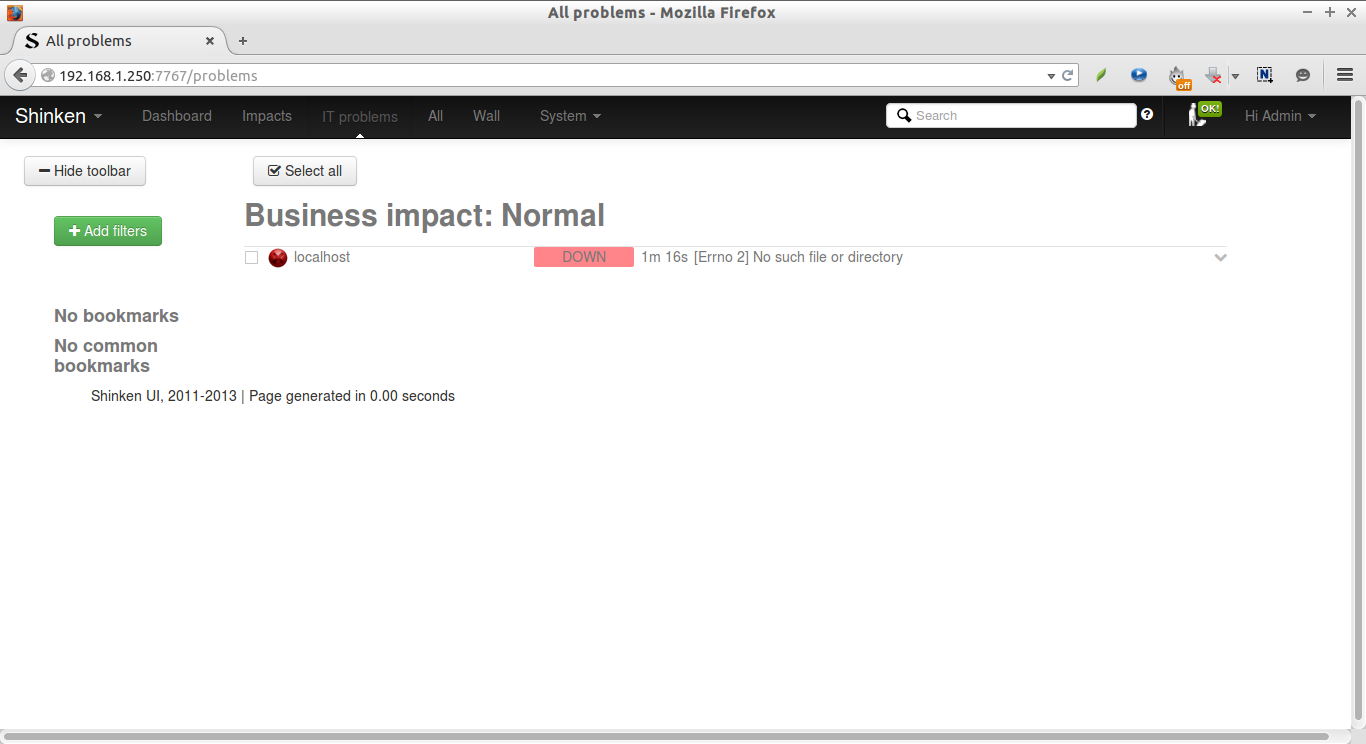
This is how your Shinken web console will look.
As you see above, the Shinken server(localhost) is being monitored by default. And the localhost is down with error:
[Errno 2] No such file or directory.
This is because we haven’t installed the monitoring plugins yet.
We will download and install some plugins. Return back to the root user by typing: exit.
Then, enter the following command to download shinken plugins.
wget --no-check-certificate https://www.monitoring-plugins.org/download/monitoring-plugins-2.1.1.tar.gz
You can find the latest plugins here.
Extract the tar file.
tar -xvf monitoring-plugins-2.1.1.tar.gz
Now, install the plugins using commands:
cd monitoring-plugins-2.1.1
./configure --with-nagios-user=shinken --with-nagios-group=shinken --enable-libtap --enable-extra-opts --enable-perl-modules --libexecdir=/usr/lib/nagios/plugins
make install
That’s it.
Restart shinken service.
service shinken restart
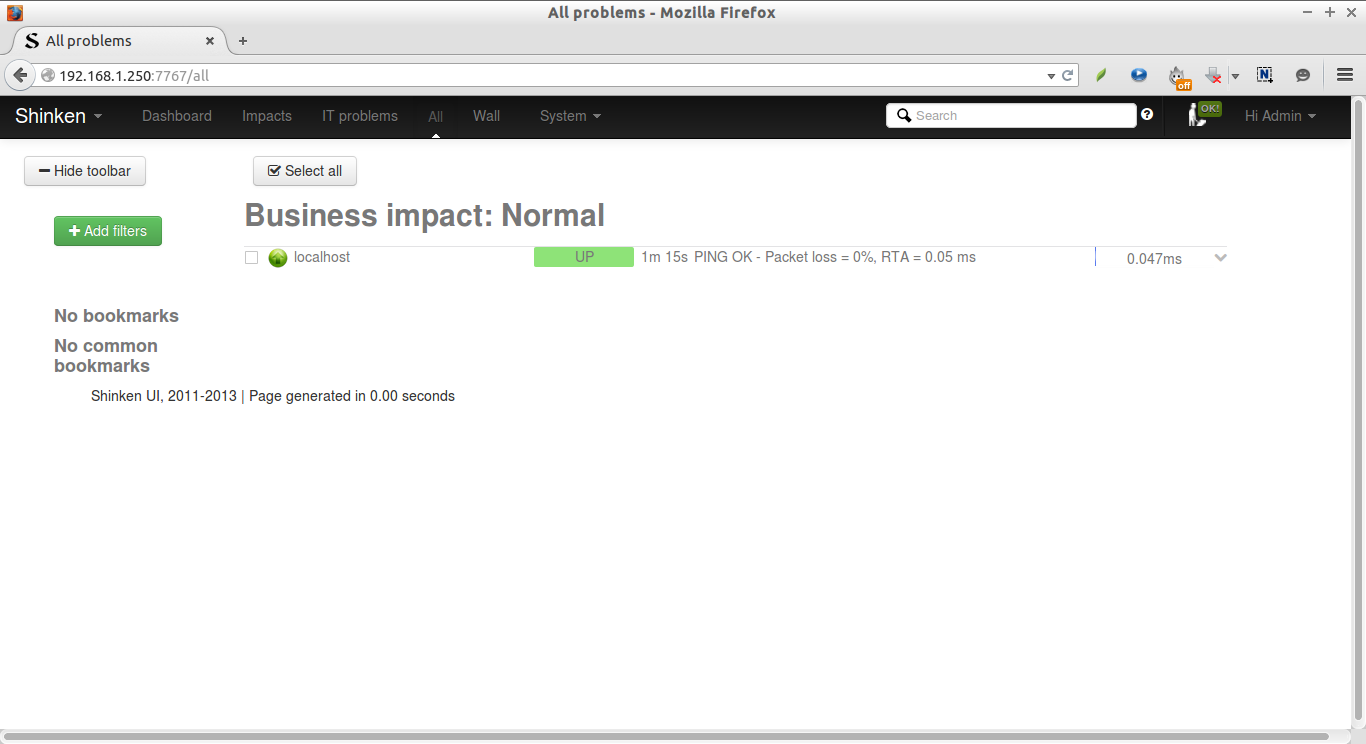
Now, wait for few seconds and refresh or re-login to the shinken webui page.
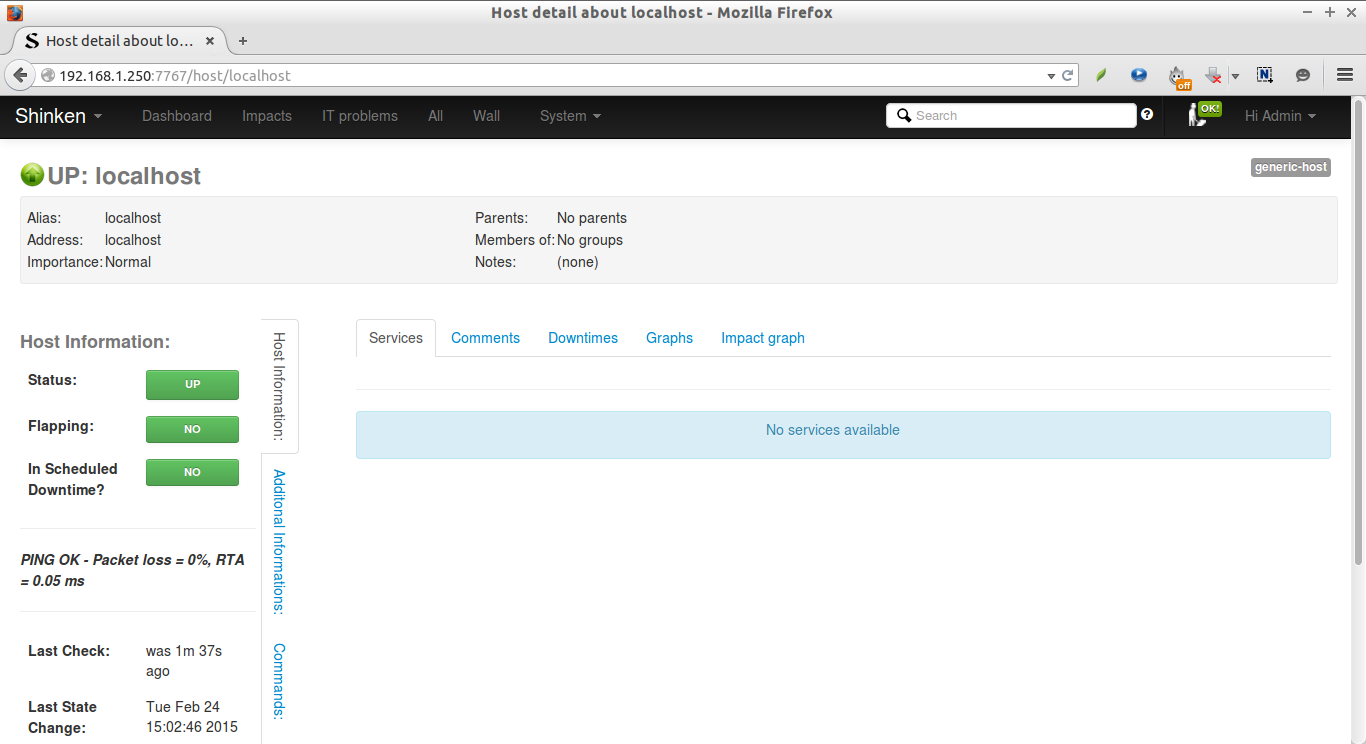
Congratulations. Now, the Shinken server(localhost) is up and is being monitored by Shinken.
You can see detailed output by clicking on the localhost (or hostname of the server).
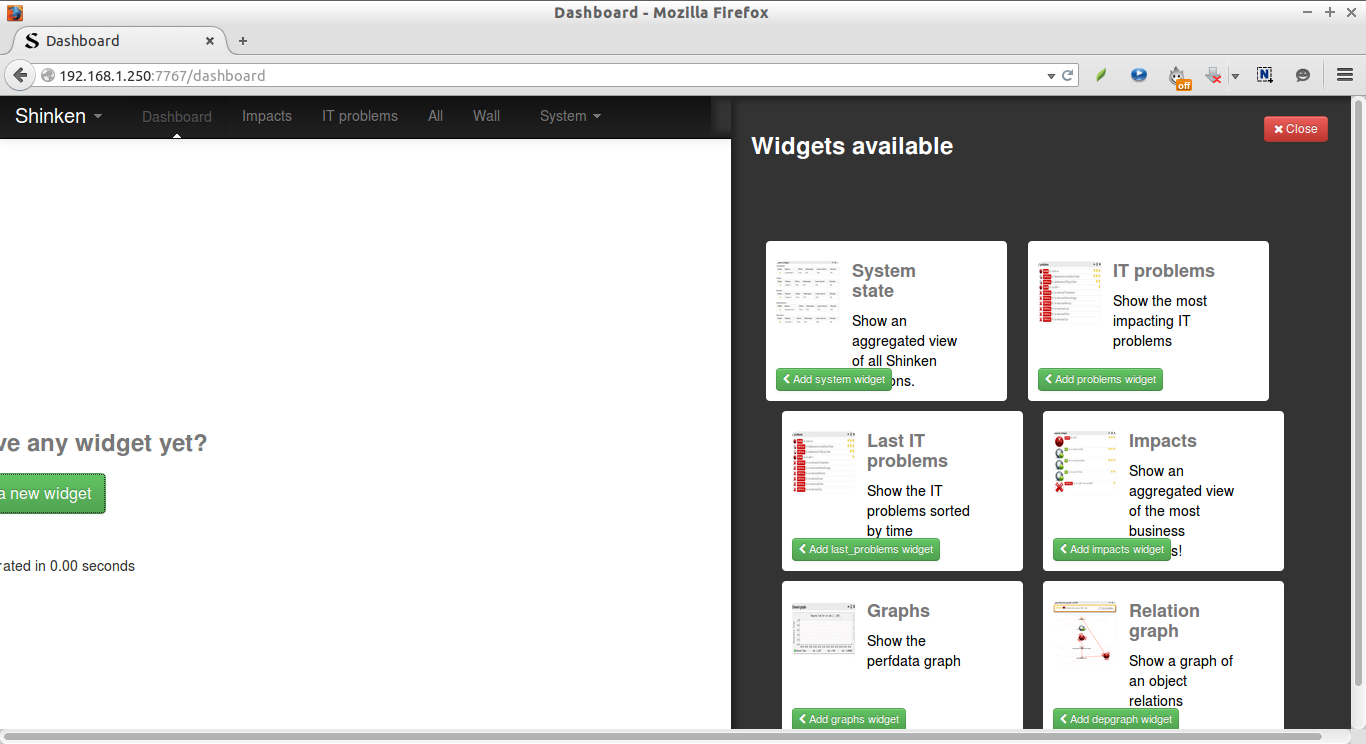
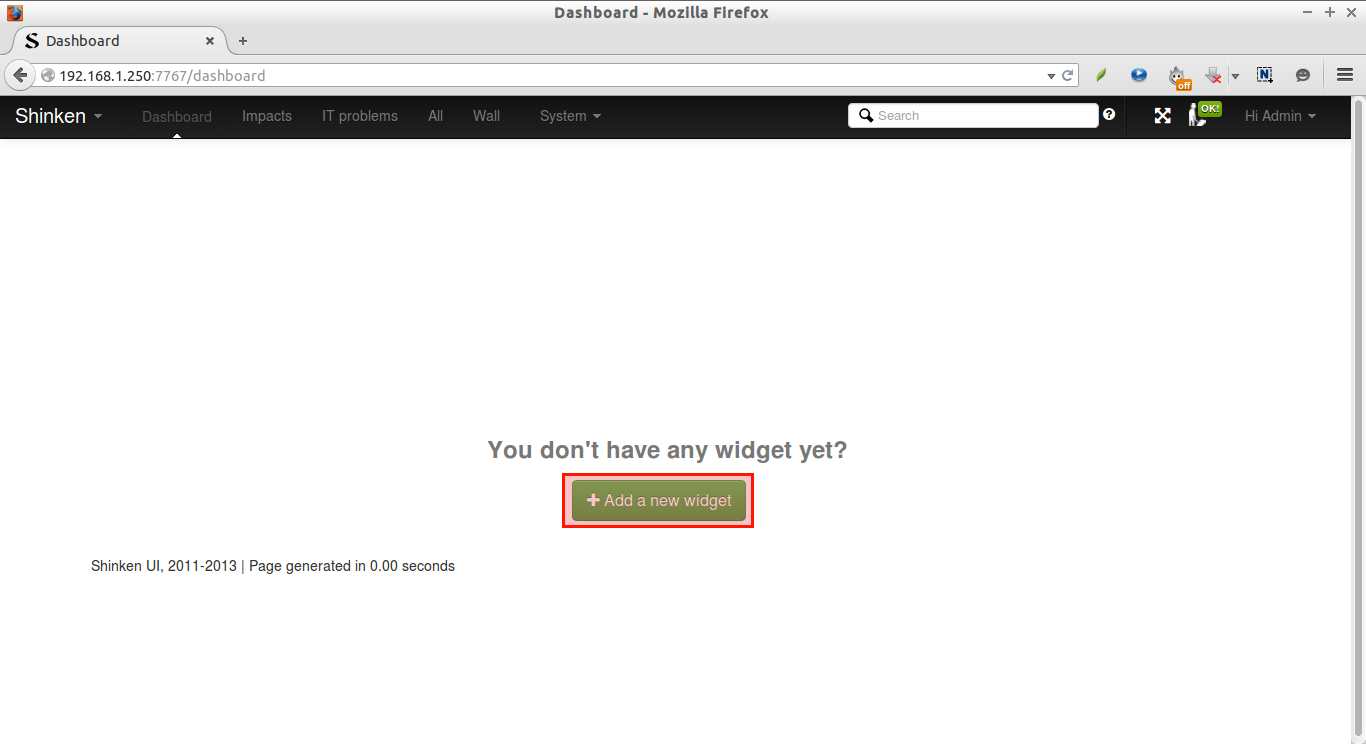
Initially, Shinken doesn’t has any widget by default. Let us add some widget. To do that, go to that Dashboard and click Add a new widget button.
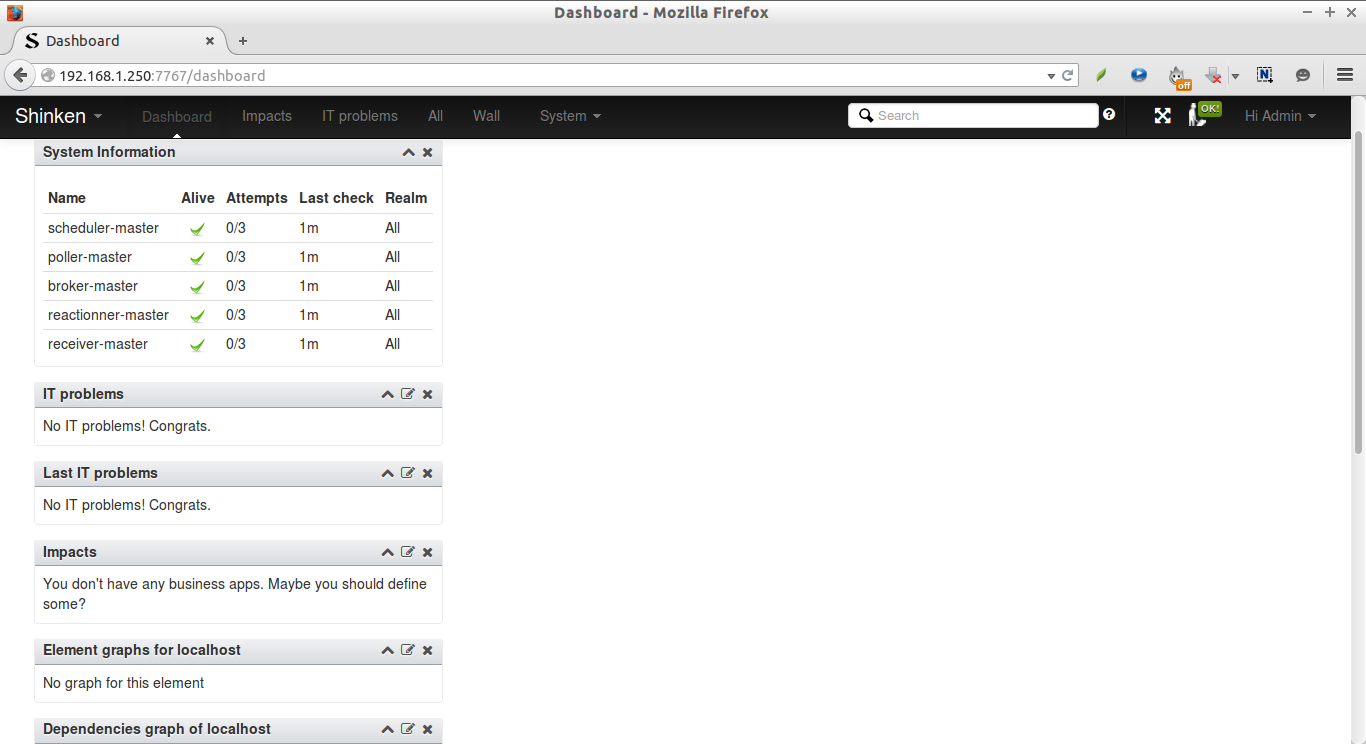
Now, you’ll see the widgets have been added in the dashboard.
That’s all for now. Check the following link to monitor remote client systems.
That’s it. Cheers!
Reference:


