Who should read this article? Everyone who is interested in computer security and computer networking.
Introduction
If you run a network small or big, you need a flexible and productive way to monitor network traffic. You need to provide security to machines connected to your network, especially if you have a wi-fi network. Monitoring the ‘health’ of your network is an important step to keep attacks, viruses and malware out of your network perimeter. Ask yourself these questions: “Is there anybody outside using my wireless internet connection? Are my machines and devices secure? Is my router firewall working? Why is this port open? Is there any virus in my computer that opened that port?”.
What is Nmap?
Nmap is a free and open-source tool for network discovery, helping us to map the network. Network administrators find it very useful in their daily job, so if you are planning to be a network administrator you should learn how to use Nmap. Nmap can help us to discover how many hosts are in a network, what operating systems are they running, what open ports do they have and services running in these open ports. It is a command line tool but for those that do not like to remember many commands there is a graphical version of Nmap that is called Zenmap. Both Nmap and Zenmap are multi-platform (Linux, Windows, Mac OS, BSD, etc.), so you do not have to worry about the operating system you need in order to use these tools. Nmap has the ability to save scan results to files and we can use these files for later analyzes. The great thing that I like about Nmap is its scripting engine (NSE). We can write our own scripts and use them with Nmap.
Download and install Nmap
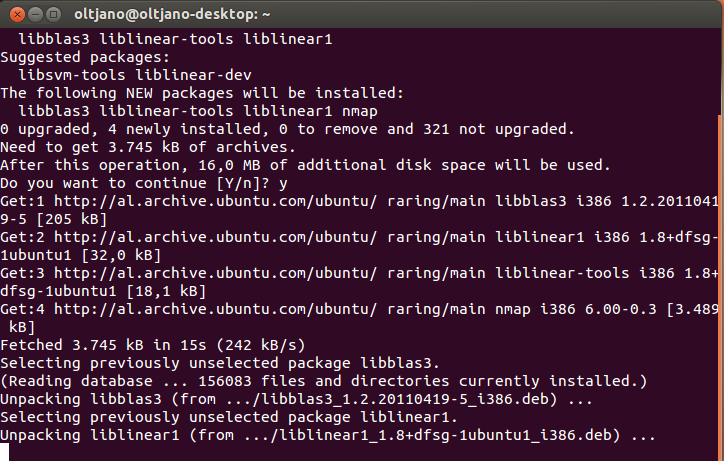
Installing Nmap in Ubuntu is very easy. Fire up the terminal and type this command:
sudo apt-get install nmap
This simple command does everything; it downloads and installs the Nmap for you.
NOTICE: You will need root privileges to use Nmap tool in a Linux machine. The Nmap installation in Ubuntu is shown in Figure 1.
Figure 1
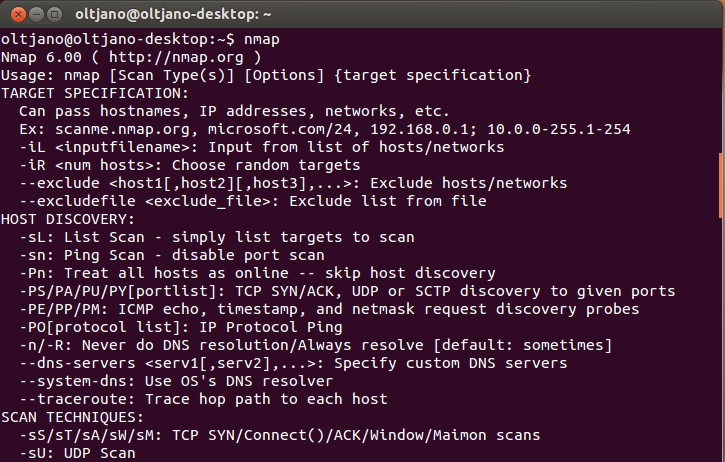
Type nmap like shown in Figure 2 and hit ENTER. This command gives us information about Nmap usage like options and target specifications so every time we do not remember a command we can type “nmap” in the terminal and read the output.
Figure 2
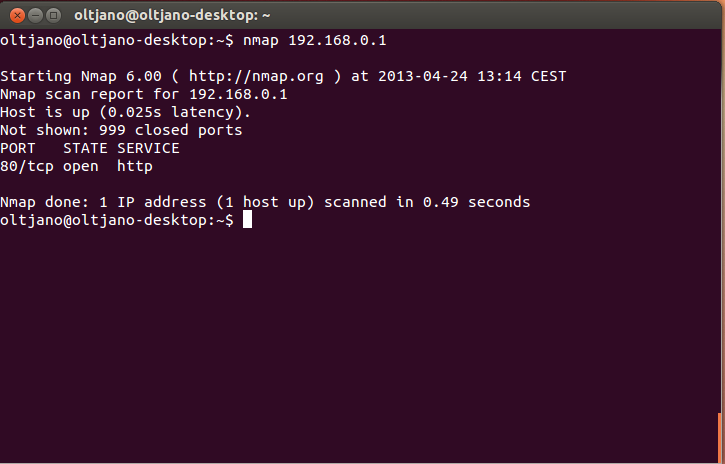
Performing a simple scan with Nmap requires a target and the target can be specified as an IP address or a hostname. A simple scan does not require any options and the syntax for it is “nmap [IP or HOSTNAME]”. My router is the target in this case; if you need a target than think about your computer; do not scan machines that are not yours.
Figure 3
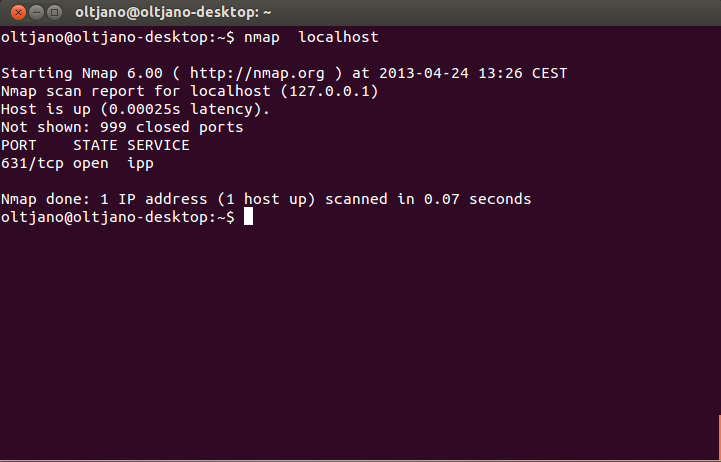
The Nmap scan report tells us that the host is up and is running a web service in port 80, the port for http (hyper text transfer protocol) traffic. A simple Nmap scan will check for the 1000 most commonly used TCP/IP ports and based in the respond that these ports do to the probe Nmap will classify them into one of six port states: open, closed, filtered, unfiltered, open|filtered, closed|filtered.To perform a simple scan in your machine type this command in the command prompt “nmap localhost”. The output of this command is shown in Figure 4.
Figure 4
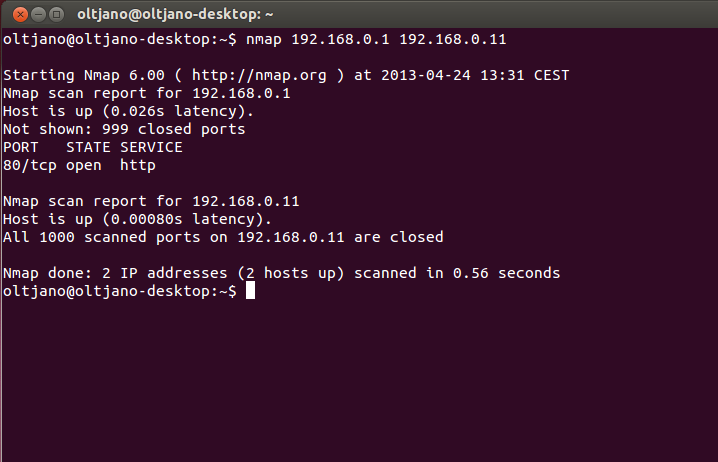
Can Nmap be used to scan multiple hosts? Yes, Nmap can be used to scan multiple hosts and the easiest way to do this is to string together the target IP addresses or hostnames separated by a space, like shown in Figure 5.
Figure 5
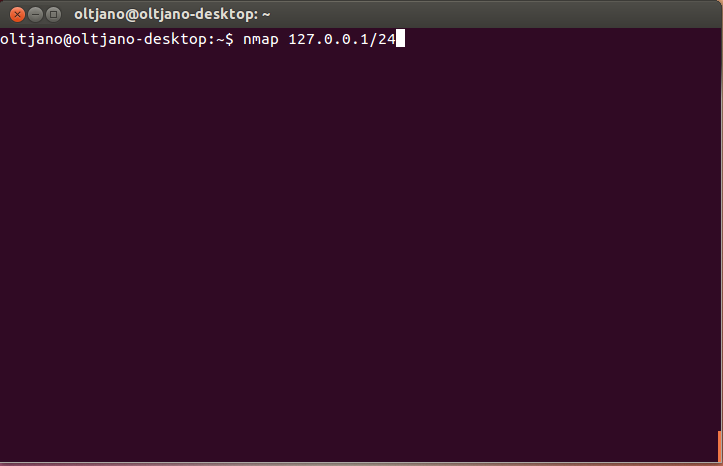
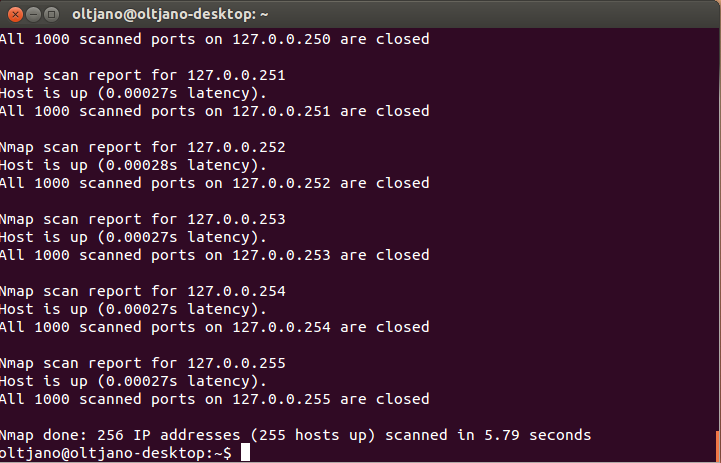
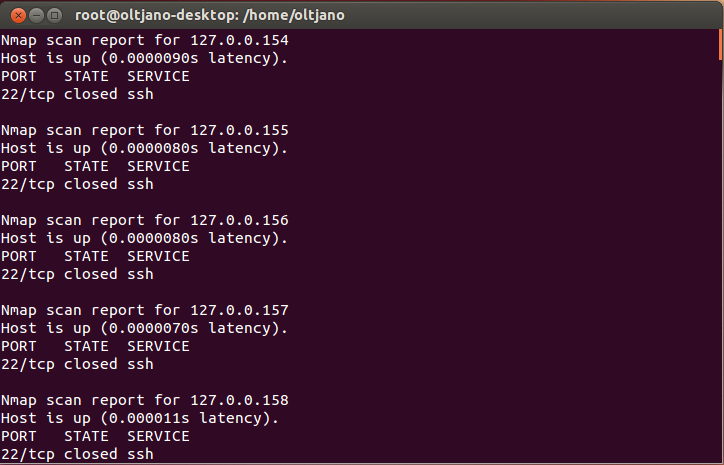
This demonstrates using Nmap to scan two addresses at the same time (host1 and host2). If the number of hosts is big, than the scanning process will take more time and is good to save the results in a file. Sometimes you want to scan an entire subnet and to do that you need some information about Classes Inter-Domain Routing (CIDR). I will not explain you in this tutorial what CIDR is so feel free to Google it. For now only remember that to scan an entire subnet you need an IP address in the subnet. If you want to scan your entire subnet get your IP and use this syntax:”nmap [IP/CIDR]”. What is the value for your CIDR? To find out the CIDR value we will use an online subnet calculator. You can find it here. Put your IP address in the IP box and copy the number in the Mask Bits box. My CIDR is 24. To scan the entire subnet we use this command: “nmap [IP/24]” without quotation marks. This process will take some time and the speed of scanning will depend on your internet connection. If you have a slow connection feel free to get a coffee.
Figure 6
Figure 7
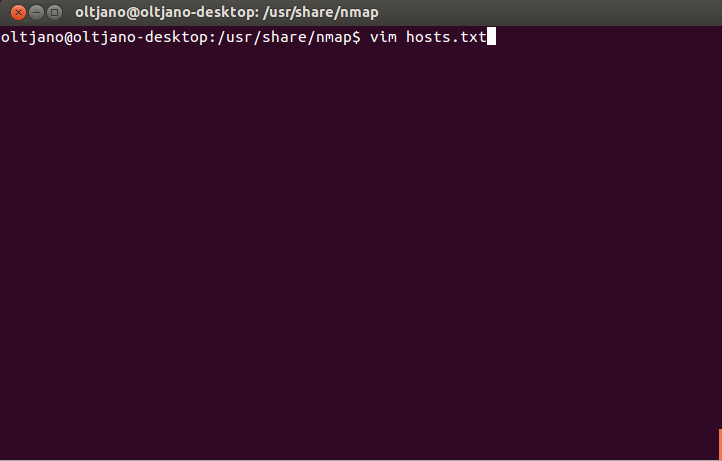
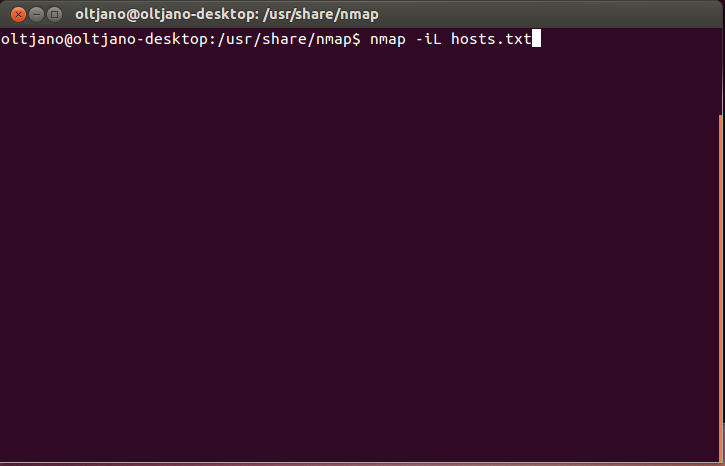
Nmap accepts text file input, so if you have a large number of machines to scan, you can enter the IP addresses in a text file and use it as input for Nmap. Each entry in the text file must be separated by a space, tab or new line. The syntax for performing this scan is “nmap –iL filename.txt “, where the –iL parameter is used to instruct Nmap to extract the list of targets from the filename.txt. Make sure you save the text file you want to use as input in the Nmap directory. Go to usr/share/nmap like shown in Figure 8 and create a text file (mine is hosts.txt). To write files here you have to be a super user (su).
Figure 8
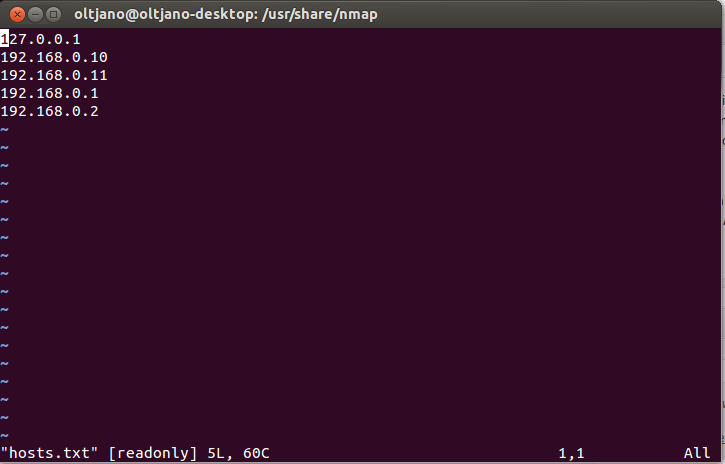
Type sudo su to be root and write hostnames, each host in a new line like shown in Figure 9.
Figure 9
Save the text file and use it like shown in Figure 10.
Figure 10
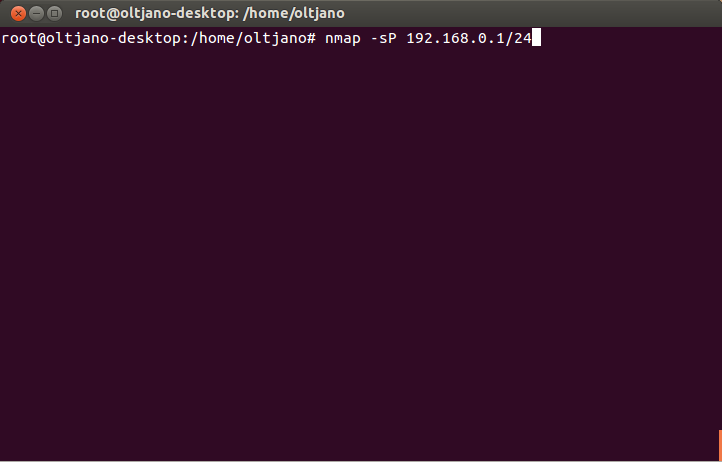
In order for this scanning technique to work you need to copy the text file in the Nmap folder (usr/share/nmap). By default, before scanning for open ports, Nmap sends ICMP echo requests to the host to see if it is online and if the host is not ‘alive’ Nmap does not probe the host. This can save time when scanning a lot of machines as Nmap will not waste time probing hosts that are not ‘alive’. The –sP option is used to perform a simple ping and is very useful when you want to see which hosts are online without scanning for open ports. To see which hosts are online in your network type this command “nmap –sP [IP/CIDR]” in the command line and wait for the output.
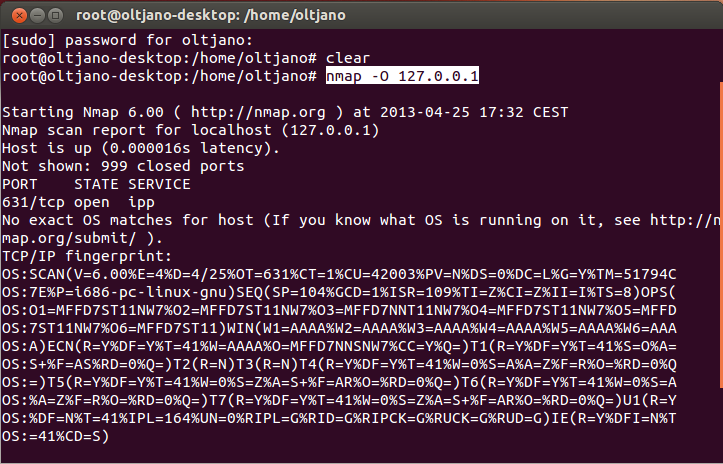
Determining the operating system of your target is very important because many exploits are specific to a specific platform. The process of discovering the host’s operating system is called fingerprinting. The syntax for performing operating system detection is “nmap –O [IP or hostname]”. Figure 11 shows the output of my OS scan detection.
Figure 11
Sometimes Nmap is unable to detect the operating system and it will provide only a fingerprint, but you can force the OS detection by using the –osscan-guess option. But what is the reason that some port are closed or open? The –reason parameter helps us to understand the reason why a port is considered to be open or closed.
If you want to keep your Nmap scanning output simple you can use the –open parameter which helps you to display only the open ports on your target. Sometimes is hard to remember all these commands and to do the job right you can use the –A parameter, which can be used to perform an aggressive scan.This parameter selects some of the most commonly options used with Nmap. Now that we have learned the basics of Nmap let me take an some examples.
Example 1 – I want to know if there is any SSH or web server in my subnet.
The most popular ports for SSH and web servers are 22 and 80 so we need to use the –open parameter to check only for open ports and from these open ports we are only interested about 22 and 80 ports.
Run ‘nmap -p 22,80 127.0.0.1/24‘
Figure 12
As you can see from Figure 12, we use -p 22,80 to perform a scan on TCP ports 22 and 80.
Example 2 – How can Nmap help me to discover FTP servers in my subnet?
File transfer protocol (FTP) is known for its weak security. The issue with file transfer protocol is that all the traffic is sent in plain text meaning that all data can be easily intercepted. An Nmap scan can helps us to identify FTP servers. The command syntax for this scan is “nmap -sP -p 21 [ target/CIDR]”.
Example 3 – How to tell if your wireless router has been “hacked”?
Most wireless routers allow administration through a web page interface. Open a web browser and connect to your router by typing in its IP address. The basic IP set for many routers is 192.168.0.1 or 192.168.1.1.
After you have entered router’s IP address in the web browser , a pop-up window will ask for your username and password. Enter your username and password to log into your router. Search through the administrative menus that your router offers and try to find the place that shows a list of devices using the network. Now it is very easy, isn’t it? If the page shows more DHCP clients than you have, it means that your wireless router has been compromised and you should immediately improve its security.
But how can you tell if your wireless router has been “hacked” if you are not the administrator of the router.? Nmap does the magic for us. We learned to perform simple ping scan in a subnet by using -sP option. If the command results displays more hosts than you expect, it means that your router has been “hacked”. Run ‘nmap -sP routerip/24‘ command like shown in Figure 13 and see the number of alive hosts.
Figure 13
Conclusion
We’ve looked at the basics we need to know about Nmap. In the next tutorial we’ll take a look at more advanced stuff and use Nmap in real world examples.


