Few days ago, we wrote an article that describes how to setup a local repository using APT-Cacher and APT-Mirror in Ubuntu. Today, we are going to setup the same in Debian 8 using Installation CD/DVD. Lately, I downloaded all Debian 8 Jessie installation DVDs from Debian site. Here is the steps that describes how I created the local repository and how I made it accessible to all local clients over LAN.
As you may know, the main goal of setting up a local repository is to save Internet bandwidth. Because whenever we install a package, the client system pulls the package from Debian public servers. If you have large number of systems in your network, then it certainly consumes more Internet bandwidth while installing, updating or upgrading packages.
So, today we will setup a central local repository in our Debian server, so that the clients can install, update and upgrade the packages from the central repository without using internet. I tested this article in Debian 8, although it might work on other Debian/Ubuntu versions and it’s Debian derivatives.
Setup Local APT Repository In Debian 8
Update your Debian server
First of all, log in to your Debian server with root user and update the system using command:
apt-get update && apt-get upgrade
Then, install the essential packages which are needed to setup local repository using command:
apt-get install build-essential
Install Apache
We need to setup a web server to server all packages to the clients. In our case, let us install Apache web server.
To install apache, run:
apt-get install apache2
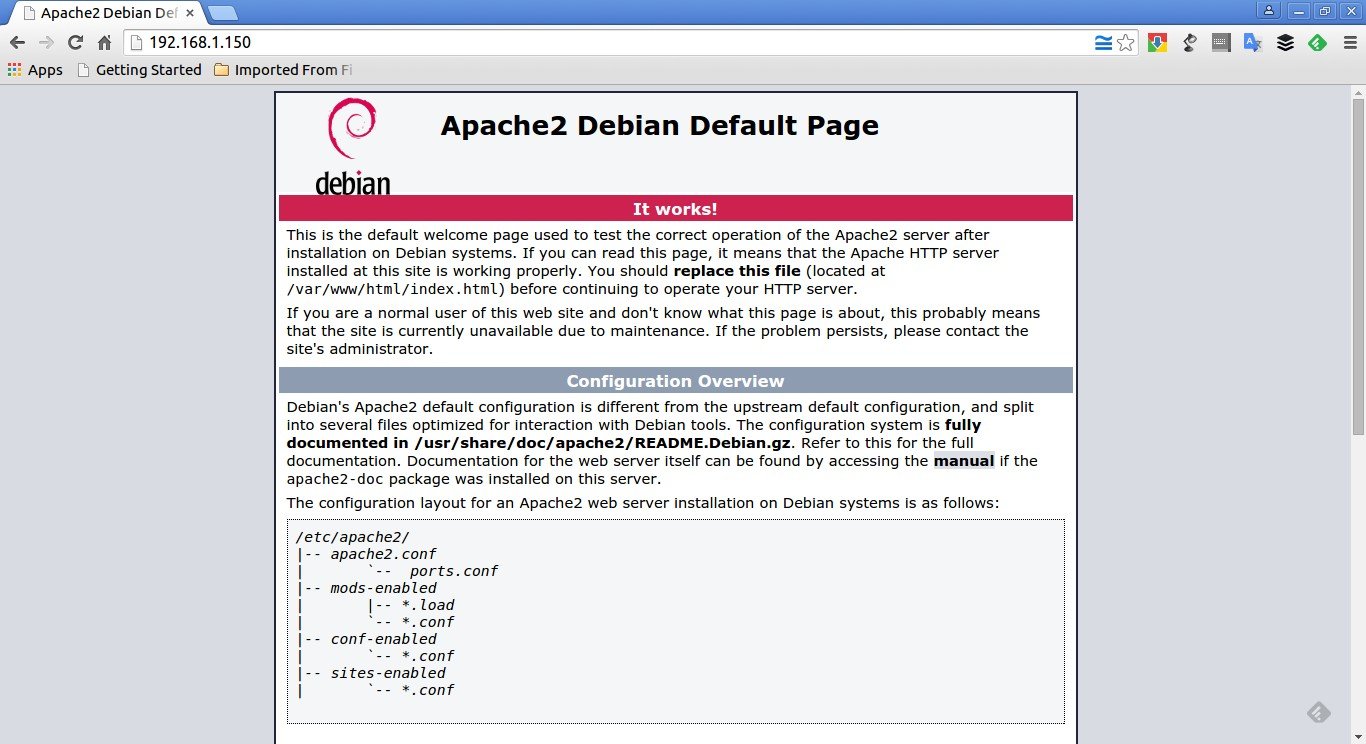
To test if Apache is working, open up your web browser and navigate to: http://<IP-Address>.
You should see the following output:
Congratulations! Apache server is working!!
Create A directory to store all packages
Create a directory called packages under apache root document folder i.e /var/www/html.
mkdir /var/www/html/packages
Now, create additional directories under /var/www/html/packages/ to save packages depending upon your system’s architecture. For example, If you use 32 bit systems, create a directory called “i386″ or if you use 64 bit systems, create “amd64″ directory. You can keep both directories and serve packages to different architecture systems at the same time.
Here, I am using 64 bit systems in my LAN, so I am going to create a directory called “amd64″ under /var/www/html/packages/ directory.
mkdir /var/www/html/packages/amd64
Copying all DEB files from Debian installation media
Mount the first CD/DVD and copy all .deb packages to /var/www/packages/amd64/ directory from your CD/DVD.
mount /dev/cdrom /media/cdrom
find /media/cdrom/pool/ -name "*.deb" -exec cp {} /var/www/html/packages/amd64 \;
After copying all deb files, unmount the first DVD using the following command.
umount /media/cdrom
Again mount all remaining CD/DVD one by one and copy the .deb files as shown above.
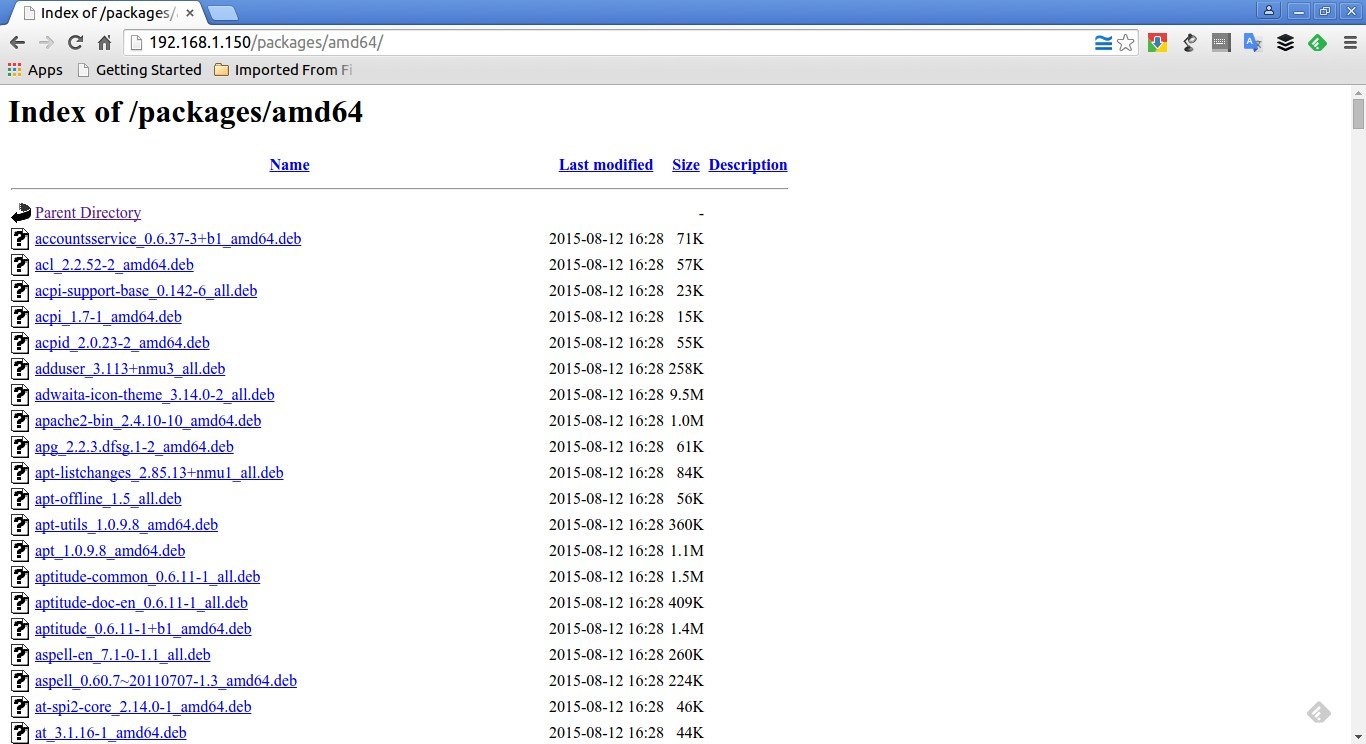
To verify the files, navigate to http://192.168.1.150/packages/amd64/ from your browser. You will see all packages of your Debian DVD’s. Here 192.168.1.150 is my Debian 8 server’s IP address.
Create Catalog file
Switch to your repository directory i.e /var/www/html/packages/amd64/ :
cd /var/www/html/packages/amd64/
and enter the following command to create a catalog file for APT use. You should run this command so that Synaptic Manager or APT will fetch the packages from our local repository. Otherwise the packages in your local repository will not be shown in Synaptic and APT.
dpkg-scanpackages . /dev/null | gzip -9c > Packages.gz
This command will scan all deb files and create the local repository in your Debian server. This may take a while depending upon the number of packages in your local repository folder. Be patient or grab a cup of coffee.
Sample output:
dpkg-scanpackages: warning: Packages in archive but missing from override file:
dpkg-scanpackages: warning: accountsservice acl acpi acpi-support-base acpid adduser adwaita-icon-theme apache2-bin apg apt apt-listchanges apt-offline apt-utils aptitude aptitude-common aptitude-doc-en aspell aspell-en at at-spi2-core avahi-daemon

[...]

xserver-xorg-video-neomagic xserver-xorg-video-nouveau xserver-xorg-video-openchrome xserver-xorg-video-r128 xserver-xorg-video-radeon xserver-xorg-video-savage xserver-xorg-video-siliconmotion xserver-xorg-video-sisusb xserver-xorg-video-tdfx xserver-xorg-video-trident xserver-xorg-video-vesa xserver-xorg-video-vmware xterm xwayland xz-utils yelp yelp-xsl zenity zenity-common zlib1g

dpkg-scanpackages: info: Wrote 1151 entries to output Packages file.
Please note that whenever you add a new deb file in this repository, you should run the above command to create catalog file.
Done! We created the catalog file.
Configure Server sources list
After creating the catalog file, go to your server(local) system. Open /etc/apt/sources.list file.
nano /etc/apt/sources.list
Comment out all lines and add your APT repository location as shown below.
deb file:/var/www/html/packages/amd64/ /
Here is my Debian 8 server (Repository server) /etc/apt/sources.list file contents.
cat /etc/apt/sources.list
Sample output:
#

# deb cdrom:[Debian GNU/Linux 8.0.0 _Jessie_ - Official amd64 CD Binary-1 20150425-12:54]/ jessie main

#deb cdrom:[Debian GNU/Linux 8.0.0 _Jessie_ - Official amd64 CD Binary-1 20150425-12:54]/ jessie main

#deb http://mirror.cse.iitk.ac.in/debian/ jessie main
#deb-src http://mirror.cse.iitk.ac.in/debian/ jessie main

#deb http://security.debian.org/ jessie/updates main
#deb-src http://security.debian.org/ jessie/updates main

# jessie-updates, previously known as 'volatile'
#deb http://mirror.cse.iitk.ac.in/debian/ jessie-updates main
#deb-src http://mirror.cse.iitk.ac.in/debian/ jessie-updates main

#deb http://security.debian.org/ jessie/updates main contrib non-free
#deb-src http://security.debian.org/ jessie/updates main contrib non-free
#deb http://http.us.debian.org/debian jessie main contrib non-free

deb file:/var/www/html/packages/amd64/ /
Please note that I have disabled all external repository list in the above file except the local repository. Now update source list with following command:
apt-get update
Testing Repository
I am going to install vsftpd package from my local repository.
apt-get install vsftpd
Sample output:
Reading package lists... Done
Building dependency tree
Reading state information... Done
The following NEW packages will be installed:
  vsftpd
0 upgraded, 1 newly installed, 0 to remove and 0 not upgraded.
Need to get 0 B/165 kB of archives.
After this operation, 374 kB of additional disk space will be used.
WARNING: The following packages cannot be authenticated!
  vsftpd
Install these packages without verification [y/N]? y
Preconfiguring packages ...
Selecting previously unselected package vsftpd.
(Reading database ... 40161 files and directories currently installed.)
Unpacking vsftpd (from .../amd64/./vsftpd_3.0.2-18_amd64.deb) ...
Processing triggers for man-db ...
Setting up vsftpd (3.0.2-18) ...
Starting FTP server: vsftpd.
As you seen in the above output, i will able to install vsftpd package from my local repository.
Configure Clients
After creating the catalog file, go to your client systems. Open /etc/apt/sources.list file.
sudo nano /etc/apt/sources.list
Add the server repository location as shown below. Comment out all sources list except the local repository.
deb http://192.168.1.150/packages/amd64/ /
For 32 bit systems:
deb http://192.168.1.150/packages/i386/ /
Note: Put a space between deb and http://192.168.1.150/packages/amd64/ and /.
That’s it. Now run,
sudo apt-get update
sudo apt-get install <package-name>
You will be able to install, update and upgrade packages from your local Debian server repository without Internet Connection.
That’s all for now. Cheers!


