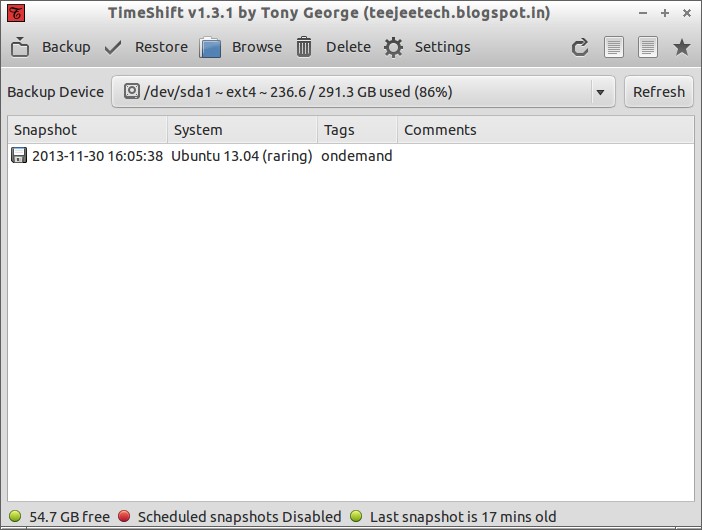
Have you ever had a situation or ever wanted to restore your Linux desktop to previous state? Windows has an excellent utility called System Restore to restore the system to previous state, but Linux doesn’t has any native application to do that. No worries, today i came up with application called TimeShift.
TimeShift is a application that provides functionality similar to the System Restore feature in Windows and the Time Machine tool in Mac OS. TimeShift protects your system by taking incremental snapshots of the file system at regular intervals. These snapshots can be restored later to bring your system to the exact state it was in at the time when the snapshot was taken.
TimeShift is something similar to applications like rsnapshot, BackInTime and TimeVault but with different goals. TimeShift is designed to protect only system files and settings. User files such as documents, pictures and music are excluded.
Install TimeShift On Ubuntu 15.10/15.04/14.10/14.04
Add the TimeShift PPA with command:
$ sudo apt-add-repository -y ppa:teejee2008/ppa
Update the package lists using command:
$ sudo apt-get update
Now Install TimeShift using following command:
$ sudo apt-get install timeshift
Install TimeShift On other Linux distributions
Currently TimeShift packages are available only for Ubuntu based systems, but also the developer has developed packages for other distributions.
Before installing TimeShift, you should install the following packages depending upon your distribution.
libgtk-3 libgee2 libsoup libjson-glib rsync
Download the TimeShift packages for other distributions from the following links.
After downloading the TimeShift, install it using the following command.
Install TimeShift 32bit:
# sh ./timeshift-latest-i386.run# chmod +x <code>timeshift-latest-i386.run
Install TimeShift 64 bit:
# sh ./timeshift-latest-amd64.run# chmod +x <code>timeshift-latest-amd64.run
Launch TimeShift
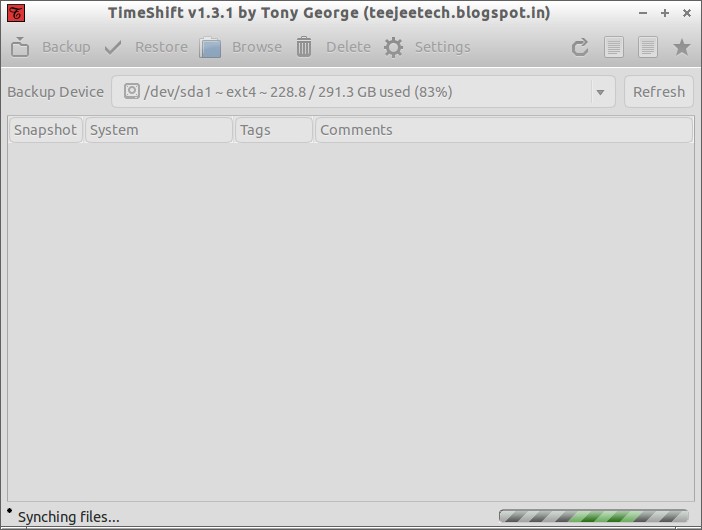
Launch TimeShift either from Menu or Dash. At first launch, the application will estimate the system size for snapshot.
Create Restore point
Click Backup on the Menu bar and take first snapshot of your system.
When you do this, you will see a prompt asking you to choose the type of snapshot you want to take. You will see two options: RSync and BTRFS.
RSync snapshots are backups of your entire system, and you can browse these snapshots with your machine’s file explorer. The common files in RSync snapshots aren’t backed up more than once, which saves disk space.
On the other hand, a BTRFS snapshot uses the BTRFS file system’s built-in features to facilitate the backup. As you can guess, this type of backup is available only on BTRFS systems. But the system must have an Ubuntu-style subvolume layout.
If you’re using the default EXT4 filesystem and have no idea about BTRFS is, you don’t have to worry. You can pick the RSync snapshot. Besides, if you do choose the BTRFS backup type on an EXT4 filesystem, you will encounter an error and won’t be able to proceed.
Interestingly, you can also choose the files you want backups of before TimeShift begins creating a backup. By default, TimeShift does not back up any user files. But after the initial setup, you can pick the files you want to backup in the Settings section.
To pick specific files you want to backup, navigate to the Filters tab and hit the “Add Files/Add Folders” option. A file explorer will pop up where you can pick the files and directories you want to backup.
To verify that the files and directories you have chosen are included in the TimeShift snapshot, you must ensure that the radio buttons next to the files and folders are toggled on. You can then hit “OK.”
Alternatively, you can click “Summary,” which will show you the files and folders included in the snapshot. Note that the folders or files having the “+” sign next to them are the ones that will be included in the snapshot.
More importantly, remember that any user files you back up will be overwritten if you restore the snapshot. So, if you make any changes to your files after the backup, and restore the snapshot later, you will lose the changes you made. So, be cautious when picking which files you want included in your backup.
One of the nice features of TimeShift is that it can back up hidden files, including configuration files. But again, it’s important to factor in that the files get overwritten if you restore your snapshot.
TimeShift offers an excellent feature to make choosing the files you want to backup much easier. You can instruct TimeShift to backup all the files with a certain extension. For instance, you can backup all the PDFs or MP3s on your machine by asking TimeShift to backup files with their extensions.
To do this, you must navigate to TimeShift’s Settings menu and then to the Filters tab. Then, press “Add” at the bottom of the menu and enter all the extensions you want backed up.
To include the extensions in the snapshot, toggle the radio button next to the specific extension to the “+” sign.
After taking the first snapshot, you can schedule for automatic snapshots on a particular interval. To do that go to Settings section, enable Scheduled Snapshots and set the backup levels such as hourly, daily, weekly, monthly, boot etc.

After completing the first snapshot, you will have a following like screen.

System Restore
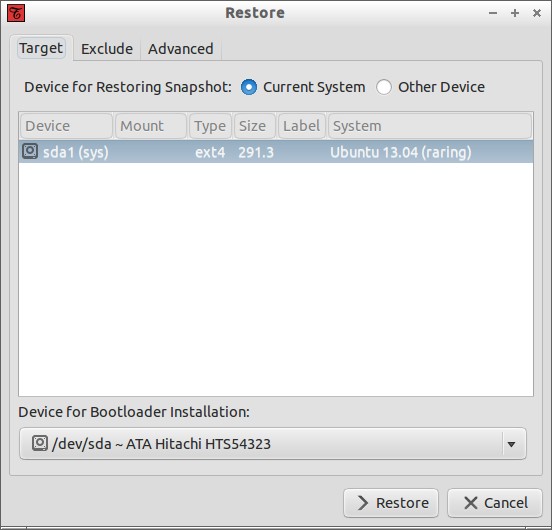
You can restore Snapshots either from the running system or live cd. Restoring backups from a live system requires a reboot to complete the restore process. If your system broken or doesn’t boot in case, you can use the live cd to restore the system to a previous working state.
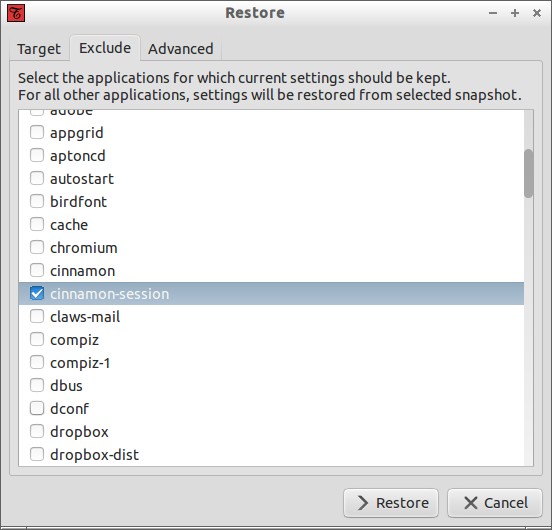
To restore your system to earlier state, click on the Restore button and select the snapshot.


I hope this application will help you sometimes if something went wrong on your Linux desktop. You don’t need to reinstall your system, you simply can restore your system to a previous working state without much effort using TimeShift.
Good luck!


