Canonical unveiled Ubuntu 16.04 aka Xerial Xerus on April 21, 2016. If you want to know what new features are added to this release please go to http://unixmen.com/ubuntu-16-04-released-see-whats-new/
Ubuntu is one of the most widely used Operating System. We know that you would be eager to update your box to Latest Stable release to see and test the new features by yourself. If you want to update your Ubuntu box to Latest Canonical release Uuntu 16.04, All you will need is a working Internet connection and this tutorial. Believe me at the end of the post, you should have your box updated and running.
Before Proceeding, We must follow one of the important rules of migration and that is Backup. You must Backup all required data and cross check it before going ahead from here. Please note any data loss that might take place would be the result of your ignorance and for any such loss neither the author nor the Unixmen Community can be held responsible.
Now, since you have backed up all your data to a different hard disk we are good to upgrade.
Upgrade Ubuntu 14.04 LTS to 16.04
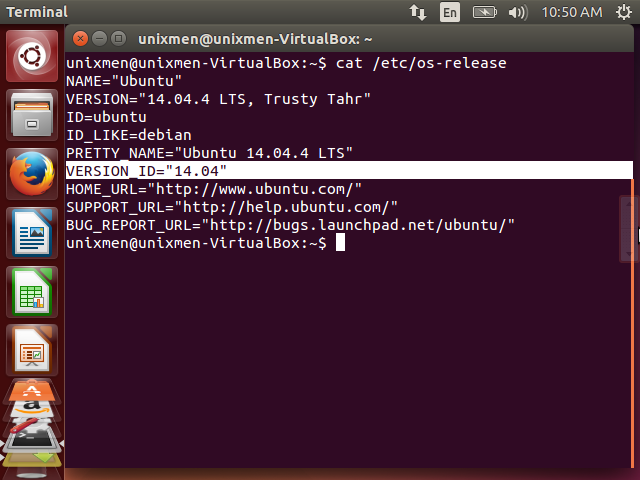
- Lets Check The current version of Ubuntu installed onto your system. Open terminal and run the below command.
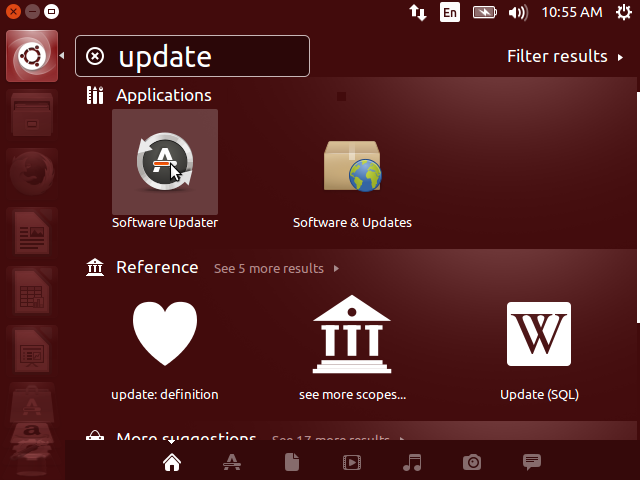
- It is Clear from the output that the version installed is Ubuntu 14.04. We need to first update it. Click on Dash (Ubuntu’s Version of Start Menu) and search update. Double click “Software Updater” to open it.
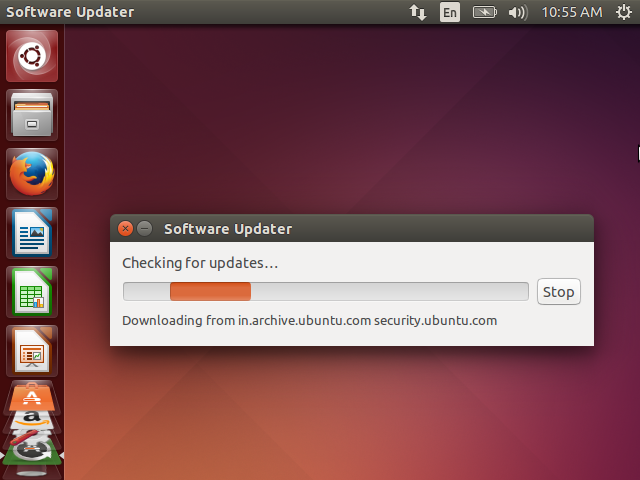
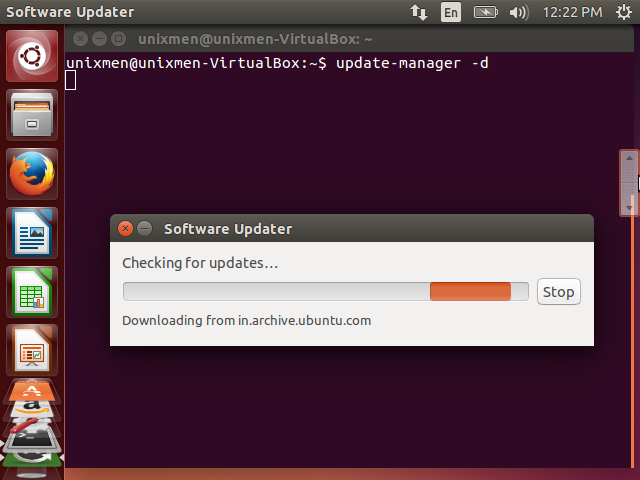
- The Software Updater will check for Updates.
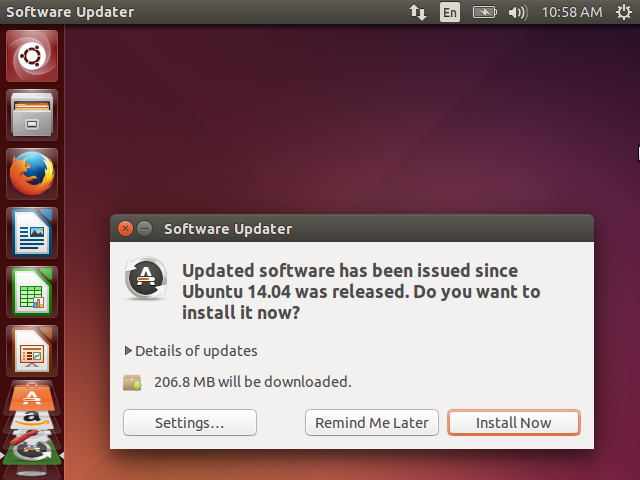
- And then you will be Prompted to Install latest softwares to update your installation. Select “Install Now”
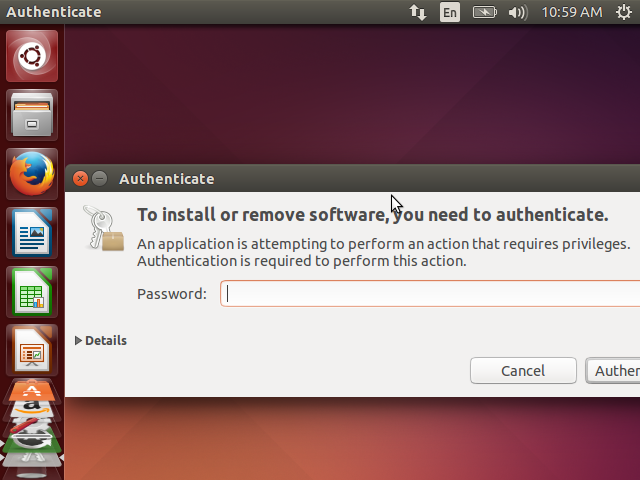
- You will be asked to authenticate yourself. Enter Your Password.
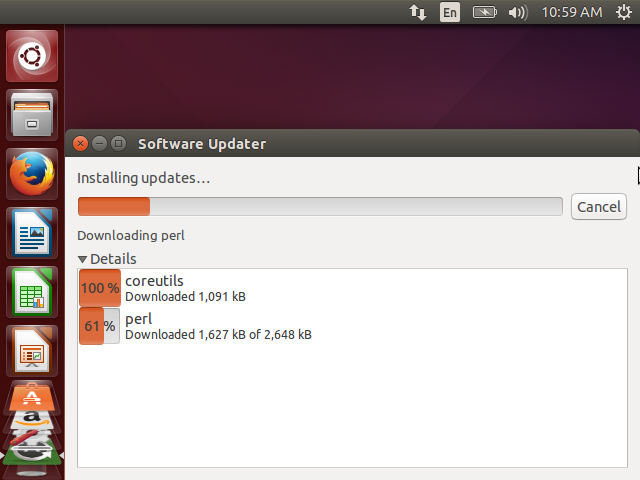
- The Software Updater will Download and Install Latest Packages of Installed Applications. It will take time depending upon your Internet Connection speed.
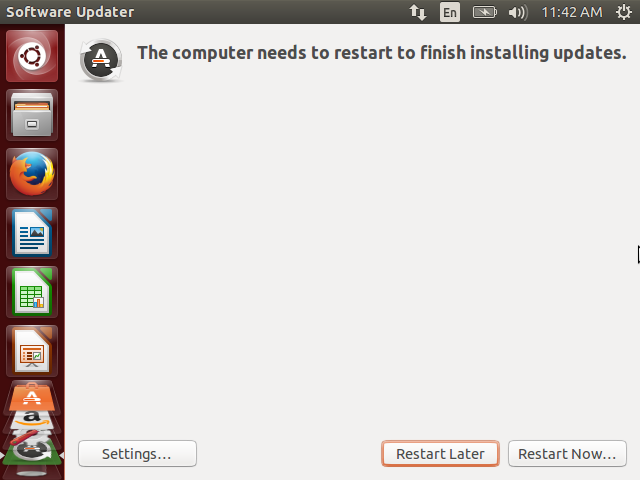
- Once all the updates are downloaded and Installed you will be prompted to Restart. Save all your work and click “Restart Now”
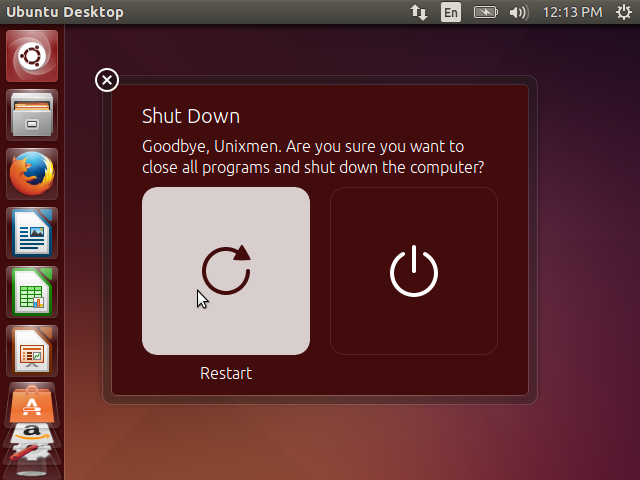
- On the next screen, click Restart
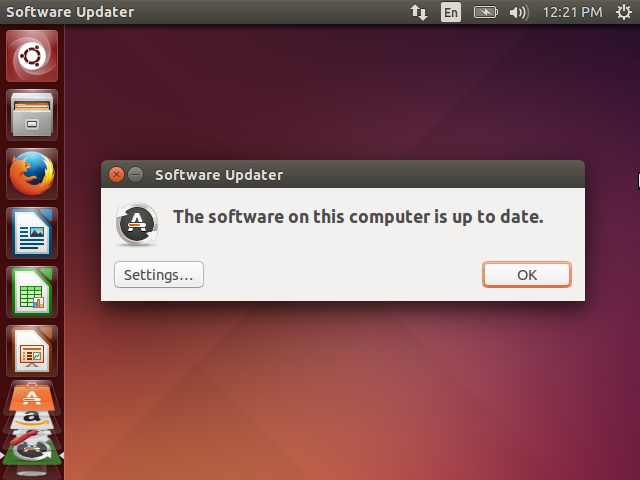
- It’s time to check if all the updates are installed. Go to dash and click search for Software Updater. Open it. As it can be seen all the updates has been installed successfully.
- The OS has been updated, but not yet Upgraded. To upgrade the OS, run the below command in Terminal.
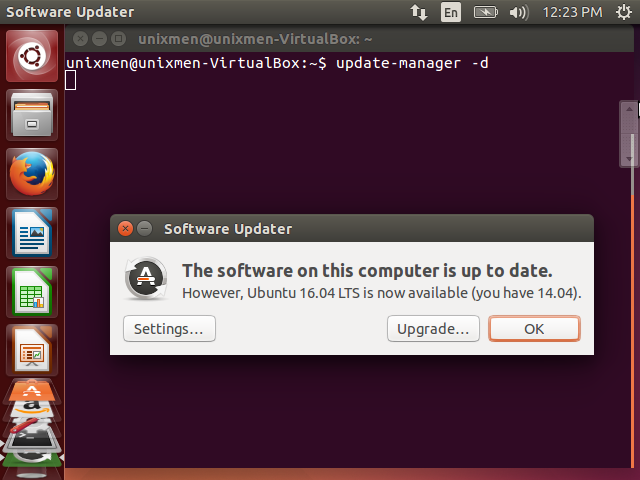
- You will get an action window that reads “The Software on this computer is up to date. However, Ubuntu 16.04 LTS is now available”. Click OK.
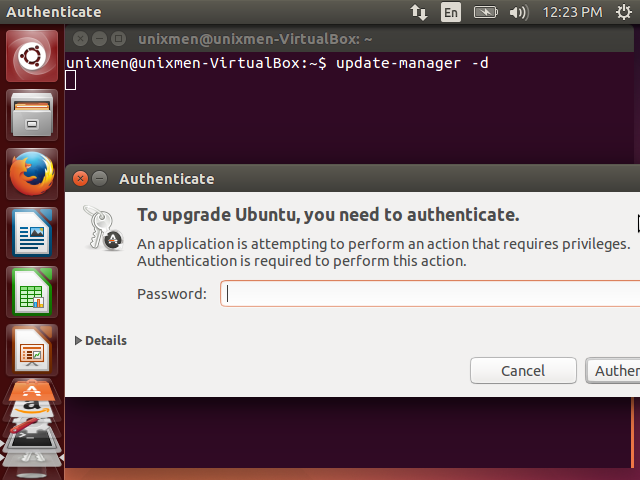
- Authenticate yourself by entering your user account password.
- From the resulting Windows Click Upgrade
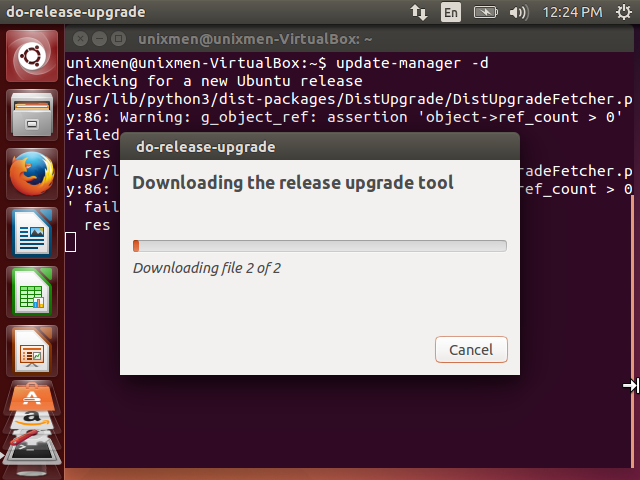
- The update-manager will download and install release upgrade tool on its own.
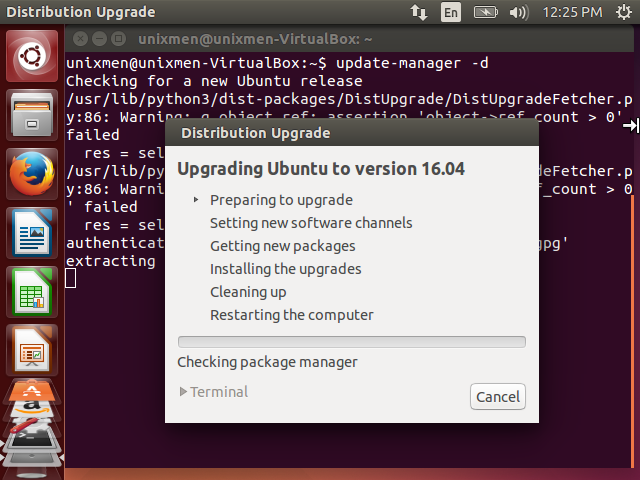
- Once done with that, your distribution upgrade will start which involves a number of steps.
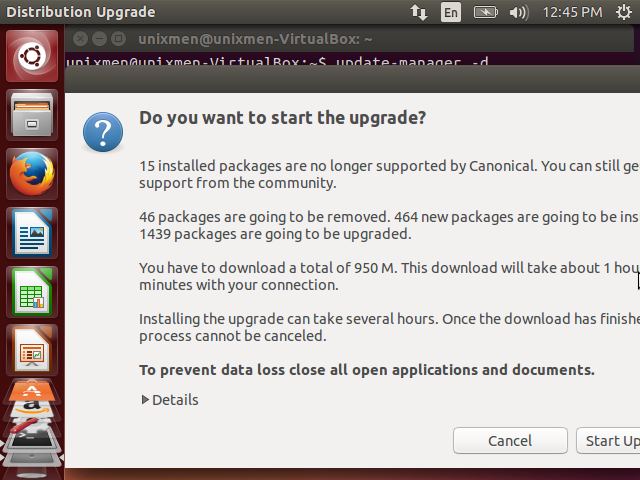
- You will get Prompt to click “Start Upgrade”. Just do it.
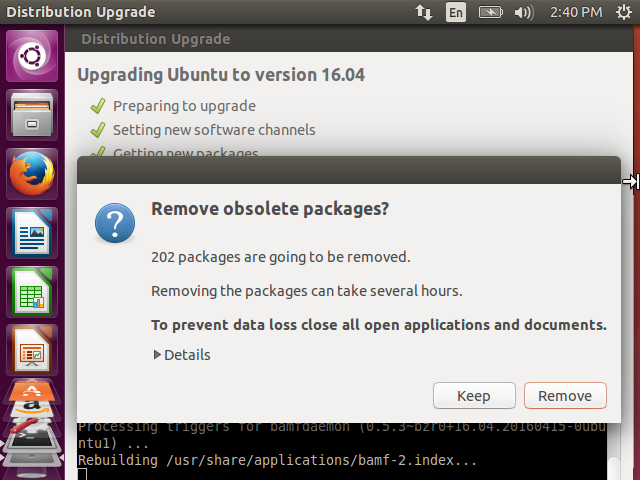
- In the very next window I got prompt to “Remove obsolete packages”. Well, I preferred not to Remove. You may go with your preference.
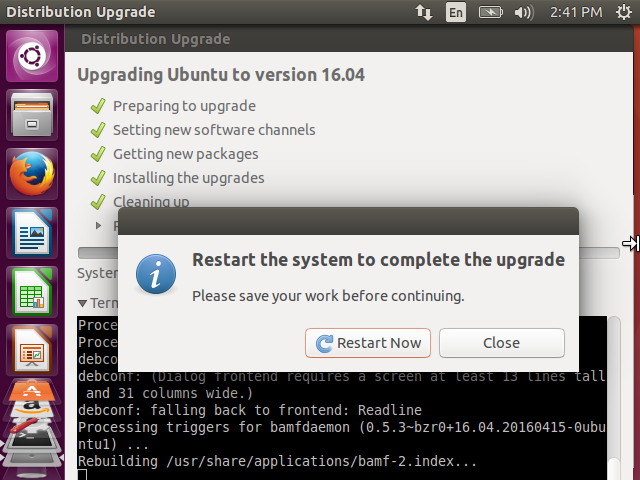
- Installers wants to restart the system to complete the Installation. Click Restart Now.
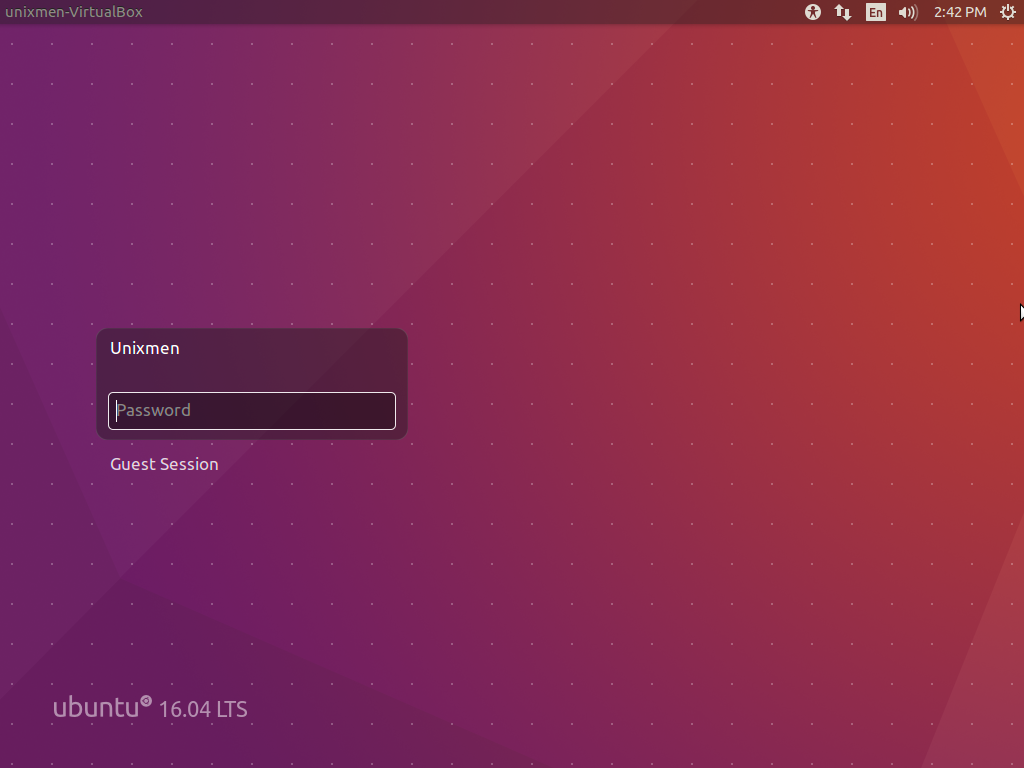
- After boot, I got this login Prompt. Entered the Password and logged in successfully.
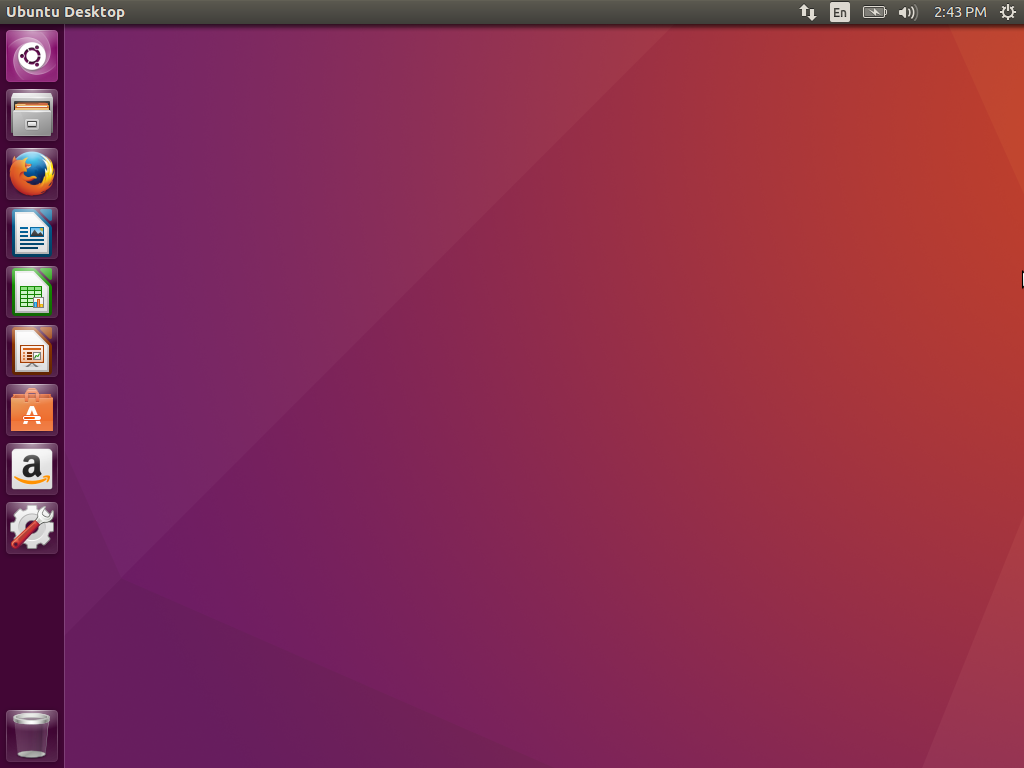
- On Successful login
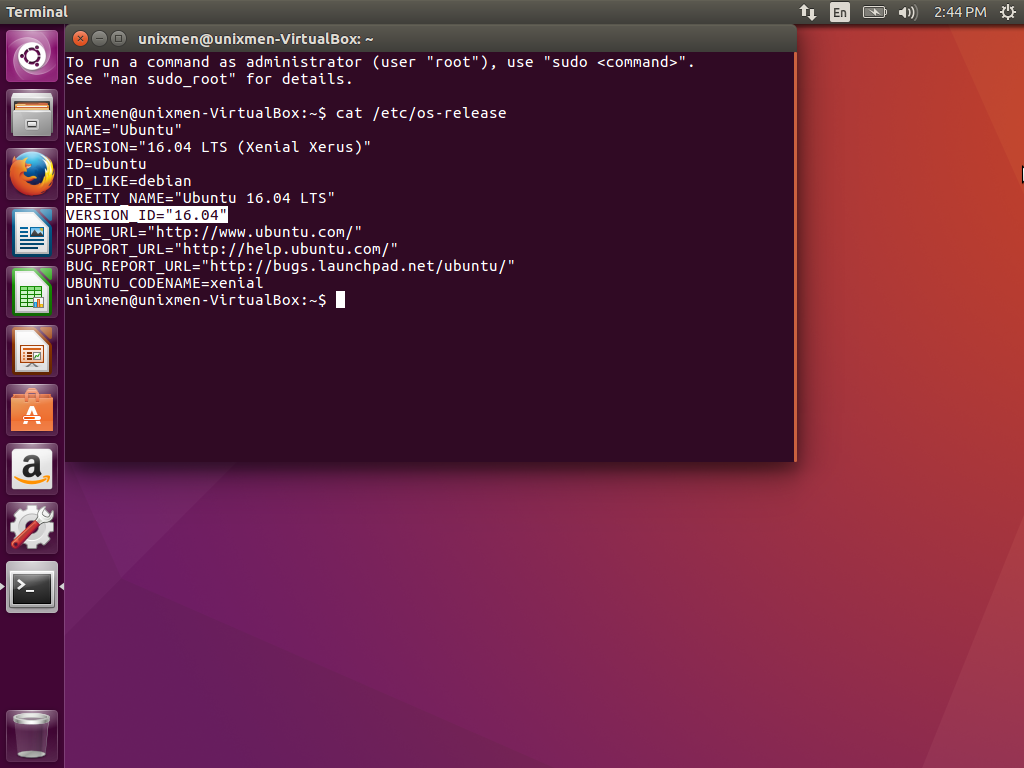
- Check for the Version (if the upgradation was successful). Run the below command on the terminal.
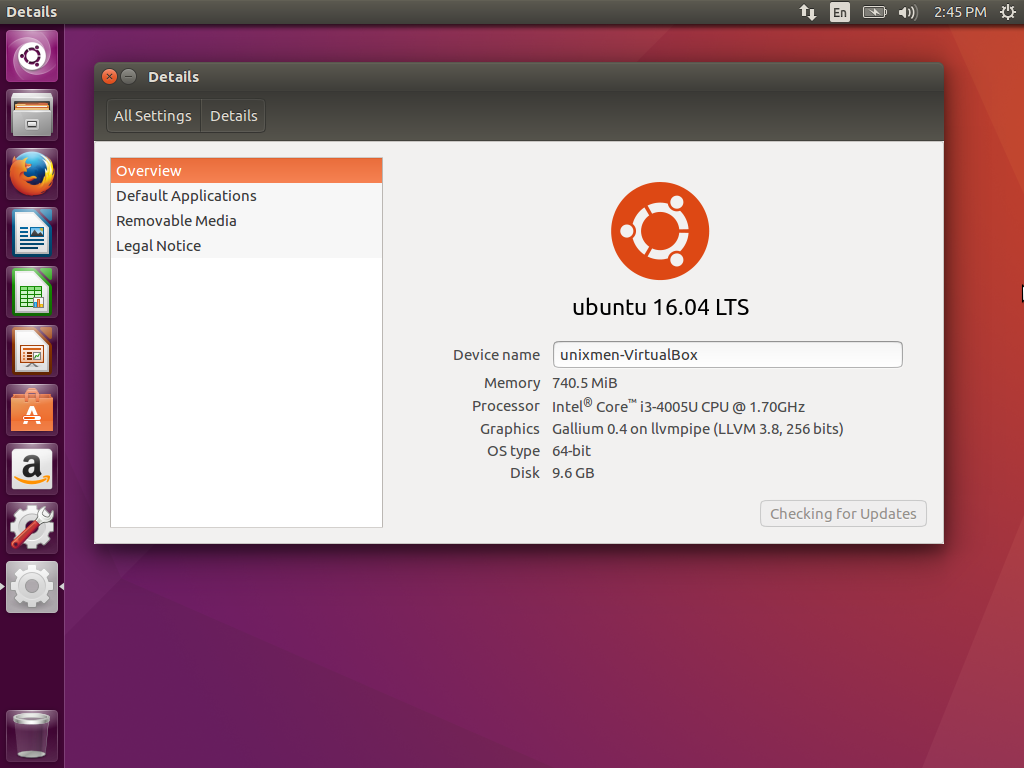
- Also, you can see details by searching and opening it from dash.
$ cat /etc/os-release
$ update-manager -d
$ cat /etc/os-release
That’s all for now. Hope you are enjoying the post. I’ll be here again with another post of this series “Ubuntu 16.04 Installation and in-depth review”. Till then keep connected to Unixmen. Don’t forget to give your valuable feedback in the comments below. Like and share us and help us get spread.


