We have already shown you how to Setup a Local Repository on Ubuntu Systems and Setup Local Yum Repository in CentOS/RHEL 6 and Setup Local APT Repository in Debian systems. Today we are going to learn about setting up local Yum repository on Fedora 19.
As I mentioned in my previous tutorials about local repositories, if you have to install software, security updates and fixes often in multiple systems in your local network then having a local repository is an efficient way. Because all of the required packages are downloaded over the fast LAN connection from your local server, so that it will save your internet bandwidth and reducing your annual cost of internet connection bandwidth.
Prerequisites
First switch to root user using the following command:
$ su
Enter the root user password to switch to root user. Now you will able to run all commands without necessary to put sudo before every commands.
Install FTP server
Install vsftpd package and make the packages available over FTP to your local clients:
# yum install vsftpd
Enable and start vsftpd service using the following commands:
# systemctl enable vsftpd.service
# systemctl start vsftpd.service
We have to install a package called createrepo in-order to create a local repository:
# yum install createrepo
Copy all RPM files to FTP root folder
Create a directory called repository under FTP root directory ie. /var/ftp/ to restore all RPM files:
# mkdir /var/ftp/repository
Mount your Fedora 19 DVD in any location. For instance, I am going to mount it under /mnt directory:
# mount /dev/cdrom /mnt/
Now Fedora 19 DVD has been mounted under /mnt directory. Copy all RPM files using the following command:
# find /mnt/Packages/ -name "*.rpm" -exec cp {} /var/ftp/repository/ \;
Build Local Repository
After copying all RPM files, create a repository file called local.repo under /etc/Yum.repos.d/ directory:
# nano /etc/Yum.repos.d/local.repo
Now add the following lines:
[local]
name=My Local Repository
baseurl=file:///var/ftp/repository
gpgcheck=0
enabled=1
Note: Use three slashes (///) in the baseurl location.
Now start to build local repository using the following command:
# createrepo -v /var/ftp/repository/
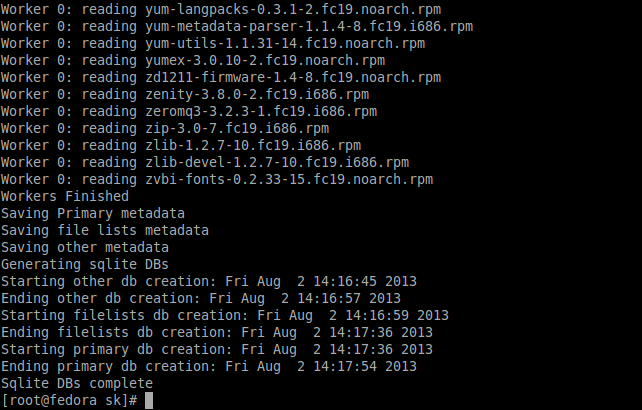
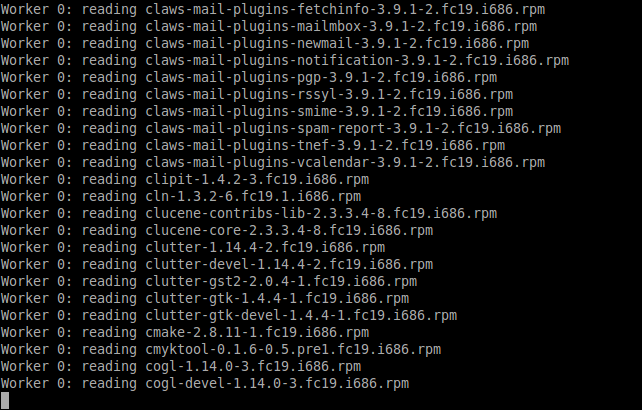
You may see the output like below.

Now update the repository files:
# yum clean all
# yum update
Test Local Repository
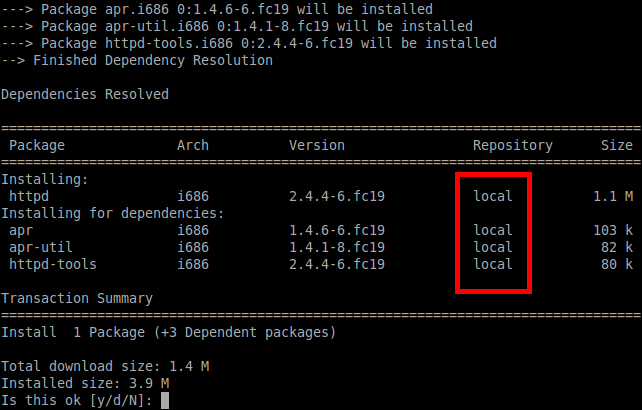
For instance, here I am going to install httpd package.
# yum install httpd

Client Side Configuration
Now go to your client system. Create a new repository file as shown above under /etc/Yum.repos.d/ directory:
# nano /etc/Yum.repos.d/local.repo
And add the following contents:
[local]
name=My Local Repository
baseurl=ftp://192.168.1.201/repository
gpgcheck=0
enabled=1
Note: Use double slashes in the baseurl and 192.168.1.201 is Yum server IP address.
Now disable or rename the existing repositories and update the local repository files:
# yum clean all
# yum update
You will probably get an error like shown below:
ftp://192.168.1.201/local/repodata/repomd.xml: [Errno 14] PYCURL ERROR 7 - "couldn't connect to host"
Trying other mirror.
This is because your firewall and SELinux may be preventing your client access to the local repository server. So run the following commands in your Yum server to allow the default firewall port 21 through your firewall/router:
# iptables -A INPUT -p tcp --dport 21 -j ACCEPT
Restart the firewall using the following command:
# systemctl restart firewalld.service
And update the SELinux booleans for FTP service:
# setsebool -P ftp_home_dir on
Now try again to update repository in the client side:
# yum update
Now you won’t get the error shown above and you will able to install packages from your local Yum repository server.


