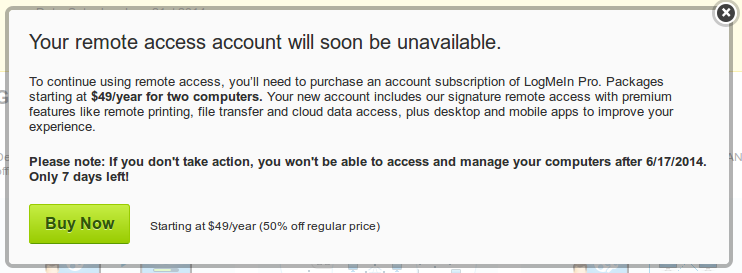
Most of you have heard and used the LogMeIn service which is used to access a remote system screen via Internet or through native applications. We can use Logmein software to online meetings, remote IT supports, web conferences etc. Unfortunately, Logmein is now switched to paid version and the free service is no longer available. You should purchase a paid plan to use Logmein to remotely view your desktop screen and manage it. If you still use the Logmein free account, you’ll prompted to purchase a Logmein pro service soon as shown in the below screenshot.
Luckily, we have another application called Mikogo which will help us to access the Desktop and Mobile screens remotely via web and manage them from anywhere. Mikogo is a free for personal use and works well on almost all modern operating systems such as GNU Linux, Windows, Mac OS X, Android, and Web. It is very simple to use, you don’t need to be an expert at all to use it. All you need is a decent uninterrupted Internet connection on both side. Mikogo has intuitive and decent interface to work with, and offers similar features present in Logmein.
Features
Mikogo offers the following features:
- Remote host meetings.
- Online Presentations and conferences.
- Remote IT support.
- Access remote systems directly via web browser. You don’t need to install anything on your system. However, native applications and mobile apps are available for all operating systems and mobile platforms.
- Built-in VoIP feature.
- Schedule meetings, so that you notify the participants in advance.
- And many yet to come..
Usage
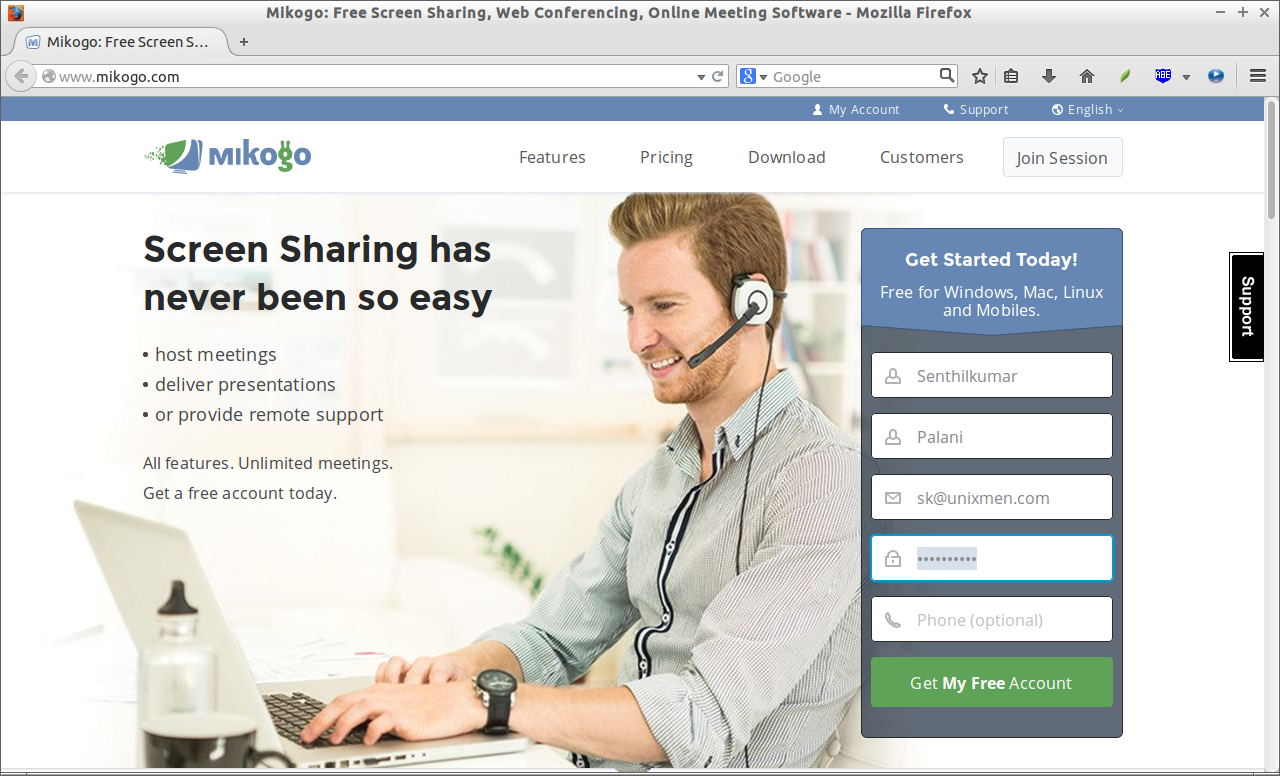
Like I said before, Mikogo usage is simple and straight forward. First, go to the Mikogo homepage and create a free account. Fill up the details and click Create Account button.
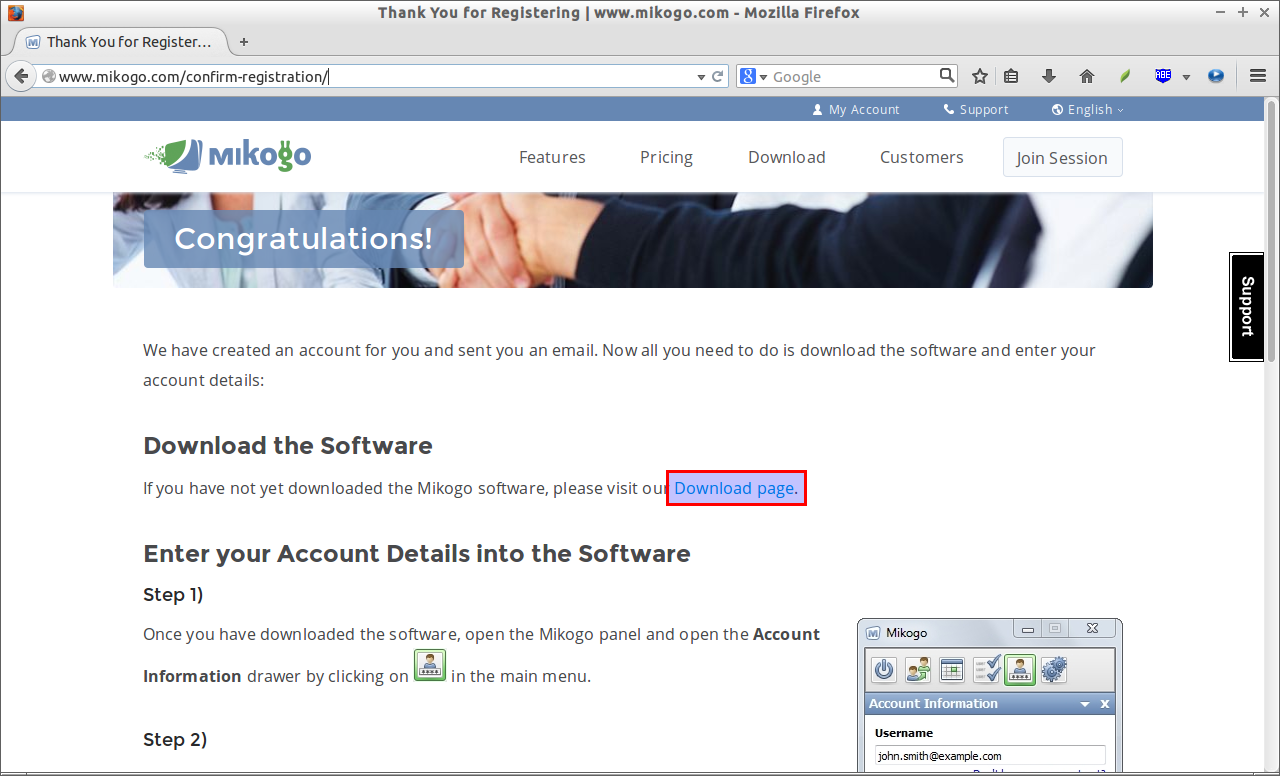
A new account will be created and a confirmation message will be sent to your mail. Now, click on the Download page link to download Mikogo software.
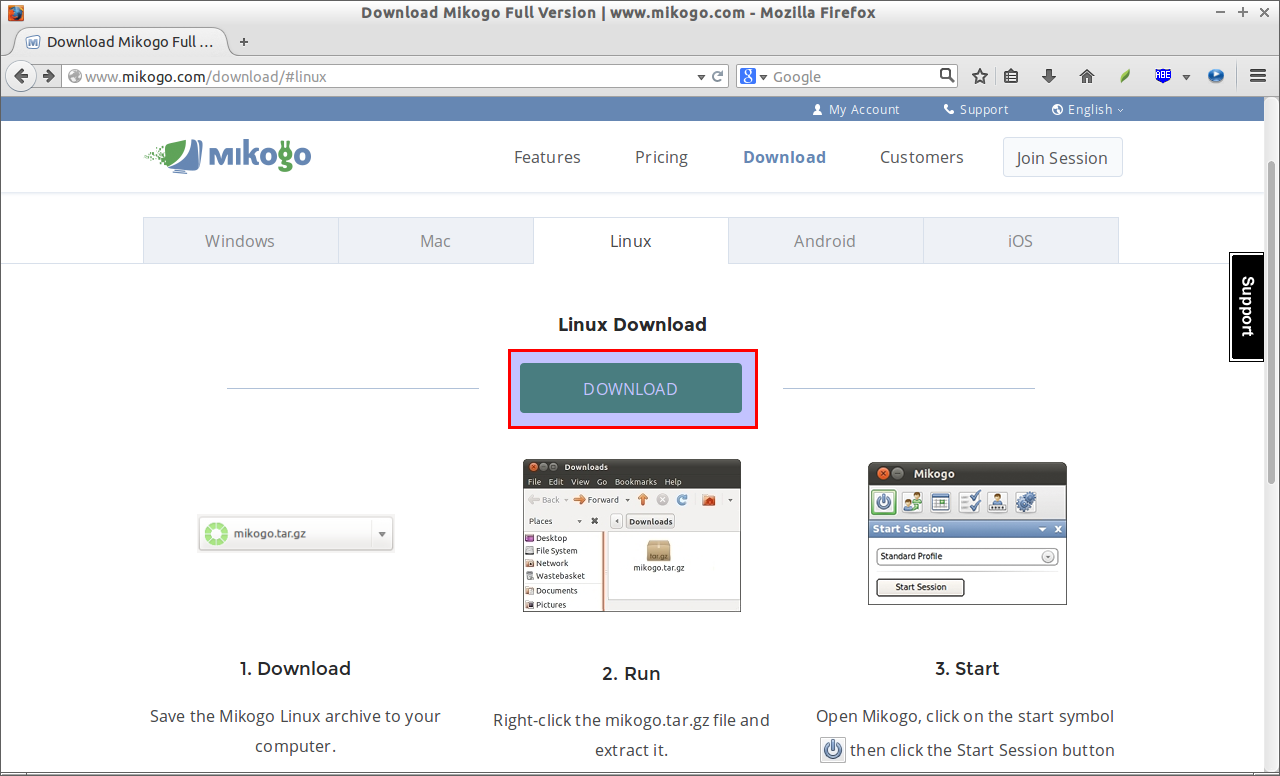
You’ll be redirected to the Mikogo download page. Select your operating system and click on the Download link.
As I use Linux, I downloaded the Linux version. After downloading it, go to the download location and extract it. Then, go to the extracted folder and double click to open the mikogo script file. Click execute to run Mikogo app.
The Mikogo interface will open. Click on the Power button on the Mikogo interface to start the new session.
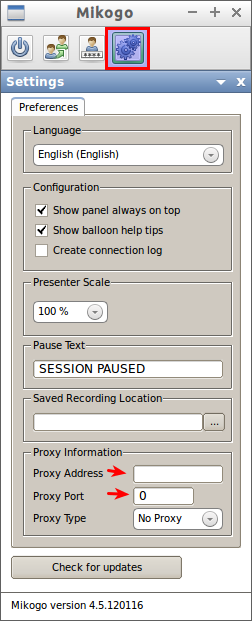
If you’re behind a proxy server, go to the the Settings section and set your proxy server ip address and port number.
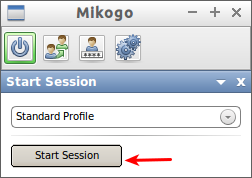
After click on the Power button on the left, you’ll see the following like screen. Select your preferred type of session from the drop-down menu, and then Click Start Session to start a new session.
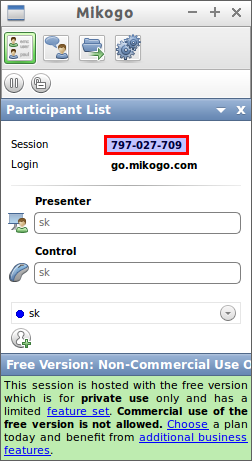
After starting the session, you’ll have an unique 9 digit session number that makes the participants to join with your session. Give this unique number to your recipient, so that they will be able to see your Desktop or Mobile screen from the URL: go.mikogo.com.
Be mindful that the free version is only for non-commercial and private use. If you want additional benefits and full features, you should buy the pro version. However, you can use the full features in the free version upto 14 days.
Joining to the Session
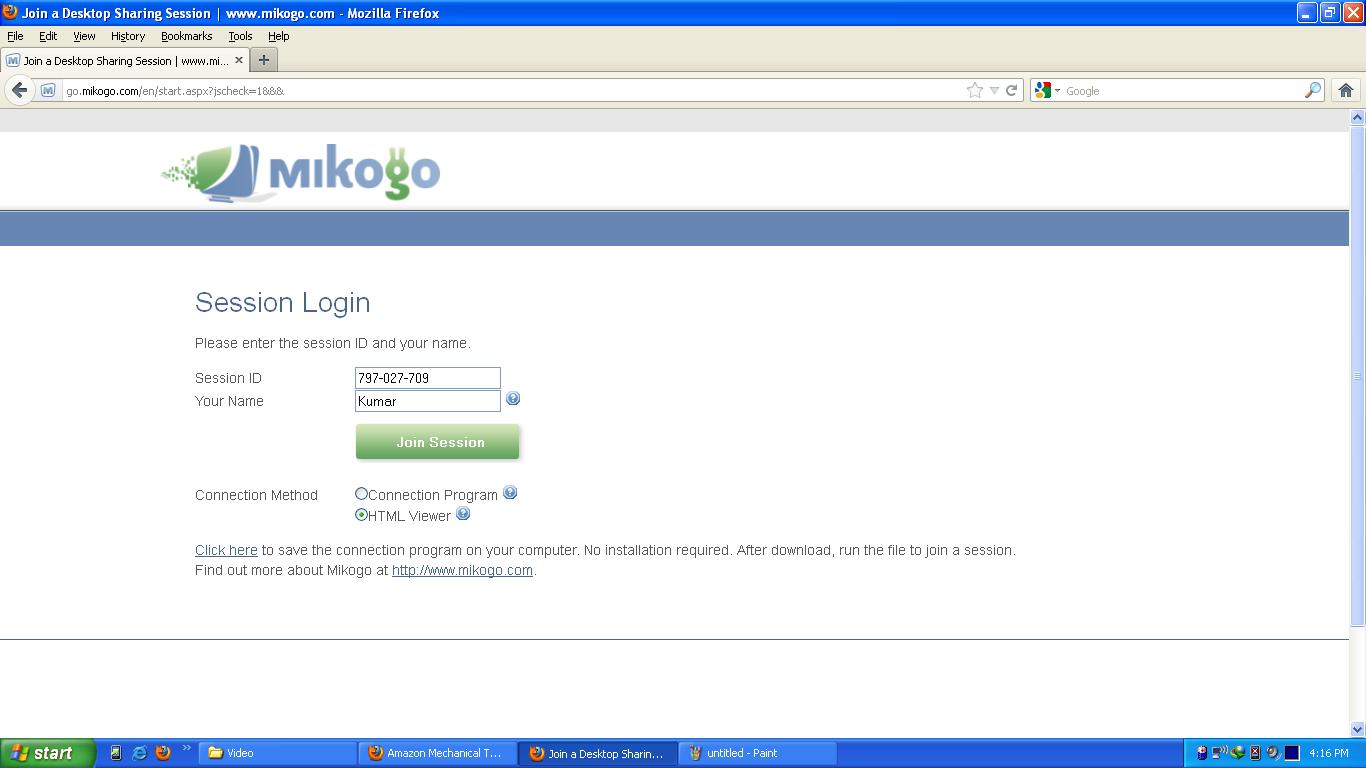
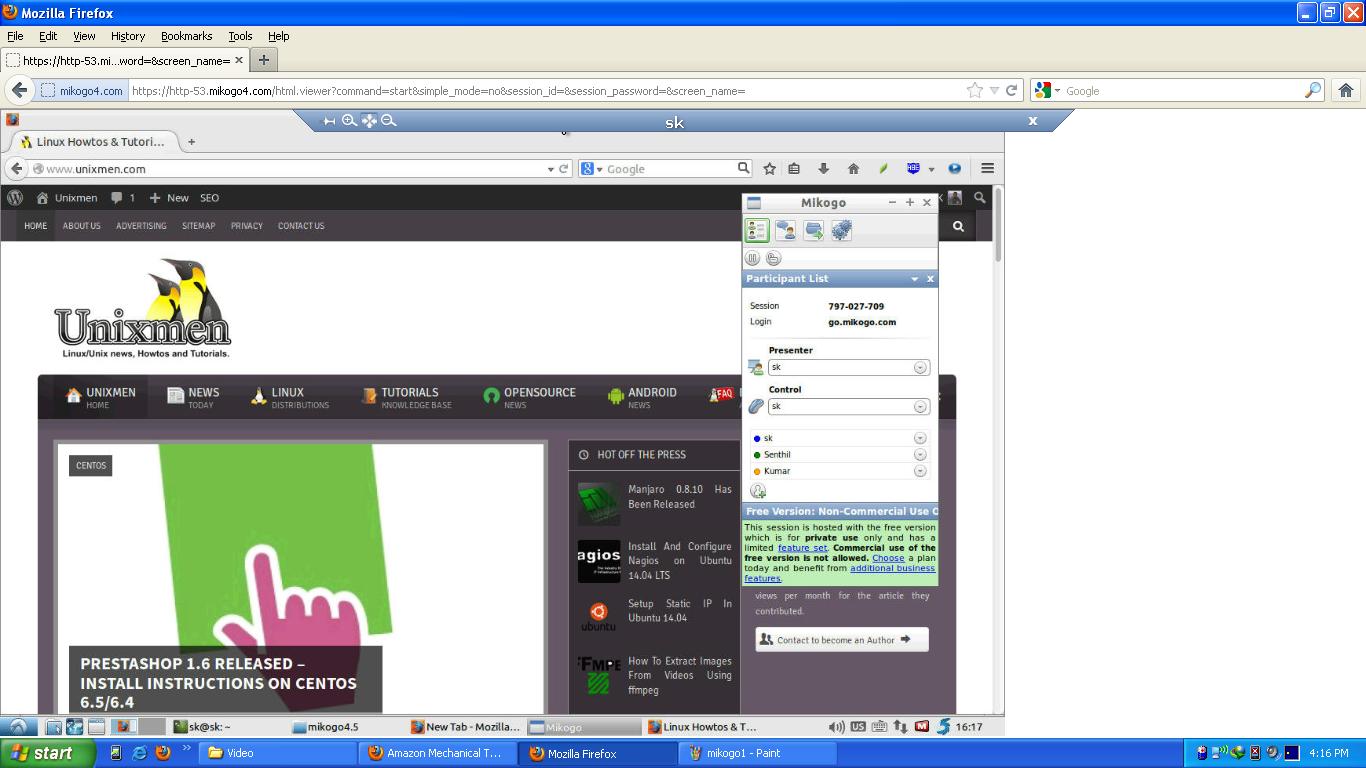
To join the session, tell your recipients to go to the URL go.mikogo.com and enter the 9 digit unique number given by you and click Join Session button. Also, you can invite the participants by clicking on the Invite participant button. To switch presenters, click on the drop-down menu and select new presenter. To allow remote control, click on the drop-down menu and select the participant who will be able to control your keyboard and mouse.
For testing purpose, I am going to join this session from my remote Windows desktop.
There are two different methods available to join with a session. You can either use the Connection program or the HTML viewer option. Connection program option will allow the users to control everything of the shared screen, whereas HTML viewer option only allows to view the Remote screen. For testing purpose, here I use HTML version.
Here is how my Local Ubuntu 14.04 desktop looked from my remote Windows 7 desktop.
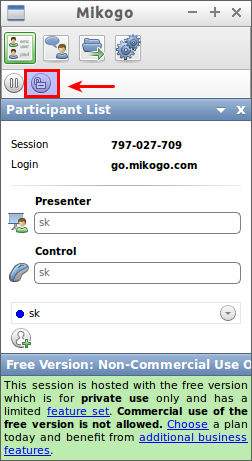
You can also lock a session by enabling the Lock option, so that additional participants can’t join with that particular session. Also, you can pause a session by clicking on the Pause button which is found next to the lock button.
Mikogo not only shares the screens, but also it allows us to chat with the recipient and send files to them. The Chat and File transfer options are present in the Main menu bar.
Chat with recipients
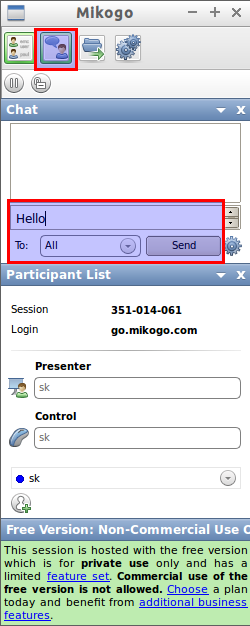
To chat with your guests, click on the Chat button on the main menu bar. You can either send message to all guests at once or to a particular guest.
File Transfer
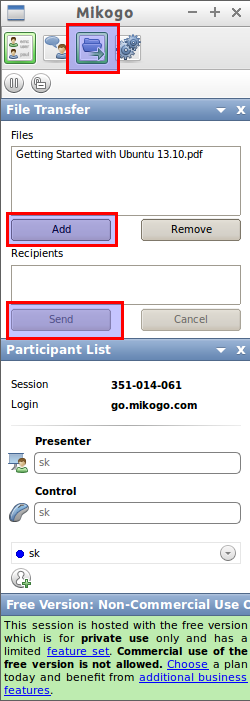
To transfer files to your guests, click on the Add button, select the files you want to transfer, select the recipients, and then click Send button.
In my personal opinion, it’s definitely a must have app for System administrators who are giving remote support often to their clients. Hope it will be useful for you too.
That’s it. Cheers!


