HHVM, stands for HipHop Virtual Machine, is an open source virtual machine developed by Facebook development team. It is designed for executing massive amount of codes written in Hack and PHP languages. HHVM gives superior performance, and improves the efficiency of PHP execution, and increases the productivity for the developers. The developers says that compared with the regular Zend PHP 5.2 engine + APC, HHVM has realized over a 9x increase in web request throughput and over a 5x reduction in memory consumption for Facebook. This is how Facebook handling millions of active users everyday. According to this blog, the wordpress sites running with HHVM delivers better overall performance, approximately 63%, than the websites which are running using traditional LAMP stack (Apache, MySQL, and PHP). Sounds awesome? Indeed!
HHVM will work on all modern operating systems such as GNU/Linux, Windows, and Mac OS.
HHVM has many features including the following:
- The Hack Language;
- JIT Compilation;
- HNI;
- FastCGI support;
- Increasing PHP5 Parity;
- hphpd debugger;
- … and more.
Well, let us see how to install it on a Linux system.
Installing HHVM On Ubuntu 14.04
Run the following commands to add HHVM repository, and install hhvm package.
wget -O - http://dl.hhvm.com/conf/hhvm.gpg.key | sudo apt-key add -
echo deb http://dl.hhvm.com/ubuntu trusty main | sudo tee /etc/apt/sources.list.d/hhvm.list
sudo apt-get update
sudo apt-get install hhvm
For other distribution’s installation instructions, please refer the official page given in the bottom this article.
After the installation has finished, you may get the following result.
In my Ubuntu 14.04 server, I got the following result.
[...]

* HHVM is installed.
*
* Running PHP web scripts with HHVM is done by having your webserver talk to HHVM
* over FastCGI. Install nginx or Apache, and then:
* $ sudo /usr/share/hhvm/install_fastcgi.sh
* $ sudo /etc/init.d/hhvm restart
* (if using nginx)  $ sudo /etc/init.d/nginx restart
* (if using apache) $ sudo /etc/init.d/apache restart
*
* Detailed FastCGI directions are online at:
* https://github.com/facebook/hhvm/wiki/FastCGI
*
* If you're using HHVM to run web scripts, you probably want it to start at boot:
* $ sudo update-rc.d hhvm defaults
*
* Running command-line scripts with HHVM requires no special setup:
* $ hhvm whatever.php
*
* You can use HHVM for /usr/bin/php even if you have php-cli installed:
* $ sudo /usr/bin/update-alternatives --install /usr/bin/php php /usr/bin/hhvm 60
********************************************************************
Setting up libpaper-utils (1.1.24+nmu2ubuntu3) ...
Processing triggers for libc-bin (2.19-0ubuntu6.1) ...
As you see in the above result, HHVM gives us the script to install and configure FastCGI for our webserver.
For example, If you use apache web server, then run the following commands:
sudo /usr/share/hhvm/install_fastcgi.sh
sudo /etc/init.d/hhvm restart
sudo /etc/init.d/apache restart
For nginx web server, run the following commands:
sudo /usr/share/hhvm/install_fastcgi.sh
sudo /etc/init.d/hhvm restart
sudo /etc/init.d/nginx restart
If you want to start hhvm service automatically on ever reboot, run the following command:
sudo update-rc.d hhvm defaults
Now, check whether HHVM is installed properly by running the following command.
hhvm -a
Oops! You might get the following error.
hhvm: error while loading shared libraries: libgmp.so.10: cannot open shared object file: No such file or directory
To fix this error, install the missing dependency package “libgmp10” by entering the following command:
sudo apt-get install libgmp10
Then, restart the hhvm service:
sudo service hhvm restart
You should be able to see something like this:
hhvm -a
Welcome to HipHop Debugger!
Type "help" or "?" for a complete list of commands.

Note: no server specified, debugging local scripts only.
If you want to connect to a server, launch with "-h" or use:
  [m]achine [c]onnect <servername>

hphpd>
Type quit to return back to your Terminal session.
The following command shows you how to use hhvm.
hhvm --help
Sample output:
Usage:

   hhvm [-m <mode>] [<options>] [<arg1>] [<arg2>] ...

Options:
  --help                                display this message
  --version                             display version number
  --php                                 emulate the standard php command line
  --compiler-id                         display the git hash for the compiler
  --repo-schema                         display the repository schema id
  -m [ --mode ] arg (=run)              run | debug (d) | server (s) | daemon |
                                        replay | translate (t)
  -a [ --interactive ]                  Shortcut for --mode debug
  -c [ --config ] arg                   load specified config file
  -v [ --config-value ] arg             individual configuration string in a
                                        format of name=value, where name can be
                                        any valid configuration for a config
                                        file
  -d [ --define ] arg                   define an ini setting in the same
                                        format ( foo[=bar] ) as provided in a
                                        .ini file
  --no-config                           don't use the default php.ini
  -p [ --port ] arg (=-1)               start an HTTP server at specified port
  --port-fd arg (=-1)                   use specified fd instead of creating a
                                        socket
  --ssl-port-fd arg (=-1)               use specified fd for SSL instead of
                                        creating a socket
  --admin-port arg (=-1)                start admin listener at specified port
  --debug-config arg                    load specified debugger config file
  -h [ --debug-host ] [=arg(=localhost)]
                                        connect to debugger server at specified
                                        address
  --debug-port arg (=-1)                connect to debugger server at specified
                                        port
  --debug-extension arg                 PHP file that extends command 'arg'
  --debug-cmd arg                       executes this debugger command and
                                        returns its output in stdout
  --debug-sandbox arg (=default)        initial sandbox to attach to when
                                        debugger is started
  -u [ --user ] arg                     run server under this user account
  -f [ --file ] arg                     execute specified file
  -l [ --lint ] arg                     lint specified file
  -w [ --show ] arg                     output specified file and do nothing
                                        else
  --temp-file                           file specified is temporary and removed
                                        after execution
  --count arg (=1)                      how many times to repeat execution
  --no-safe-access-check arg (=0)       whether to ignore safe file access
                                        check
  --arg arg                             arguments
  --extra-header arg                    extra-header to add to log lines
  --build-id arg                        unique identifier of compiled server
                                        code
  --instance-id arg                     unique identifier of server instance
  --xhprof-flags arg (=0)               Set XHProf flags
Testing PHP scripts using HHVM
Let us create a sample php scrip called “unixmen.php”.
vi unixmen.php
Add the following lines:
<?php

echo "HHVM is working\n";
Save and close the file.
Run the following command to test the script.
hhvm unixmen.php
Sample output:
HHVM is working
Configuring HHVM in the FastCGI mode with Apache Web server
As of version 3.0, HHVM no longer supports the built-in webserver, You should use your own webserver (nginx or apache) talking to HHVM over fastcgi.
First install apache web server in Ubuntu server as shown below.
sudo apt-get install apache2 -y
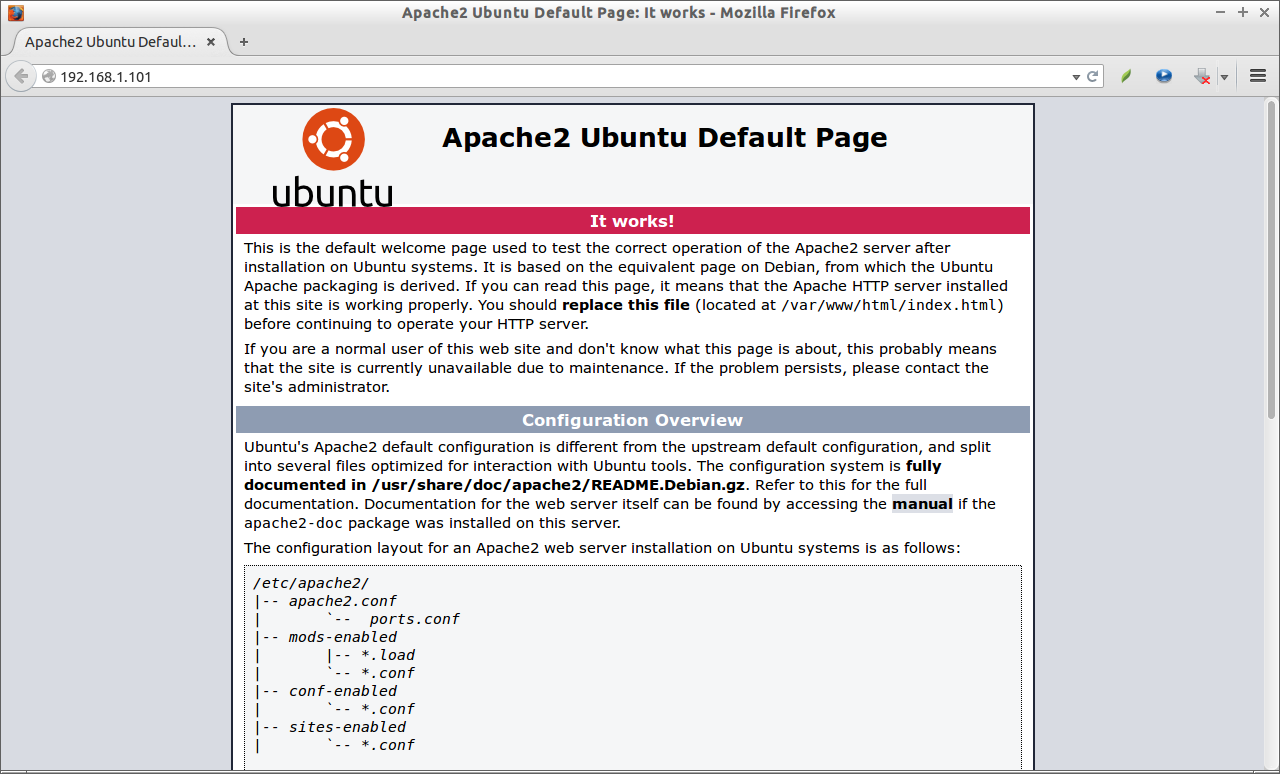
To check whether the apache is working, open up your web browser, and navigate to the URL http://ip-address. You may see the following like screen.
Now, enter the following commands to configure HHVM in the FastCGI mode with apache web server.
sudo /usr/share/hhvm/install_fastcgi.sh
sudo /etc/init.d/hhvm restart
HHVM will be automatically configured for apache server, so you don’t have to do anything. You may notice that the php.ini, and server.ini files have been created automatically under the directory /etc/hhvm/.
sudo cat /etc/hhvm/php.ini
Sample output:
; php options

; hhvm specific
hhvm.log.level = Warning
hhvm.log.always_log_unhandled_exceptions = true
hhvm.log.runtime_error_reporting_level = 8191
hhvm.mysql.typed_results = false
sudo cat /etc/hhvm/server.ini
Sample output:
; php options

pid = /var/run/hhvm/pid

; hhvm specific

hhvm.server.port = 9000
hhvm.server.type = fastcgi
hhvm.server.default_document = index.php
hhvm.log.use_log_file = true
hhvm.log.file = /var/log/hhvm/error.log
hhvm.repo.central.path = /var/run/hhvm/hhvm.hhbc
Configuring HHVM in the FastCGI mode with nginx Web server
Install nginx package:
sudo apt-get install nginx
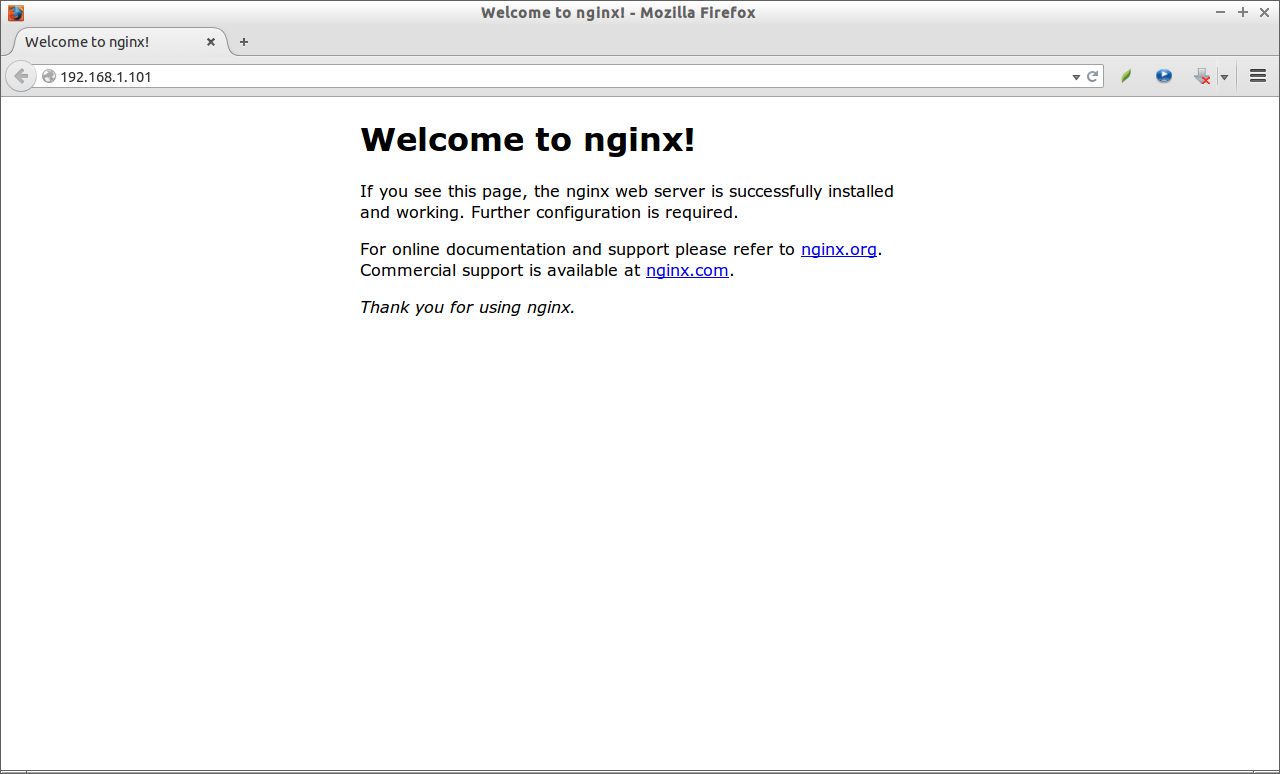
To check whether the nginx server is working, open up your web browser, and navigate to the URL http://ip-address. You may see the following like screen.
Now, enter the following commands to configure HHVM in the FastCGI mode with nginx web server.
sudo /usr/share/hhvm/install_fastcgi.sh
sudo /etc/init.d/hhvm restart
HHVM will be automatically configured for nginx. You may see the hhvm.conf will be created automatically.
Let us check the contents of hhvm.conf file.
sudo cat /etc/nginx/hhvm.conf
Sample output:
location ~ \.(hh|php)$ {
    fastcgi_keep_conn on;
    fastcgi_pass   127.0.0.1:9000;
    fastcgi_index  index.php;
    fastcgi_param  SCRIPT_FILENAME $document_root$fastcgi_script_name;
    include        fastcgi_params;
}
If you have used php-fpm before, the above lines will look familiar to you.
Also, check /etc/nginx/sites-available/default file to verify whether this hhvm.conf has been included.
sudo cat /etc/nginx/sites-available/default
Sample output:
Scroll down to the server derivative. You should the file hhvm.conf has been included already.
[...]
server {
    listen 80 default_server;
    listen [::]:80 default_server ipv6only=on;

    root /usr/share/nginx/html;
    index index.html index.htm;

    # Make site accessible from http://localhost/
    server_name localhost;
    include hhvm.conf;
[...]
That’s it. Cheers!
Source & Reference link:


