About SSH
We, all, know what is SSH, right? SSH, stands for Secure Shell (sometimes known as Secure Socket Shell), is a Cryptographic Protocol that can be used to access remote server and VPS from your local systems. We don’t have to be near to the physical machine to perform commands in the remote system’s Terminal. As it name says, SSH is completely secure and It encrypts all traffic between remote and local systems. SSH is actually a suite of three utilities namely slogin, ssh, and scp. These three utilities are the secure replacement of the earlier UNIX utilities namely rlogin, rsh, and rcp. SSH will help you to get the virtual Terminal environment of the remote systems.
Manage Multiple SSH Sessions
In this tutorial, we will see how to manage multiple ssh sessions. Sometimes, you may want to access multiple user’s Terminal of a remote system at the same time, or you may want to access multiple remote system’s Terminal using SSH. How can you do that? No worries.
There are few tools comes in handy for this purpose. In this tutorial, we are going to discuss about the following tools.
- Cluster SSH ;
- PAC Manager.
Prerequisites
Install openSSH on your Remote systems
Make sure you have installed openssh software on your remote systems.
To install openSSH on DEB based systems, run:
sudo apt-get install openssh-server
On RPM based systems, run:
yum install openssh-server
Start sshd service and make it to start automatically on every reboot.
On RHEL 6.x based systems:
service sshd start
chkconfig sshd on
On RHEL 7 systems:
systemctl start sshd
systemctl enable sshd
1. Cluster SSH
Cluster SSH, also known as cssh, is a Cluster administration tool via SSH. It is used to control number of xterm windows via a single graphical console window to allow commands to be interactively run on multiple servers over an SSH connection. If you’re are a Linux administrator managing hundreds of machines, you may have chances to enter same command on many servers. To do that, you have to login to each server and should enter the command on each server. It is such a time consuming process. Using ClusterSSH, the commands typed in the administration console window will replicate to all servers. In simple words it is an excellent tool for making the same change on multiple servers at the same time.
Install Cluster SSH on your Local system
On Ubuntu/Debian:
sudo apt-get install clusterssh
On RHEL/CentOS 6.x:
cssh is not available in official repositories. So add EPEL repository and then install clusterssh.
To add EPEL repository, enter the following command:
yum install epel-release
Now install ClusterSSH:
yum install clusterssh -y
Add Hosts
Here I am going to manage two remote servers, one is Ubuntu 15.04 server and the other is CentOS 6.6 server from my Lubuntu 14.04 desktop. IP Address address of both servers are 192.168.1.100 and 192.168.1.101 respectively.
Launch Cssh console either from Unity or Dash. The default interface of Cssh will look like below.
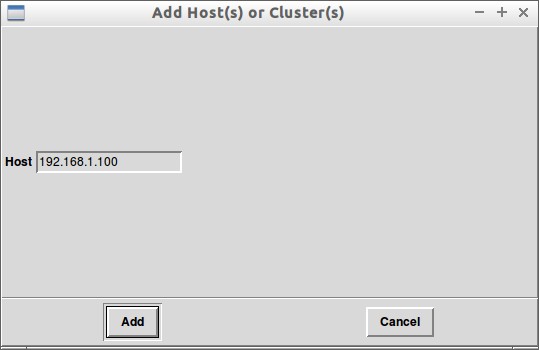
Let us now add the remote hosts. To do that, go to Hosts -> Add Host(s) or Cluster(s) from the main menu. Enter the IP address of the remote host.
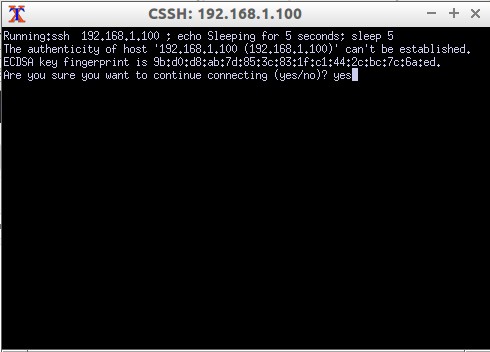
Type Yes and press Enter to add the remote hosts ssh keys to your local system.
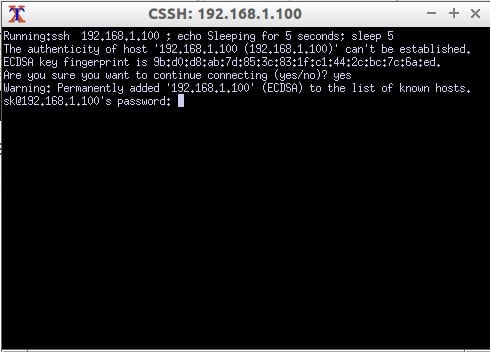
Finally, enter the password.
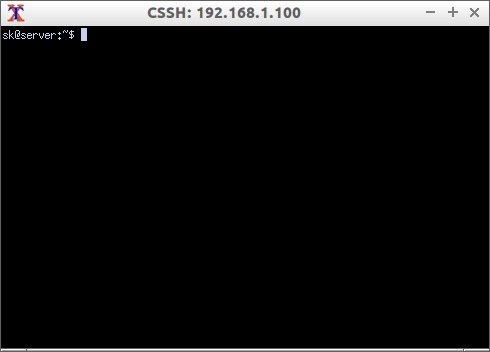
That’s it. We have successfully connected to the Ubuntu 14.04 system (192.168.1.100).
Similarly, add as many as remote hosts you want.
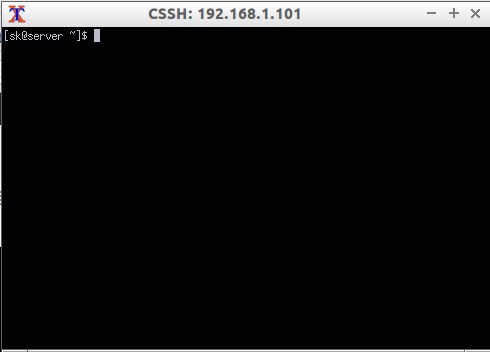
Here is my another remote host running with CentOS 6.5 (192.168.1.101).
But, wait? We’re supposed to manage multiple SSH sessions at once, right? Yes. Now let us create cluster which contains more than one system.
Add Cluster(s)
Create a Cluster SSH config file and define the clusters.
Here, I am going to use my cluster name as testcluster.
First create a cluster config file as shown below:
sudo nano /etc/clusters
Add the following contents:
clusters = testcluster
testcluster = 192.168.1.100 192.168.1.101
Save and exit the file.
As I mentioned above, testcluster is my cluster name. 192.168.1.100 is my Ubuntu 14.04 server’s IP address and 192.168.1.101 is my CentOS 6 server’s IP address. Alternatively, You can use hostnames instead of IP address.
Open up your terminal and run the following command.
cssh -l sk testcluster
Here sk is the user name of my Ubuntu and centos remote server.
Note: You must allow the port 22 through Firewall/Router to access the servers from any remote machines.
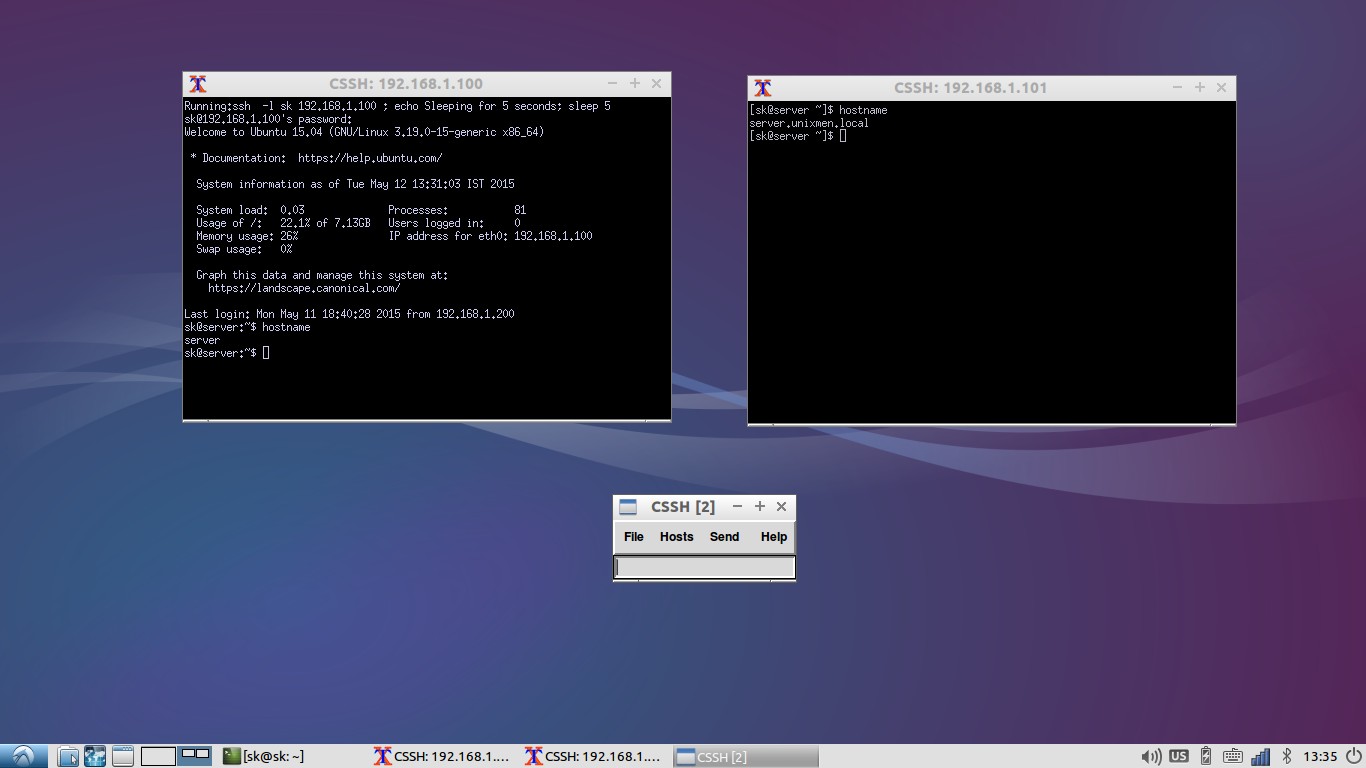
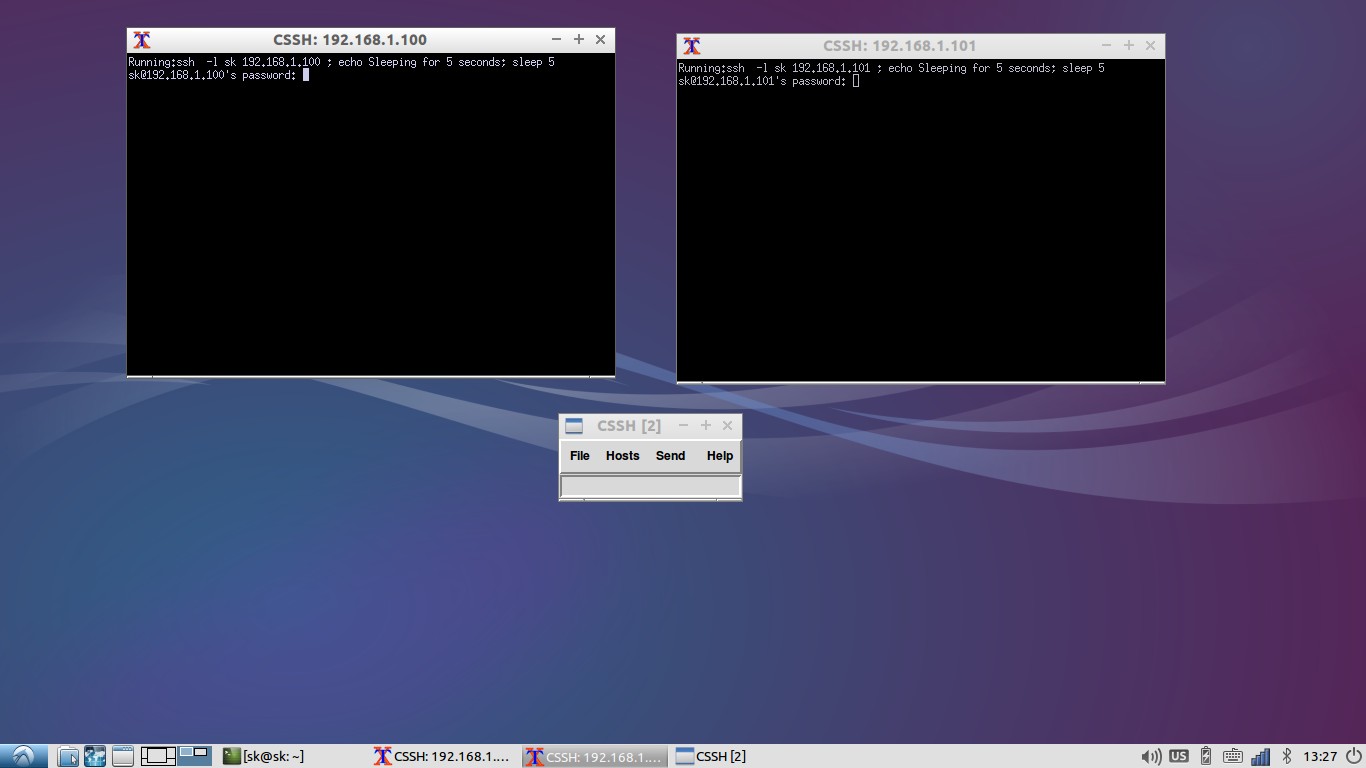
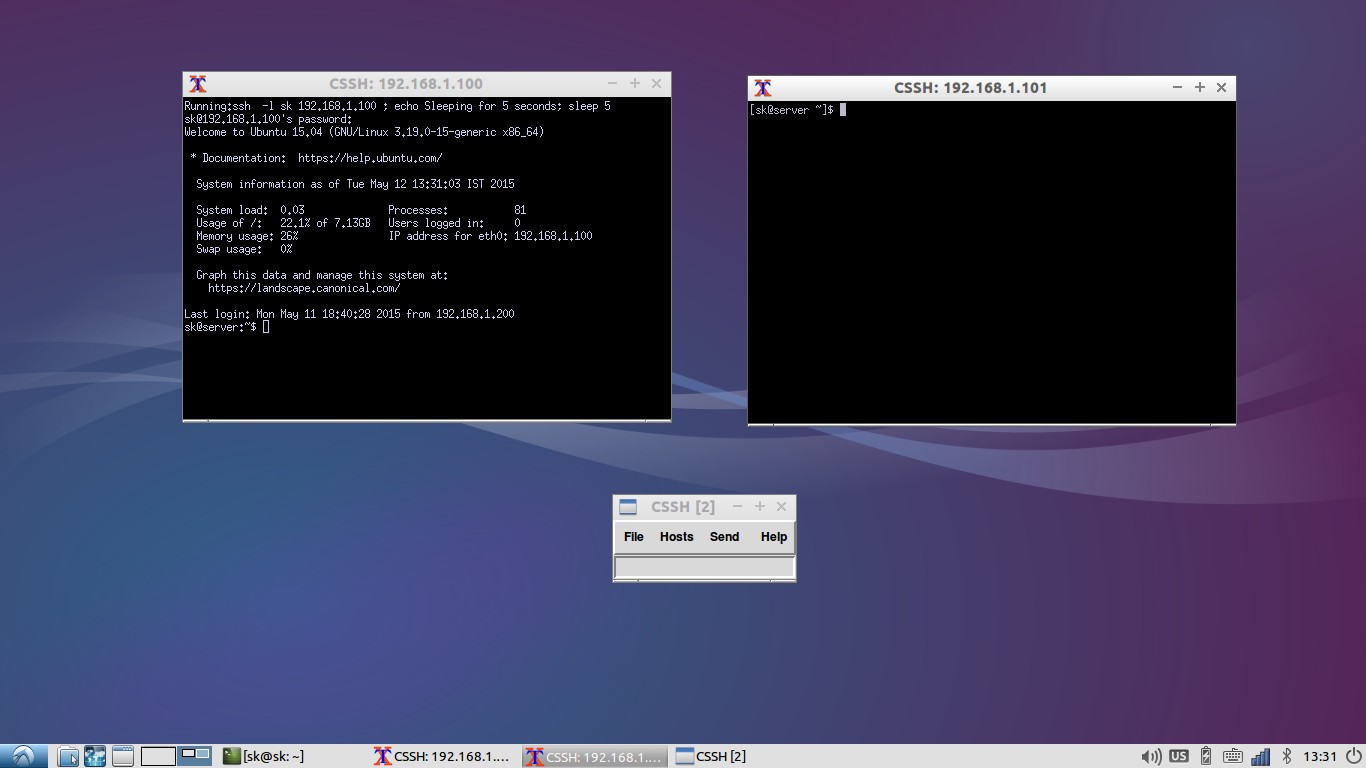
The terminal windows of all servers will automatically open. Refer the following screenshot.
Enter the password on both server’s SSH sessions. Now you will see that two servers are logged-in.
Also, you can launch each systems SSH sessions using hostname or IP address instead of cluster name as shown below:
cssh -l sk 192.168.1.100 192.168.1.101
Usage
The small window called CSSH(2) is the administration console window of ClusterSSH. The commands typed in the administration console will reflect on both servers.
For example, let us type hostname in the CSSH’s console and see what happens.
As you see in the above screenshot, the command hostname is performed automatically on both servers at the same time and displays the result.
A word of caution: Beware while using CSSH cluster. If you type any wrong commands or inappropriate commands in CSSH admin console, it will perform on all servers simultaneously and will lead you into trouble. Double check the commands before hit enter. Enjoy!
2. PAC Manager
PAC, Perl Auto Connector, is a Perl/GTK replacement for SecureCRT/PuTTY etc.,(Linux SSH/Telnet). It provides a GUI to configure connections, users, passwords, EXPECT regular expressions, macros etc. This is free software, licensed under GNU’s GLPv3 version.
Features
- Unique Linux application to implement SecureCRT’s functionality ;
- Remote and local macros ;
- Remotely send commands with EXPECT regexp ;
- Cluster connections!! Connections on same cluster share keystrokes ;
- Scripting support ;
- Serial/tty connection via cu/tip/remote-tty connections ;
- Pre/post connections local executions ;
- TABS OR WINDOWS for connections ;
- Proxy support ;
- KeePass integration ;
- Wake On LAN capabilities ;
- Possibility to split terminals in the same TAB ;
- Quick access to configured connections via tray menu icon ;
- Best Linux GUI for SSH, Telnet, SFTP, rdesktop, VNC, cu, remote-tty, FTP, etc. ;
- DEB, RPM & .TAR.GZ packages available ;
- FREE (GNU GPLv3).
Install PAC Manager On Ubuntu/Debian
Download the latest version from www.sourceforge.net:
wget http://sourceforge.net/projects/pacmanager/files/pac-4.0/pac-4.5.5-all.deb
Install it using command:
sudo apt-get install gdebi
sudo gdebi pac-4.5.5-all.deb
Install PAC Manager On RHEL/CentOS
On 32bit systems:
wget http://sourceforge.net/projects/pacmanager/files/pac-4.0/pac-4.5.5-2.i386.rpm
On 64bit systems:
wget http://sourceforge.net/projects/pacmanager/files/pac-4.0/pac-4.5.5-2.x86_64.rpm
Then, install PAC manager using command:
rpm -ivh pac-4.5.5-2*.rpm
PAC manager has been installed now. Next, let us see how to see how it works.
Launch PAC
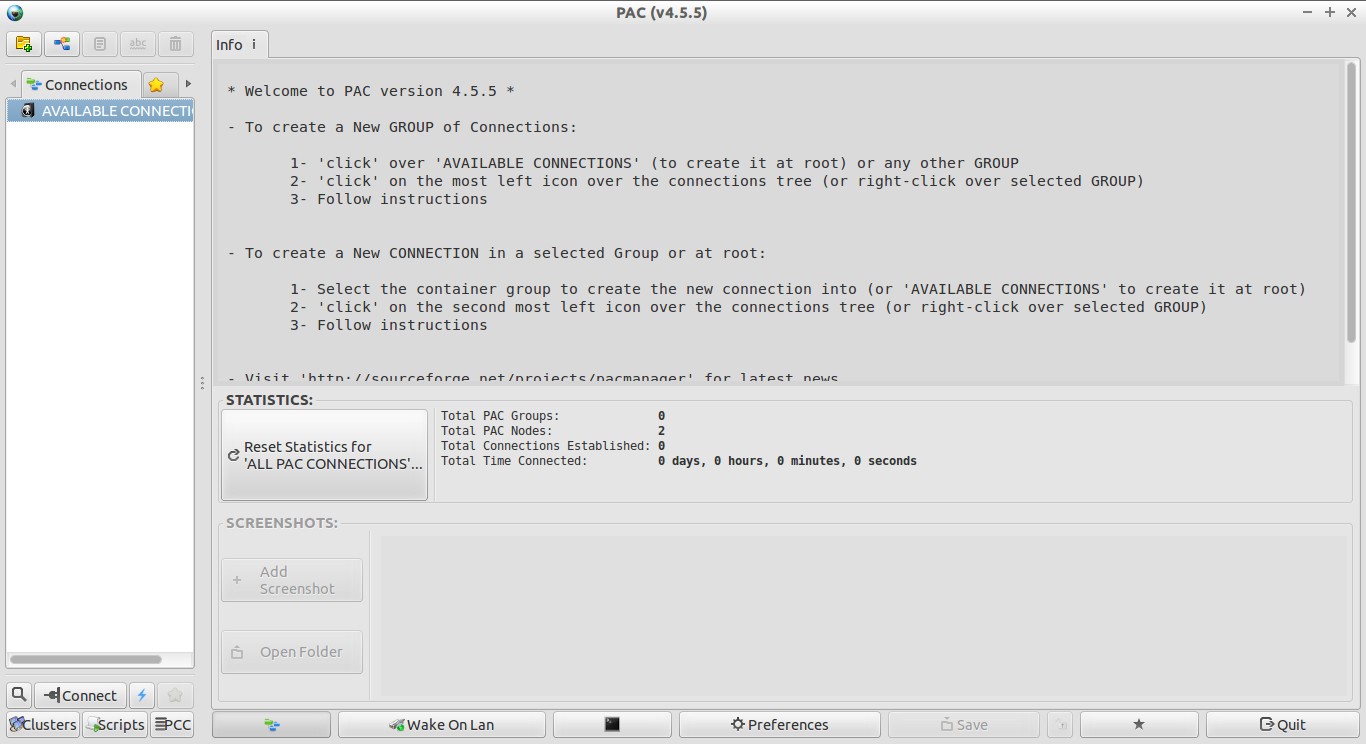
Open up PAC from your Dash or Menu. The main window of PAC manager will look like below.
Add Remote Hosts
First, let us see how to access a single remote host.
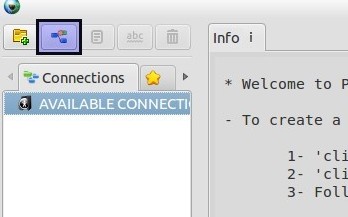
Click on the New Connection icon in the top left of PAC main window.
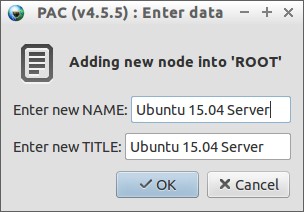
Enter the Name and Title for the new connection.
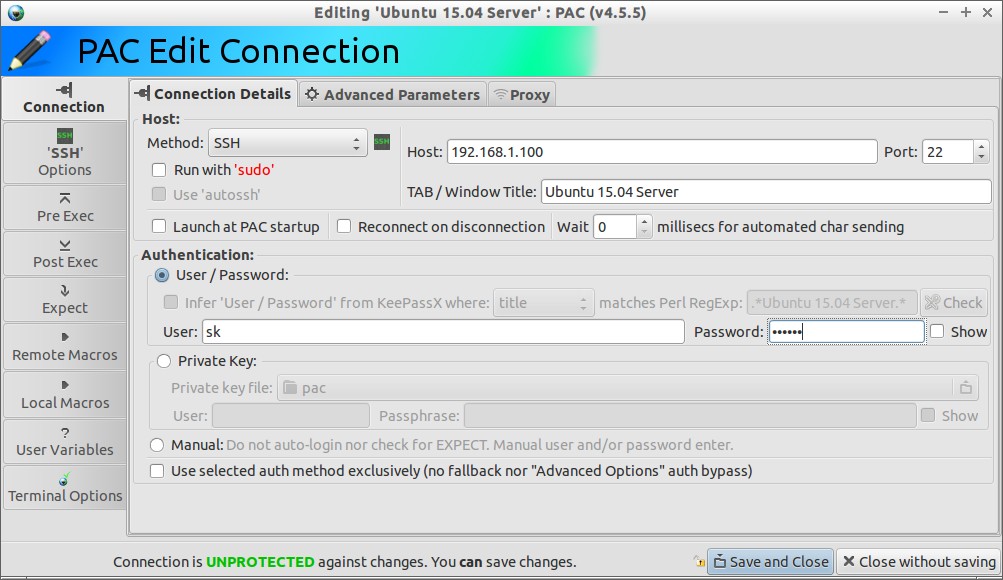
In the next window, select the connection method from the Method drop down box. There are many connection methods available such as FTP, SFTP, SSH, RDP, RDESKTOP and VNC etc. The default method is SSH. Then enter the ip address, user name and password of the remote host. Finally, click on Save and Close button.
If you want to run the remote user with sudo permission, check the ‘sudo’ box under the connection method drop down box.
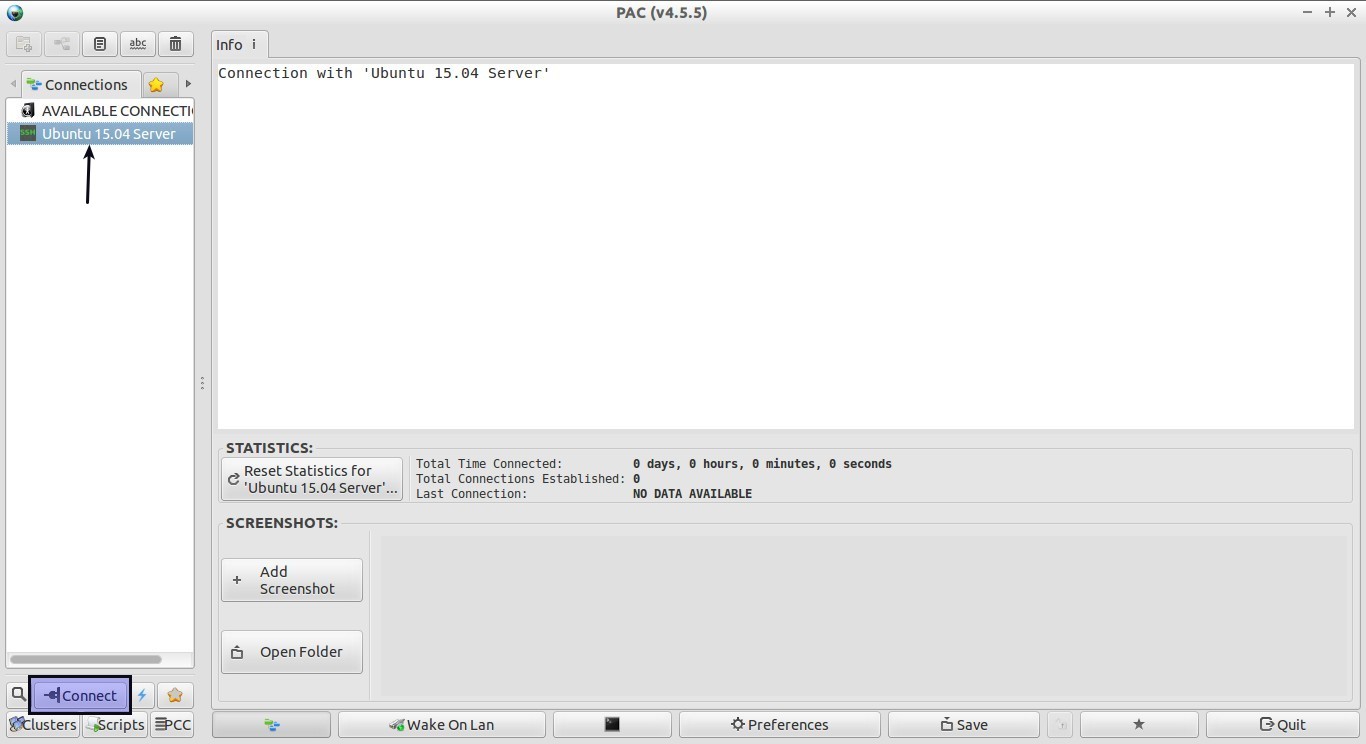
Now the remote node will be added under Connections tab in the PAC main window.
Connect to Remote Host
Select the remote node that you want to access and click Connect.
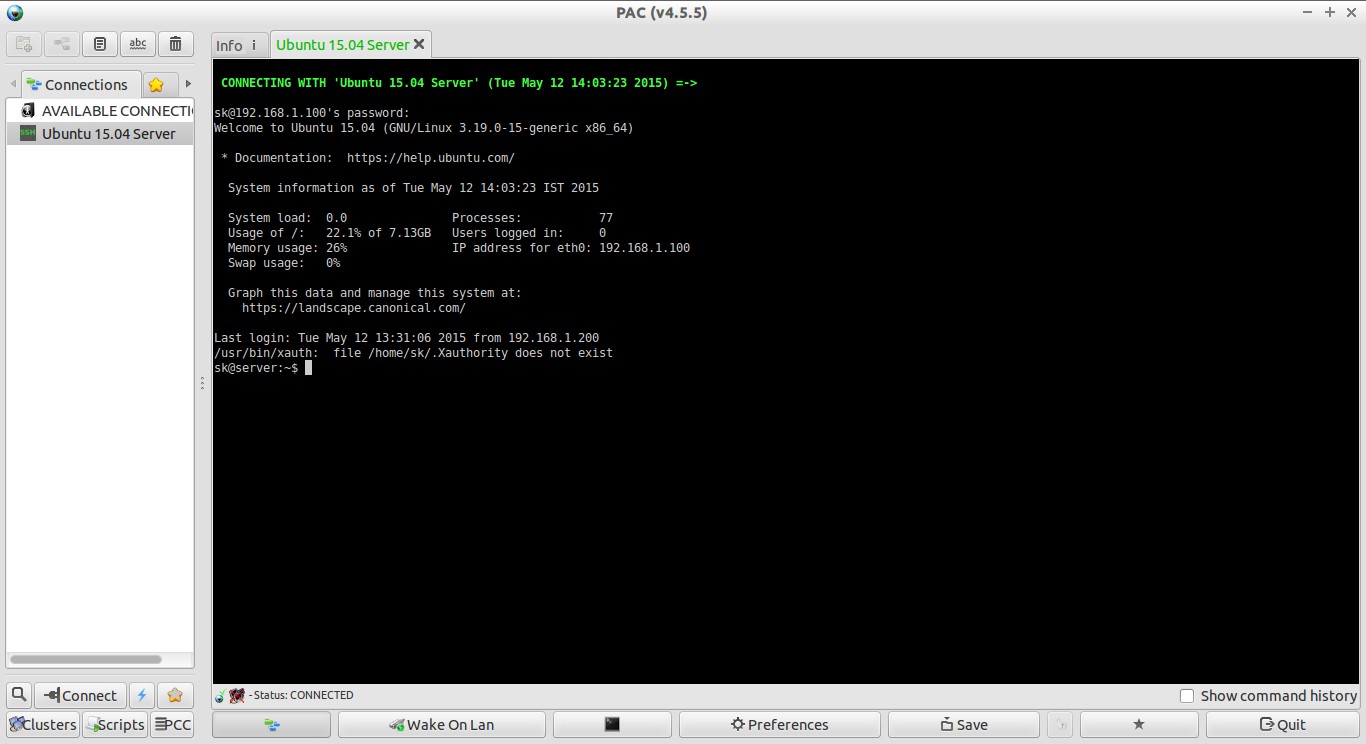
Voila! Now, you will able to connect to your remote host.
As you see in the above screenshot, I can able to access my Ubuntu 15.04 server from PAC Manager. Similarly, you can add and access as many remote hosts you want. All remote hosts will be listed under ‘Connections’ section in the left side of the PAC main window.
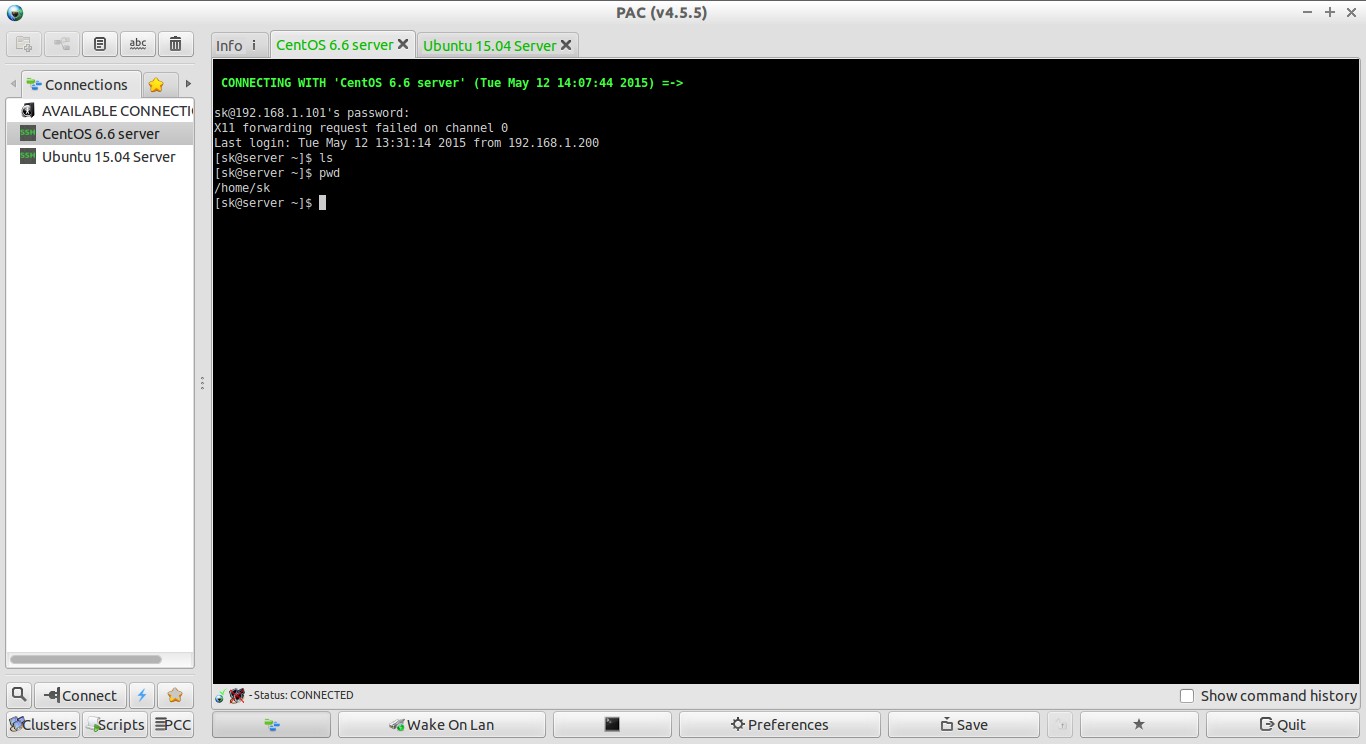
The below screenshots shows my remote Ubuntu and CentOS server’s SSH sessions.
Create Cluster(s)
Using Cluster, We can combine two or more systems, and perform same command on multiple SSH sessions at the same time.
First, connect to remote systems that you want to add to the Cluster.
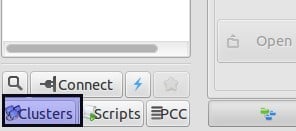
Let us create a new Cluster. To create a Cluster, click on the Clusters button in the lower left corner of PAC window.
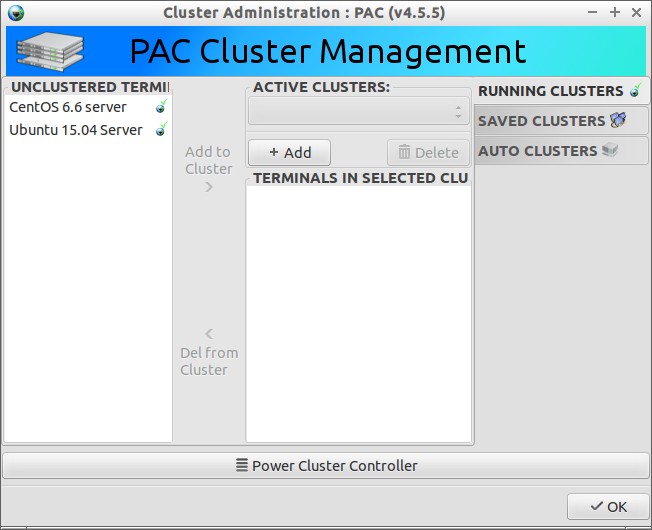
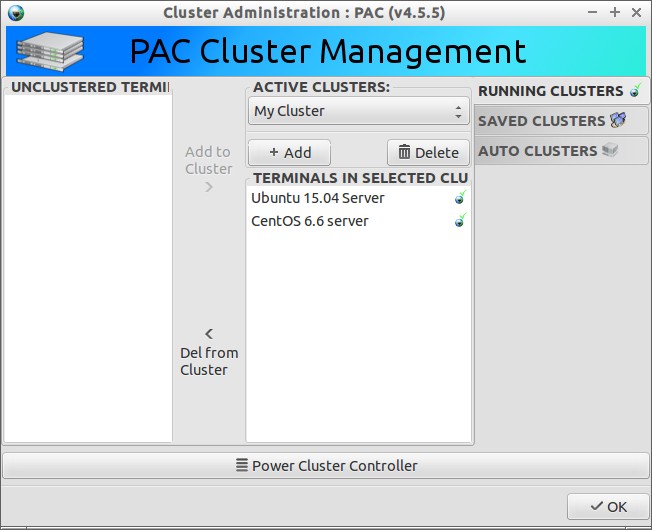
The following window will appear. Click Add button.
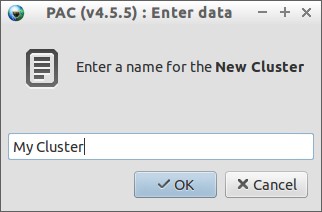
Enter Cluster name.
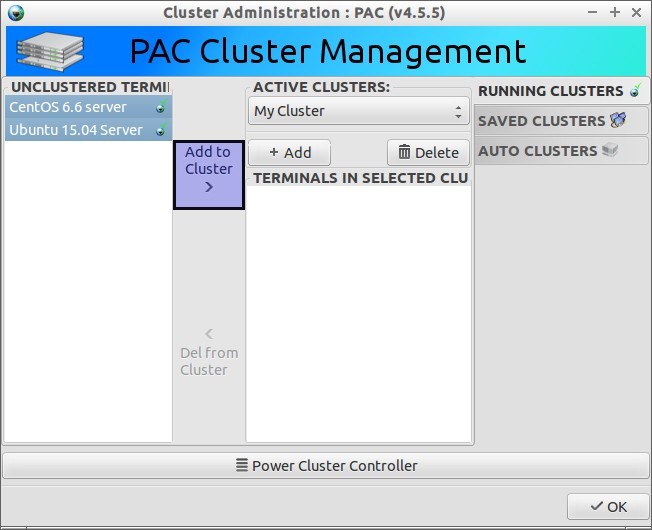
Select the remote hosts and click Add to Cluster button.
Now, our remote hosts are joined to the Cluster. Click Ok to save.
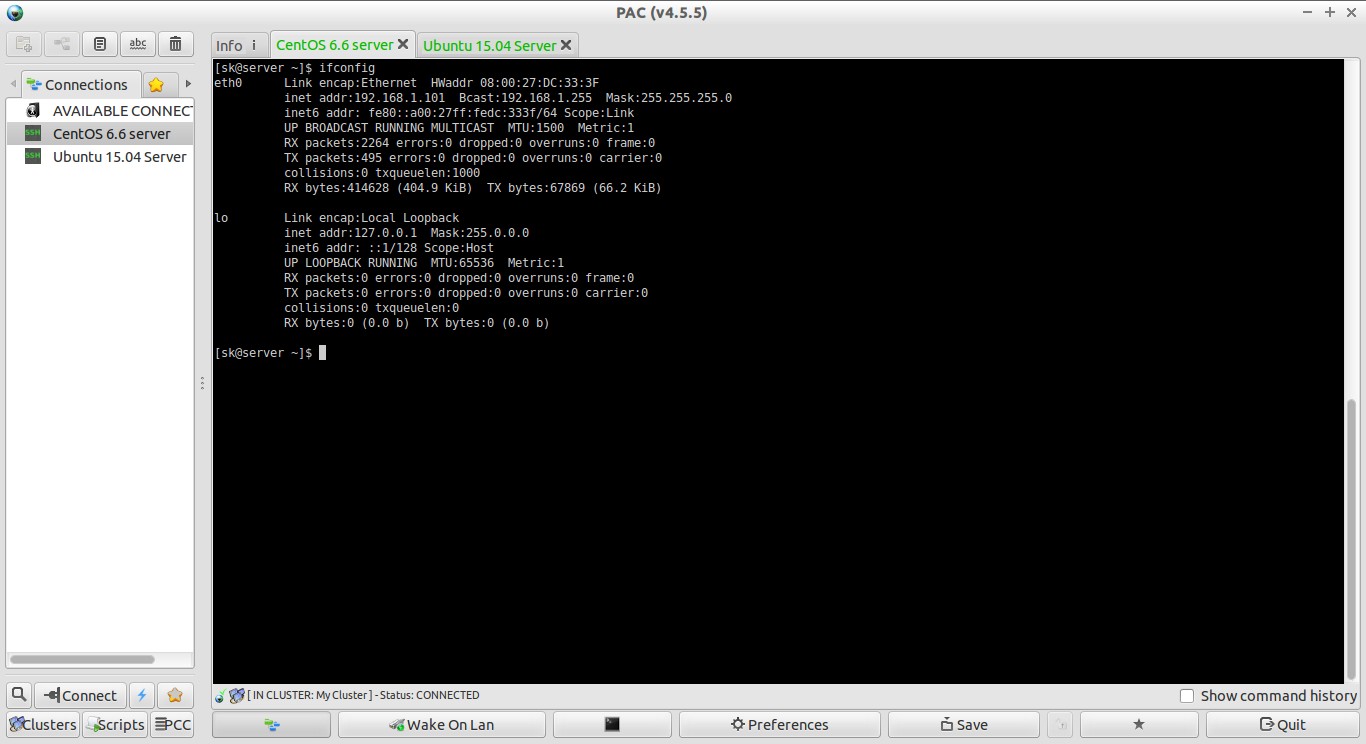
Now, enter any command in any remote host’s SSH session. The same command will be replicated to all systems in the Cluster. For example, I type ‘ifconfig’ command in the Ubuntu’s Terminal, and the same command is performed automatically in the CentOS 6.6 server.
Be careful while entering commands in the Cluster. In case, you enter a wrong command every systems will affect in the Cluster.
Create Groups
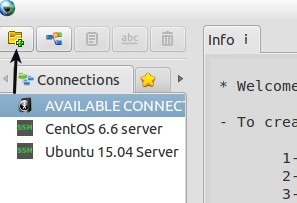
Click on the New Group icon in the top left corner.
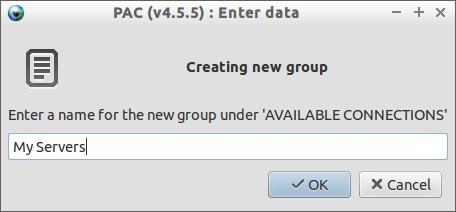
Enter Group name.
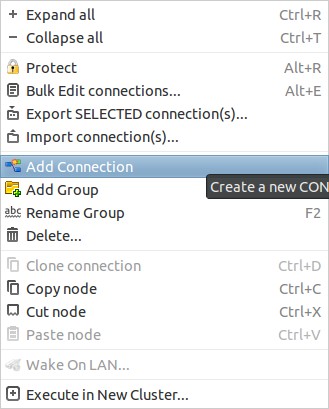
The newly created Group will be listed under Connections section. Right click on the group and select ‘Add Connection’.
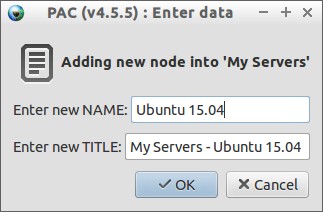
Enter Name for the new node.
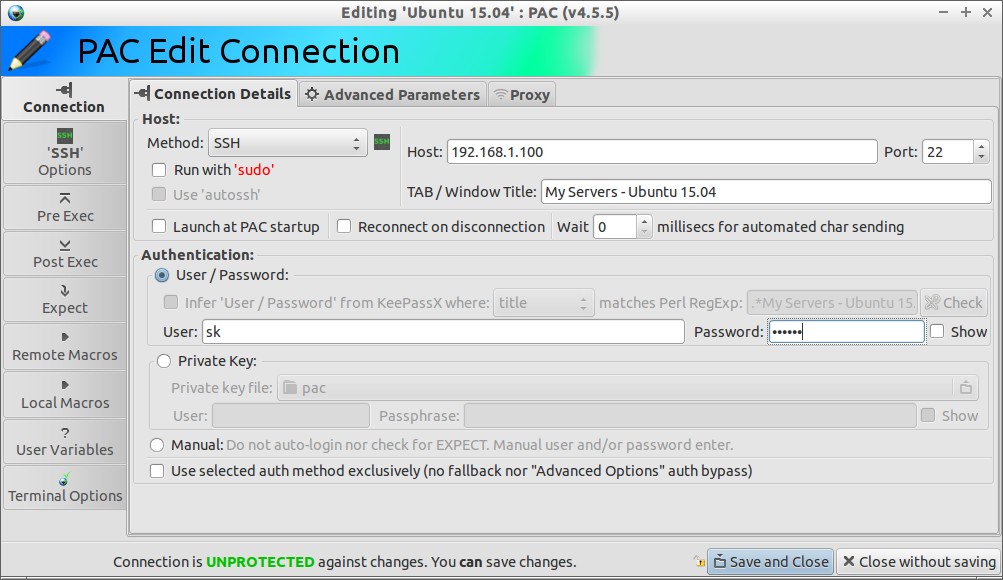
Enter the node IP address, user name and password. Finally, click Save and Close button.
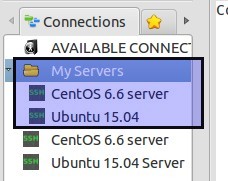
Similarly, you can add as many as nodes you want into the group.
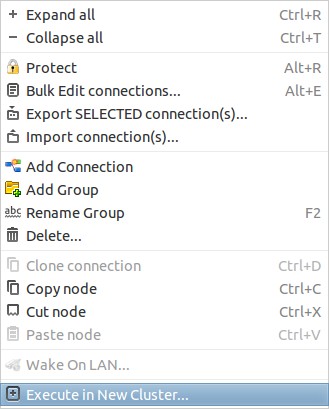
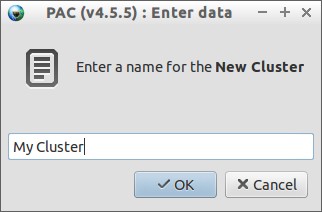
Now, select a node in the group and click Connect button to start the new SSH session. Also, you can right click on the Group name and select ‘Execute in New Cluster’ option to start all nodes SSH sessions at once.
Enter the Cluster name and click OK.
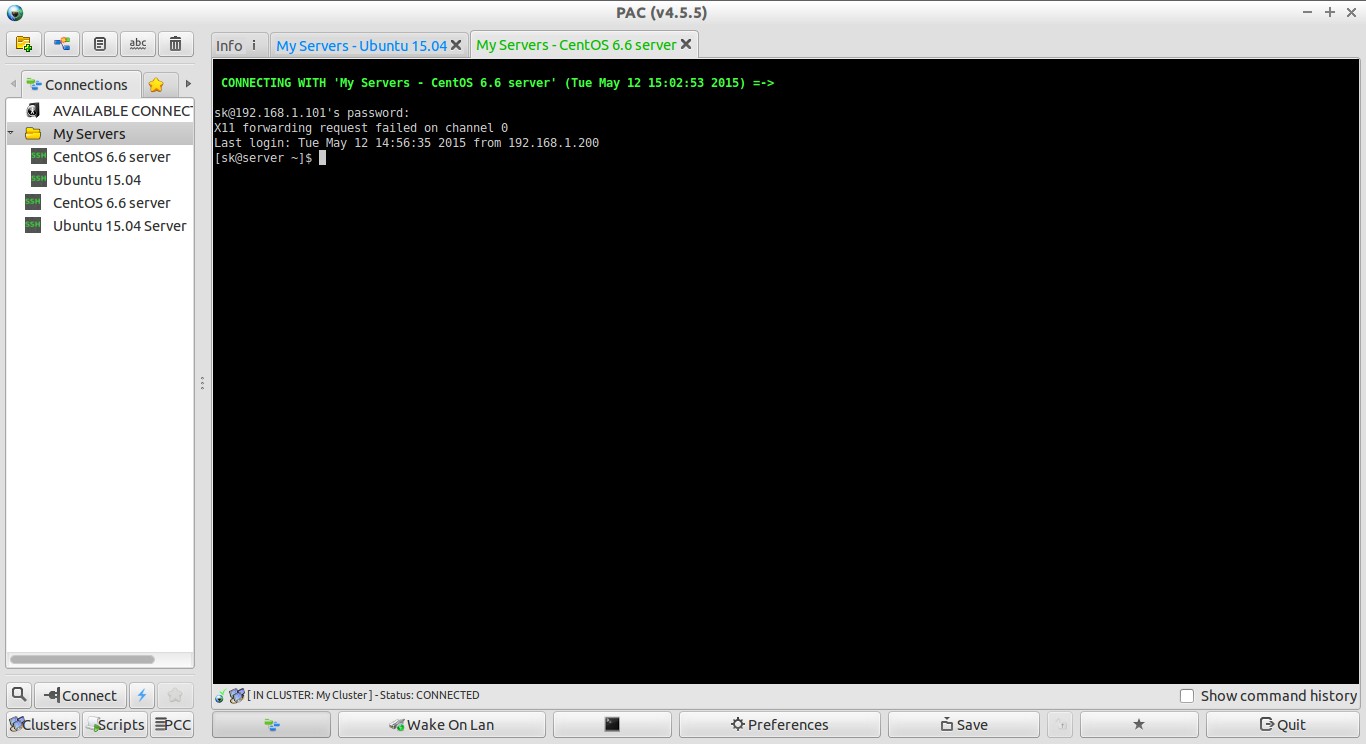
Now, the SSH sessions of all nodes in the group will automatically open.
As you may already know, if you enter a command in any SSH sessions, the command will execute on all nodes in the Cluster. So beware!
Start Multiple SSH instances
Another cool feature is we can open multiple SSH instances(up to 9) of our remote hosts.
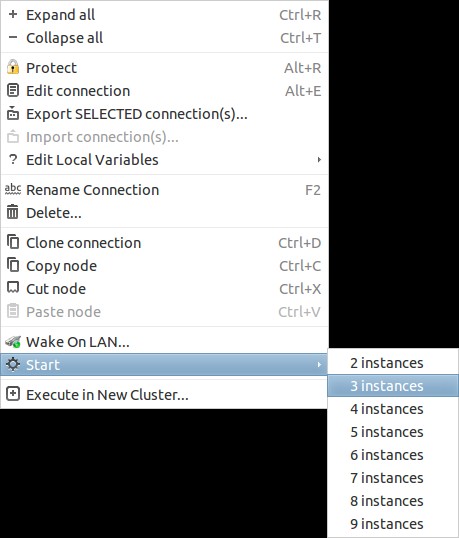
To start the multiple instances, right click on the remote node and select ‘Start’. From the sub menu of ‘Start’ item, choose the number of instances you want to open.
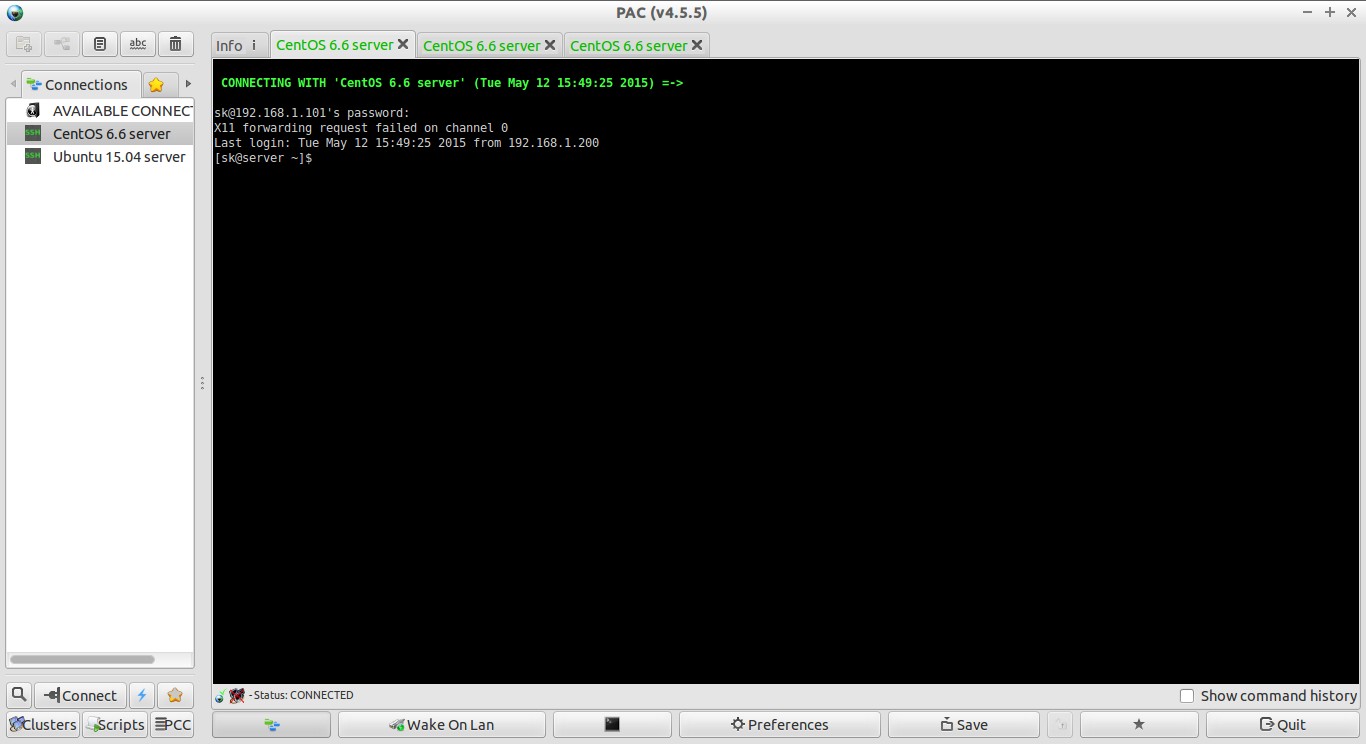
As you see in the below screenshot, I am running three SSH sessions of CentOS server.
Multi-protocol support
PAC Manager is not just to access remote server’s Terminal. It has some more advanced features.
It supports multi-protocols such as FTP, SFTP, redesktop, MOSH, VNC, WEBDAV, and many. For example, to access your remote server using FTP protocol do the following.
First make sure you have installed FTP server in your remote system. Refer the following link to install FTP server in RPM based systems.
- Install And Configure FTP Server On CentOS 7
- Setup FTP Server On CentOS, RHEL, Scientific Linux 6.5/6.4/6.3
- How To Setup FTP Server On openSUSE 13.2/13.1
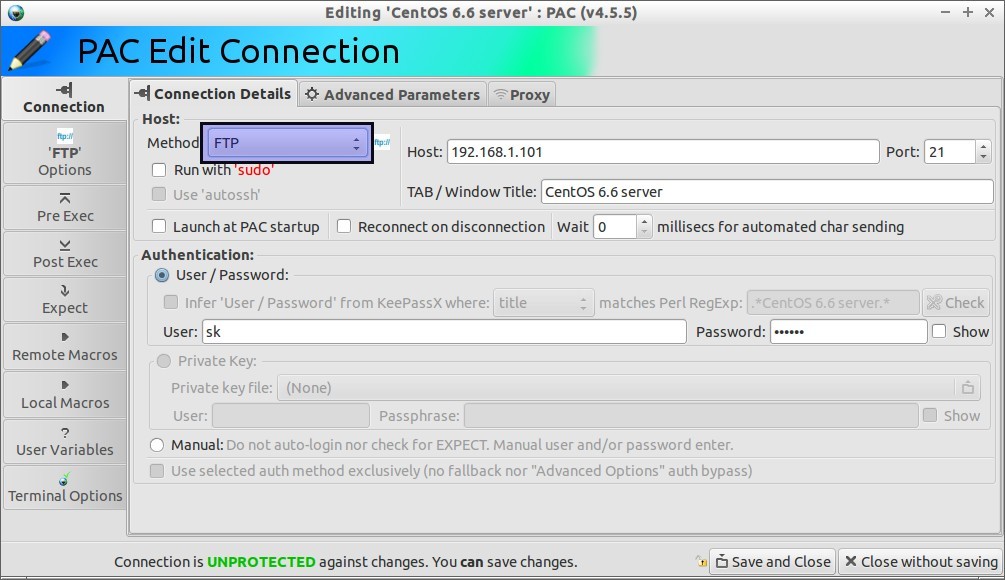
Then, right click on your Remote node under the Connections section and select ‘Edit Connection’.
The following window will appear. From the ‘Method’ drop down box, select the FTP protocol. Then, click Save and Close button.
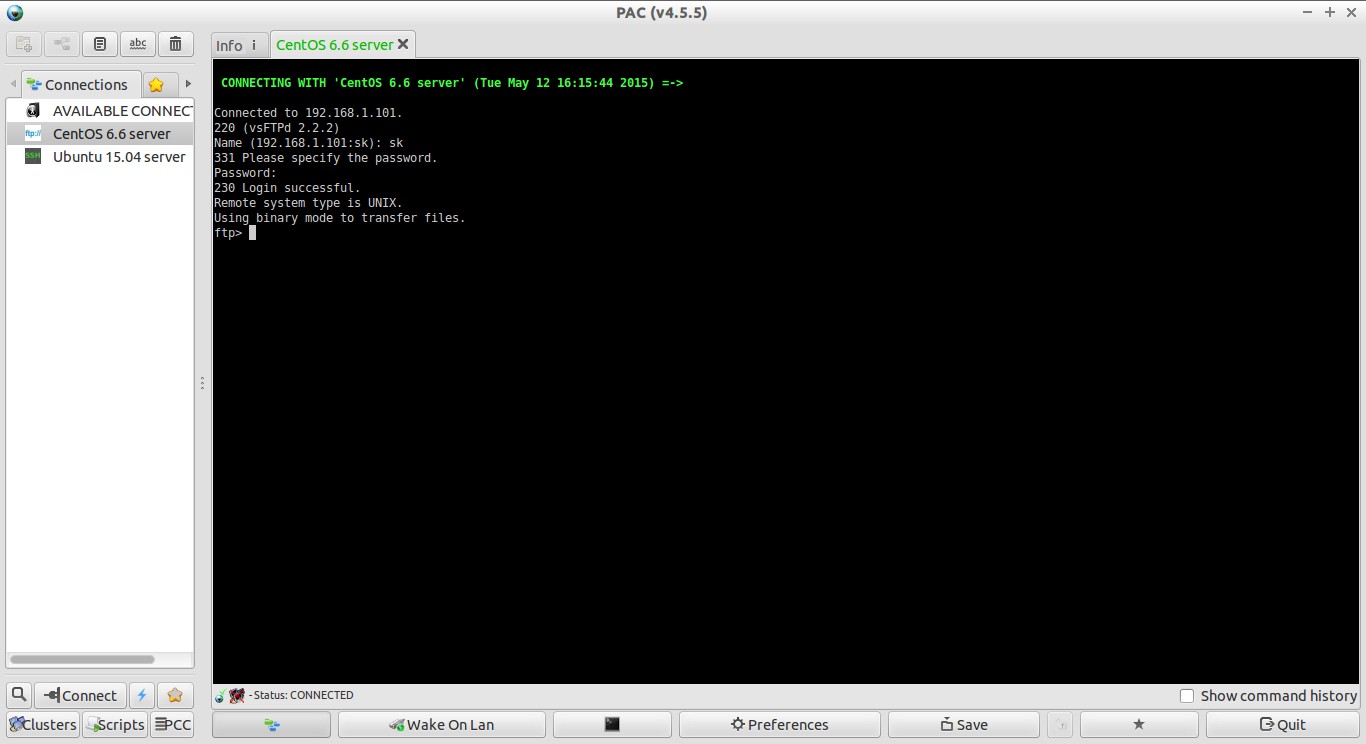
Now, click the Connect button. That’s it. We have successfully connected to the remote node using FTP.
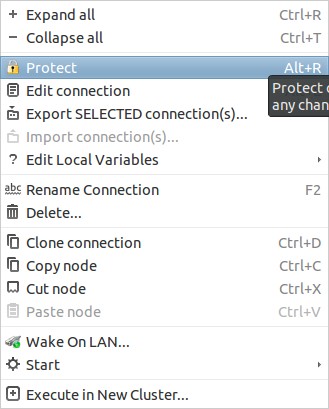
We can prevent from accidental changes such as edit, change Rename or delete remote hosts.
To do that, right click on the remote node and select ‘Protect’ option.
Conclusion
These tools are ideal for one who manage large number of remote systems. Among these two tools, PAC Manager has lot of features than Cluster SSH. PAC manager has multi-protocol, proxy support, KeepassX, auto save sessions support and many. These tools are highly recommended and useful for day to day activities to a System Administrator.
Cheers!


![CSSH [0]_001](http://unixmen.com/wp-content/uploads/2015/05/CSSH-0_001.jpg)
![CSSH [2]_003](http://unixmen.com/wp-content/uploads/2015/05/CSSH-2_003.jpg)
