Acronis is a leading backup software, disaster recovery, and secure data access provider to consumers, small-medium businesses, and enterprises. Acronis solutions include physical, virtual, and cloud server backup software, storage management, secure file sharing, and system deployment. Acronis Backup’s incredible Universal Restore technology enables full system recovery to new or dissimilar hardware without any complications! Skip the hassle of locating a machine of the same make/model or operating system. Recover an entire disk image to any hardware — physical, virtual or cloud.
Acronis tries to make the selection and use of its data backup products easier with a Backup Purchase Wizard and Universal Restore technology. Due to the features of most modern backup softwares which include snapshot management, DR elements, cloud support, VM protection – backups can do so much more than simply restoring data in the event of a storage or server failure. learn where backup software works best in your computing environment.
Prerequisites:
Here we are going to install the Acronis backup product in the trial mode by setting up the program locally on our test CentOS 7 operating system.
Our first step is to login with root user credentials and update you system before moving to the packages installation.
To add the necessary modules to the Linux kernel, the Acronis setup program needs the following Linux packages with kernel headers or sources.
- The package version must match the kernel version.
- The GNU Compiler Collection (GCC) compiler system and its version must be the one with
which the kernel was compiled. - The Make tool and the Perl interpretershould be installed on your system.
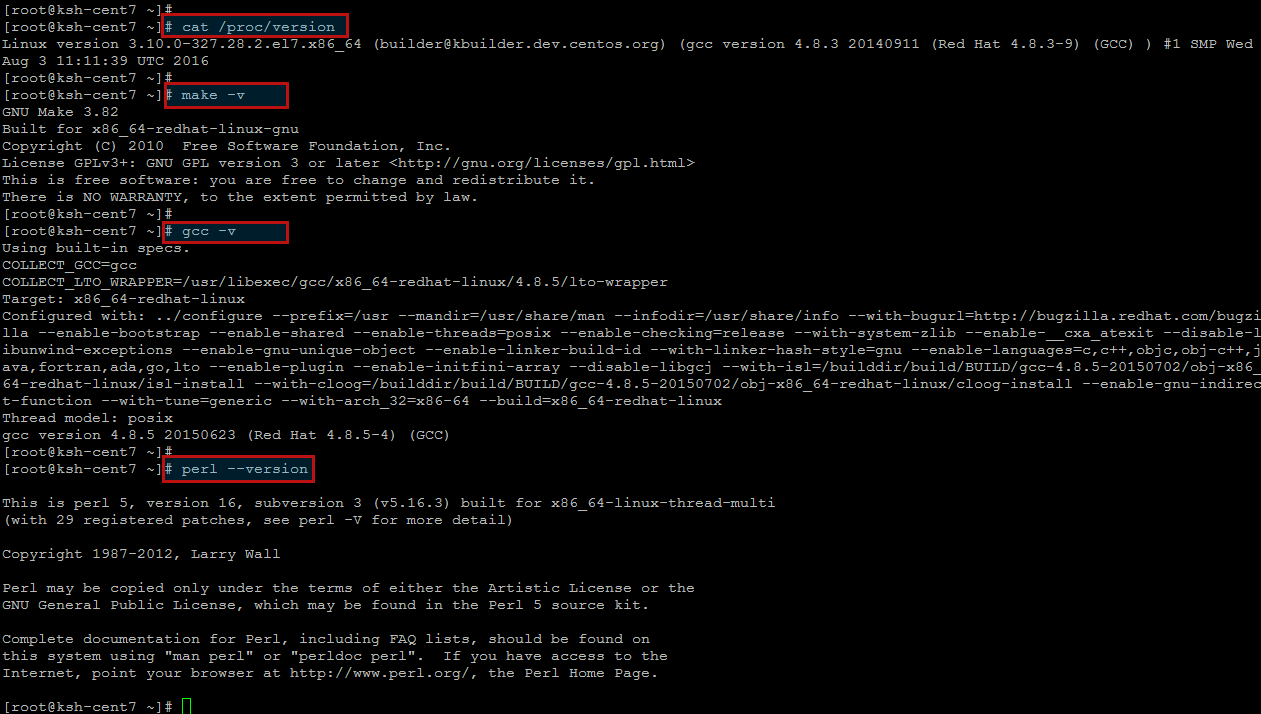
Run the following command to find out the kernel version and the required GCC version.
This command returns lines similar to the following.
Linux version 3.10.0-327.28.2.el7.x86_64 (builder@kbuilder.dev.centos.org) (gcc version 4.8.3 20140911 (Red Hat 4.8.3-9) (GCC) ) #1 SMP Wed Aug 3 11:11:39 UTC 2016
Now run the following command to check whether the Make tool and the GCC compiler are installed.
If anyone of the above package is missing, you can install it using ‘yum’ command or by downloading its appropriate rpm .
Download Acronis Package:
In order to download the installation files and assign them necessary access permissions, we need to perform the following tasks.
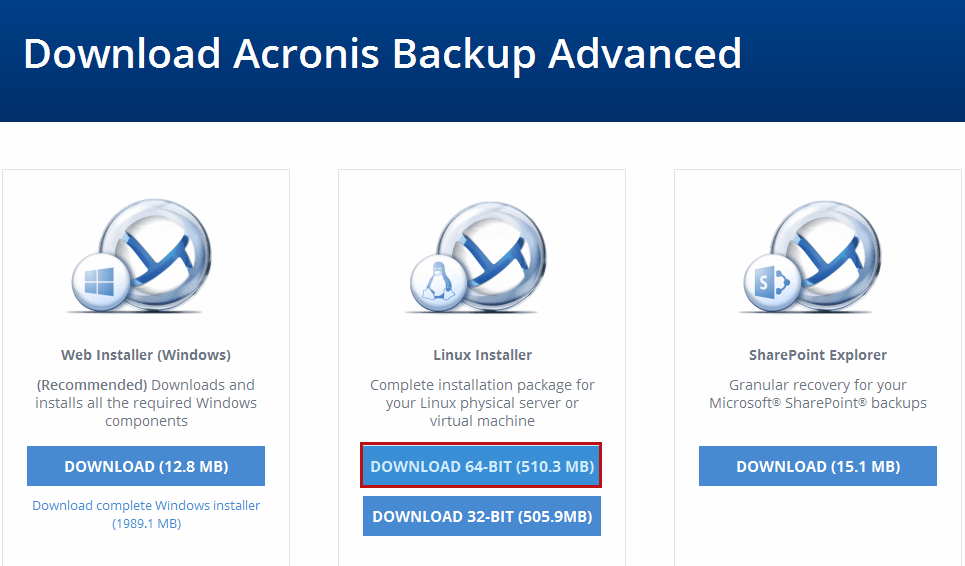
Open the Acronis website to download the installation file for installing Acronis Backup Advanced. Depending on the machine platform (x86 or x86_64), you need either the .i686 or .x86_64 files.
Then copy or download the installation files to a directory on the machine where you want to install the product. Then extract the archive and go to the directory where you have extracted the installation files using below commands.
Interactive installation of Acronis Backup Advanced:
After extracting the Acronis package you will find three different packages in it which includes Acronis Backup Agent for Linux, Acronis Backup Management Console and Acronis Bootable Media Builder.
We are going to install them one by one in interactive mode by following the steps defined below.
1) Acronis Backup Management console Setup:
Run the installation file for the Acronis backup Management console (for an .i686 or
an .x86_64 file) as the root user and follow the on-screen instructions as shown below.
After executing above command command, you will be greeted to Acronis Backup Management Console Setup. Select “Next >” to start updating your system with the Acronis Backup Management Console packages. You can interrupt the process by pressing “Cancel”.
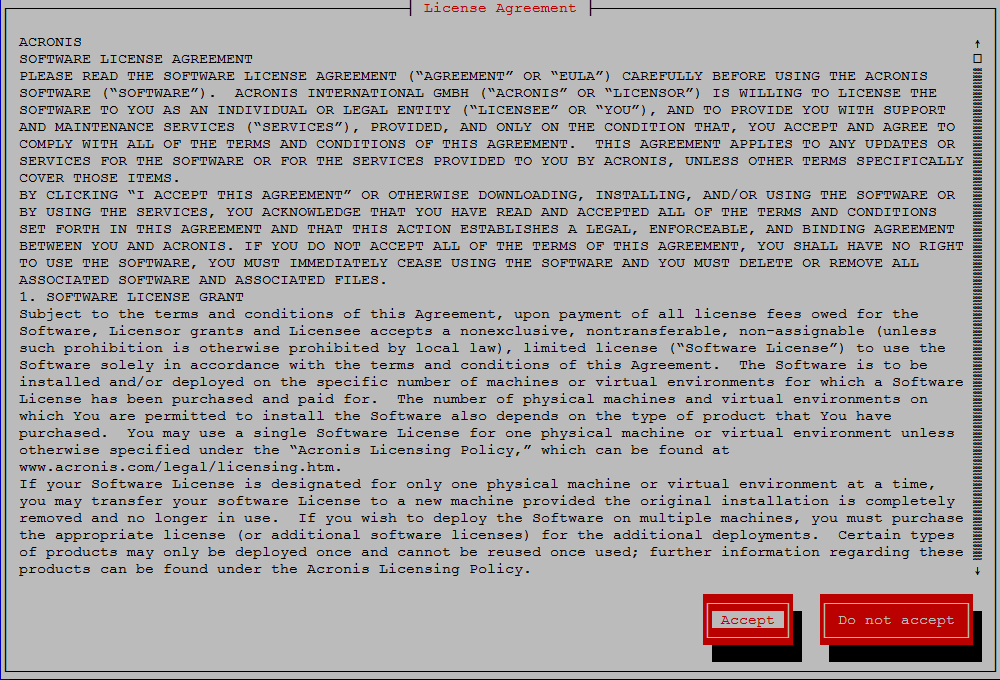
Then you will be asked to accept the license agreement to proceed to the next step.
That’s it now click on the ‘Finish’ button to complete the installation setup.
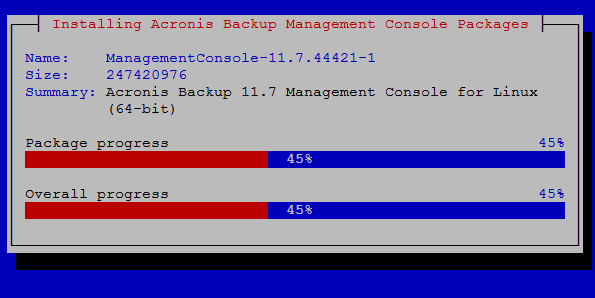
Now you will the installation progres bar for the Acronis Backup Management console on your system. Make sure to allow its required ports in your firewall to access the management console.
2) Acronis Backup Media Builder Setup:
Run the installation file for the Acronis backup bootable media builder (for an .i686 or
an .x86_64 file) as the root user and follow the on-screen instructions like we did above for the Management console.
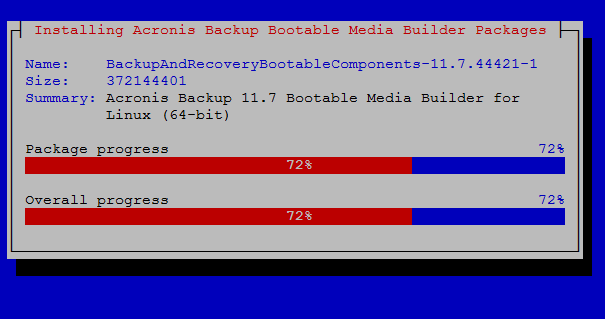
Then accept the license agreement and click finish to complete the installation setup of Acronis bootable media.
3) Acronis Backup Agent Setup:
Now run the 3rd and last installation file for the Acronis backup agent (for an .i686 or
an .x86_64 file) as the root user and follow the on-screen instructions for the Aconis Agent setup on your Linux CentOS 7 OS.
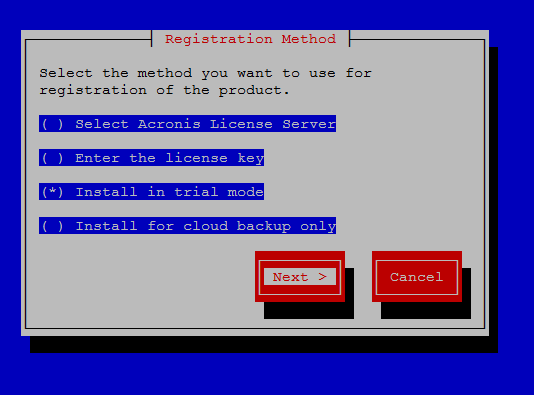
Once you have accepted the license agreement to use Acronis product, you will be asked to select the registration method. For the first using this product select the “Install in trial mode” and click on the ‘Next’ button to continue.
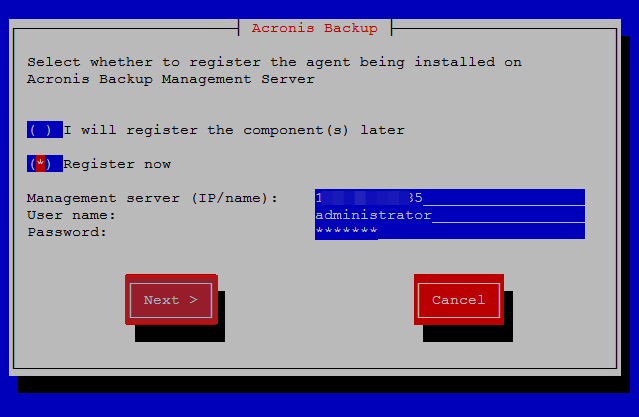
In the next option you have to enroll the backup agent with your management server which should be installed on your Windows operating system.
Let’s choose the option to ‘Enroll now’ and provide your Management servers details as shown below.
Your Acronis backup agent installation has been setup and configured.
Now if you check through your Management server, you will find your Linux system on it which will be similar to image shown below.
Conclusion:
Acronis backup and recovery has been successfully setup on Linux CentOS 7. Acronis Backup unifies backup of all your on-premise systems and cloud workloads using an easy and flexible web console. You can protect all your data whether it resides in on-premise or remote systems, in private and public clouds, or on mobile devices. Acronis Backup’s incredible Universal Restore technology enables full system recovery to new or dissimilar hardware without any complications! Skip the hassle of locating a machine of the same make/model or operating system. Recover an entire disk image to any hardware — physical, virtual or cloud.


