Arch Bang is a Arch Linux based distribution that provides Openbox as window manager and it’s fast,stable lightweight and powerful, Arch Bang has Tint menu and Conky by default and you also don’t need to be connected to Internet as you do in installing Arch Linux. This distribution is rolling release so it’s always up to date.
Download the latest version of Arch Bang from here
Download Arch Bang and use dd command to copy it on a flash memory and make it bootable, following command will help :
sudo dd if=iso of=disk
Instead of iso put Arch Bang iso file directory and replace disk with address of your disk, like this :
sudo dd if=/home/hossein/archbang-031215-x86_64.iso of=/dev/sdb
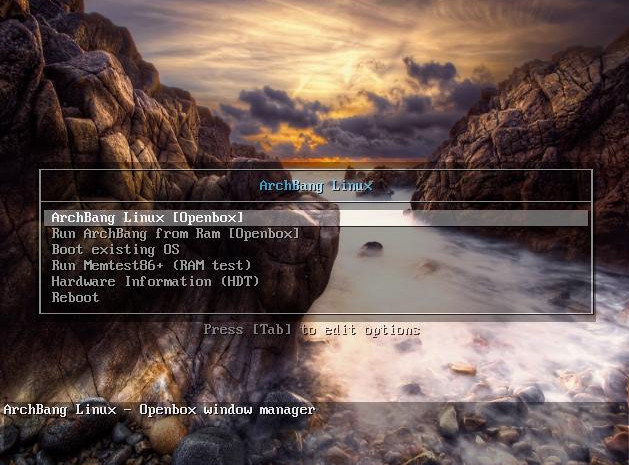
Now boot the flash memory, you will see a page that gives you some options which are :
ArchBang Linux [Openbox]
Run Archbang from Ram [Openbox]
Boot existing OS
and etc, choose first option that is ArchBang Linux [Openbox] and wait till loading is finished.
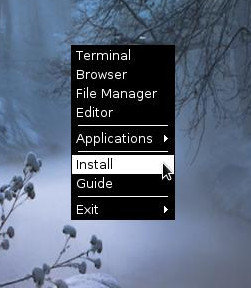
After you entered to Openbox do right click and choose Install options from the menu.
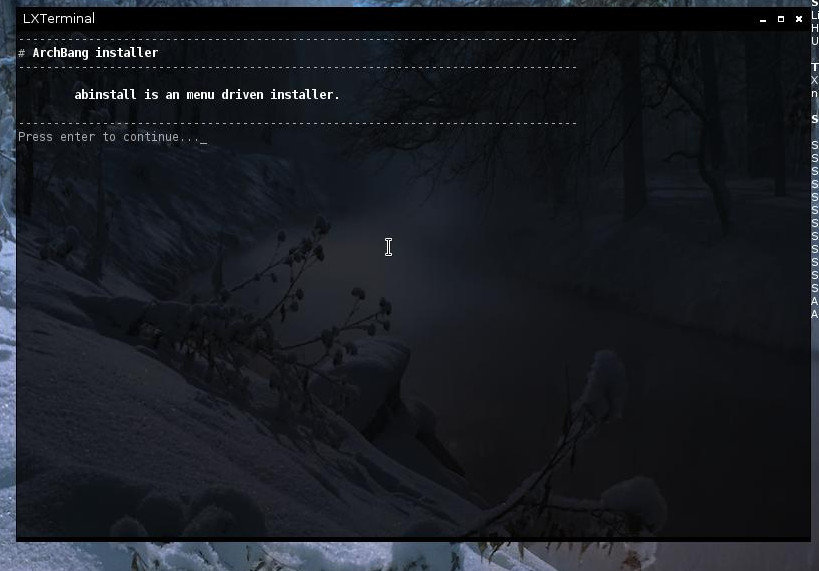
Now the installer of Arch Bang is open, as you see this installer is Terminal installer but process of installing Arch Bang is not like Arch Linux and it’s much easier.
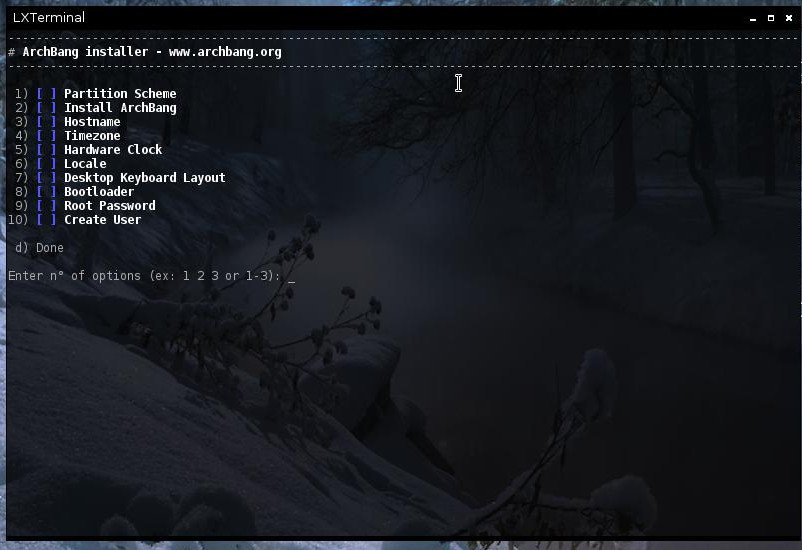
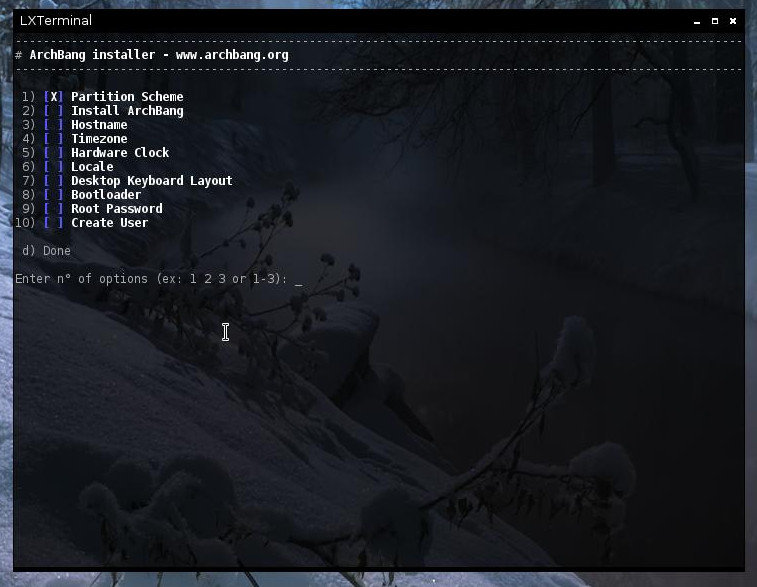
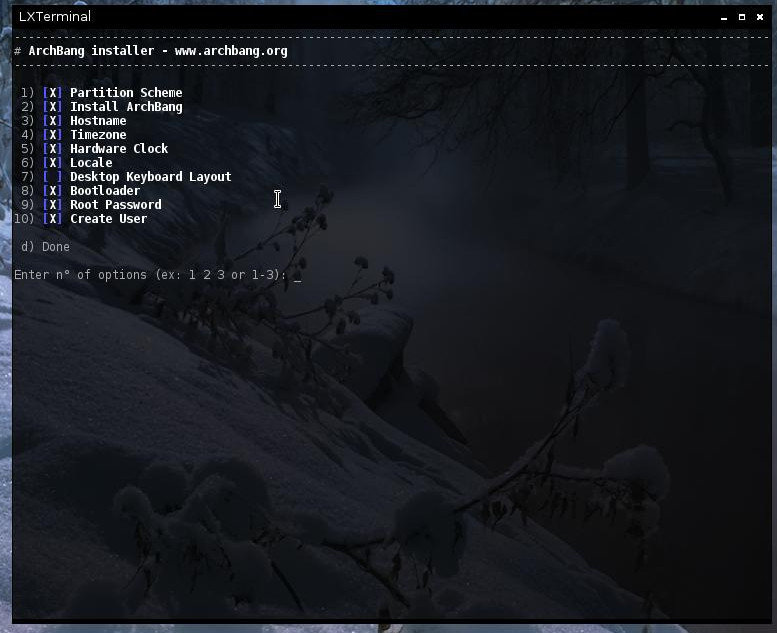
After that you opened installer press enter button to continue then Arch Bang will give you ten options to choose, you can choose them by their numbers so first enter 1 button for partitioning.
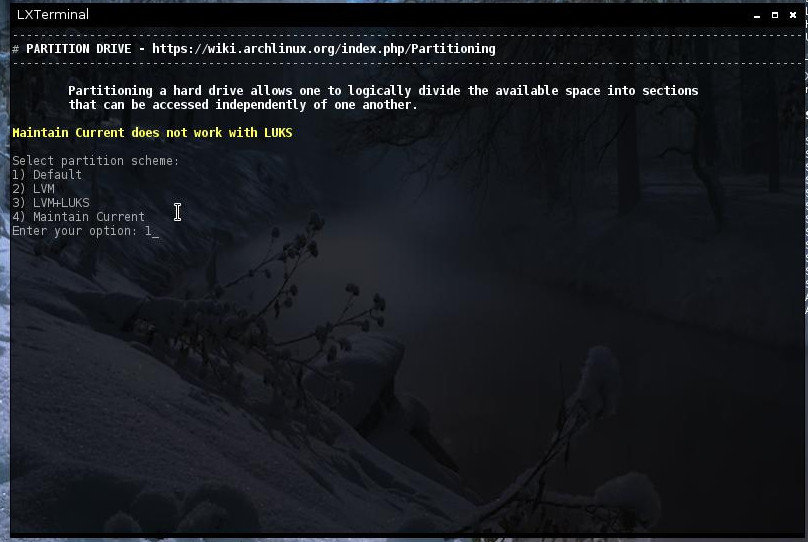
After choosing first option (Partition Scheme) you should choose type of your partitioning, for a normal user in normal conditions Default is a good choice :
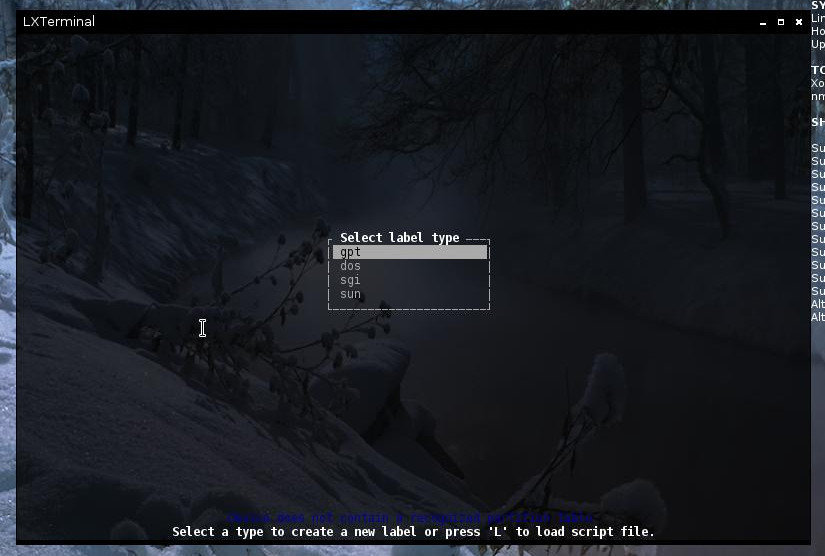
Then installer asks you to choose a partition editor, you can choose Fdisk,Cfdisk,Gdisk and etc. I chose the Cfdisk, if you choose this options too then a page will come that is about choosing partition tables :
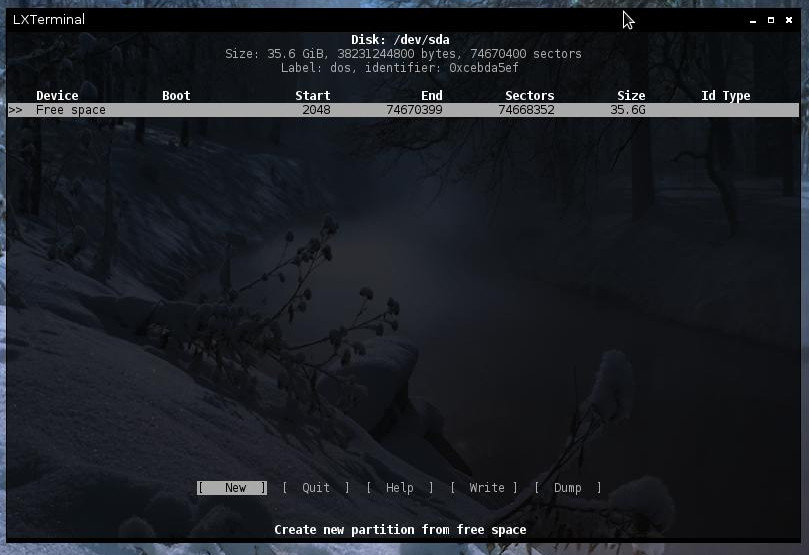
The first choice is GPT and the next one is DOS (MBR), if you choose GPT you should also make a BIOS Boot partition and if you choose MBR as I did, you don’t need to make a boot partition, so choose the partition table you like and press enter, this is Cfdisk environment :
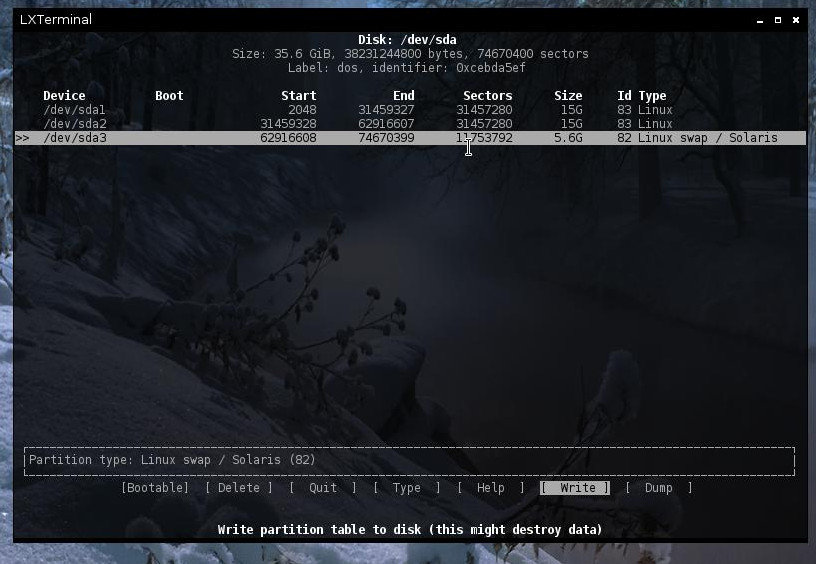
Now start making three partitions which should be root, home and swap with Cfdisk options and after your you made this partitions don’t forget to write them by Write option !
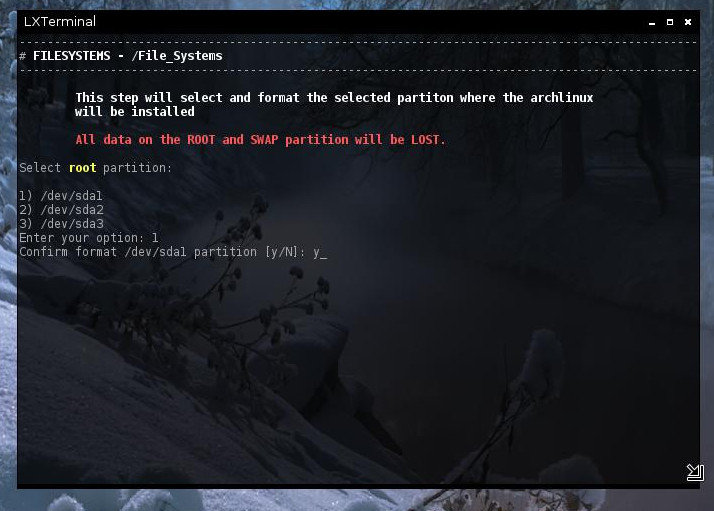
After writing the partitions press Quit button in Cfdisk, then installer asks you to choose your root partition, mine is /dev/sda1 :
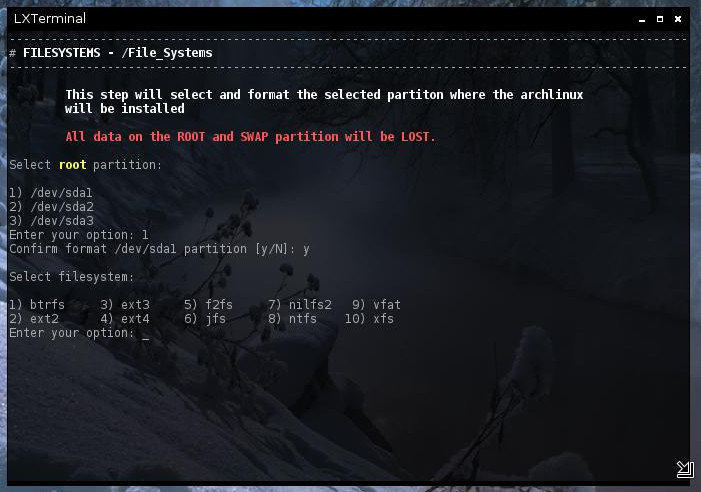
Make a filesystem for your root, ext4 is recommended :
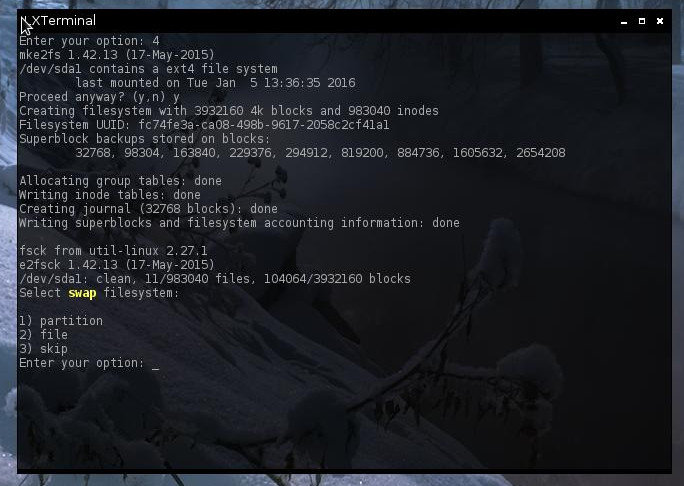
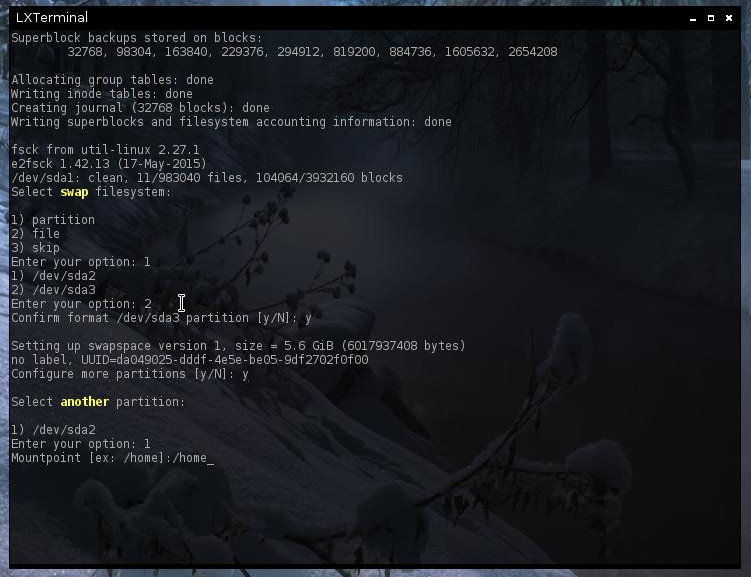
Then installer asks you a question about Swap partition filesystem, you should choose Partition option and then choose /dev/sdX as your Swap partition :
After root and swap if you have any other partitions like home partition or boot partition and etc you can choose them and then type their mount point in installer :
After partitioning you will again back to where you were in the first step, as you see now there is star in your first choice which is Partition scheme :
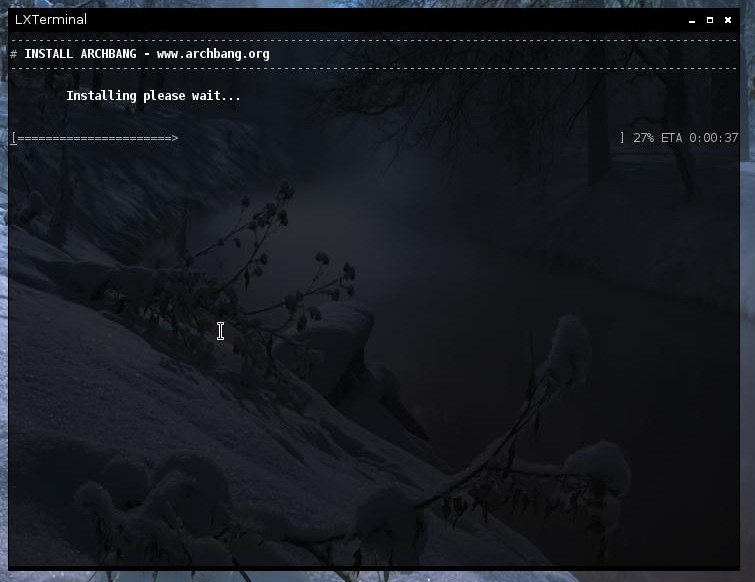
Now just push button 2 on the keyboard for Installing :
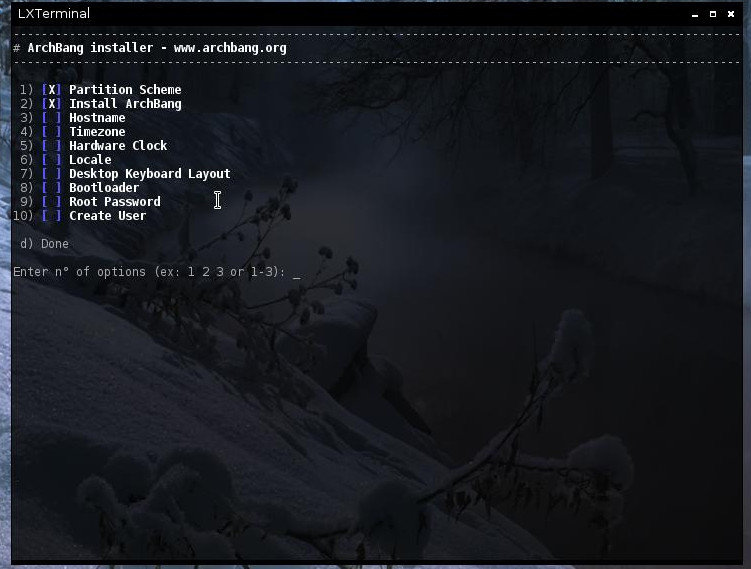
After it finished there should be star in second choice too !
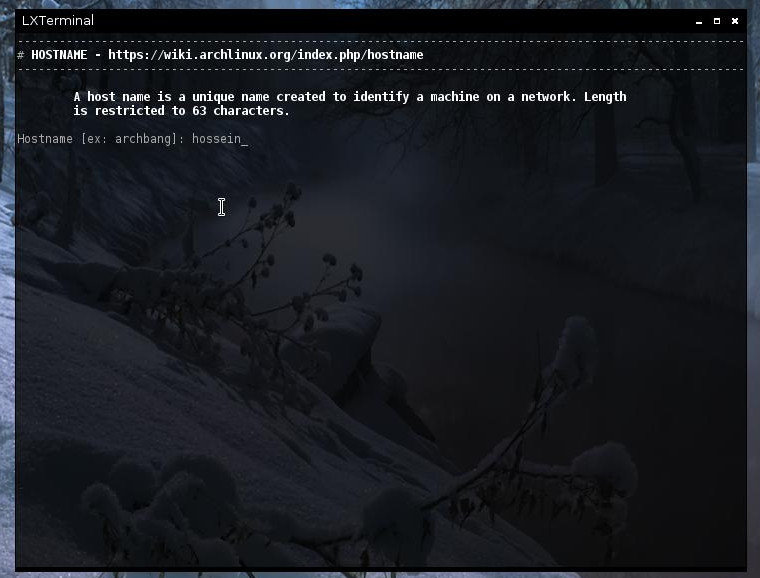
Press button 3 and choose Hostname :
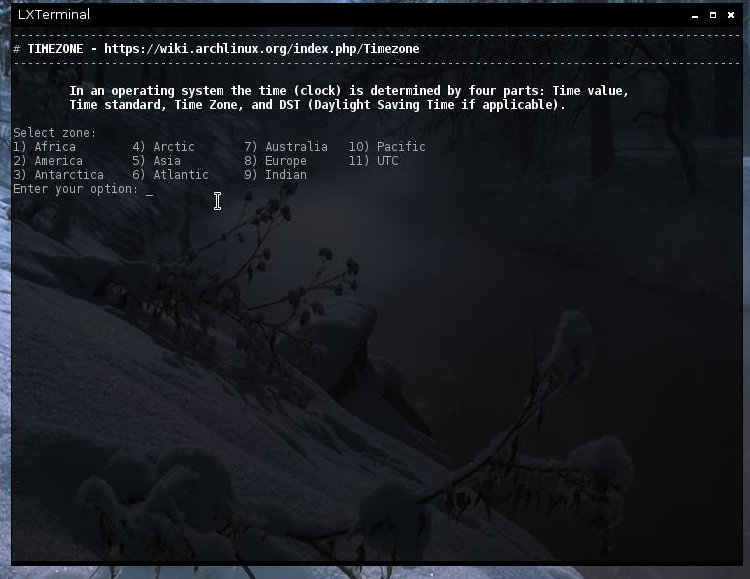
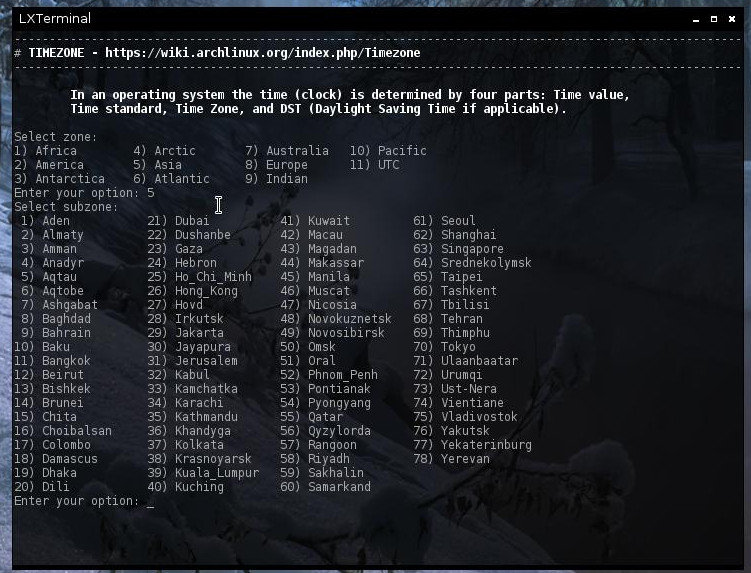
Go for Choosing TimeZone now ! I live in Iran so I choose Asia and then I choose Tehran, you should choose them up to where you live or you can just choose UTC :
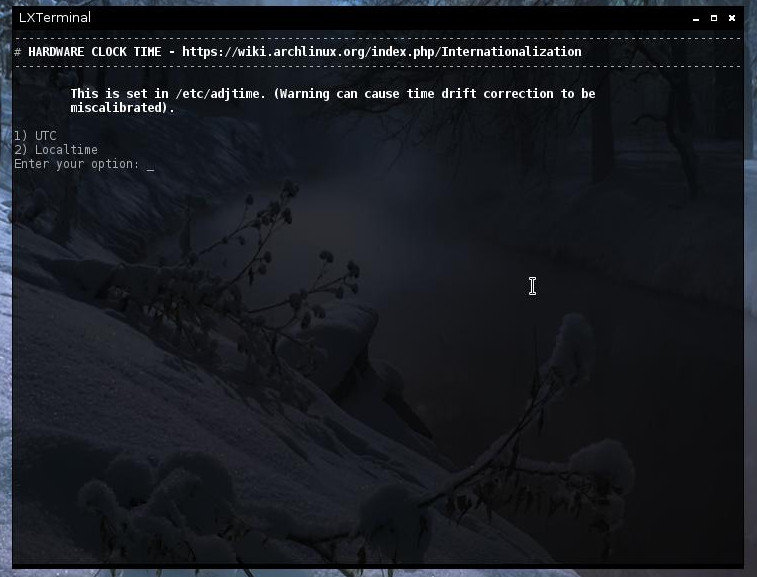
In Hardware Clock choose Local Time :
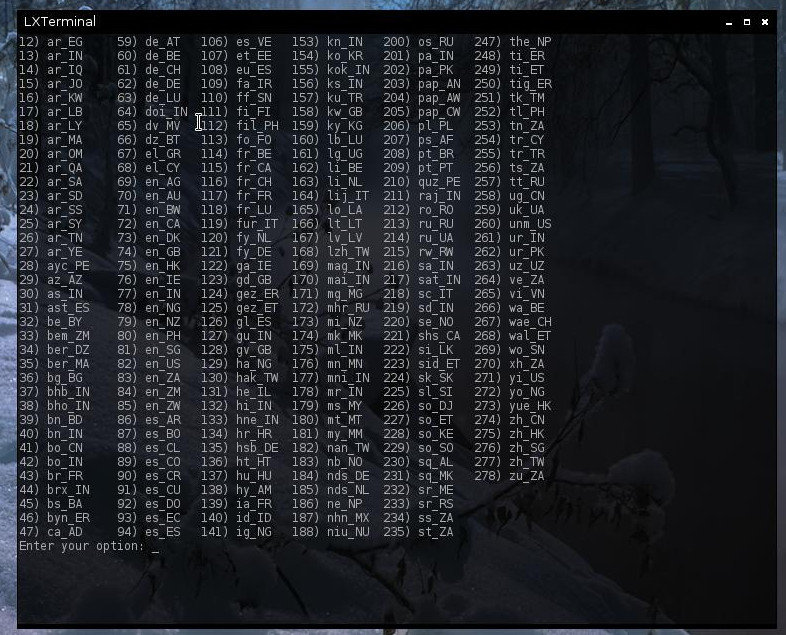
In step 6 (Locale) you will have lot of choices, type 82 number as en_US and press Enter button :
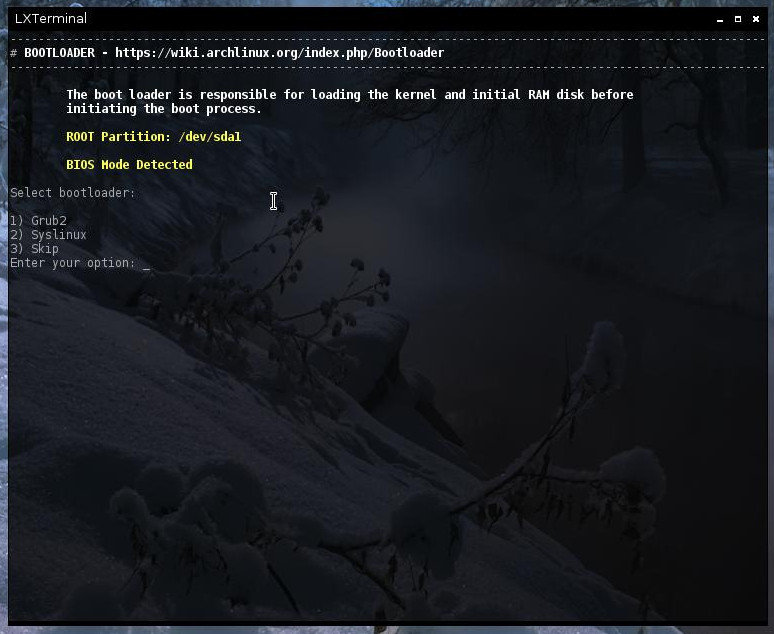
Next step is Keyboard Layout, I don’t recommend choosing layout while we installing a distribution so lets just skip it and go for Boot Loader, there are three choices for boot loader and Grub is recommended among them :
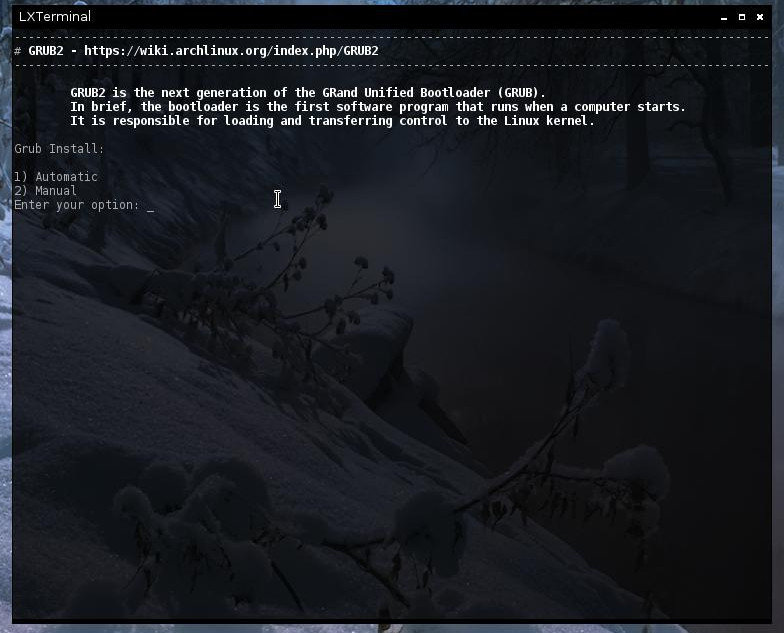
After choosing Grub, choose Automatic choice and continue :
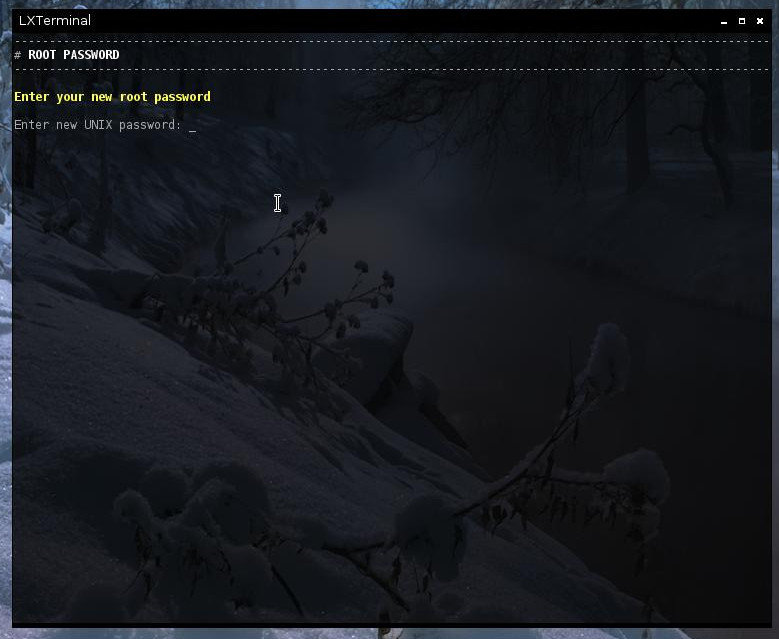
Now make a root password :
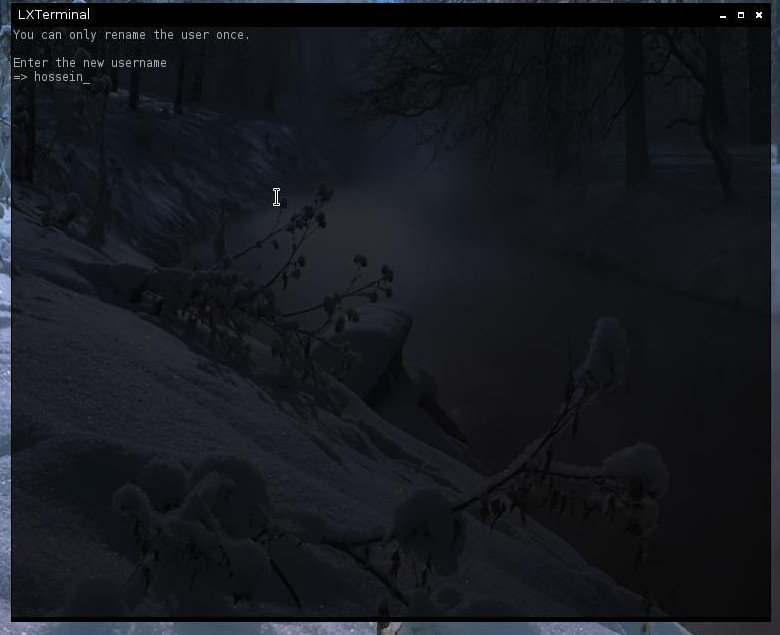
And in the last step create a user :
It’s finished !!
Cheers 🙂
Press “d” button now and then press Enter button !


