Introduction
Wordpress is a very popular open source CMS system, it comes with thousands of features, some of the themes are free and some of them are paid. At user side it is very easy to use and all complexity are on developer/designer side.Already a number of wordpress article are published with unixmen.com, this article will describe wordpress installation with Ubuntu 16.04. You can refer following links for previous unixmen articles:
http://unixmen.com/install-wordpress-using-lamp-server-on-centos-rhel-scientific-linux/
http://unixmen.com/install-wordpress-ubuntu-14-10/
http://unixmen.com/install-wordpress-centos-7-linux/
Features
Some of the important features of WordPress are
- Very flexible, so that you can create your blog or some professional website.
- Well featured user management, admin can create and customize users according to their roles.
- It secure to use, you possess all of you data with yourself and there is dependencies with other hosting sites.
- Very quick media management is featured, you can quickly upload media files. You can create caption, create galleries to make your website look more effective.
- Publishing is very easy, you can create your quick drafts, you can have review during writing or developing contents. Secure your posts with a password, even you can make your contents private or public.
Installation
First of all update your system, then you need to install Apache or other web server of your choice, MySQL-server, MySQL-client and php. Refer this link to know how to install LAMP stalk with Ubuntu 16.04. After installing LAMP stalk, you need to configure database, edit a file in WordPress package, then install and configure CMS.
# wget http://wordpress.org/latest.tar.gz
Output
 --2016-03-16 21:22:06-- http://wordpress.org/latest.tar.gz
 Resolving wordpress.org (wordpress.org)... 66.155.40.250, 66.155.40.249
 Connecting to wordpress.org (wordpress.org)|66.155.40.250|:80... connected.
 HTTP request sent, awaiting response... 301 Moved Permanently
 Location: https://wordpress.org/latest.tar.gz [following]
 --2016-03-16 21:22:11-- https://wordpress.org/latest.tar.gz
 Connecting to wordpress.org (wordpress.org)|66.155.40.250|:443... connected.
 HTTP request sent, awaiting response... 200 OK
 Length: 7099520 (6.8M) [application/octet-stream]
 Saving to: ‘latest.tar.gz’
latest.tar.gz 32%[=====> ] 2.18M 134KB/s eta 30s
Extract package
# tar -xvf latest.tar.gz
change directory to WordPress and copy contents to web directory
# sudo cp -rRvf ~/wordpress/* /var/www/html
Create a database, a database user and grant all privileges to that newly created user
# mysql -u root -p
configure database named ‘wordpress’ and a user ‘unixmen’
mysql> create database wordpress character set utf8 collate utf8_bin;
Query OK, 1 row affected (0.00 sec)

mysql> grant all privileges on wordpress.* to unixmen@localhost identified by "P@ssw0rd";
Query OK, 0 rows affected (0.01 sec)

mysql> flush privileges;
Query OK, 0 rows affected (0.00 sec)

mysql> exit
Change Directory to web
# cd /var/www/html
Copy WordPress configuration sample file to wp-config.php
# cp wordpress/wp-config-sample.php wordpress/wp-config.php
Edit file and make sure you have provided appropriate Database Name, Database Username and Password.
Sample output
* * MySQL settings
* * Secret keys
* * Database table prefix
* * ABSPATH
*
* @link https://codex.wordpress.org/Editing_wp-config.php
*
* @package WordPress
*/

// ** MySQL settings - You can get this info from your web host ** //
/** The name of the database for WordPress */
define('DB_NAME', 'wordpress');

/** MySQL database username */
define('DB_USER', 'unixmen');

/** MySQL database password */
define('DB_PASSWORD', 'password');

/** MySQL hostname */
define('DB_HOST', 'localhost');
When all settings are done, restart web service
# /etc/init.d/apache2 restart
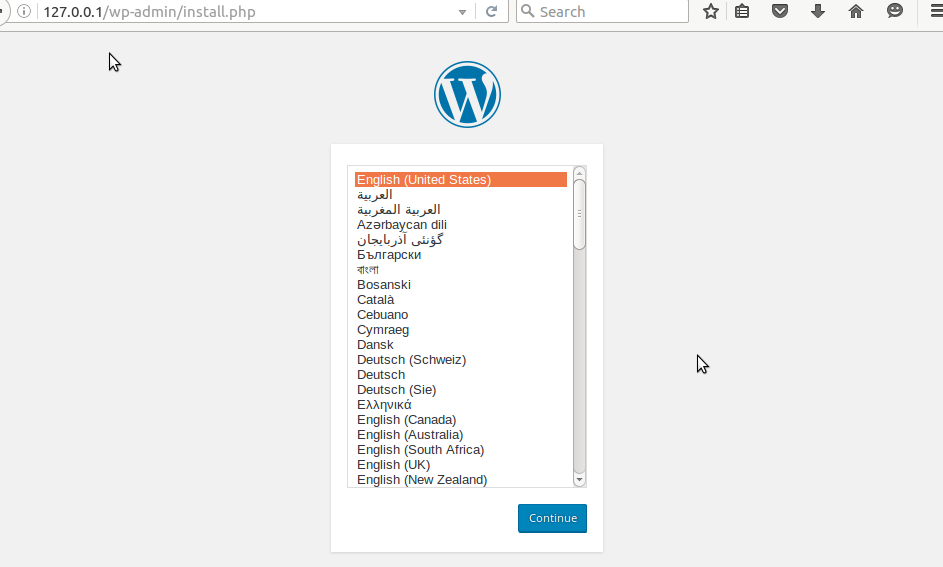
Open your favorite browser and type
127.0.0.1/wp-admin/install.php
Select your language, click continue
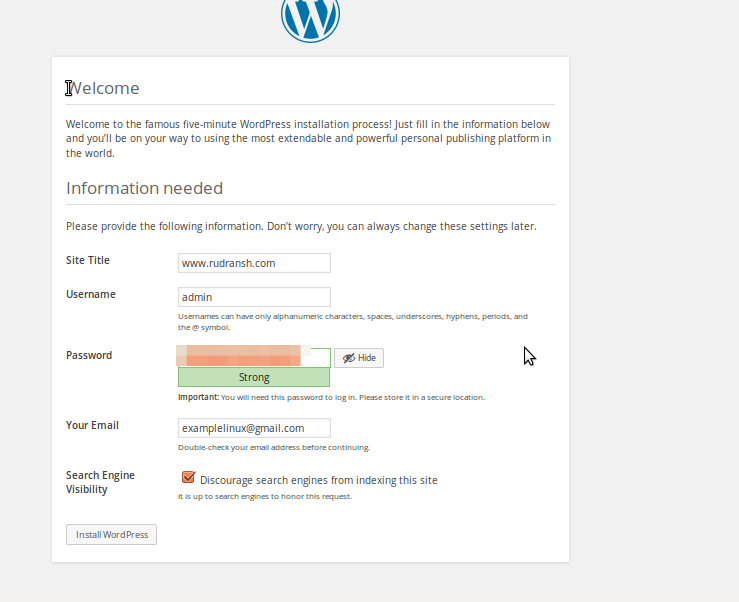
provide all of credentials like site title, username and password, click to install WordPress
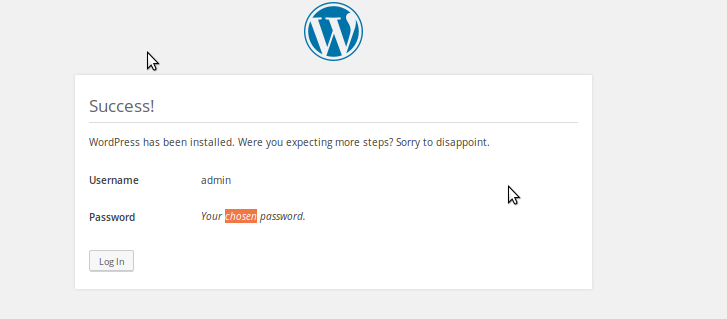
If everything goes smooth, login
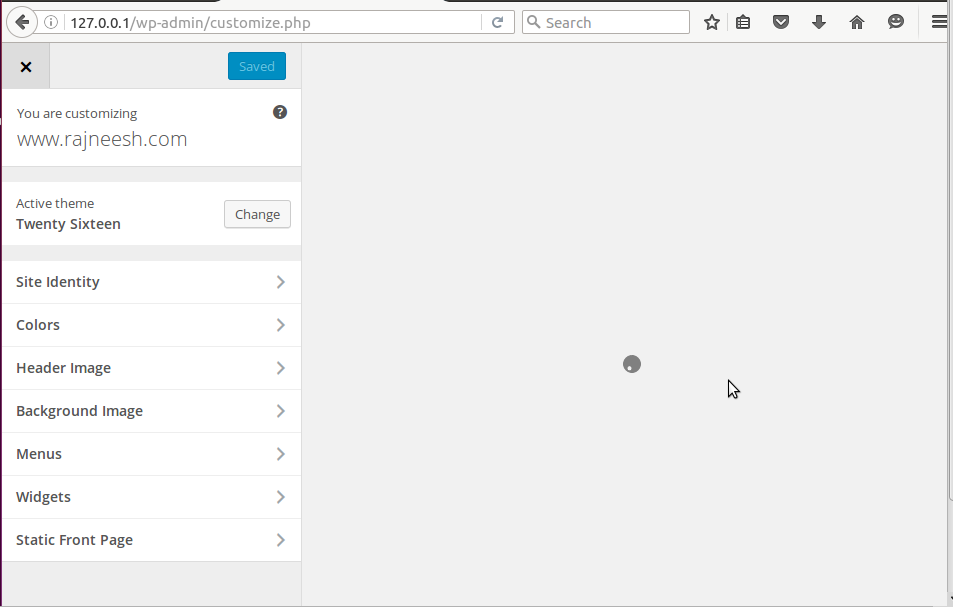
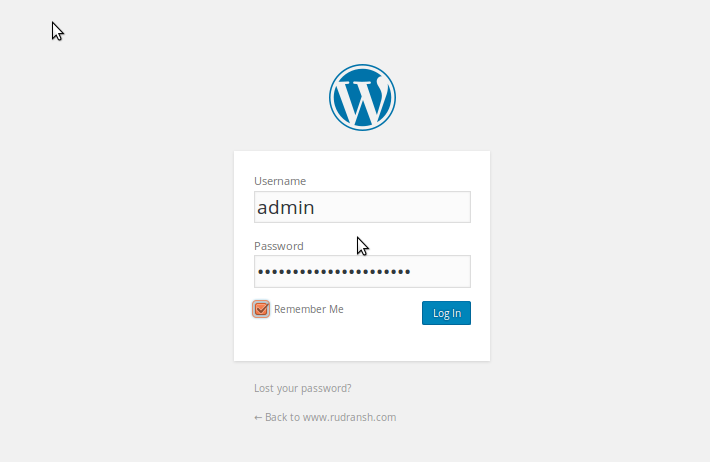
Login with newly created user and password
That’s it for now, have fun!!


