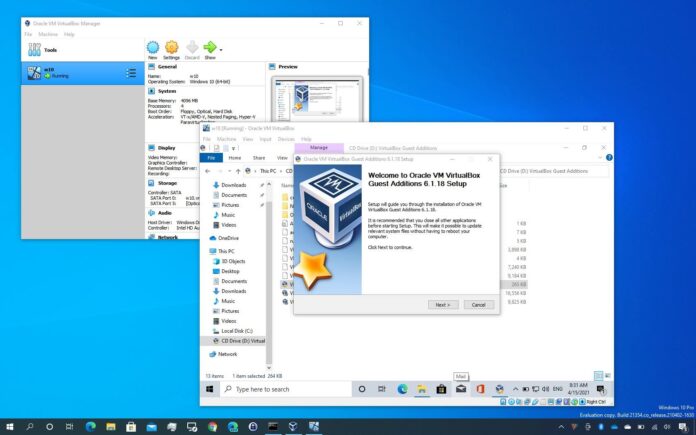
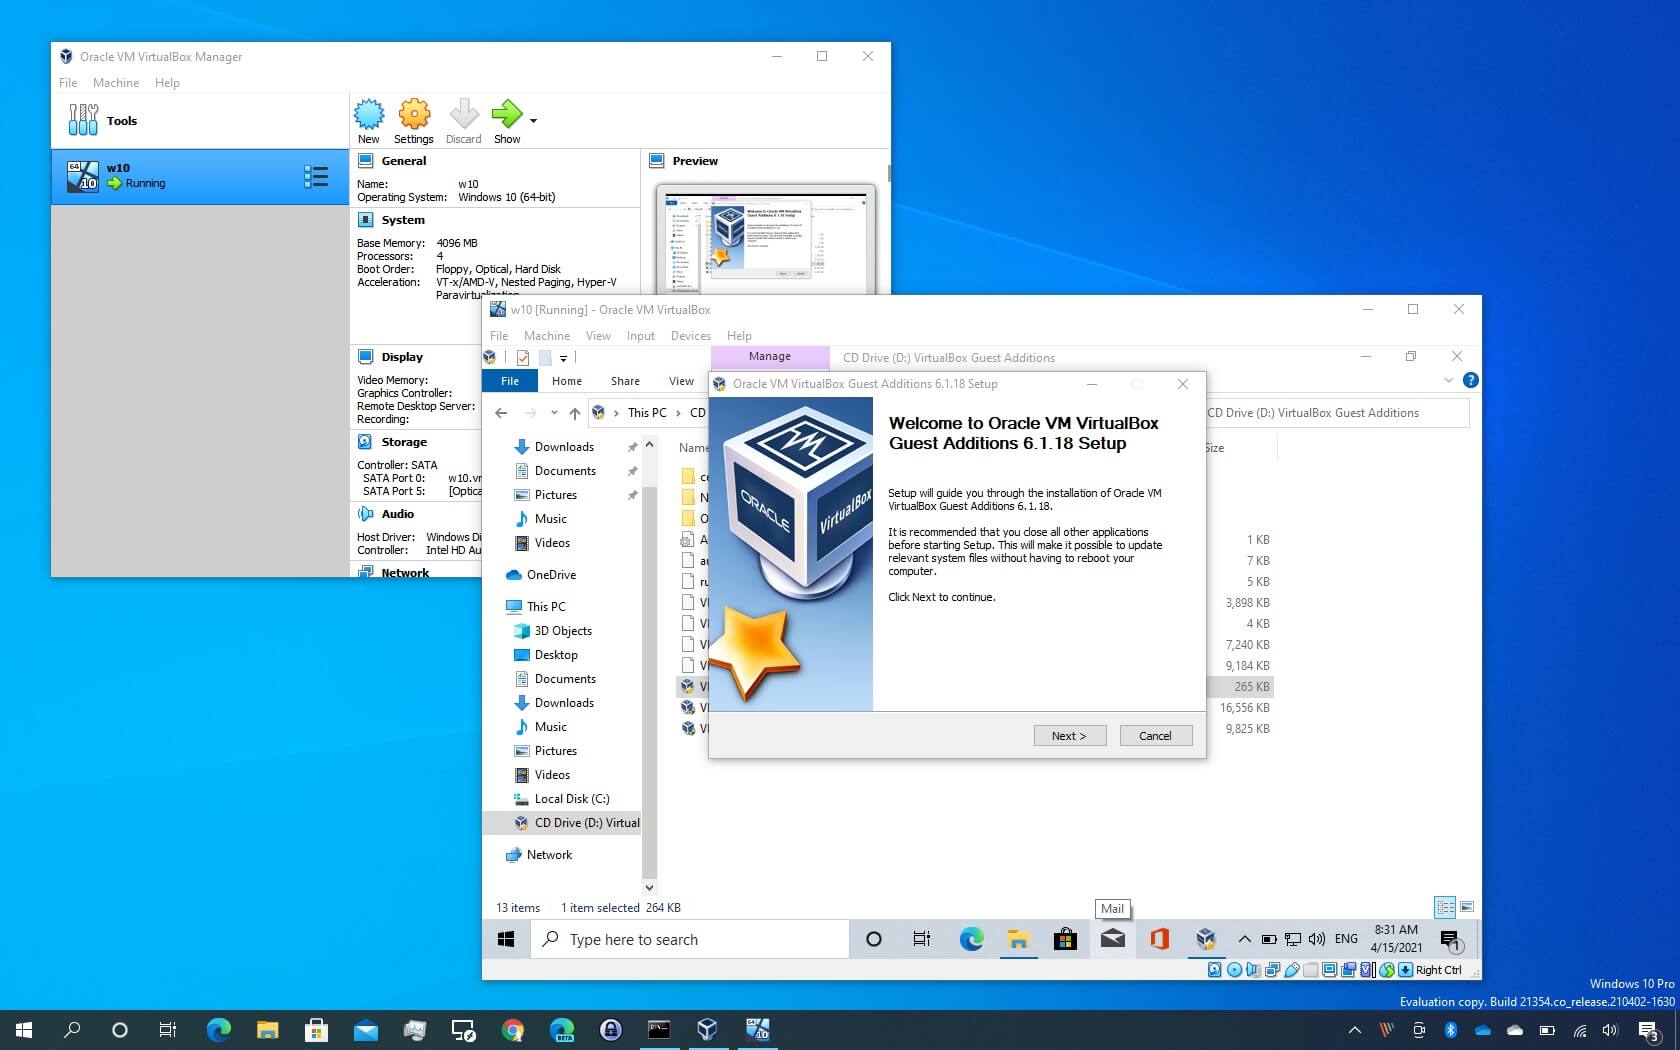
 What are VirtualBox Guest Additions?
VirtualBox Guest Additions is a software package that enhances the functionality of virtual machines running in Oracle VM VirtualBox. It consists of device drivers and system applications that optimize the guest operating system for better performance and usability.
Benefits of Installing Guest Additions
Installing Guest Additions provides several key benefits:
- Enhanced Display Integration
- Automatic screen resolution adjustment
- Support for higher display resolutions
- Seamless window integration
- Improved Performance
- Hardware-accelerated graphics
- Mouse pointer integration
- Shared clipboard functionality
- Additional Features
- Shared folders between host and guest
- Seamless windows mode
- Time synchronization
- Better audio support
Prerequisites for Installation
Before installing Guest Additions, ensure you have:
- VirtualBox installed and updated to the latest version
- A running virtual machine
- Administrative privileges in the guest OS
- Sufficient disk space (approximately 200MB)
- Development tools or build essentials (for Linux guests)
Installing Guest Additions on Windows
- Start your Windows virtual machine
- From the VirtualBox menu, select “Devices” → “Insert Guest Additions CD image”
- When AutoRun appears, click “Run VBoxWindowsAdditions.exe”
- Follow the installation wizard:
- Accept the default options
- Allow the installation of drivers when prompted
- Restart the virtual machine when finished
Installing Guest Additions on Linux
- Install required packages:
<span class="token"># For Ubuntu/Debian</span><span class="token">sudo</span> <span class="token">apt-get</span> update
<span class="token">sudo</span> <span class="token">apt-get</span> <span class="token">install</span> build-essential dkms linux-headers-<span class="token">$(</span><span class="token">uname</span><span class="token"> -r</span><span class="token">)</span><span class="token"># For Fedora/RHEL</span><span class="token">sudo</span> dnf <span class="token">install</span> gcc kernel-devel kernel-headers dkms <span class="token">make</span> <span class="token">bzip2</span> - Insert Guest Additions CD:
- Click “Devices” → “Insert Guest Additions CD image”
- Mount and install:
<span class="token">sudo</span> <span class="token">mount</span> /dev/cdrom /mnt
<span class="token">cd</span> /mnt
<span class="token">sudo</span> ./VBoxLinuxAdditions.run - Restart the virtual machine
Installing Guest Additions on macOS
- Start your macOS virtual machine
- Select “Devices” → “Insert Guest Additions CD image”
- Mount the Guest Additions ISO if not automatically mounted
- Double-click the VBoxDarwinAdditions.pkg
- Follow the installation wizard
- Restart the virtual machine
Common Features and How to Use Them
Shared Folders
- Power off the virtual machine
- In VirtualBox Manager:
- Select your VM
- Click “Settings” → “Shared Folders”
- Add a new shared folder
Drag and Drop
- In VM Settings:
- Go to “General” → “Advanced”
- Set “Drag’n’Drop” to Bidirectional
Clipboard Sharing
- In VM Settings:
- Go to “General” → “Advanced”
- Set “Shared Clipboard” to Bidirectional
Seamless Mode
- Press Host Key (usually Right Ctrl) + L
- Or select “View” → “Seamless Mode.”
Troubleshooting Installation Issues
What are Some of the Common Problems And Solutions?
- Installation Fails
- Verify system requirements
- Update VirtualBox to the latest version
- Install required development tools
- Screen Resolution Issues
- Restart the virtual machine
- Reinstall Guest Additions
- Check display adapter settings
- Shared Folders Not Working
- Add user to vboxsf group (Linux):
<span class="token">sudo</span> <span class="token">usermod</span> -aG vboxsf <span class="token">$(</span><span class="token">whoami</span><span class="token">)</span>
- Verify mount points and permissions
- Add user to vboxsf group (Linux):
- Building Kernel Modules Fails
- Install correct kernel headers
- Update the system
- Check system logs for specific errors
Updating Guest Additions
- Check Current Version
bash<span class="token"># On Linux</span>
modinfo vboxguest <span class="token">|</span> <span class="token">grep</span> ^version<span class="token"># On Windows</span>
Check Programs and Features - Update Process
- Download latest VirtualBox version
- Update Guest Additions through “Devices” menu
- Reinstall following the same process as initial installation
Best Practices
- Before Installation
- Take a snapshot of your VM
- Back up important data
- Update the guest OS
- After Installation
- Test all required features
- Configure shared folders and clipboard as needed
- Document any custom settings
- Maintenance
- Keep Guest Additions version matched with VirtualBox
- Regularly update both VirtualBox and Guest Additions
- Monitor system performance
More Articles from Unixmen
Install and Configure Linux based Firewall IPCop using Oracle Virtual Box
Install Oracle VirtualBox And Manage It Using phpVirtualBox On Ubuntu 15.10 Headless Server


 What are VirtualBox Guest Additions?

