First release of upcoming AntiX 15 has been made available for download this weekend. It is a debian based, lightweight Linux distro, designed primarily to run on old computers. The development objective of this operating system is to provide a light, but fully functional and flexible free OS which should cater the needs for both newcomers and experienced users of Linux. Computer systems having 128 MB of memory and 2.2 GB of disk space can run it as well. Breaking News; new antiX will use 4.0.5 Linux kernel, we will be reviewing its installation process and prominent features in this article.
Features
Here are some of the noteworthy features of this distro, as per its release notes:
- Improvements have been made for SIS [Silicon Integrated Systems] drivers.
- Redesign of antiX Control Centre app, with old options removed.
- Important addition of new themes ; clearlooks-phenix, searchmonkey, livestreamer, and streamlight.
- Additions of various useful educational applications.
Installing AntiX 15 RC1
There are couple of ways, you can initiate the install of this OS.
(a) Download Antix 15 RC and burn it to DVD/USB drive and boot your system using this DVD/USB.
(b) Create Virtual machine on your current operating system using tools like Oracle Virtual Box and boot your Virtual machine using ISO of Antix.
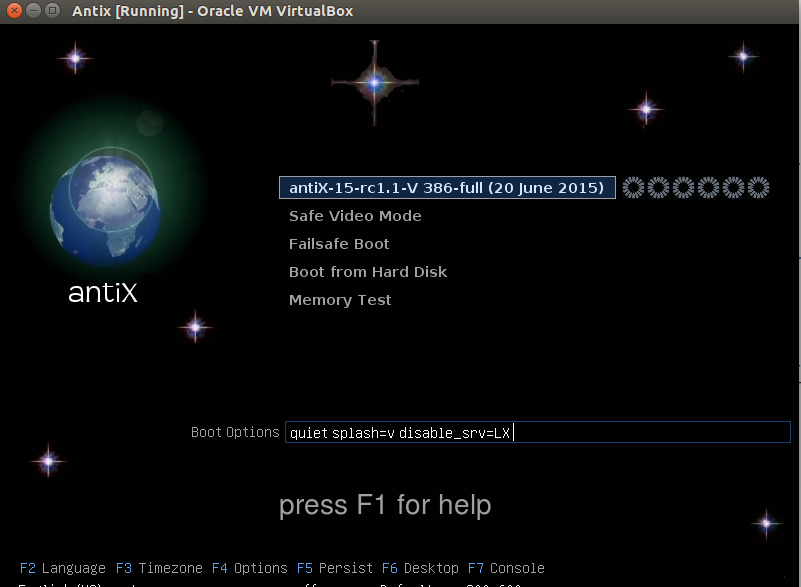
Whichever method you choose, here is the very first screen you should see when booting your system using this ISO.
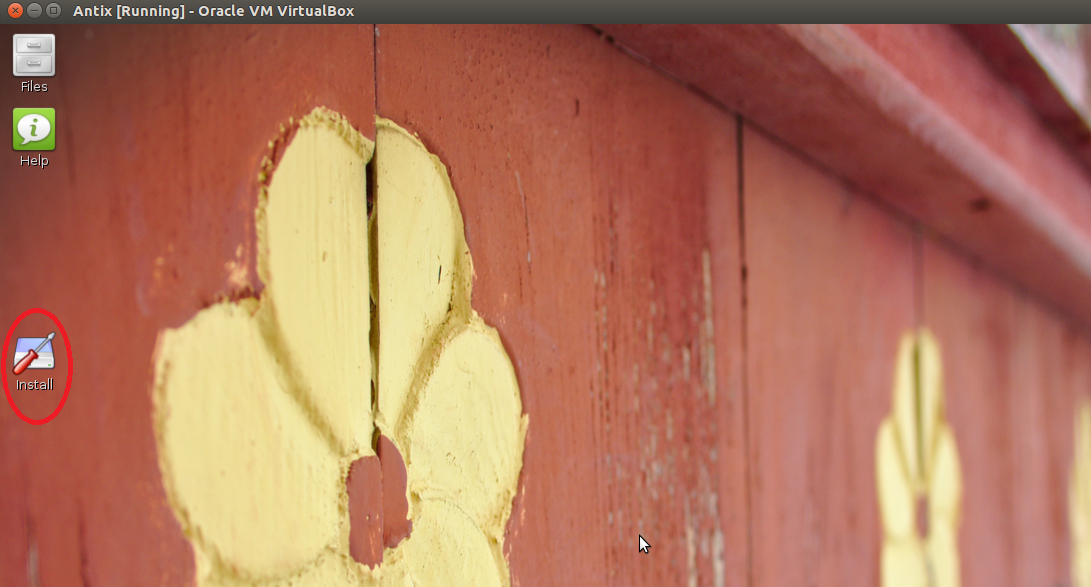
Choose very first option and hit Enter to boot into Live Environment. You will be taken to the live desktop for this OS, From here click “Install” as shown encircled in following screenshot, to start the install process.
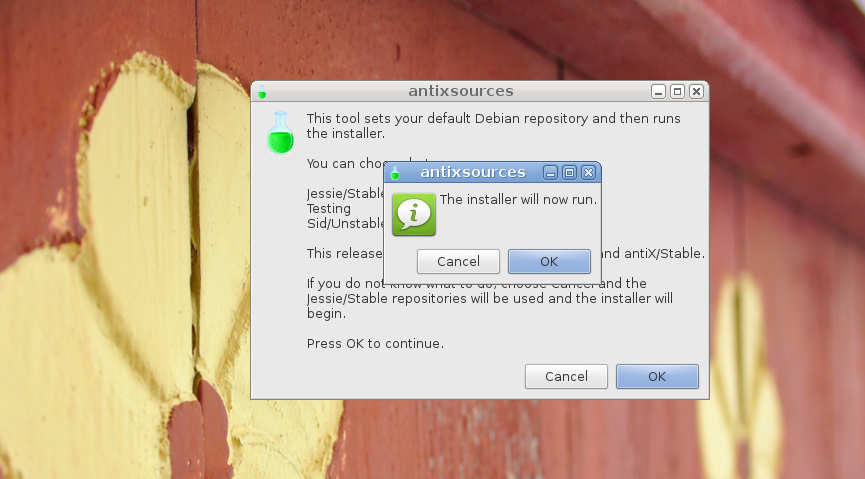
“Antix Sources” dialogue box will be displayed, from here click OK to choose your Debian source.
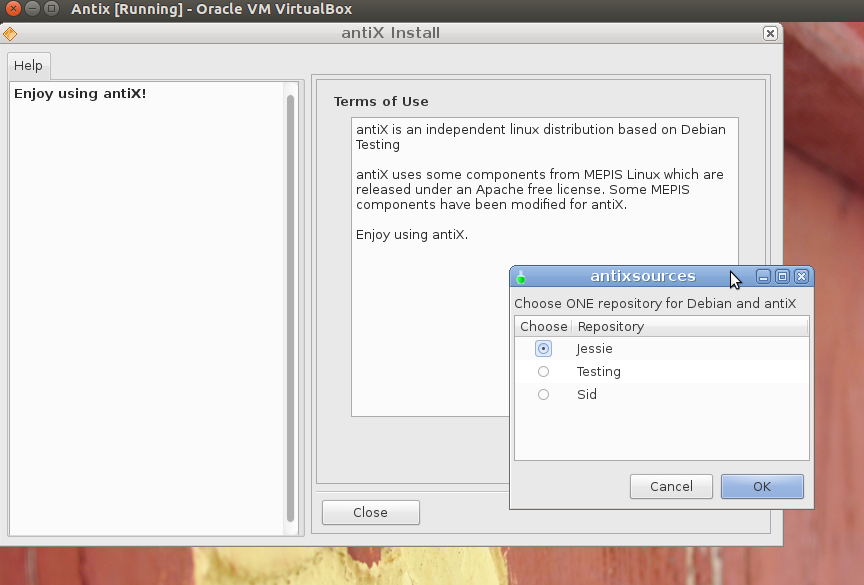
Choose a Debian OS repository from here and click Ok.
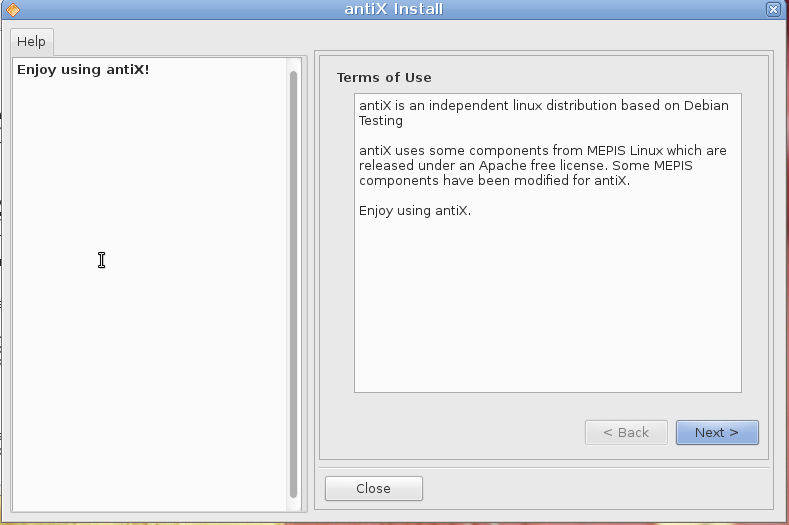
Next window will present you with “Terms of Use”, go through the details and click “Next”.
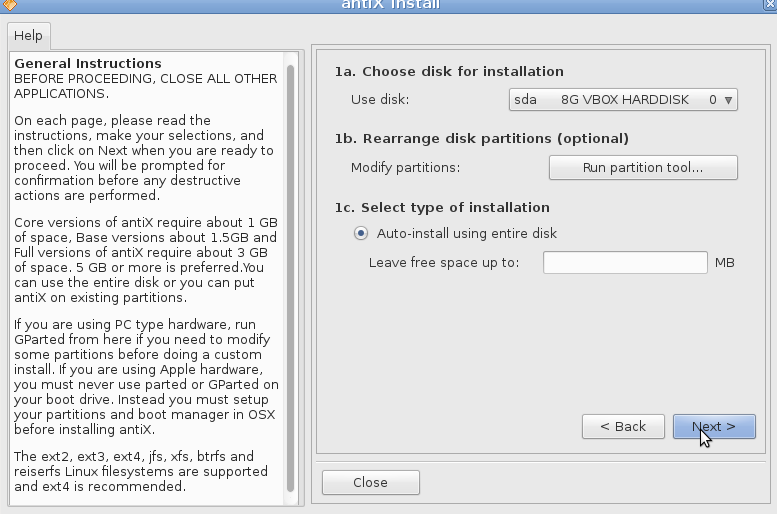
From here, specify your desired disk partitioning layout for new OS install, hit Next once done.
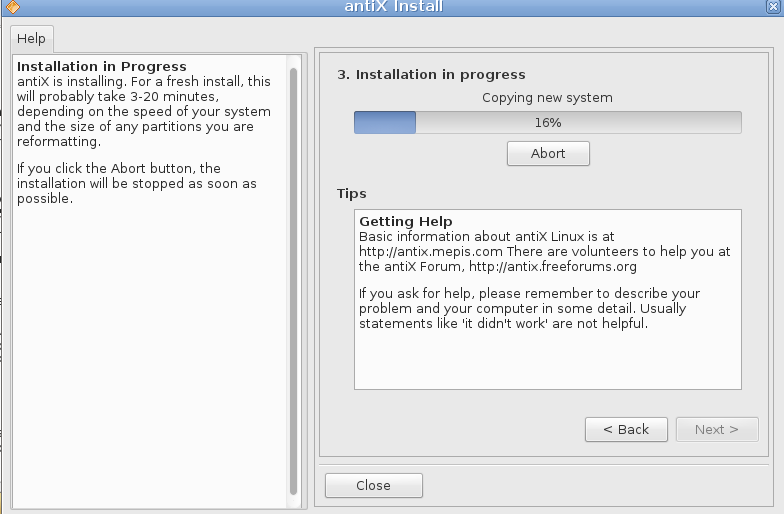
That’s all, the OS install will begin and installer will keep updating progress bar accordingly.
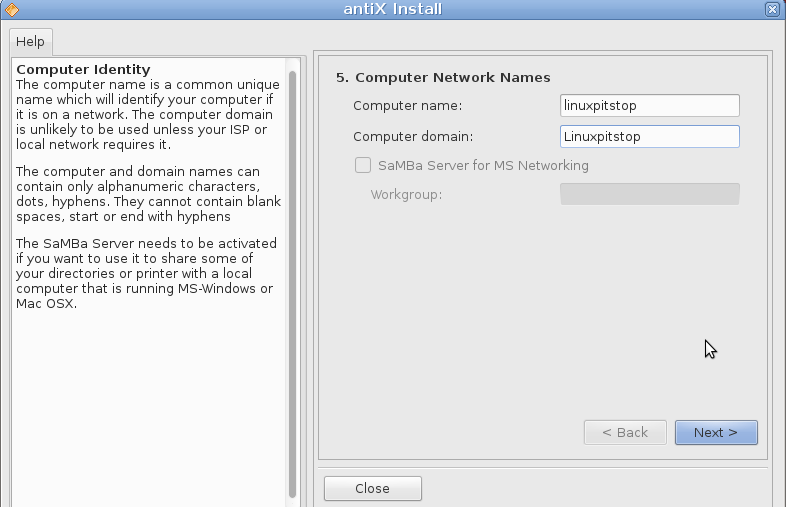
Specify your computer hostname and domain-name [if applicable] from next step.
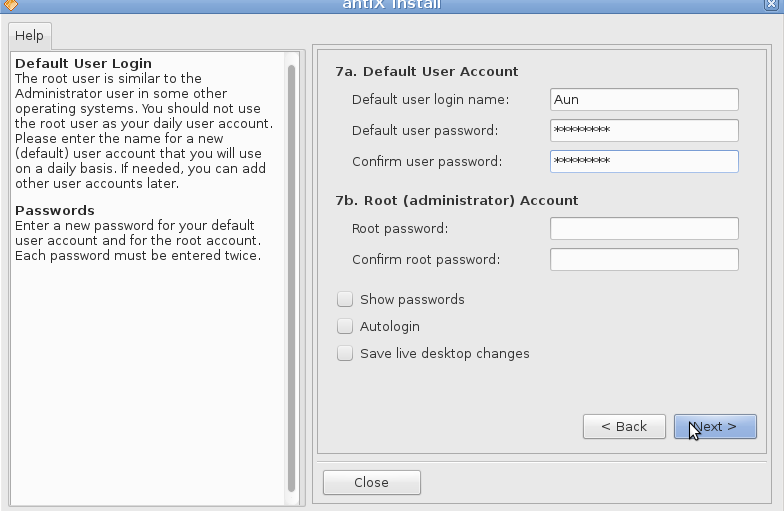
Provide your user account details and root password at the final stage of installation.
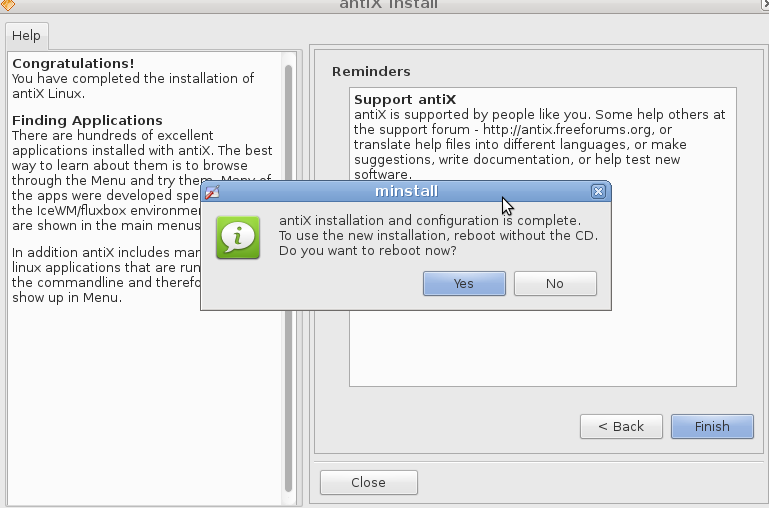
Congratulations, Antix installation and configuration is complete, reboot your system now.
Login and start enjoying your new OS 🙂
Conclusion
Its extremely lightweight Linux distro, Install and boot time for this OS is pretty quick, and it also be used as a fast-booting rescue CD. It uses SysVInit for services management.


