Okular is originally developed for KDE 4 and is a universal document viewer application. But it runs fine on multiple environments and uses KPDF on the back end. It is shipped as a part of KDE 4 and replaces many applications as it bundles the functionality of multiple applications into a single, lightweight, free app. The most recent version for this application is 0.22, in this article we will discuss its prominent features and installation steps on Ubuntu Linux 15.04.
Features
Other than fulfilling the basic functionality, here are some noteworthy features of this application.
- Advanced document features like annotations, forms, and embedded files.
- Adding comments for PDF documents.
- Drawing lines and adding geometric shapes.
- Extract parts of PDF documents to multiple files.
- Use of DPI screens for page size matching.
- Tab support enabled in latest releases.
- Ability to add bookmarks and multiple search methods.
Installing Okular on Ubuntu Linux
Installing Okular on Ubuntu is pretty simple, its already included into Ubuntu package manager APT respositories, all you need to do is to update package manager and run install command for this application.
Launch terminal window and run following command to update APT package manager repositories.
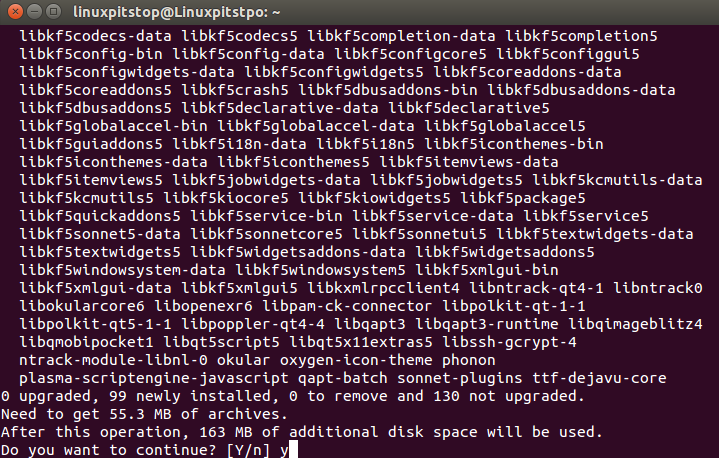
As soon as the update process complete, run following command to install the latest version for this application.
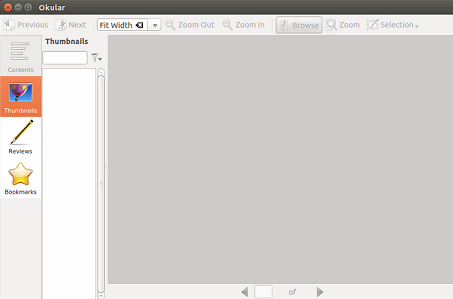
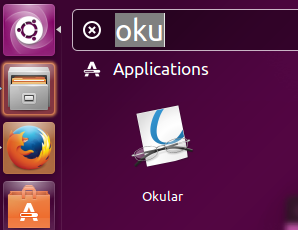
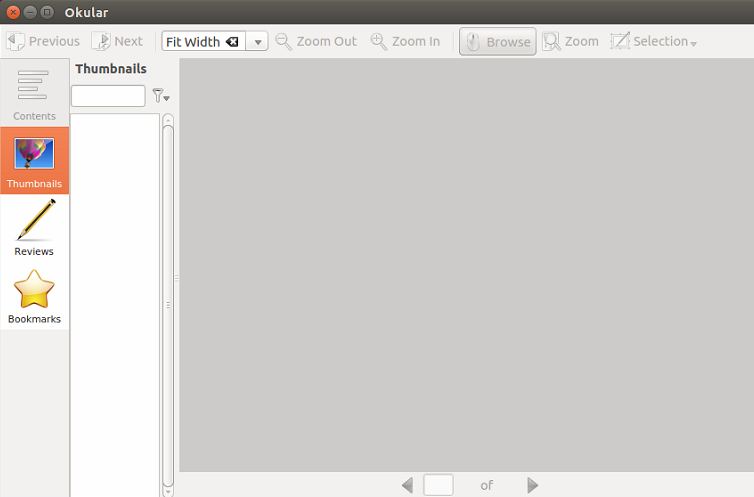
Congratulations, universal document viewer ocular is up and running on your Ubuntu system now. Launch it from Applications >> okular option.
Start using this wonderful app on Ubuntu 🙂
Conclusion
It works fine on Linux, Free BSD, Windows and Mac OS. It is lightweight application and hardly consumes any resources on your system. It is a must-have app for your Linux system.


