
Introduction
Centreon is an Open Source software package that lets you supervise all the infrastructure and applications comprising your information system.
Centreon is the system and network monitoring software adapted to the needs of your ISD. It combines Open Source flexibility with the essential features of excellent supervision:
- monitoring your servers, active elements and applications.
- real-time operating and component management console.
- maintenance and support for your whole platform by the solution publisher.
- unlimited uses and extensions via open software mechanisms.
CES Standard is the Open and free version of the product. Centreon Enterprise Server (CES) includes all Centreon functions in a unique product. This packaged version of the suite is in fact specially designed to help organisations to manage their applications by automatically monitor their system and infrastructure components. It delivers a complete, professional, integrating the software suite Centreon (Centreon, centreon Engine Centreon Broker).
 For more information, check the website of Centreon: http://www.centreon.com/
The purpose of this section is to describe the ideal partitioning recommended in order to get the optimal performances for your Centreon monitoring platform.
Centreon Installation
Prerequisites:
In order to install Centreon, it’s necessary to have a server that can be formatted. If so, you can insert your CES CD in the drive and configure your server BIOS to boot on the CD.
In this article, our server will be installed on VMware Workstation, but the procedure is virtually the same for one physical server to share the particularity of VMtools. So we need to download the ISO file from the Centreon download page.
The table below gives the prerequisites for the installation of CES.
| Number of Services | Number of pollers | Central | Poller |
|---|---|---|---|
| < 500 | 1 central | 1 vCPU / 1 Go | |
| 500 – 2000 | 1 central | 2 vCPU / 2 Go | |
| 2000 – 10000 | 1 central + 1 poller | 4 vCPU / 4 Go | 1 vCPU / 2 Go |
| 10000 – 20000 | 1 central + 1 poller | 4 vCPU / 8 Go | 2 vCPU / 2 Go |
| 20000 – 50000 | 1 central + 2 pollers | 4 vCPU / 8 Go | 4 vCPU / 2 Go |
| 50000 – 100000 | 1 central + 3 pollers | 4 vCPU / 8 Go | 4 vCPU / 2 Go |
If not virtualized architecture, a minimum CPU frequency of 2.5 GHz is recommended.
Central server load depends on the number of simultaneous users, the content of pages visited and the refresh rate of the pages.
Centreon Entrepise Server CES 3.0 Installation
After download ISO file from centreon Website, we start the installation.
To install Centreon, start your server on the support (created from the ISO file) of the Centreon Enterprise Server.
Start with the Install or upgrade an existing system option

After choose the Install or upgrade an existing system option , click Next

Now you need to choose the language of installation and click on Next.
 Next, select the keyboard used by your system and click on Next.

The next step is to select the options necessary to obtain the partitioning that suits you best

A warning message may appear Click Yes, discard any data

Now in this step you will need to make hostanme and configure the network.
Choose your hostname and click on Configure network in order to modify your network card configuration.
Select the network card that you want to use and go into “IPv4 Settings” or “IPv6 Settings” tab (depending on the requirement) to configure the IP address of the interfaces. Click on Apply to save the changes.
Click on Close and Next to continue.

Select your time zone and click on Next.

Enter the desired root password, and click on Next.

Select the partitioning options that suit you best. Then validate.

Now the next step is to select the component of your monitoring platform.
- Central server with database : Install Centreon (web interface and database), monitoring engine and broker
- Central server without database : Install Centreon (web interface only), monitoring engine and broker
- Poller server : Install poller (monitoring engine and broker only)
- Database server : Install database server (use with Central server without database option)
In our box, we shall choose the Centreon Server with database option.

When choosing the monitoring engine and the broker, it is possible to choose between the Centreon Engine / Centreon Broker pair or the Nagios / NDOUtils pair.
In our box, we shall choose the Centreon Engine and Centreon Broker option.

Once all these options have been selected, the installation starts.

When the installation is finished, click on Restart.

Congratulations, the monitoring platform installation is complete.
Web Configuration
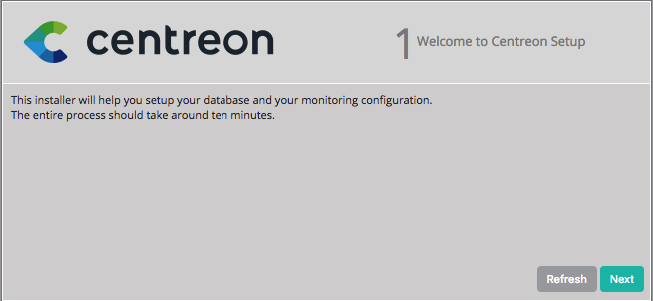
Log into web interface via : http://[SERVER_IP]/centreon. The End of installation wizard of Centreon is displayed, click on Next.
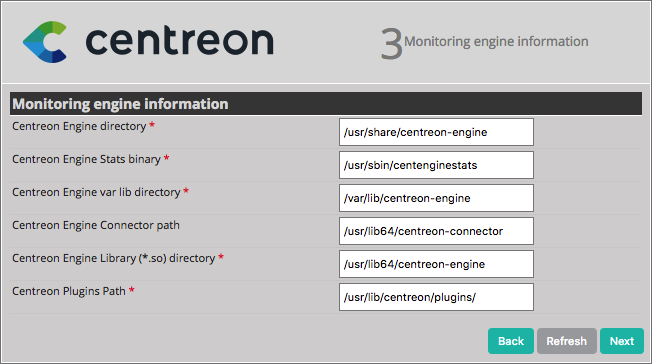
The End of installation wizard of Centreon checks the availability of the modules, click on Next.

Choose the centreon-engine option.

Click on Next.
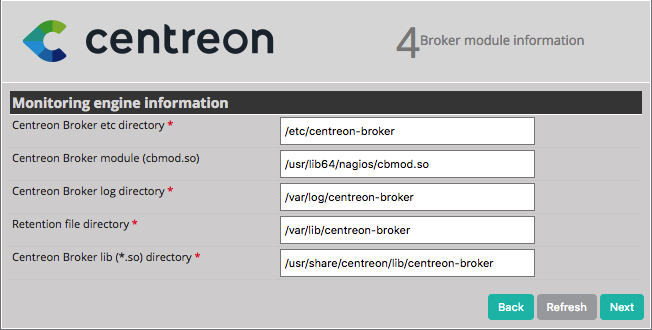
For the choice of broker, choose Centreon-broker.

Click on Next.
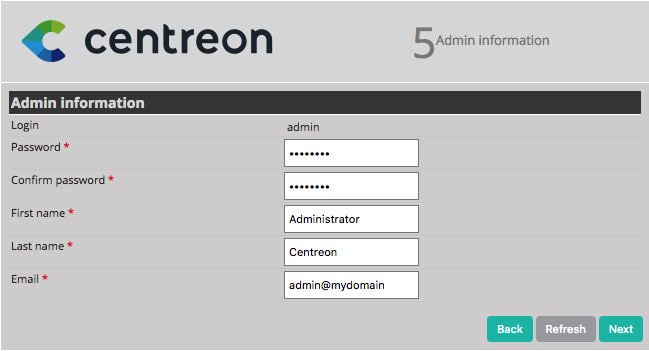
Define the data concerning the admin user, click on Next.
By default, the ‘localhost’ server is defined and the root password is empty. If you use a remote database server, these two data entries must be changed. In our box, we only need to define a password for the user accessing the Centreon databases, i.e. ‘Centreon’, click on Next.
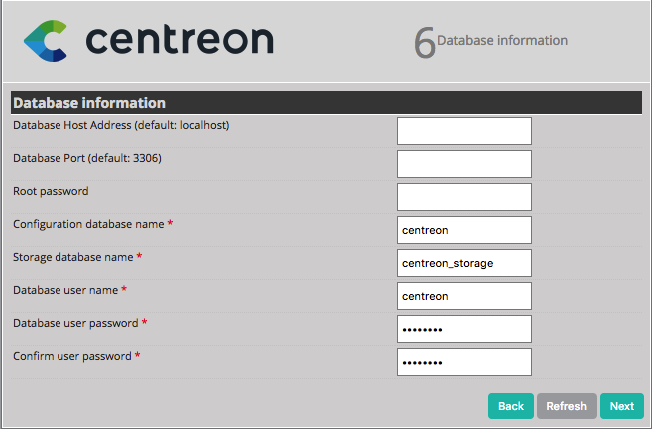
If the following error message appears: Add innodb_file_per_table=1 in my.cnf file under the [mysqld] section and restart MySQL Server. Perform the following operation:
- Log-on to the ‘root’ user on your server
- Modify this file
/etc/my.cnf
- Add these lines to the file
- Restart mysql service
- click on Refresh
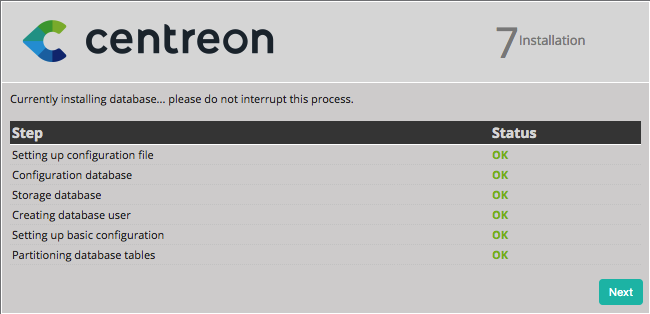
The End of installation wizard configures the databases, click on Next.
The installation is finished, click on Finish.
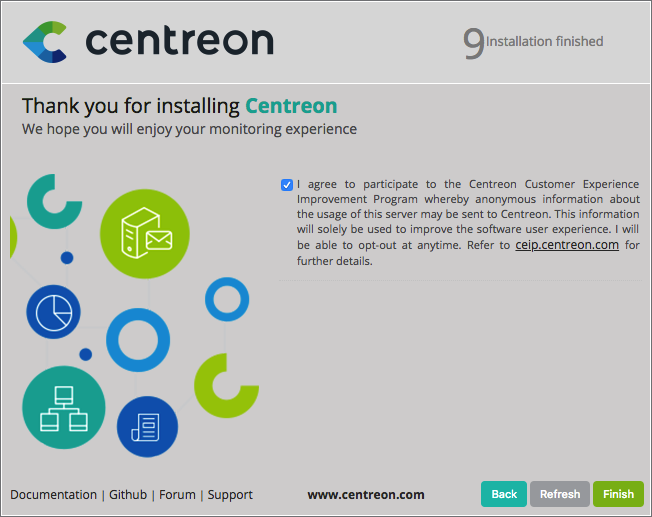
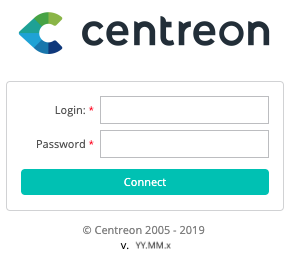
You can now log in.
Introduction to the web interface
Centreon web interface is made up of several menus, each menu has a specific function:

- The Home menu enables access to the first home screen after logging in. It summarises the general status of the supervision.
- The Monitoring menu contains the status of all the supervised elements in real and delayed time via the viewing of logs.
- The Views menu serves to view and configured the performances graphics for each element in the information system.
- The Reporting menu serves to view, intuitively (via diagrams), the evolution of the supervision on a given period.
- The Configuration menu serves to configure all monitored objects and the supervision infrastructure.
- The Administration menu serves to configure the Centreon web interface and to view the general status of the servers.
Congratulations! Enjoy your new Monitoring platform.


