About CacheGuard
CacheGuard is an dedicated Gateway application OS along with web based management system. It protects users along with web applications, it is open source and free for maximum 100 users.
Features
Networking
CacheGurad secure and optimize web traffic and comes with multiple “mode” features, all of features or modes can be activated or deactivated as and when required,This application can be used as router with ip forwarding feature with just a single command.CacheGuard enables with DHCP service which can be managed using web management console, Multiple VLANs can be added to manage different type of users.
IP Security
Web proxy, IP firewall with NAT and PAT, Port scanning, Internal/external zoning, secured access lists etc are the features included in IP Security bunch.
Content filtering and web security
URL filters with back lists and white lists, blacklists get updated time by time.Additionally web access got filtered based on regular expressions.Web authentication integrated with LDAP is available, intrusion detection, content filtering, logging of web access is features in this gateway application.
Administration
Can be configured with commands, remote ssh access or via web based management console.
Please refer following links for more details Please refer following links for more details
http://www.cacheguard.net/doc/command/index.html http://www.cacheguard.net/doc/command/index.html
http://www.cacheguard.net/doc/guide/overview.html http://www.cacheguard.net/doc/guide/overview.html
Installation and configuration
Prerequisites
It will need a dedicated hardware which must possess al least two Ethernet cards, 200 GB of hard disk, 4 GB RAM and a core2duo processor will be sufficient for at 100 users environment.
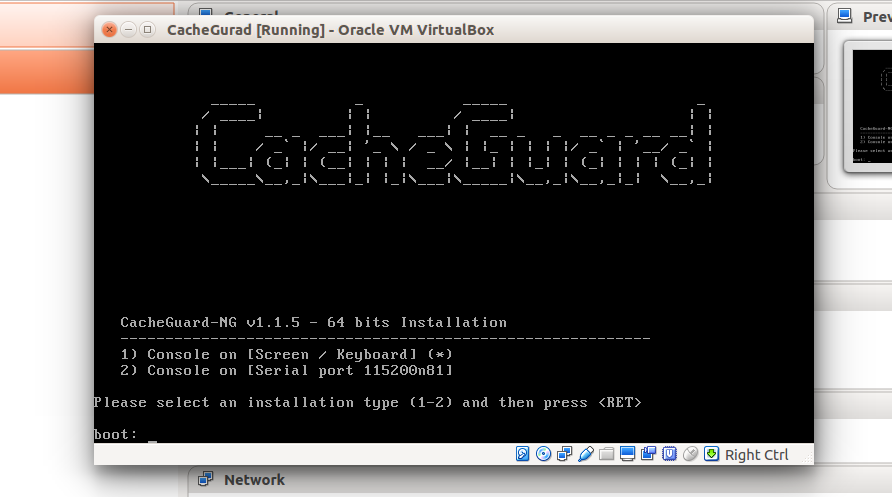
Download .iso image of the gateway application from this link.Burn media into a disk and install. Press enter at the boot prompt:
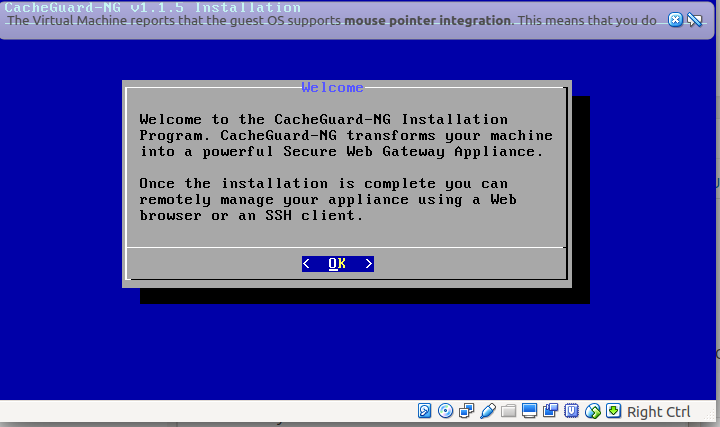
Press next when a welcome scree appear:
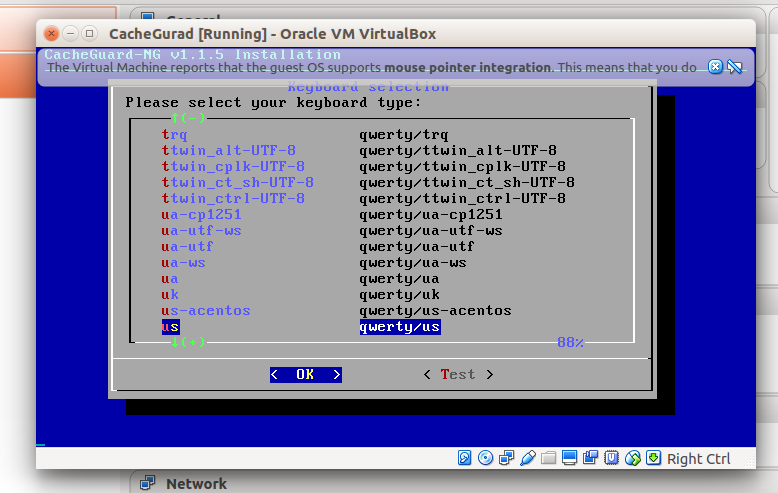
Select default keyboard language:
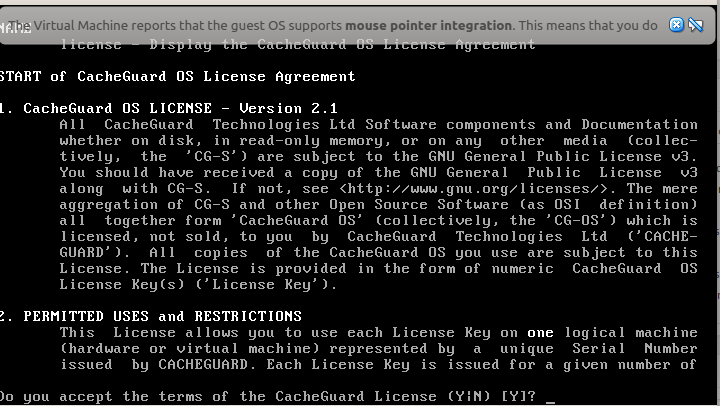
Press q then press Y or simply press enter:
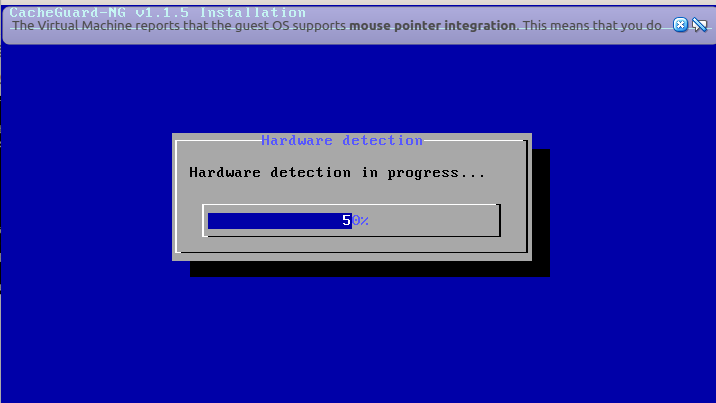
It will detect hardware dependence which are required for firewall:
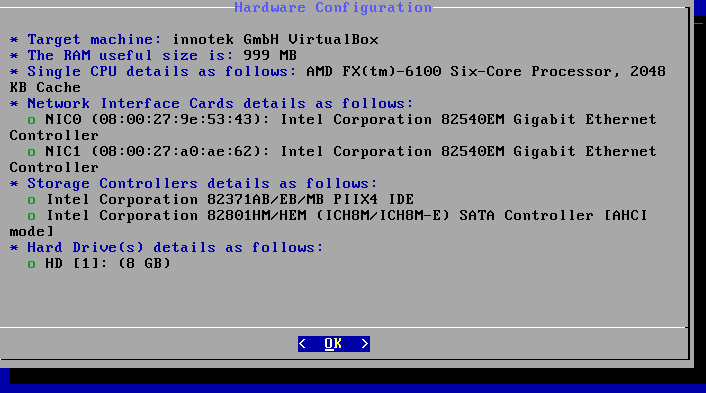
If everything is ok, a screen like below will appear:
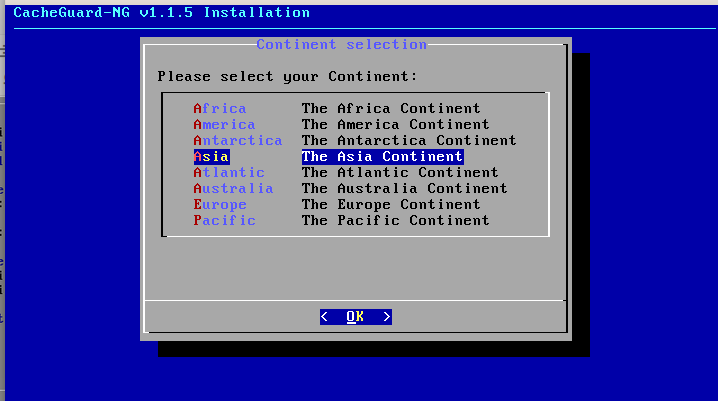
Press ok and select your native Continental:
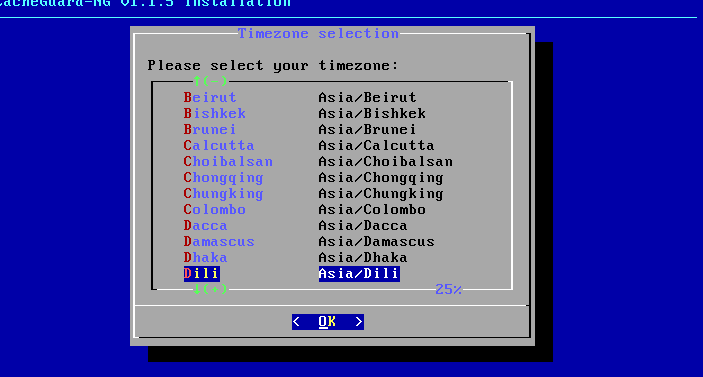
Select time zone:
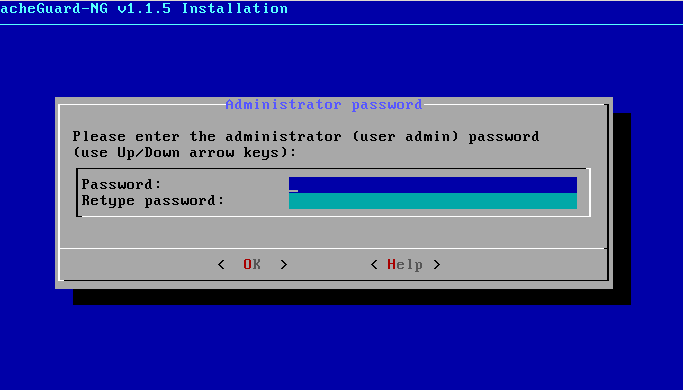
We are skipping some of the steps as they will simply require to press enter then you will be asked for admin password:
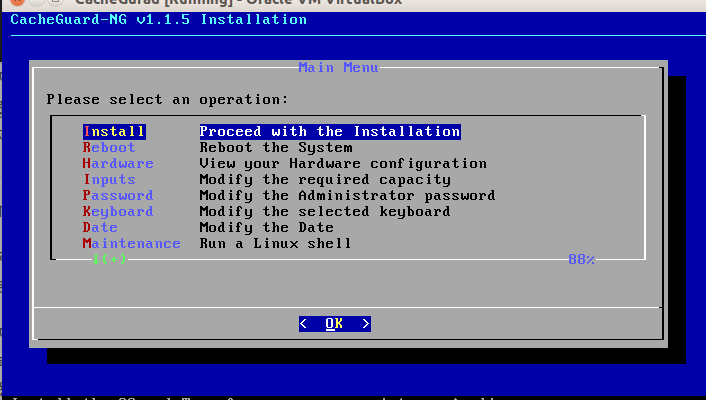
Let the installation process begins:
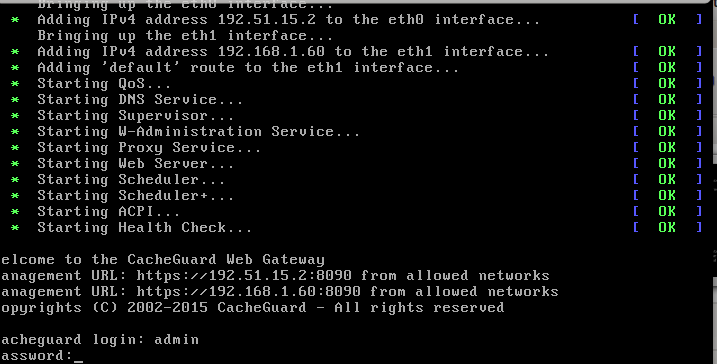
After installation process is complete remove boot media ans reboot the system, a login window will appear, login with admin user name and password assigned by you:
Login and define gateway , internal network ip address, external ip address and gateway by giving following simple commands(replace ip addresses as per your scenario):
ip internal 192.51.15.2 255.255.255.0
For external ip
ip external 192.168.1.60 255.255.255.0
To add default gateway give following command
ip route ad default 192.168.1.1
Apply settings
apply
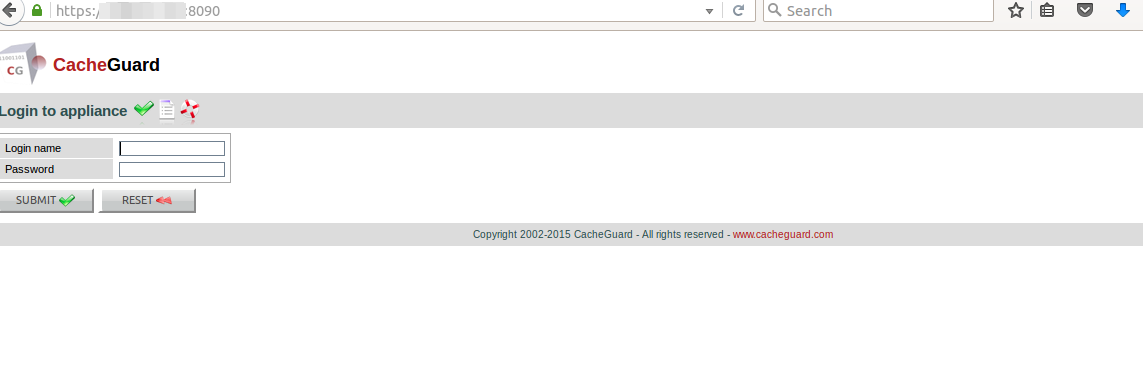
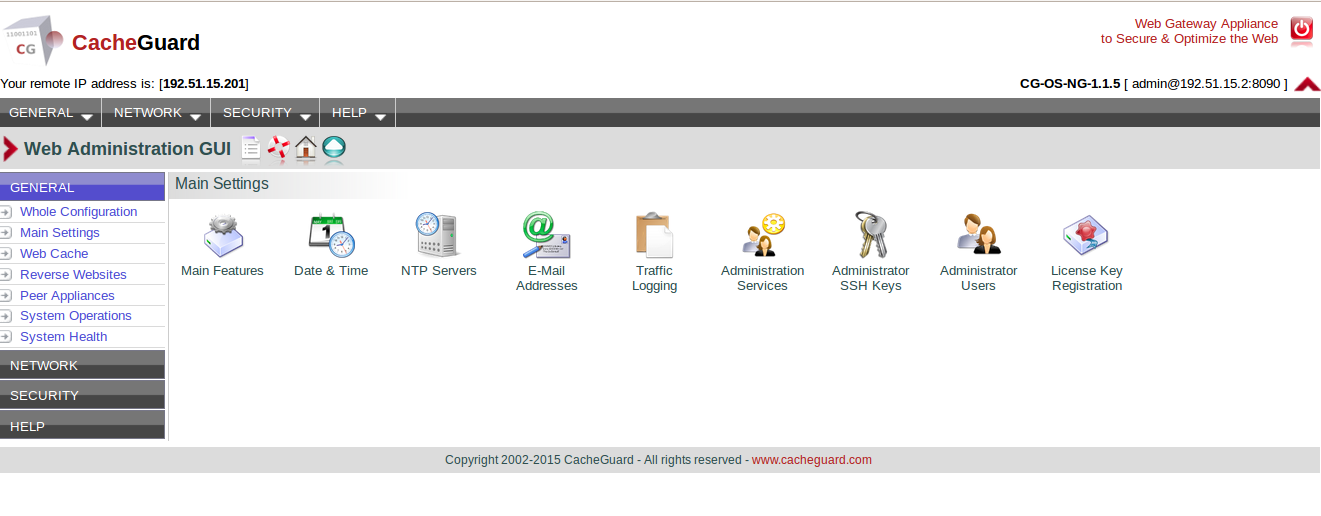
Press Yes and now you can access your firewall from remote web browser, simply open a remote browser and type:
https://<ip_adress>:8090
Give user name ‘admin’ and password
Now server is ready to configure:
Installation process is over now, let us have some configuration examples.
Examples
Configure DHCP server
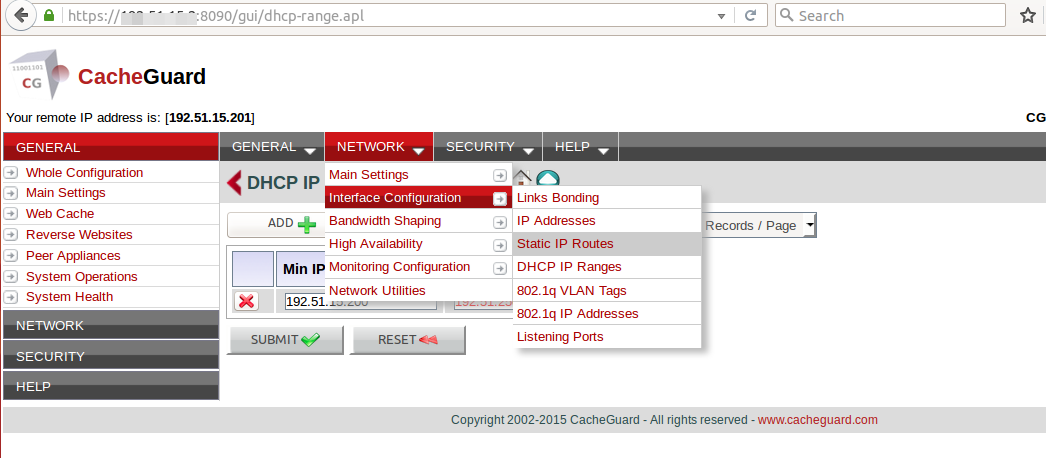
Go to network-> interface configuration-> DHCP IP range and assign IP address range which you wants to make allow:
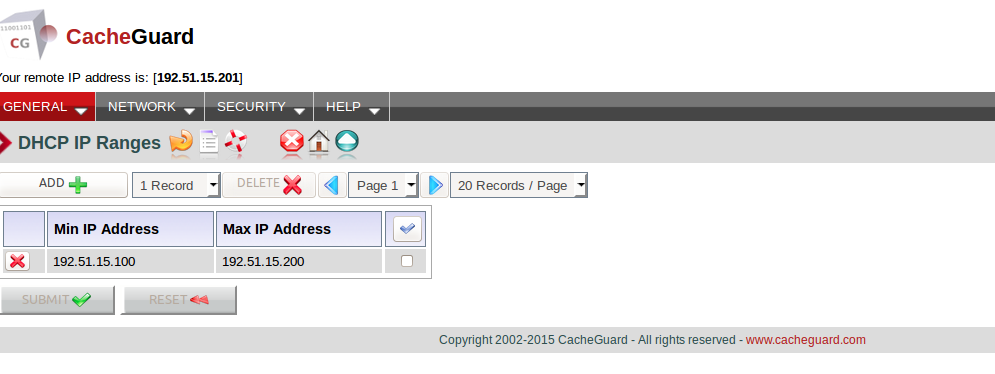
Click add, provide desired IP pool, click submit:
In security section we can configure NAT rules for external web traffic:
Conclusion
CacheGuard web security gateway although is not much popular application but can be tried for any SMB level of organization, very easy to use and can be used in integration of LDAP server for web based authentication which makes user management quite easy.
Have Fun!!


