
Jenkins is a self-contained Java-based program, ready to run out-of-the-box, with packages for Windows, Mac OS X and other Unix-like operating systems.
MASTER SLAVE ENVIRONMENT in JENKINS
Jenkins is a continuous Integration tool which allows to add number of slaves as per the project requirement. Creating a new Jenkins slave node is very simple.
On the Jenkins web interface go to Manage Jenkins.
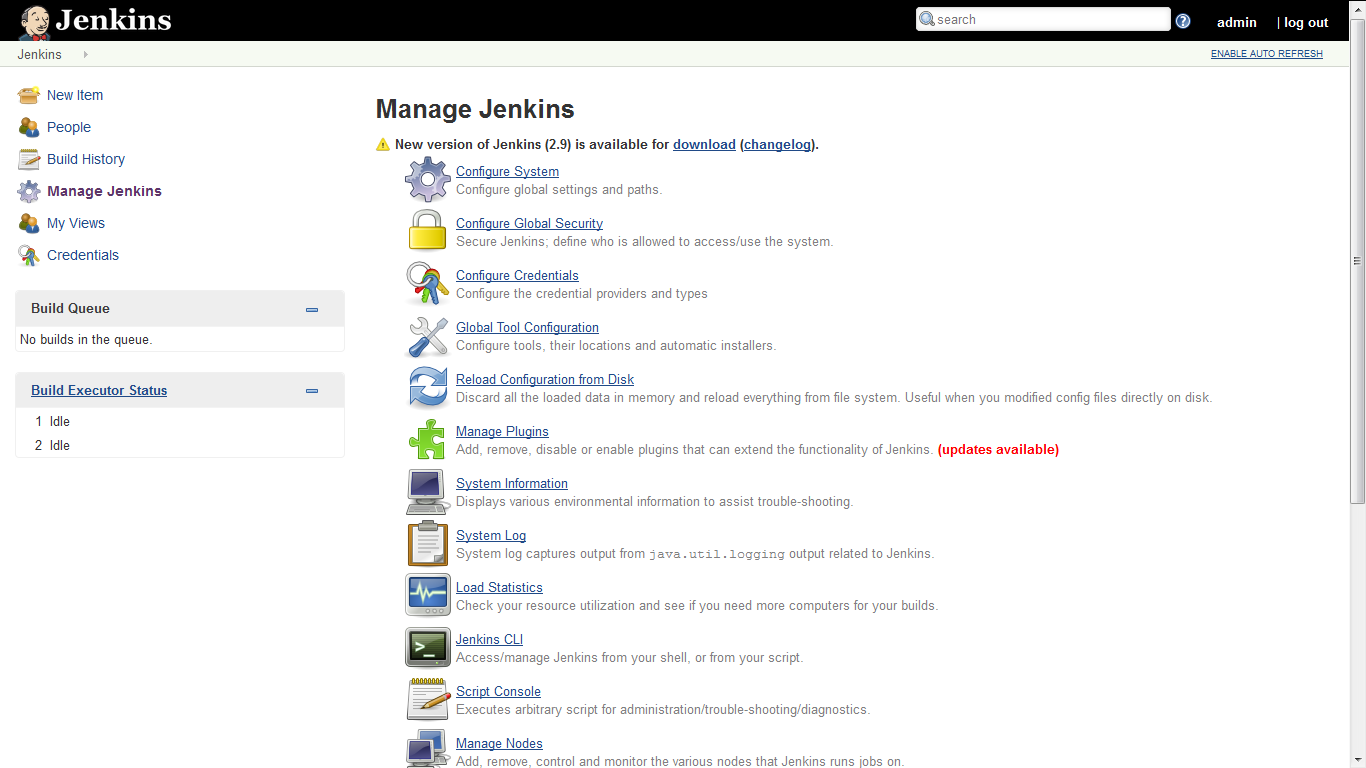
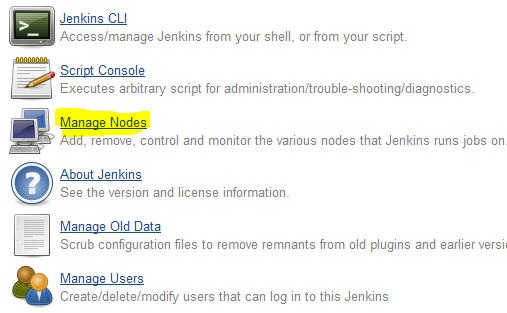
Then click on manage nodes option as shown below.
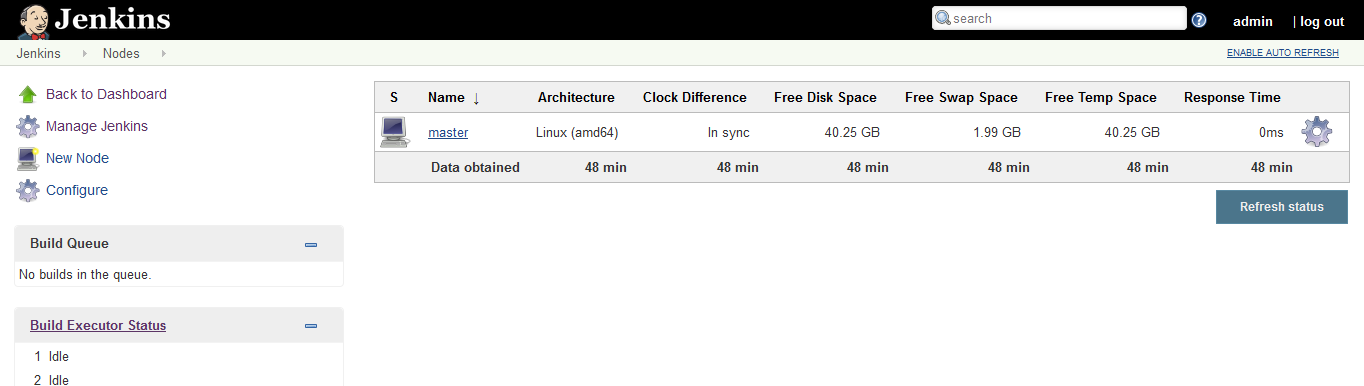
Click on the new node option in the Jenkins manage Node screen
Once you click on New Node a new screen will be appeared
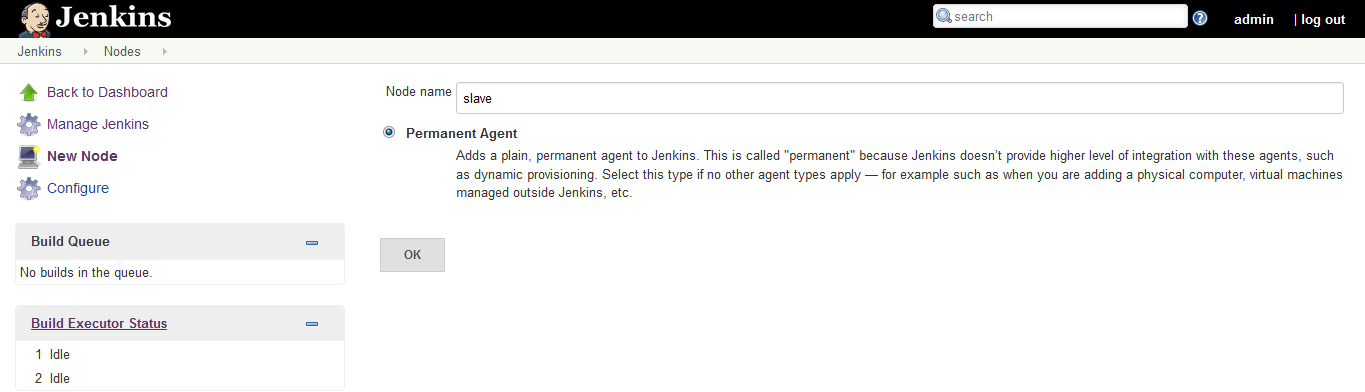
Node name is name for the slave connection, It adds a plain, permanent agent to Jenkins. This is called “permanent” because Jenkins doesn’t provide higher level of integration with these agents, such as dynamic provisioning. Select this type if no other agent types apply — for example such as when you are adding a physical computer, virtual machines managed outside Jenkins, etc. here i used the name build_slave. after entering the node name select permanent agent and then click on ok button.

Name
Name that uniquely identifies an agent within this Jenkins installation. This does not have to be the same as the agent hostname (where applicable), but it is often convenient to make them the same. The name may not contain any characters from this list: ?*/\%!@#$^&|<>[]:;
Description
Optional human-readable description for this agent. This could include information useful to users, such as how many CPU cores the agent has, how much RAM it has installed, its physical location, etc.
# of executors
The maximum number of concurrent builds that Jenkins may perform on this agent.
Remote root directory
An agent needs to have a directory dedicated to Jenkins. Specify the path to this directory on the agent. It is best to use an absolute path, such as /var/jenkins or c:\jenkins. This should be a path local to the agent machine. There is no need for this path to be visible from the master.
Lables
Labels (or tags) are used to group multiple agents into one logical group. Labels do not necessarily have to represent the operating system on the agent; you can also use labels to note the CPU architecture, or that a certain tool is installed on the agent. Multiple labels must be separated by a space. For example, windows docker would assign two labels to the agent: windows and docker.
Labels may contain any non-space characters, but you should avoid special characters such as any of these: !&|<>(), as other Jenkins features allow for defining label expressions, where these characters may be used.
Usage
Controls how Jenkins schedules builds on this node.
Use this node as much as possible
This is the default setting.In this mode, Jenkins uses this node freely. Whenever there is a build that can be done by using this node, Jenkins will use it.
Only build jobs with label expressions matching this node
In this mode, Jenkins will only build a project on this node when that project is restricted to certain nodes using a label expression, and that expression matches this node’s name and/or labels.
Launch method
This launch method relies on DCOM and is often associated with subtle problems. Consider using Launch slave agents using Java Web Start instead, which also permits installation as a Windows service but is generally considered more reliable.
The types of Launch methods are
1.Launch slave agents via Java Web Start
2.Launch slave via execution of command on the Master
3.Let Jenkins control this Windows slave as a Windows service
Availability
Keep this agent online as much as possible
In this mode, Jenkins will keep this agent online as much as possible.
Take this agent online and offline at specific times
In this mode, Jenkins will bring this agent online at the scheduled time(s), remaining online for a specified amount of time.
Take this agent online when in demand, and offline when idle
In this mode, Jenkins will bring this agent online if there is demand, i.e. there are queued builds which meet the following criteria: They have been in the queue for at least the specified In demand delay time period
After Entering all the above details click on save button.
Connect the slave machine to the master machine
In the Slave machine browser open the Jenkins web interface by using http://ipaddress:8080
Go to Manage Jenkins and click on manage nodes , then click on the newly created slave instance in list and get a screen with launch option.
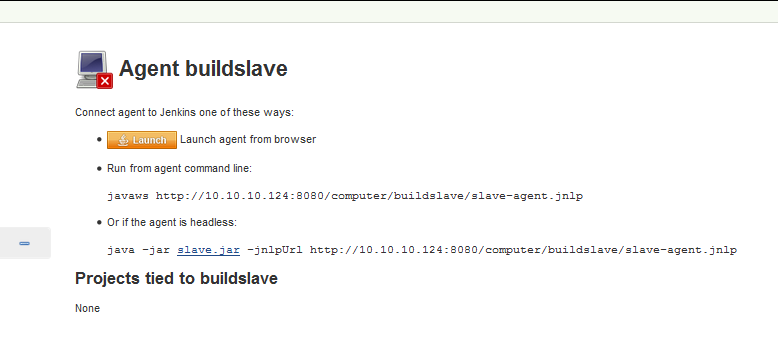
Click on the Launch option we will get a screen to open or save file
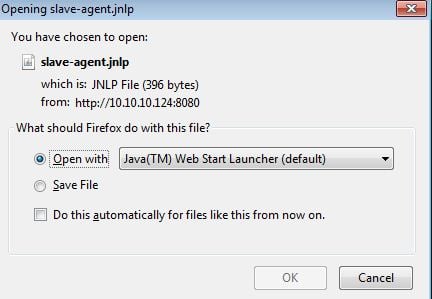
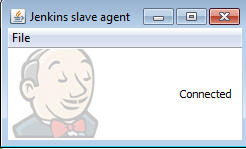
select openwith option or you can save and run the file then it connects the Master and Slave Nodes.
Now run the the command from slave command line as follows
C:\Jenkins>javaws http://10.10.10.124:8080/computer/build_slave/slave-agent.jnlp
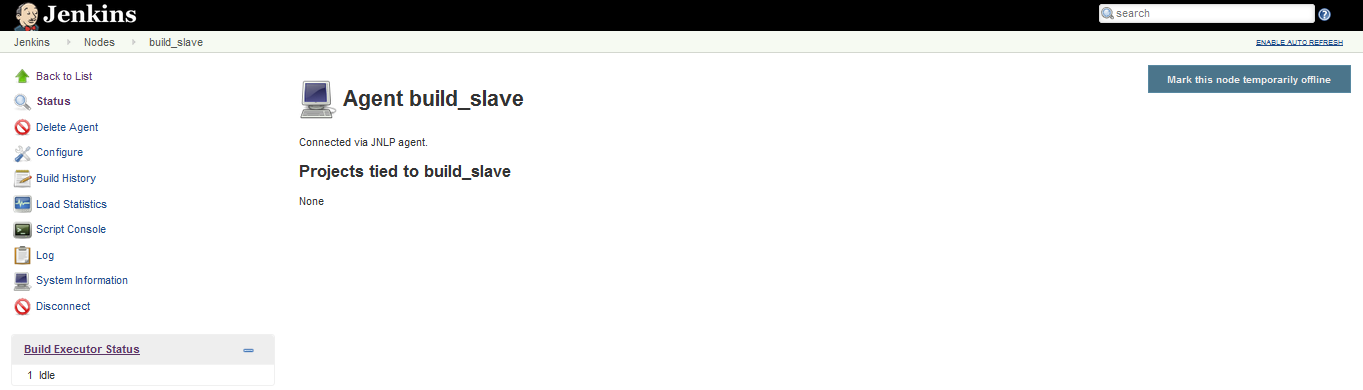
Now click on back to list you will see the created node list with the master nodes

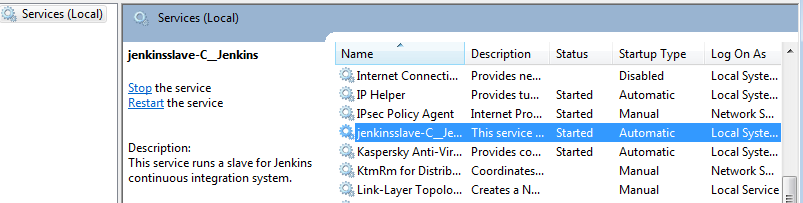
In windows if we want to add this as a service. in The connected window shown above click on file and install option the security window appears.


Click on Run Button it will install the jenkins service in windows machine
If you have any doubts feel free to ask, Enjoy Linux!

