GRASS GIS (Geographic Resources Analysis Support System) is a free and open source Geographic Information System (GIS) software. It is used for geospatial data management and analysis, image processing, graphics and maps production, spatial modeling, and visualization. GRASS GIS is currently used in academic and commercial settings around the world, as well as by many governmental agencies and environmental consulting companies. Currently it is used by the following Government firms:
– NASA
– NOAA
– USDA
– DLR
– CSIRO
– The National Park Service
– The U.S. Census Bureau
– USGS
and many environmental consulting companies.
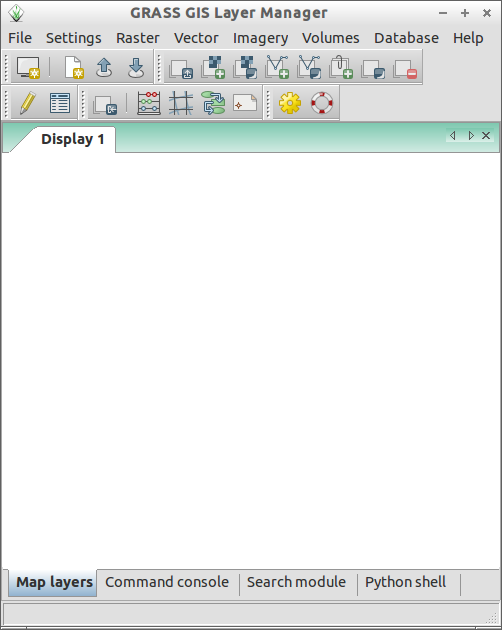
GRASS is is an official project of the Open Source Geospatial Foundation released under GPL V2 and it supports almost all platforms such as Windows, Mac OS X and Linux. It comes with an intuitive GUI as well as command line syntax for ease of operations and it can interface with printers, plotters, digitizers, and databases to develop new data as well as manage existing data.
GRASS 6 is the current stable version having the following capabilities.
– Raster analysis
– 3D-Raster (voxel) analysis
– Vector analysis
– Point data analysis
– Image processing
– DTM-Analysis
– Geocoding
– Visualization
– Map creation
– SQL-support
– Database interfaces (DBF, SQLite, PostgreSQL, mySQL, ODBC)
– Geostatistics
– Furthermore
GRASS 7 is under development stage right now and will be expected soon in this year. It will be packed with many new and improved features such as:
– Large data support
– Improved topological 2D/3D vector engine
– Improved vector network analysis
– Improved display manager usability
and many.
GRASS GIS Installation
As i told earlier, GRASS can be used on various Linux distributions.
On Debian based systems:
It is available on Debian/Ubuntu repositories. So we can install it with command:
$ sudo apt-get install grass grass-doc
On RHEL/CentOS/Scientific Linux/Fedora:
Add EPEL repository and install it with command:
# yum install grass
On openSUSE:
sudo zypper ar http://download.opensuse.org/repositories/Application:/Geo/openSUSE_12.3/ GEO
sudo zypper refresh
sudo zypper install grass
On Madriva:
urpmi grass
And of course you can compile and install from latest source code. For details about compiling and installing from source visit here.
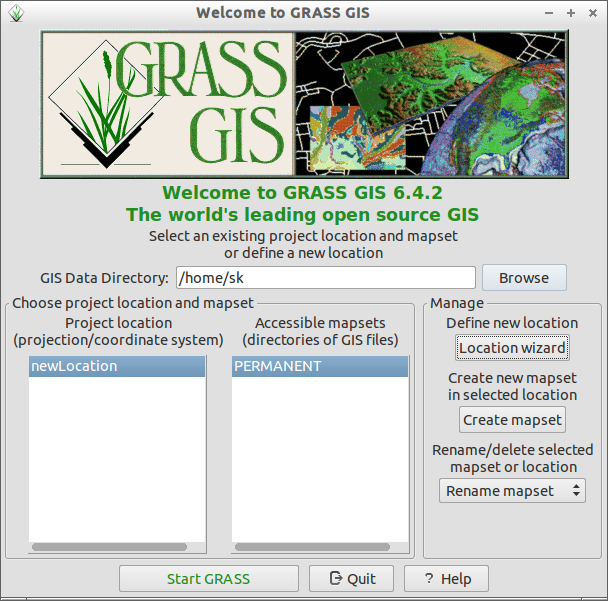
After installing GRASS launch it either from Dash or Menu. I opened it from my Ubuntu 13.04 desktop from terminal with command:
$ sudo grass
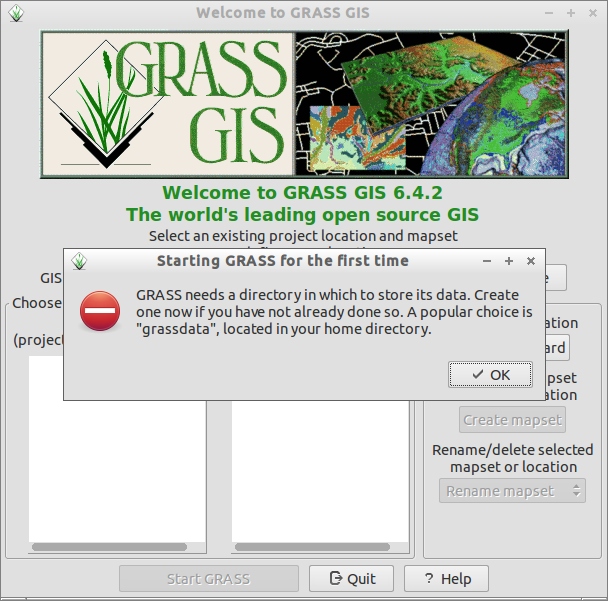
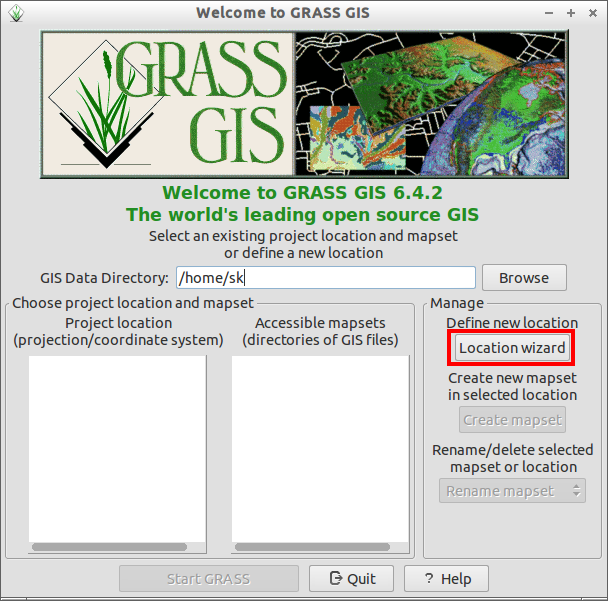
At the first launch, you will be asked to create a home directory to store GRASS data’s.
