About HomeBank
HomeBank is a free, open source, personal finance and money management application that can be used to manage your daily and monthly finance details easily as well as effectively. It has built-in powerful filtering tools and graphs that will help you to analyze your everyday transactions. It is a cross platform tool which will work on almost all common devices and operating systems, including Linux, Windows, FreeBSD, and Mac OS X.
Features at a glance
HomeBank has the following notable features.
- Cross platform, supports GNU/Linux, Microsoft Windows, Mac OS X;
- Import easily from Intuit Quicken, Microsoft Money or other software;
- Import bank statements (OFX, QIF, CSV, QFX);
- Duplicate transaction detection;
- Automatic cheque numbering;
- Various account types : Bank, Cash, Asset, Credit card, Liability;
- Scheduled transaction;
- Category split;
- Internal transfer;
- Month/Annual budget;
- Dynamic powerful reports;
- Automatic category/payee assignment;
- Vehicule cost;
- And more yet to come.
The complete and comprehensive feature details are given here.
Installation
On Ubuntu:
HomeBank team has created a official PPA to make the installation much easier.
Run the following commands one by one to install it in Ubuntu 13.10, and 14.04.
sudo add-apt-repository ppa:mdoyen/homebank
sudo apt-get update
sudo apt-get install homebank
On Debian:
It is available in the official Debian repositories since debian lenny (5.0).
sudo apt-get install homebank
On Fedora:
It is available in the official repositories since Fedora core 6.
sudo yum install homebank
On openSUSE/SUSE:
zypper in homebank
or
yast -i homebank
On Mandriva:
urpmi homebank
On Gentoo:
emerge homebank
On Arch:
pacman -S homebank
Also, you can download and compile it using the binary package.
Usage
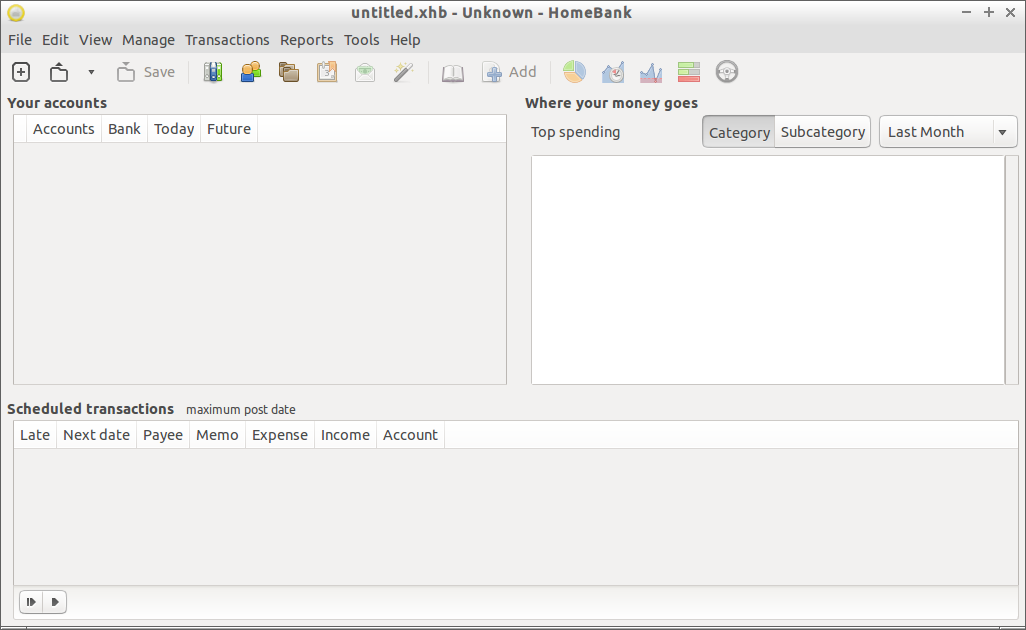
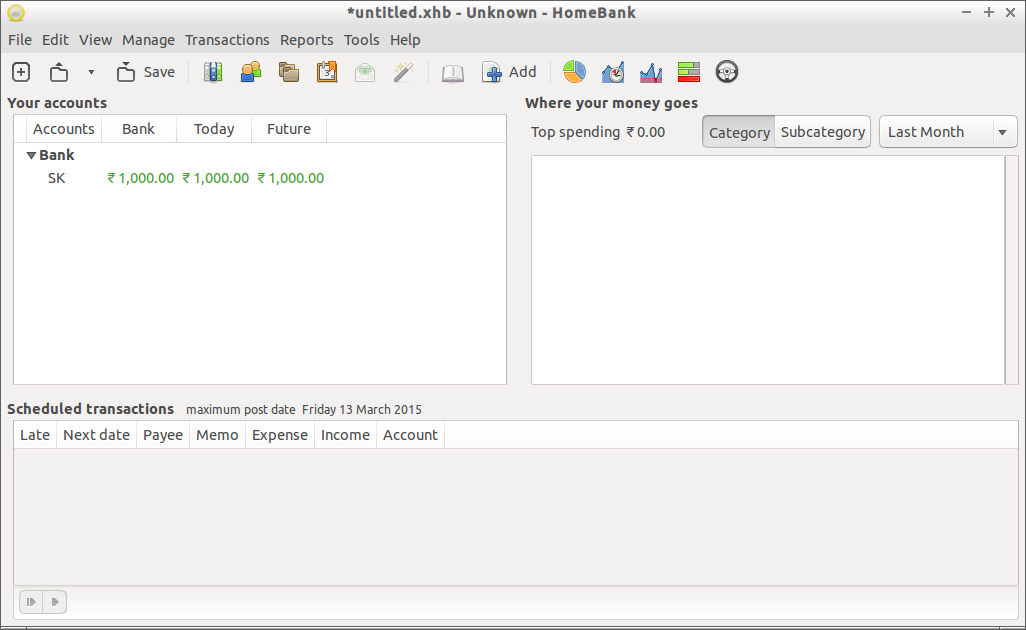
The HomeBank default interface will look like below.
Creating Accounts:
The first step is to create accounts.
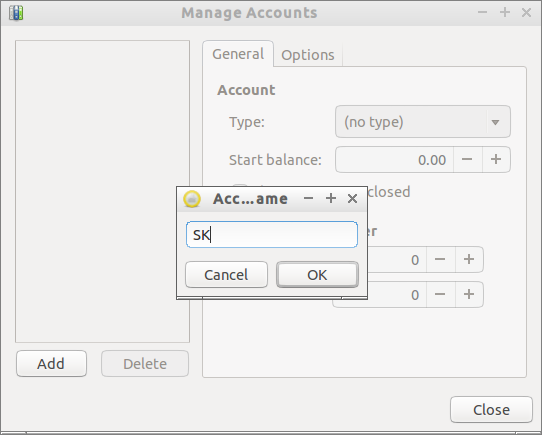
To do that, go to Manage -> Accounts from the Menu bar. Click on the Add button and enter the name of your account.
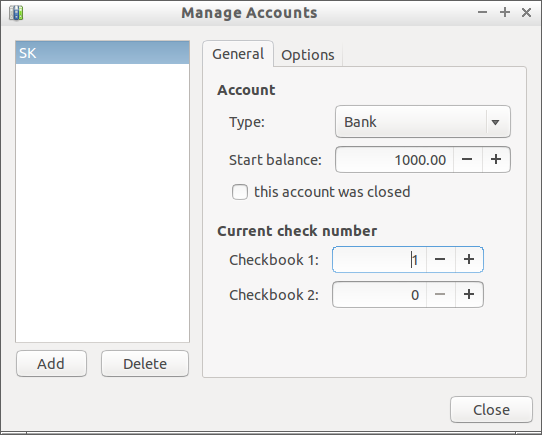
Then, select the type of the account(Bank, Cash, Asset, Credit card, etc.) from the ‘Type’ drop down box of the General section. Next, enter the Starting balance, Check book number, etc.
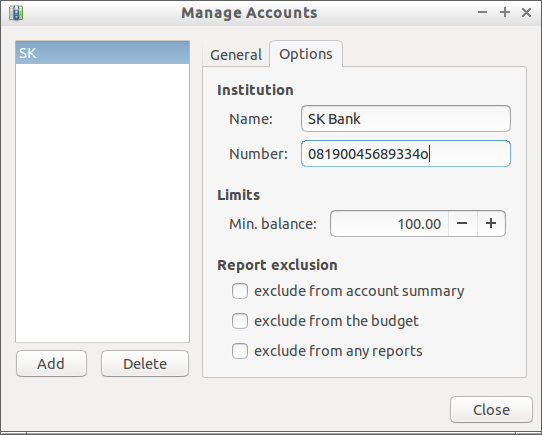
Also, you can specify the bank name where the account is registered, and the minimum balance.
Finally, click Close.
The account details(Opening, Closing, and Future balance) will be shown in the main interface.
Creating Payees:
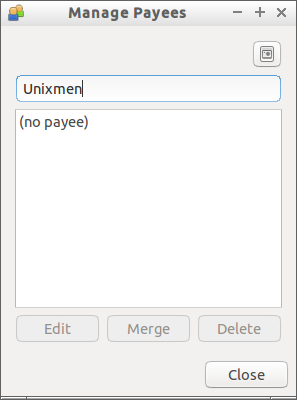
Here, you will define the Payees. Payee is who the transaction actually goes to. Payees can be a person, a restaurants, Hotels or anything.
To add a payee, go to Manage -> Payee from the Menu bar. Enter the name of the payee, and press Enter button.
You can add as many as you want. All payee’s names will be listed in alphabetical order.
Creating Categories
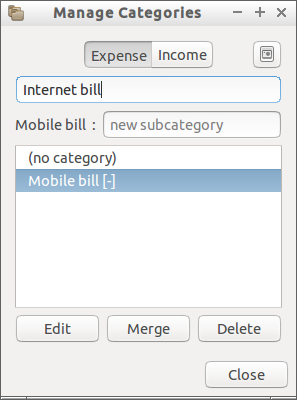
Categories are what the transaction is related to. This can be either Income or expenses. To create a new Category, go to Manage -> Category. Enter the name of the Category.
Let us define a sample ‘Expense’ category.
You can also create sun categories under any main category.
In case, you want to create a category for Income, click the Income option in the above window.
Adding transaction:
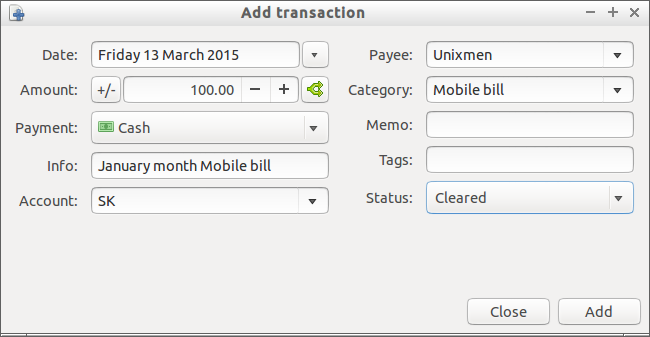
Now, let us do a sample transaction. For example, I am going to add the Mobile bill..
To do that, go to Transactions -> Add from the Menu bar.
Fill up the details such, as date, amount, payment type, account, payee, category and status etc. Click Add to complete the transaction.
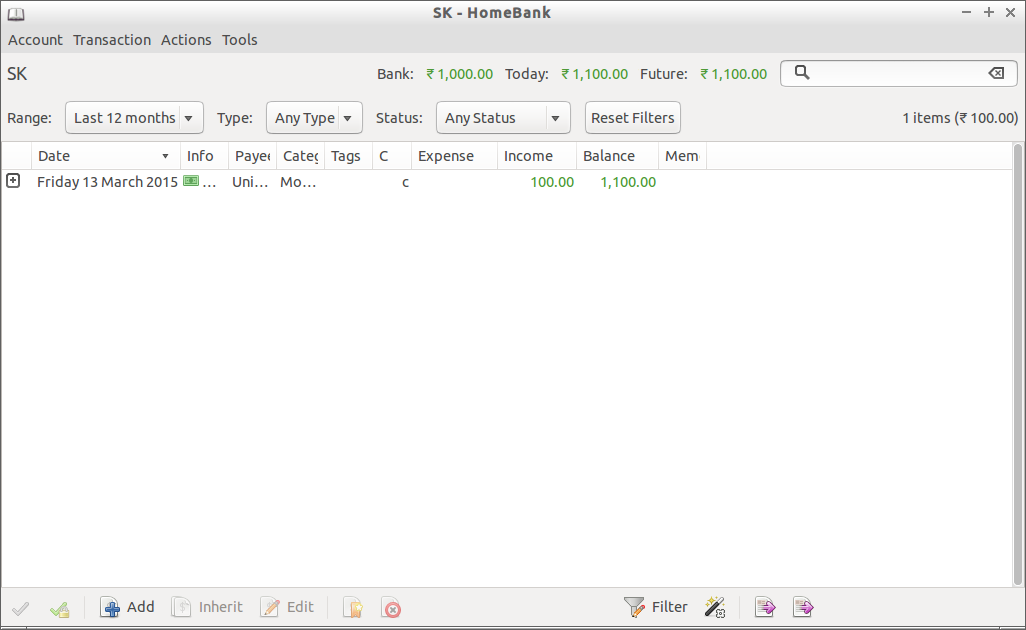
That’s it. Now, return back to main window and double click the Account. It will display the recent transaction details.
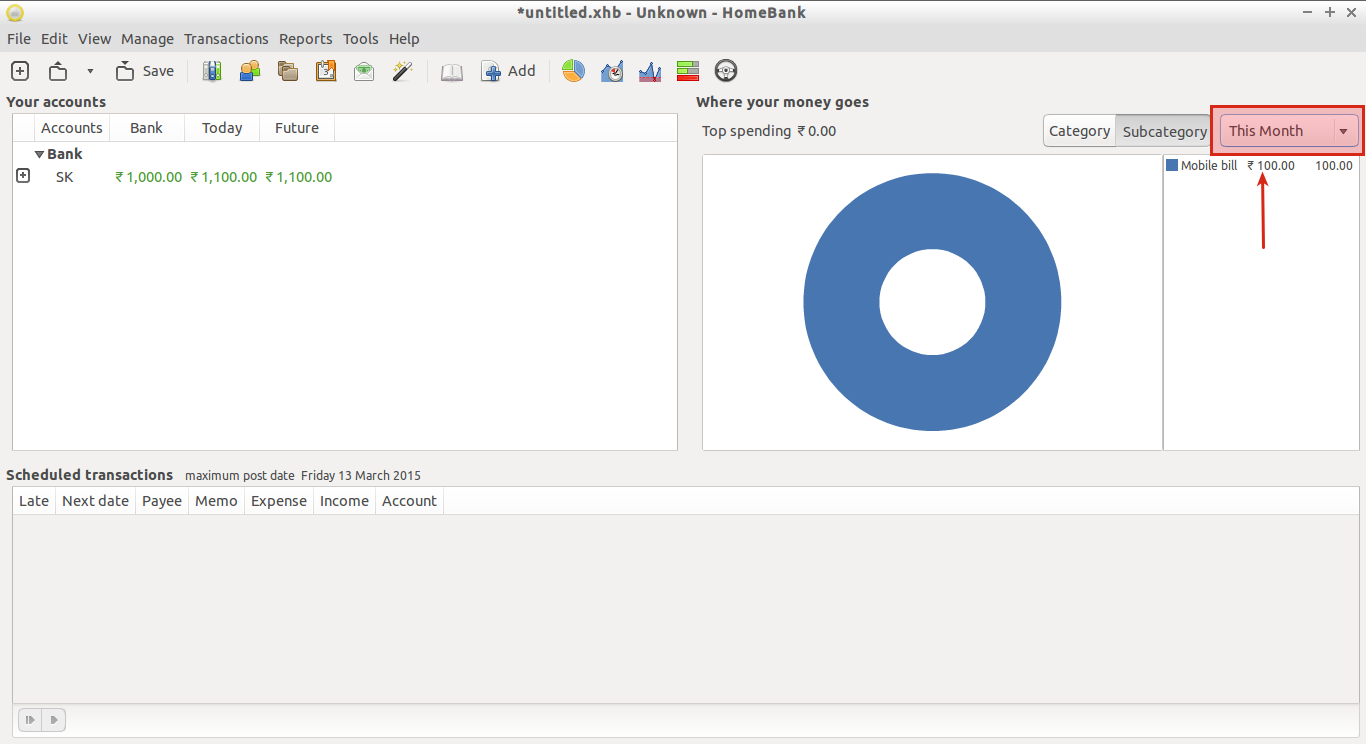
Also, you can check where your money goes every month.
Using HomeBank, you can keep an eye on your Income and expenses every month.
That’s it. Refer the complete HomeBank user manual for more details.


