Although XFCE is providing a great Graphical User Interface (GUI), we still love to reach our desired applications and perform actions instantly and quickly, just by pressing a few key-pairs of our keyboard. In this article, I am going to show you the method of adding keyboard shortcuts in XFCE desktop environment.
STEP 1: Open your XFCE Menu.
STEP 2: Select Settings from the XFCE Menu.
STEP 3: Choose Keyboard option from the Settings sub-menu.
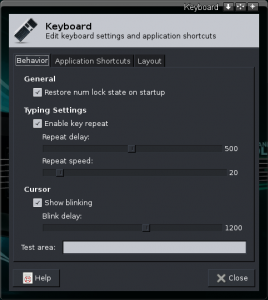
The Keyboard window will appear as follows.
STEP 4: Select Application Shortcuts tab in the Keyboard Window.
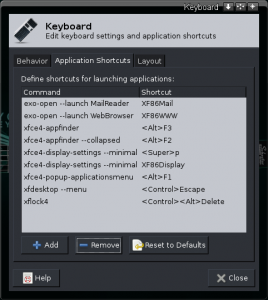
Now you will see your Keyboard window similar to the following.
STEP 5: Click on the Add button in the Application Shortcuts window.
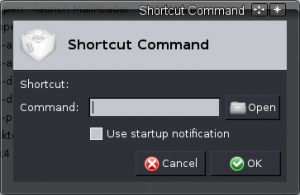
After clicking Add button you will get a window like this.
STEP 6: Click the Open button.
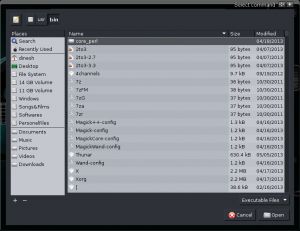
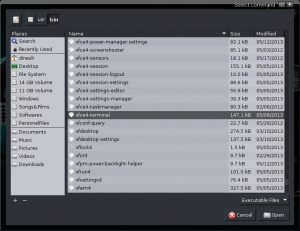
You will see an Select Command window with all the executable files of your system as follows.
STEP 7: Select the application for which you want to add shortcut from the Select Command window.
(Here, I am selecting xfce4-terminal since I am going to add a shortcut for it).
So your Select Command Window will be like this. (With the application you have selected).
STEP 8: Click the Open button n the Select Command Window.
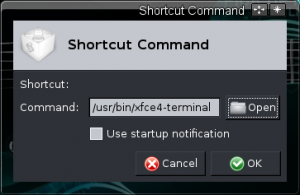
Now you will get a pop-up window called Shortcut Command with the application that you have selected in the box.
STEP 9: Click the OK button in the Shortcut Command window.
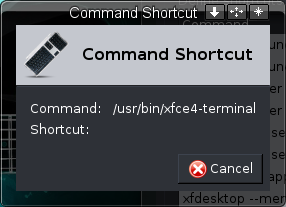
You will be able to see a pop-up window named Command Shortcut with the command which you have selected in Step 7.
STEP 10: Now press the key-pair combination on your keyboard which you want to set as shortcut key for the application. (Here, I am choosing Ctrl+Alt+T as the shortcut keys for my application. Choose whatever one you like).
Note: While pressing the keys on your keyboard, the key-pair will be displayed in the Command Shortcut window near Shortcut.
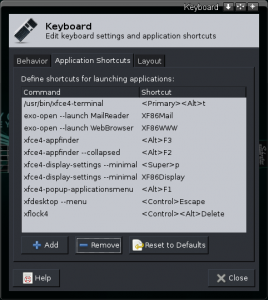
Now your Keyboard Window will be as follows with the Command and Shortcut you have added.
Now it’s done. You have added a shortcut for your application. Enjoy!


