MySQL Workbench is a graphical design tool for MySQL databases. It is used for database server administration, database design, creation, security management and server as well as database maintenance.
Install MySQL Workbench on Ubuntu:
sk@sk:~$ sudo apt-get install mysql-workbench
Add Database Server connection
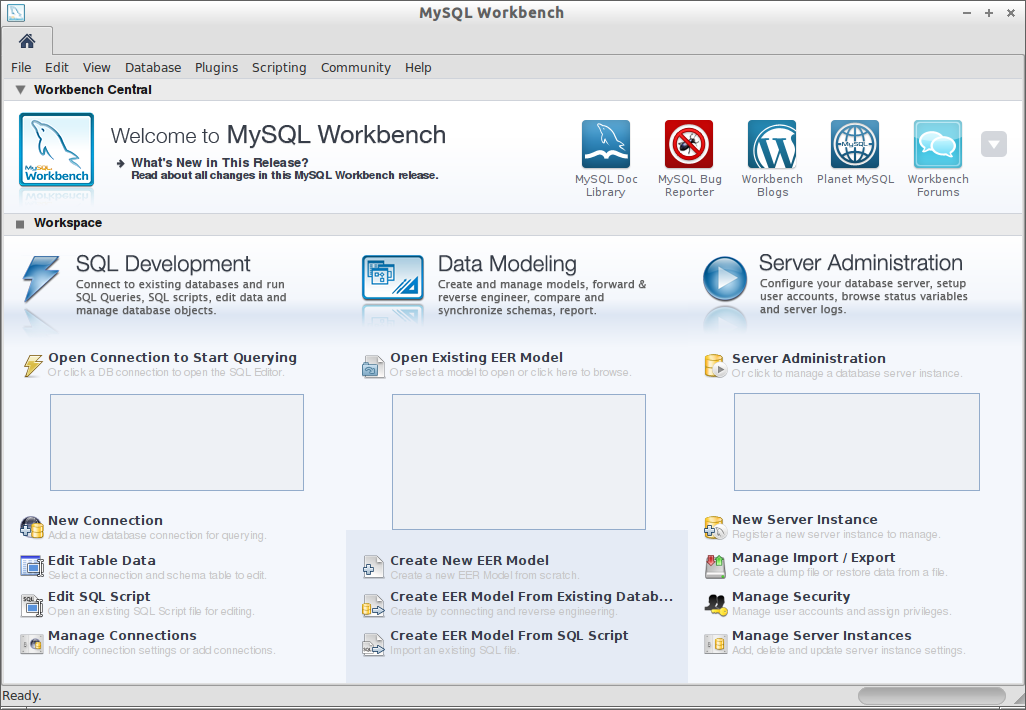
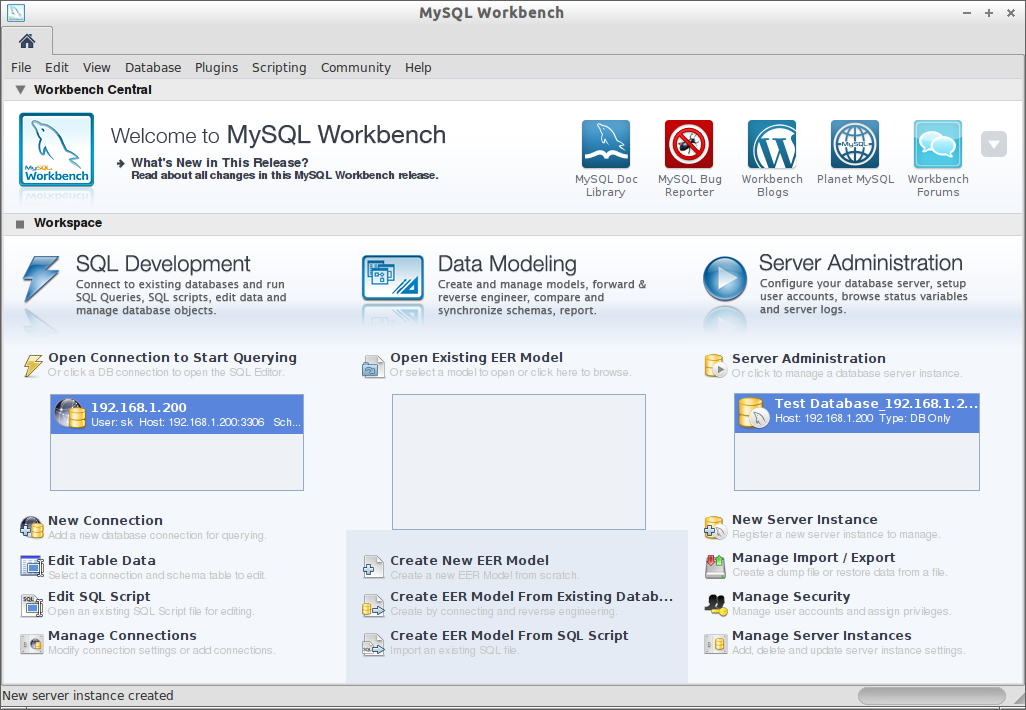
Now open MySQL Workbench from Menu or Dash. The main page of MySQL Workbench will look as shown below.
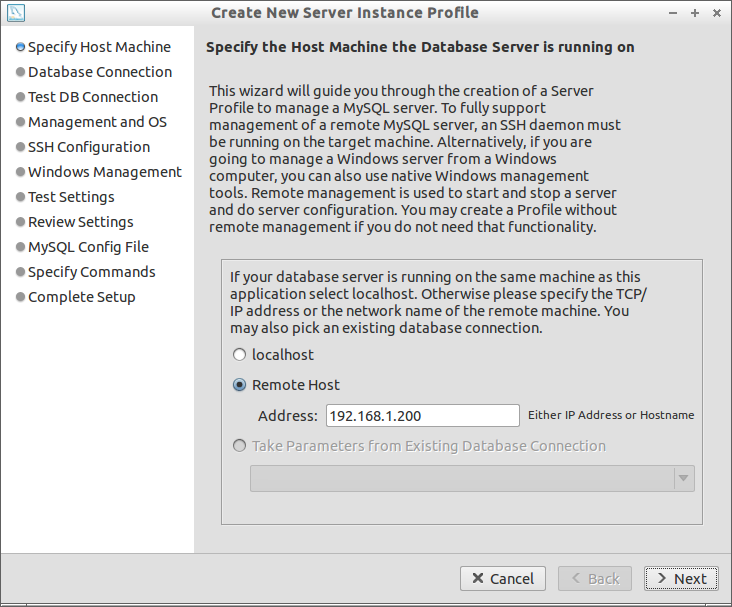
Click on ‘New Server Instance’. Enter remote hostname or IP Address.
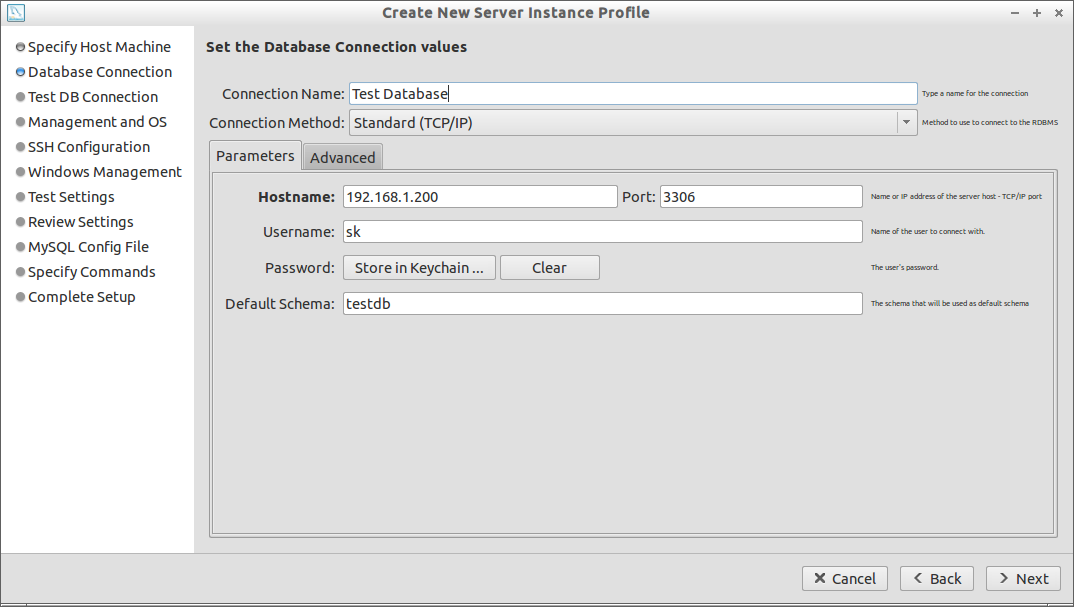
Now enter the Connection Name to easily identify your database, Select TCP/IP from connection method, hostname and port number and finally enter the database name in the default schema column. Click Next.
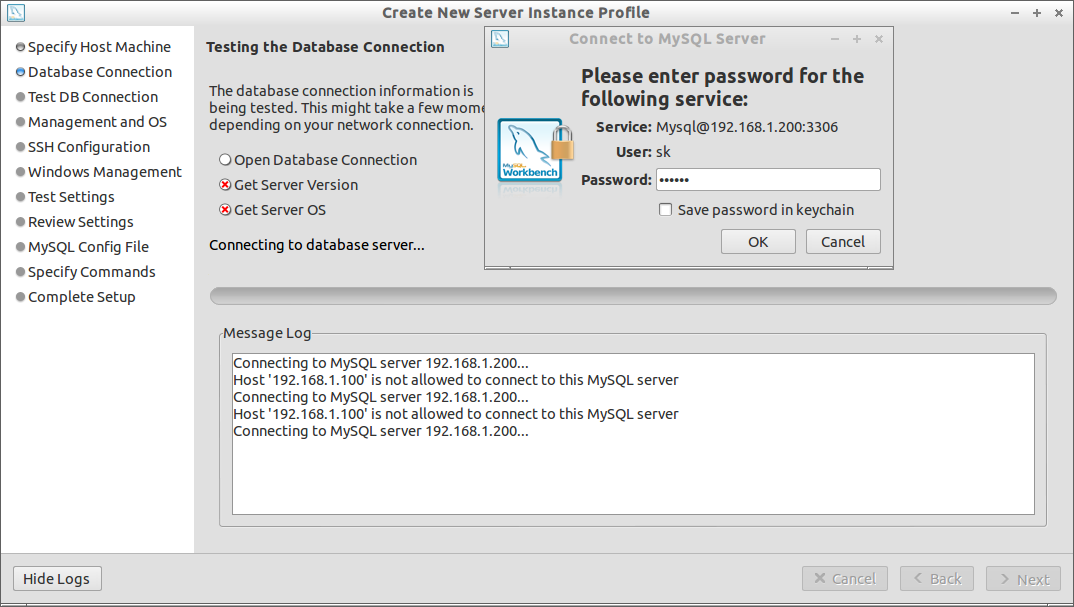
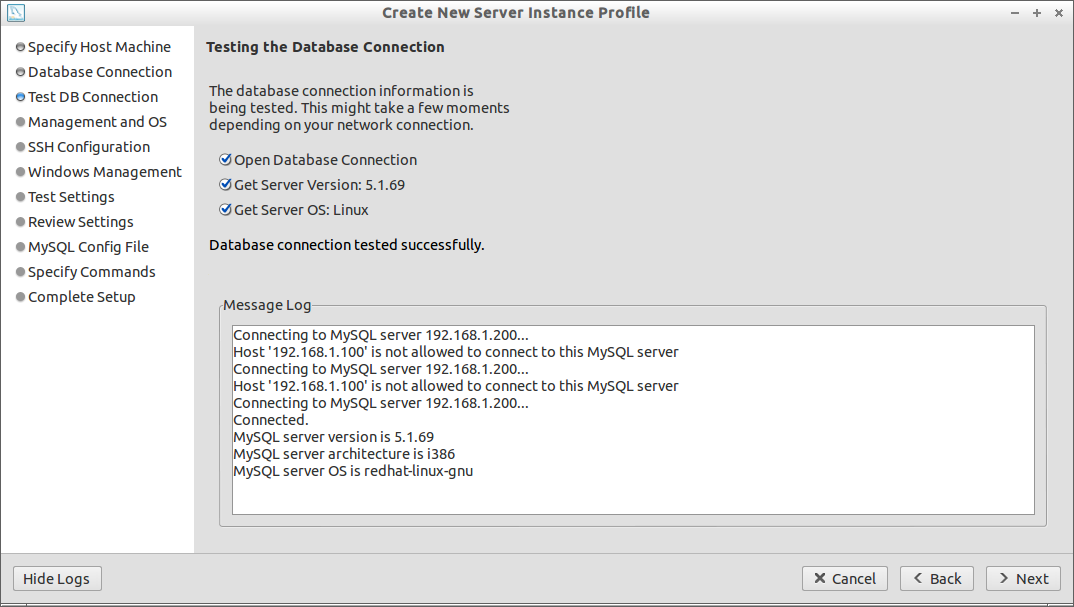
Enter the database user password. In my case its centos.
Click Next.
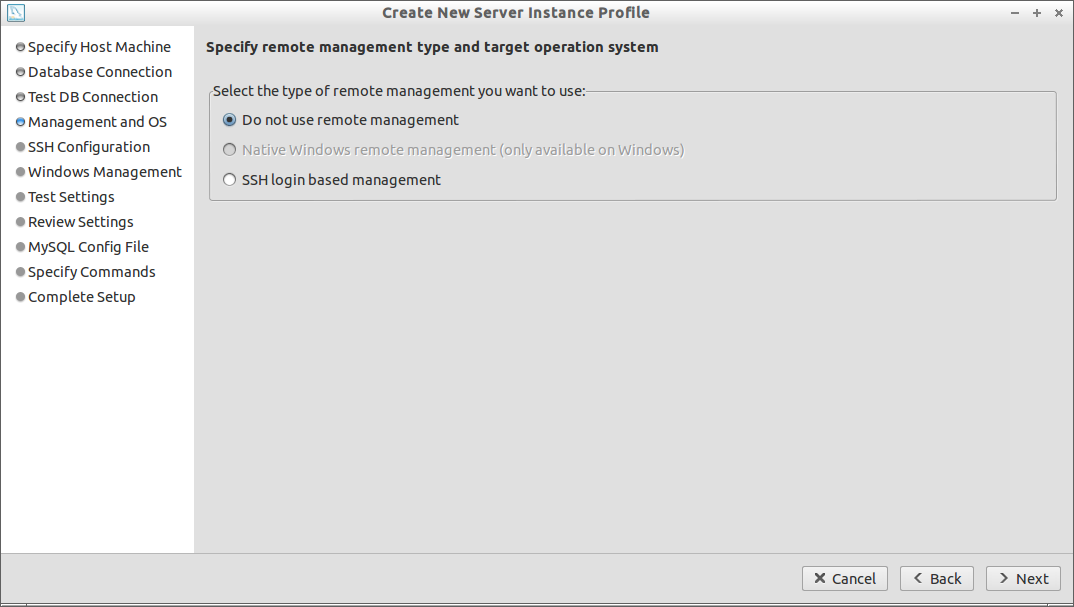
Select Do not use Remote Management and Click Next.
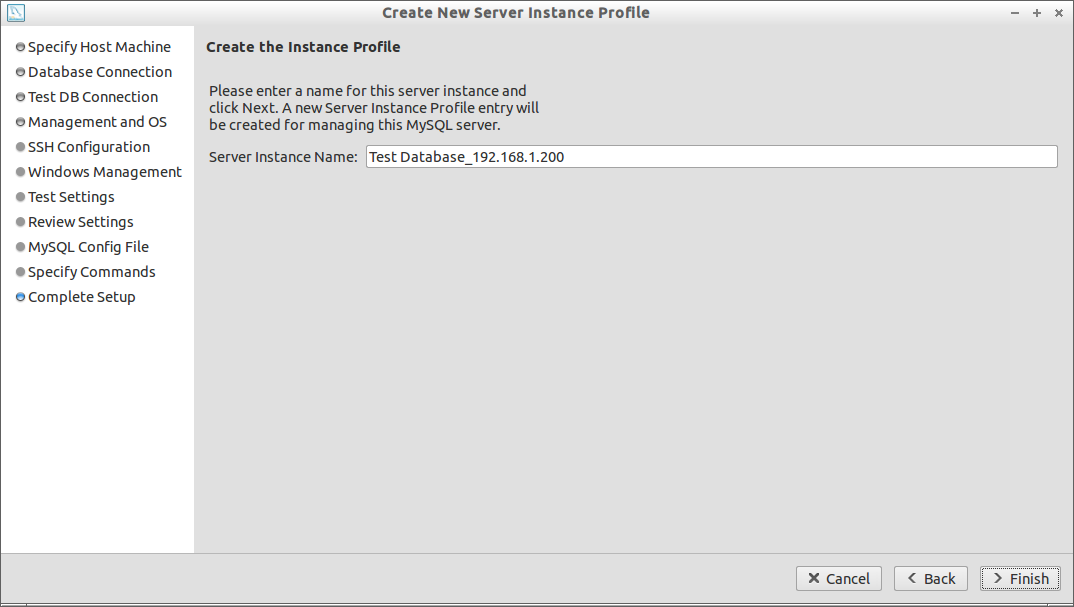
Enter Server Instance Name to easily identify your database being backup. Click Finish.
Now the remote database connection has been made successfully.
Backup Database
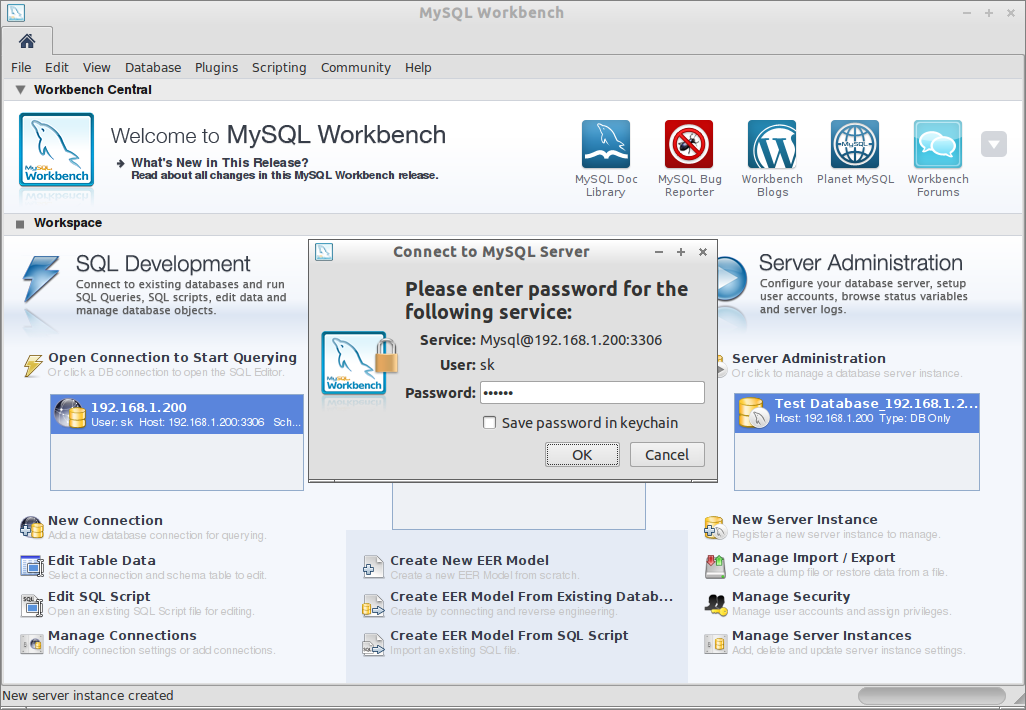
Click on Manage Import / Export. It will ask your database user password. Enter the password and click OK.
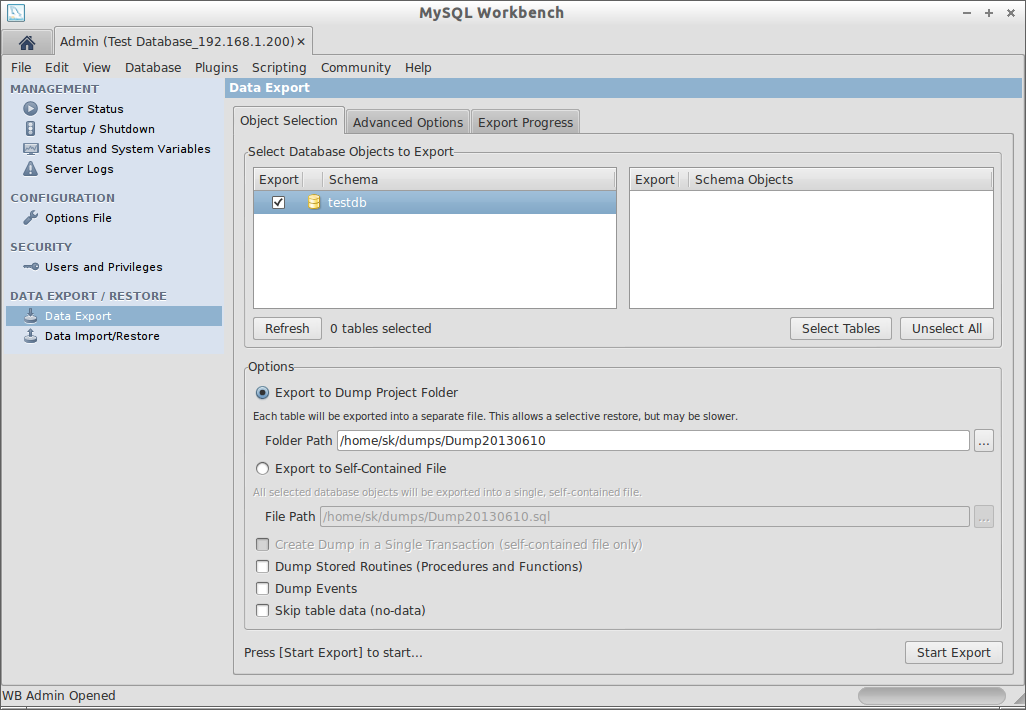
Navigate to Data Export in the Left pane. Select the database to be exported. In my case, i select testdb. Select the tables and define the location where you want to save the database backup. Then click Start Export.
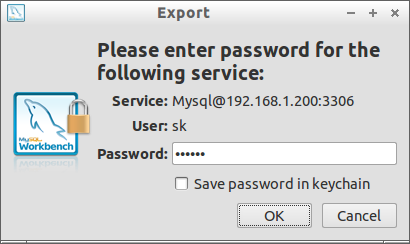
It will ask the database user password. Enter the password and click OK.
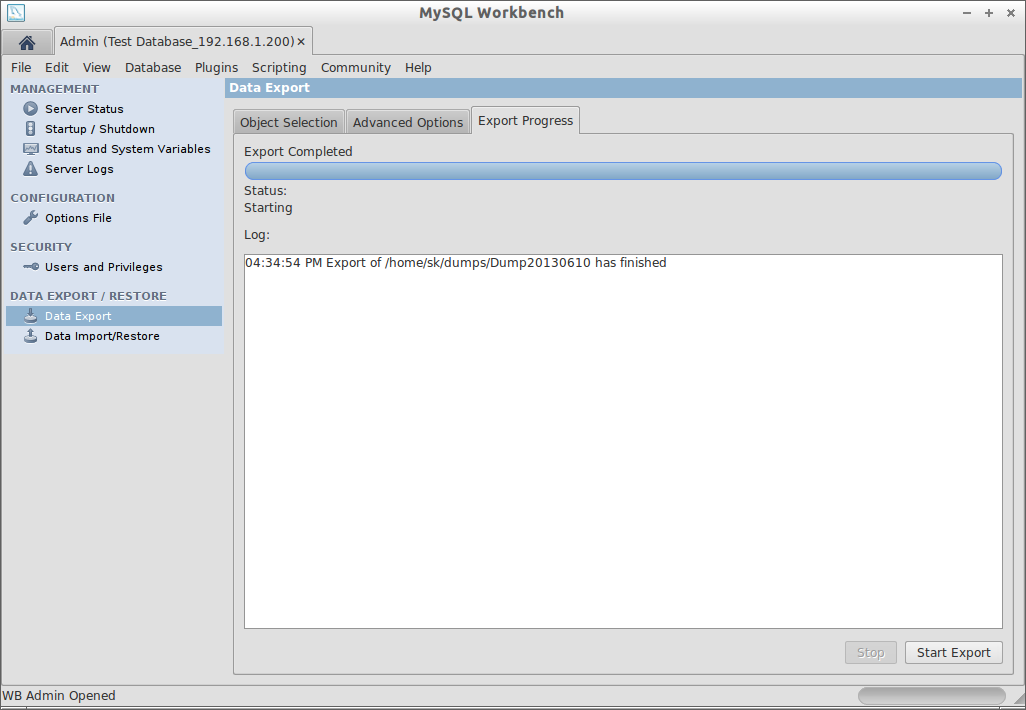
Now the database backup has been created.
Import Database
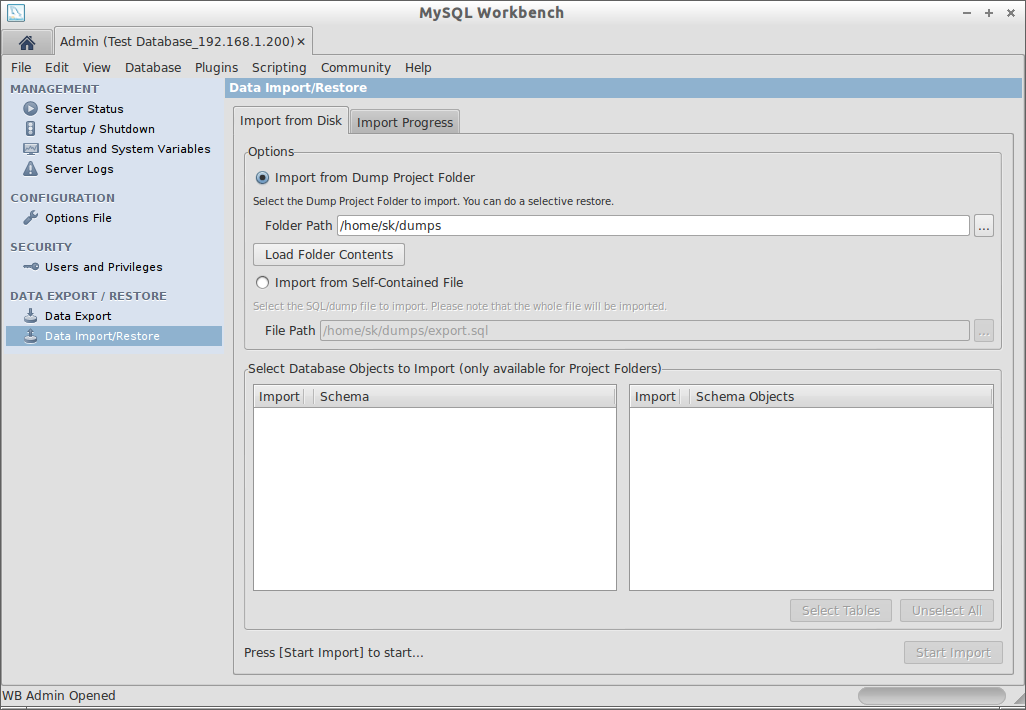
Click on Manage Import / Export in the MySQL workbench Main window. Enter the database user password. Navigate to Data Import/Restore under DATA EXPORT /RESTORE section.
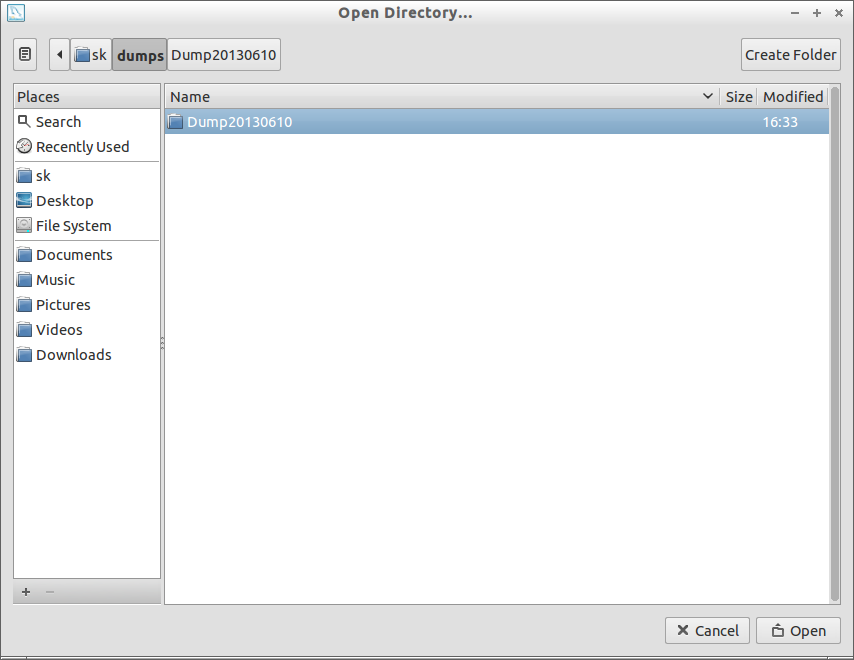
Browse to the folder where you have stored the backup file.
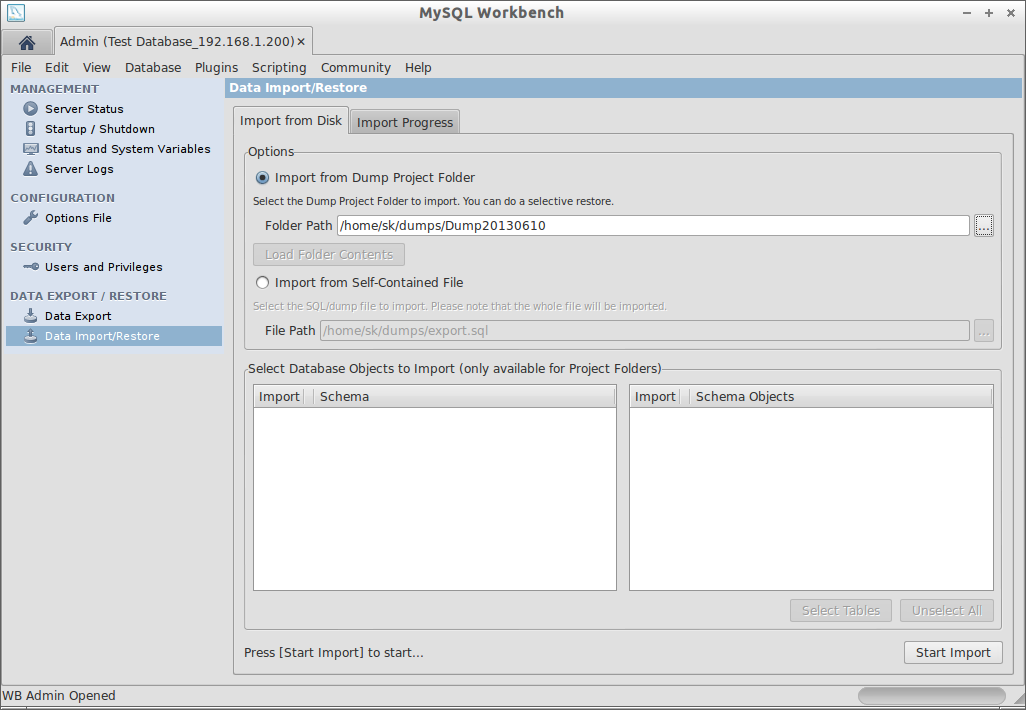
Enter the database user password and click Start Import.
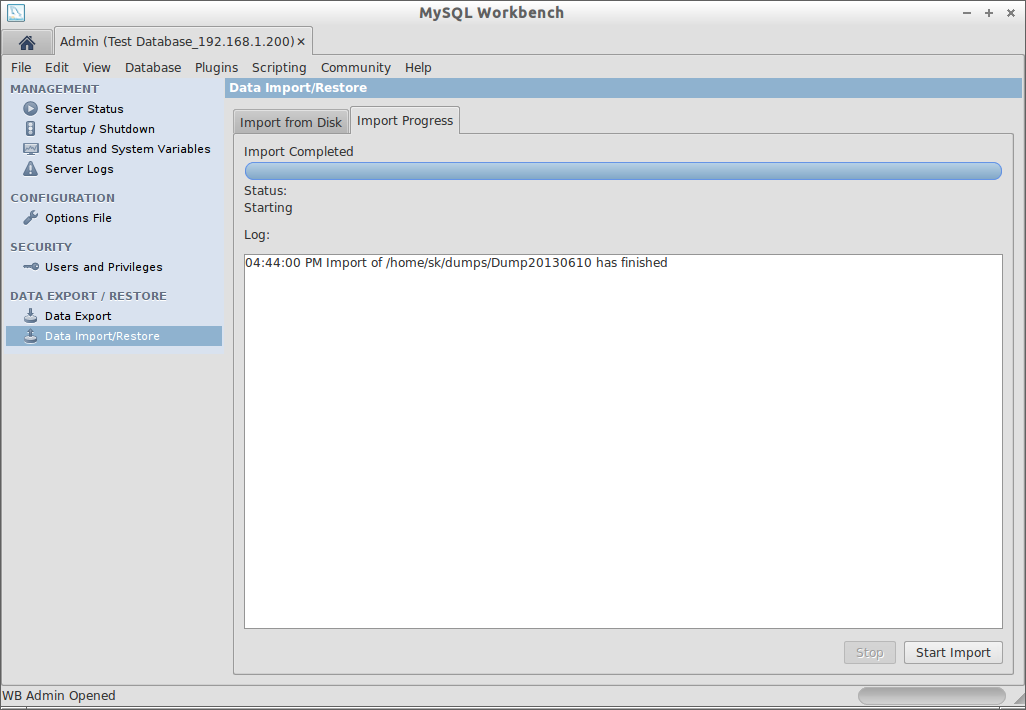
It will ask the database user password again. Enter the password and you’re done. It will take a while depending upon your database size.
You have successfully restored your database backup.


