
About QEMU
As a Linux enthusiast, I have been testing so many Open Source and Linux applications, and Distros every day. Mostly, I use Oracle VirtualBox for testing and playing different operating systems. VirtualBox is a popular virtualization tool to deploy or test a different kinds of distros. We can deploy as many as guest OSs within the host operating using Oracle VirtualBox. Like Oracle Virtualbox, there are many virtualization products available, such as Vmware, OpenVZ, KVM, Proxmox etc. Today, we will discuss QEMU.
QEMU is a generic and open source machine emulator and virtualizer. It is a free and open source tool that allows users to create and manage Virtual machines inside the host operating system. The resources of the host operating system, such as Hard drive, RAM, Processor, will be divided and shared by the guest operating systems (Virtual machines).
When used as a machine emulator, QEMU can run OSes and programs made for one machine (e.g. an ARM board) on a different machine (e.g. your own PC). By using dynamic translation, it achieves very good performance.
When used as a virtualizer, QEMU achieves near native performances by executing the guest code directly on the host CPU. QEMU supports virtualization when executing under the Xen hypervisor or using the KVM kernel module in Linux. When using KVM, QEMU can virtualize x86, server and embedded PowerPC, and S390 guests.
QEMU has two operating modes:
- Full system emulation: In this mode, QEMU emulates a full system (for example a PC), including a processor and various peripherals. It can be used to launch different Operating Systems without rebooting the PC or to debug system code.
-
User mode emulation (Linux host only): In this mode, QEMU can launch Linux processes compiled for one CPU on another CPU. For example, it can be used to launch Wine or to ease cross-compilation and cross-debugging.
QEMU can run without a host kernel driver and yet gives acceptable performance.
QEMU will work fine in the following hardware:
- PC (x86 or x86_64 processor) ;
- ISA PC (old style PC without PCI bus) ;
- PREP (PowerPC processor) ;
- G3 Beige PowerMac (PowerPC processor) ;
- Mac99 PowerMac (PowerPC processor, in progress) ;
- Sun4m/Sun4c/Sun4d (32-bit Sparc processor) ;
- Sun4u/Sun4v (64-bit Sparc processor, in progress) ;
- Malta board (32-bit and 64-bit MIPS processors) ;
- MIPS Magnum (64-bit MIPS processor) ;
- ARM Integrator/CP (ARM) ;
- ARM Versatile baseboard (ARM) ;
- ARM RealView Emulation/Platform baseboard (ARM) ;
- Spitz, Akita, Borzoi, Terrier and Tosa PDAs (PXA270 processor) ;
- Luminary Micro LM3S811EVB (ARM Cortex-M3) ;
- Luminary Micro LM3S6965EVB (ARM Cortex-M3) ;
- Freescale MCF5208EVB (ColdFire V2) ;
- Arnewsh MCF5206 evaluation board (ColdFire V2) ;
- Palm Tungsten|E PDA (OMAP310 processor) ;
- N800 and N810 tablets (OMAP2420 processor) ;
- MusicPal (MV88W8618 ARM processor) ;
- Gumstix “Connex” and “Verdex” motherboards (PXA255/270) ;
- Siemens SX1 smartphone (OMAP310 processor) ;
- AXIS-Devboard88 (CRISv32 ETRAX-FS) ;
- Petalogix Spartan 3aDSP1800 MMU ref design (MicroBlaze) ;
- Avnet LX60/LX110/LX200 boards (Xtensa).
For user emulation, x86 (32 and 64 bit), PowerPC (32 and 64 bit), ARM, MIPS (32 bit only), Sparc (32 and 64 bit), Alpha, ColdFire(m68k), CRISv32 and MicroBlaze CPUs are supported.
1. Install QEMU in Ubuntu
In this let us see how to install and configure QEMU in Ubuntu 14.04 LTS, and how to create and manage virtual machines.
QEMU is available in the default repositories of Ubuntu. So, we can install it with front-end tool Virt Manager using the command:
sudo apt-get install qemu-kvm qemu virt-manager virt-viewer libvirt-bin
After installing the above packages, reboot your system.
2. Creating Virtual Machines
Now, let us create a new virtual machine. For the purpose of this tutorial, let us create a new Ubuntu 15.04 server.
First create the Virtual hard disk image for the new VM. For example, let us create 20GB size hard disk image.
qemu-img create ubuntu.img 20G
Or you can create the image with Qemu’s default disk image format ‘qcow2’ using the following command:
qemu-img create -f qcow2 ubuntu.qcow 20G
Then, download the Ubuntu 15.04 server installation image and boot the Virtual machine. I already downloaded the installation image and kept it in my home directory.
To boot the Virtual machine, run:
qemu-system-x86_64 -hda ubuntu.img -boot d -cdrom /home/sk/Soft_Backup/OS\ Images/New/ubuntu-15.04-server-amd64.iso -m 640
For 32bit VM, use:
qemu-system-xi386 -hda ubuntu.img -boot d -cdrom /home/sk/Soft_Backup/OS\ Images/New/ubuntu-15.04-server-i386.iso -m 640
Here, I have allocated 640MB RAM to my guest OS.
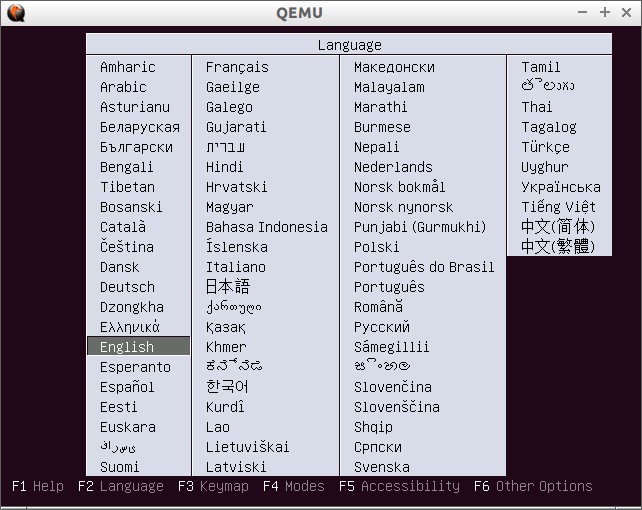
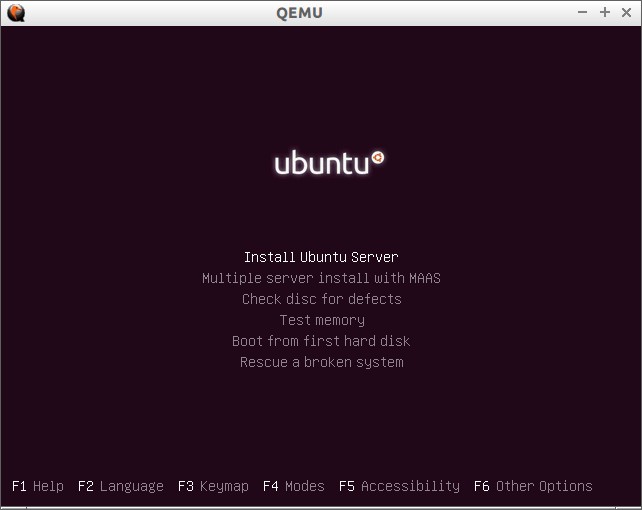
When the boot the screen appears, hit Enter key and continue the installation as usual.
After the installation is done, the system can be booted with:
qemu -hda ubuntu.img -m 640
That’s it.
Don’t like command line way? Creating and managing VMs from the command line might be bit difficult to some user. No worries, we can also create VMs using GUI tool called Virtual Machine Manager (Virt Manager).
3. Create and manage Virtual machines using Virt Manager
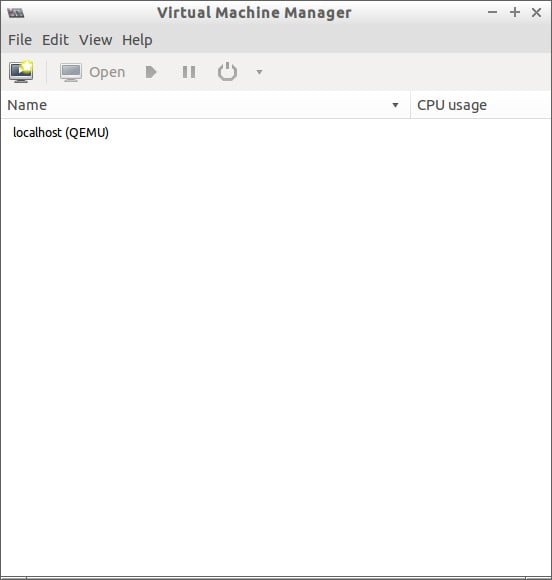
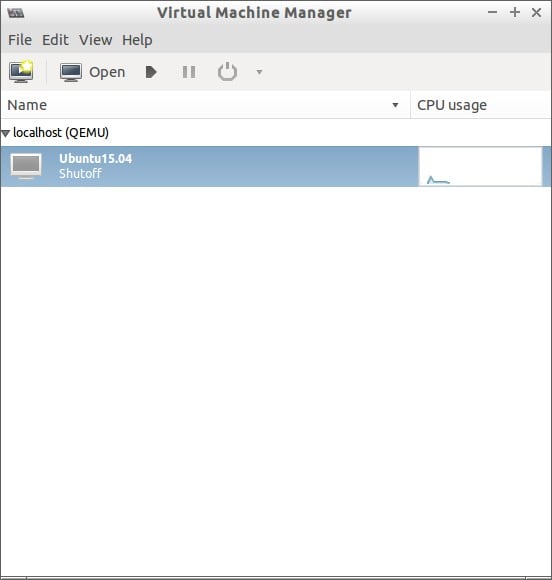
Launch Virtual Machine Manager(Virt manager) either from the Menu or Unity Dash. The default Interface of Virt Manager will look like below.
Now, we will create and install Ubuntu 15.04 desktop virtual machine.
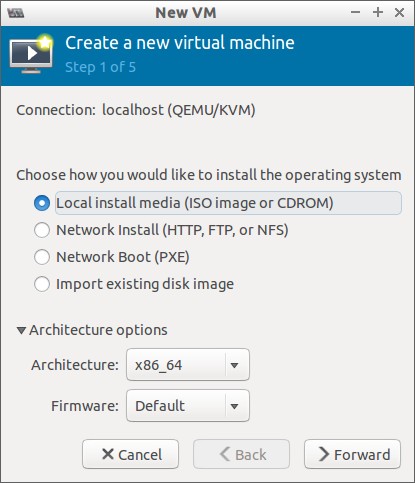
To create a virtual machine, go to File -> New Virtual machine.
Select how would like to install the operating system.
You can install guest OS using local ISO image/CDROM, Network install, PXE server, or importing existing disk images. Also, you can select the guest OS architecture from the Advanced options.
Select the local install media.

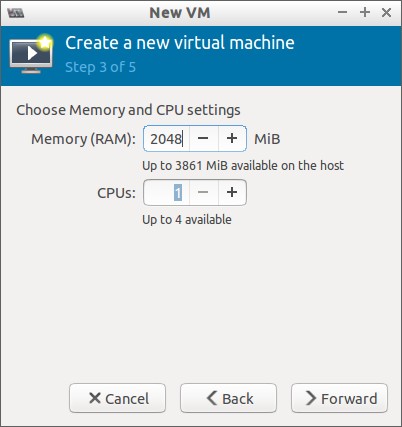
Choose the amount of RAM and no of CPUs.
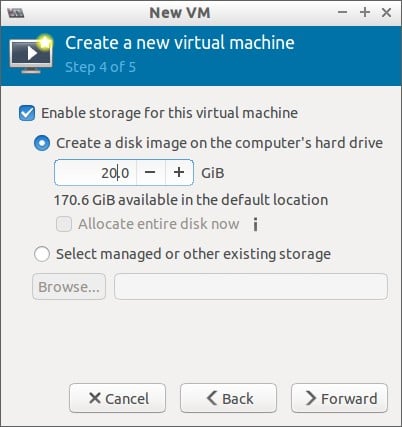
Enter your virtual hard drive size. The default is 8GB.
Enter your guest OS name. And, Select the Network type from the Advanced options. Finally, click Finish.

Once you click the Finish button, the guest OS will automatically start to boot.
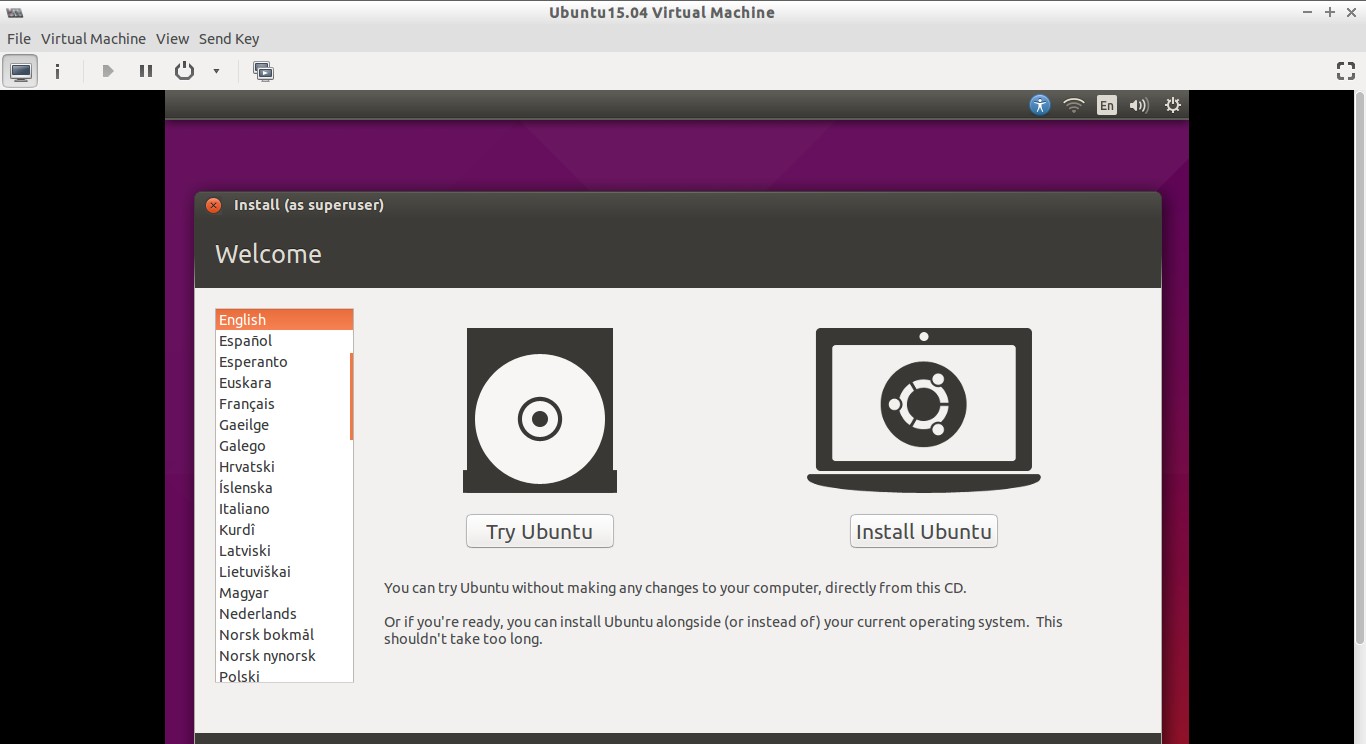
That’s it. Now, continue and install the Guest OS as the way you do in normal system.

To view the number of installed guest OSs, go to File -> View manager.
To view the Virtual machine details, Select the Virtual machine and go to Edit -> Virtual Machine Details.
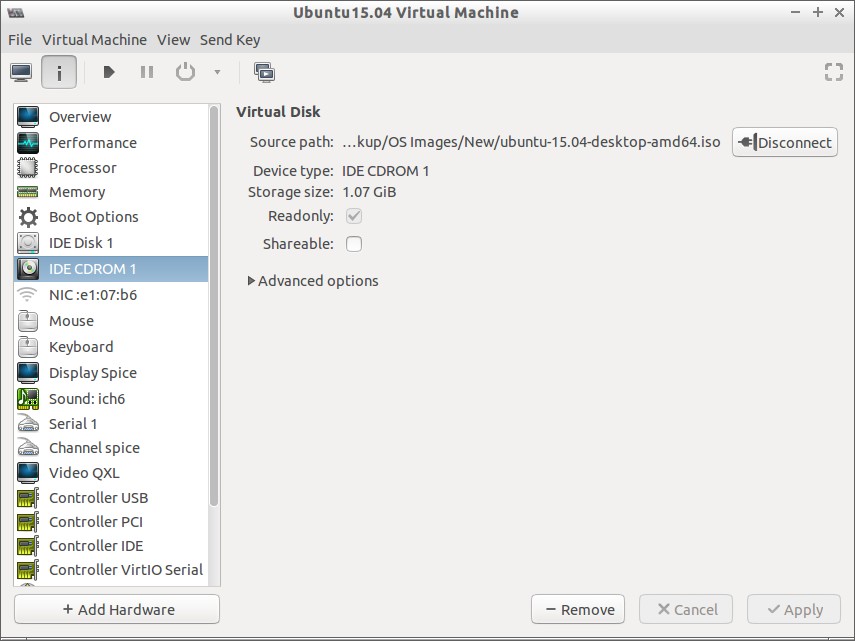
Click on the ‘Show virtual hardware details’ from the menu bar.
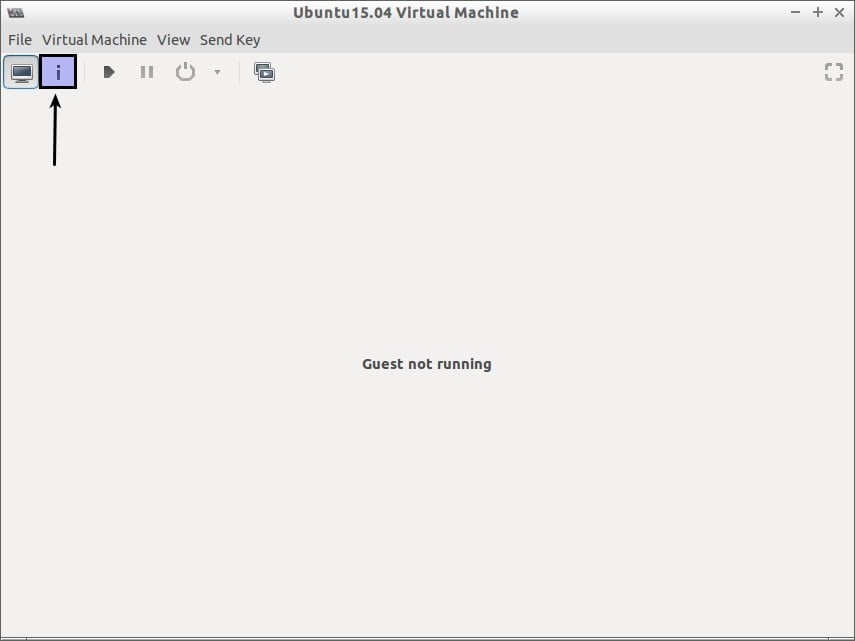
From here, you can view, modify your OS hardware details.
That’s it. Cheers!!
Reference:


