LAMP is a combination of operating system and open-source software stack. The acronym LAMP comes from the first letters of Linux, Apache HTTP Server, MySQL/MariaDB database, and PHP, Perl or Python.
In this tutorial, let us see how to install LAMP stack in Fedora 23 server. Although, the same procedure will work Fedora 22 and earlier versions.
My testbox hostname and IP address are server.unixmen.local and 192.168.1.102/24 respectively. Well, let us start to deploy the LAMP stack now.
Install Apache
Apache is an open-source, multi-platform web server. It provides a full range of web server features including CGI, SSL and virtual domains.
Change to root user using the following command:
su
Enter the following command to install Apache:
In Fedora 24/23/22:
dnf install httpd -y
In Fedora 21 and earlier versions:
yum install httpd -y
Enable the httpd service to start automatically on every reboot:
systemctl enable httpd
Start httpd service using the following command:
systemctl start httpd
If you are encountered with the following error:
Job for httpd.service failed. See 'systemctl status httpd.service' and 'journalctl -xn' for details.
Delete all contents in your /etc/hostname file and add the word “localhost”. Also set “localhost“ to the “Servername” value in/etc/httpd/conf/httpd.conf file and try again to start httpd service.
And adjust the firewall to allow the httpd service to access it from remote clients.
firewall-cmd --permanent --add-service=http
firewall-cmd --permanent --add-service=https
Restart firewalld service:
firewall-cmd --reload
Test Apache:
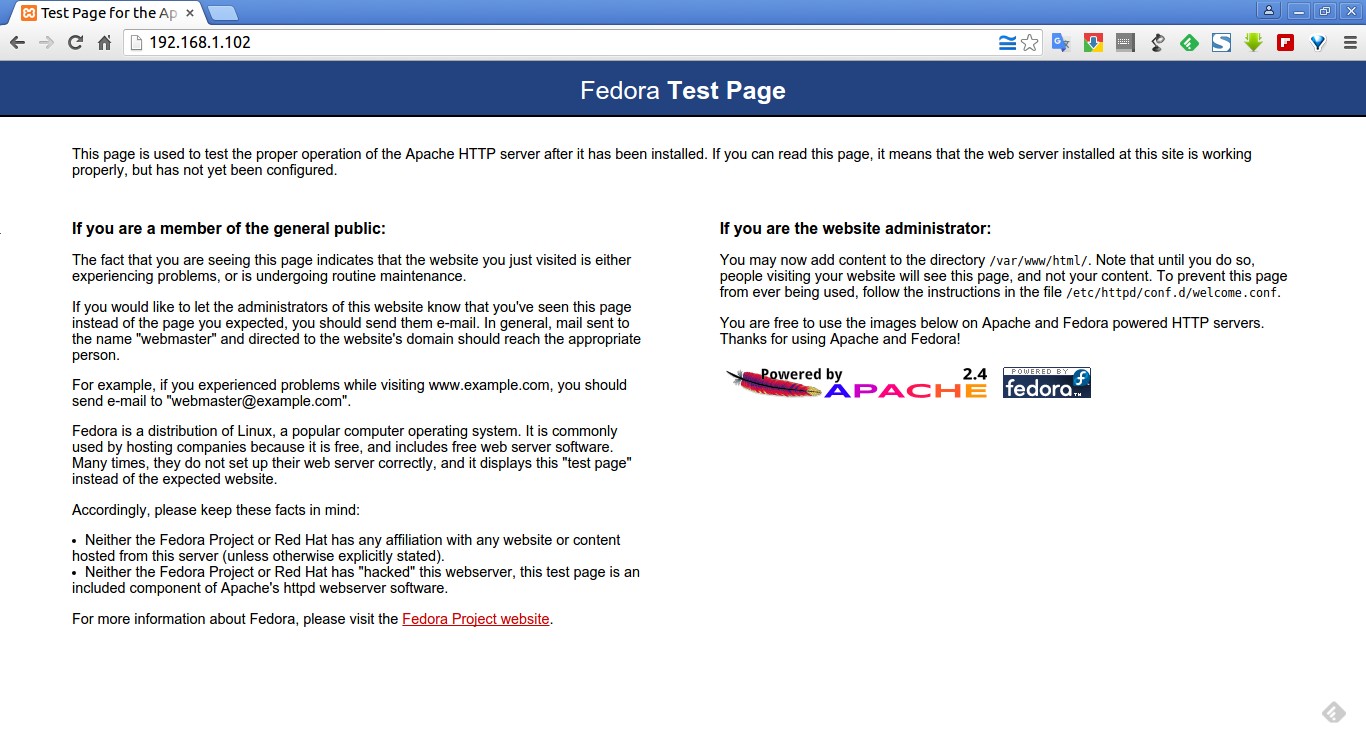
Open up your browser and enter http://ip-address/ in the address bar. You will see the following Apache default page.
If you see the above output, then Congratulations! Apache is working!
Install MariaDB
MariaDB is a drop in replacement for MySQL. It is a robust, scalable and reliable SQL server that comes rich set of enhancements. The default database in Fedora 19 is MariaDB.
Install it using the following command:
In Fedora 24/23/22:
dnf install mariadb mariadb-server -y
In Fedora 21 and earlier versions:
yum install mariadb mariadb-server -y
Enable mariadb service at boot time with following command:
systemctl enable mariadb
And start mariadb service using command:
systemctl start mariadb
Set MariaDB root password:
By default mysql root user password is empty. So, to prevent unauthorized access to mysql databases, let us set a root user password:
mysql_secure_installation
NOTE: RUNNING ALL PARTS OF THIS SCRIPT IS RECOMMENDED FOR ALL MariaDB
      SERVERS IN PRODUCTION USE!  PLEASE READ EACH STEP CAREFULLY!

In order to log into MariaDB to secure it, we'll need the current
password for the root user.  If you've just installed MariaDB, and
you haven't set the root password yet, the password will be blank,
so you should just press enter here.

Enter current password for root (enter for none):
OK, successfully used password, moving on...

Setting the root password ensures that nobody can log into the MariaDB
root user without the proper authorisation.

You already have a root password set, so you can safely answer 'n'.

Change the root password? [Y/n] y     ## Enter 'y' and press enter ##
New password:               ## Enter password ##
Re-enter new password:      ## Re-enter password ##
Password updated successfully!
Reloading privilege tables..
 ... Success!

By default, a MariaDB installation has an anonymous user, allowing anyone
to log into MariaDB without having to have a user account created for
them.  This is intended only for testing, and to make the installation
go a bit smoother.  You should remove them before moving into a
production environment.

Remove anonymous users? [Y/n]    ## Press Enter ##
 ... Success!

Normally, root should only be allowed to connect from 'localhost'.  This
ensures that someone cannot guess at the root password from the network.

Disallow root login remotely? [Y/n] ## Press Enter ##
 ... Success!

By default, MariaDB comes with a database named 'test' that anyone can
access.  This is also intended only for testing, and should be removed
before moving into a production environment.

Remove test database and access to it? [Y/n] ## Press Enter ##
 - Dropping test database...
ERROR 1008 (HY000) at line 1: Can't drop database 'test'; database doesn't exist
 ... Failed!  Not critical, keep moving...
 - Removing privileges on test database...
 ... Success!

Reloading the privilege tables will ensure that all changes made so far
will take effect immediately.

Reload privilege tables now? [Y/n] ## Press Enter ##
 ... Success!

Cleaning up...

All done!  If you've completed all of the above steps, your MariaDB
installation should now be secure.

Thanks for using MariaDB!
Install PHP
PHP (recursive acronym for PHP: Hypertext Preprocessor) is a widely used open-source general purpose scripting language that is especially suited for web development and can be embedded into HTML.
Install PHP with following command:
In Fedora 24/23/22:
dnf install php -y
In Fedora 21 and earlier versions:
yum install php -y
Test PHP:
Create a sample “testphp.php” file in Apache document root folder and append the lines as shown below:
vi /var/www/html/testphp.php
Add the following lines:
<?php
phpinfo();
?>
Restart httpd service:
systemctl restart httpd
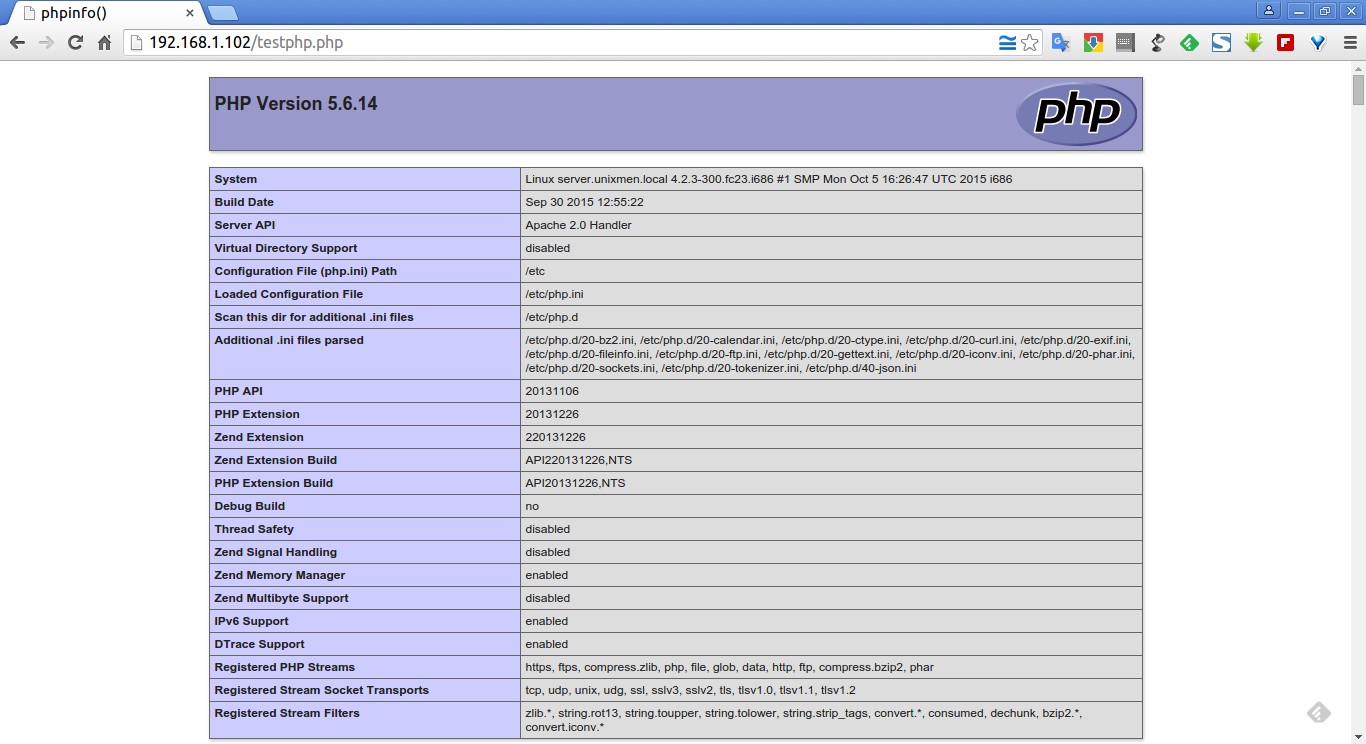
Now, navigate to http://server-ip-address/testphp.php. It will display all the details about PHP such as version, build date and commands etc.
Install PHP Modules:
Search for the available PHP modules using the following command:
In Fedora 24/23/22:
dnf search php
In Fedora 21 and earlier versions:
yum search php
Now install the required module of your choice, for example php-mysql, using the following command:
In Fedora 24/23/22:
dnf install php-mysql -y
In Fedora 21 and earlier versions:
yum install php-mysql -y
Restart the httpd service.
systemctl restart httpd
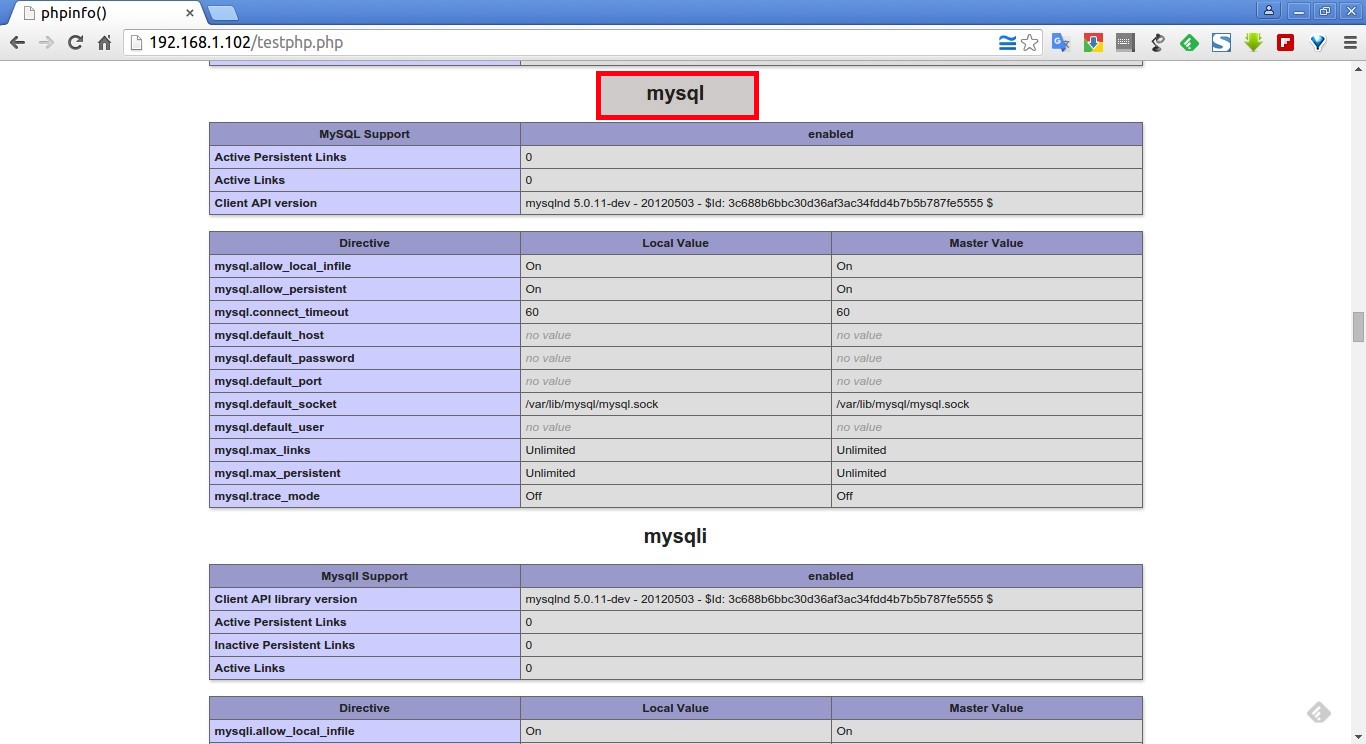
To verify the modules, open your web browser and navigate to http://server-ip-address/testphp.php. You will able to see the installed PHP modules.
As you see in the above screenshot, php-mysql module has been installed and activated.
Install phpMyAdmin
phpMyAdmin is a tool that can be used to manage mysql databases via web browser. This step is optional. If you’re advanced user, you can mange mysql databases from the command line.
phpMyAdmin is available in the default repositories. So, you can install it using command:
In Fedora 24/23/22:
dnf install phpmyadmin -y
In Fedora 21 and earlier versions:
yum install phpmyadmin -y
Configure phpMyAdmin:
By default, phpMyAdmin can be accessed only form the localhost. To access it from a remote system in your network, do the following steps.
Edit file /etc/httpd/conf.d/phpMyAdmin.conf,
vi /etc/httpd/conf.d/phpMyAdmin.conf
Find and comment out Require ip 127.0.0.1 and Require ip ::1 lines. And then add one extra line Require all granted just below to commented lines.
This is how my phpMyAdmin.conf file looked after the changes made. The changes are shown in bold letters.
[...]

Alias /phpMyAdmin /usr/share/phpMyAdmin
Alias /phpmyadmin /usr/share/phpMyAdmin

<Directory /usr/share/phpMyAdmin/>
   AddDefaultCharset UTF-8

   <IfModule mod_authz_core.c>
     # Apache 2.4
     <RequireAny>
#       Require ip 127.0.0.1
#       Require ip ::1
        Require all granted
     </RequireAny>
   </IfModule>
   <IfModule !mod_authz_core.c>
     # Apache 2.2
     Order Deny,Allow
     Deny from All
     Allow from 127.0.0.1
     Allow from ::1
   </IfModule>
</Directory>

<Directory /usr/share/phpMyAdmin/setup/>
   <IfModule mod_authz_core.c>
     # Apache 2.4
     <RequireAny>
#       Require ip 127.0.0.1
#       Require ip ::1
        Require all granted
     </RequireAny>
   </IfModule>
   <IfModule !mod_authz_core.c>
[...]
Important: But allowing phpMyAdmin to anyone other than localhost should be considered dangerous unless properly secured by SSL. Do this at your own risk.
Save and close the file. Restart httpd service.
systemctl restart httpd
Test phpMyAdmin:
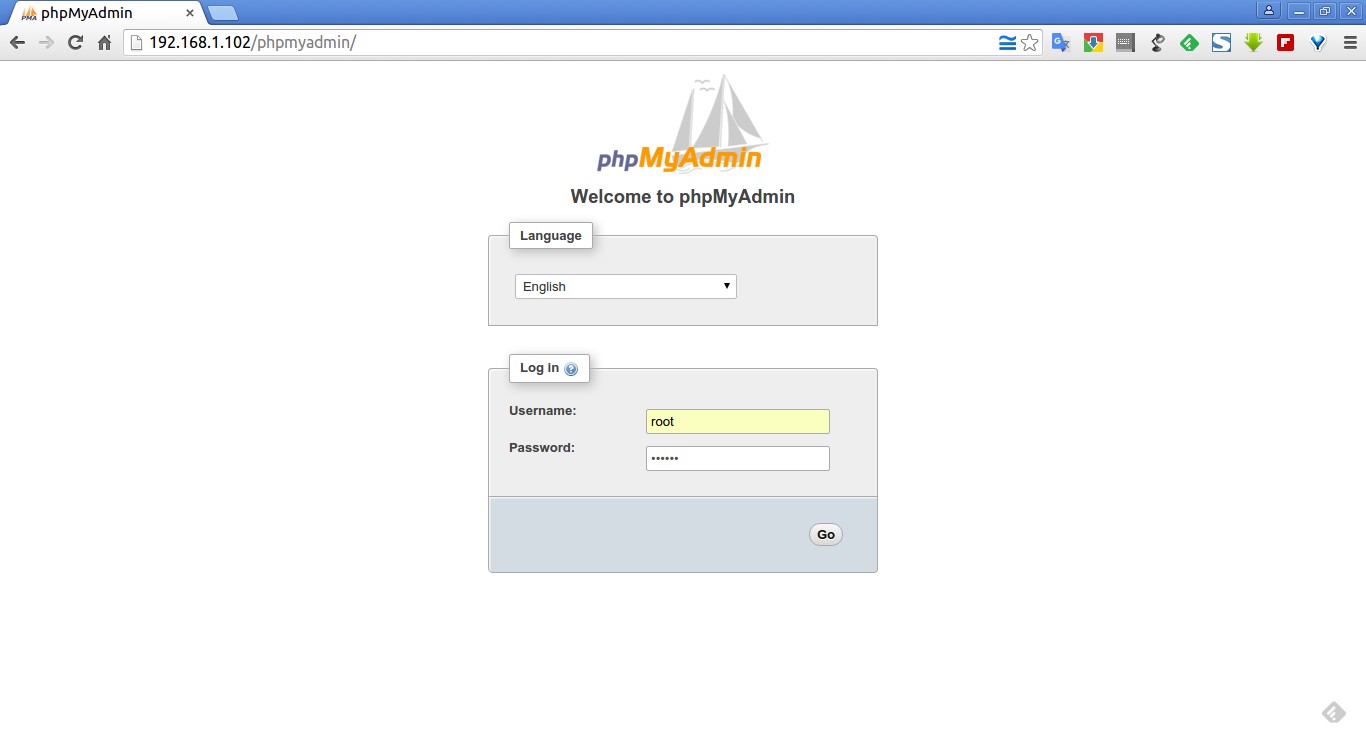
Open up your web browser and navigate to http://ip-address/phpmyadmin URL. You should see the following like screen. Enter the mariadb root user name and password to access the phpmyadmin dashboard.
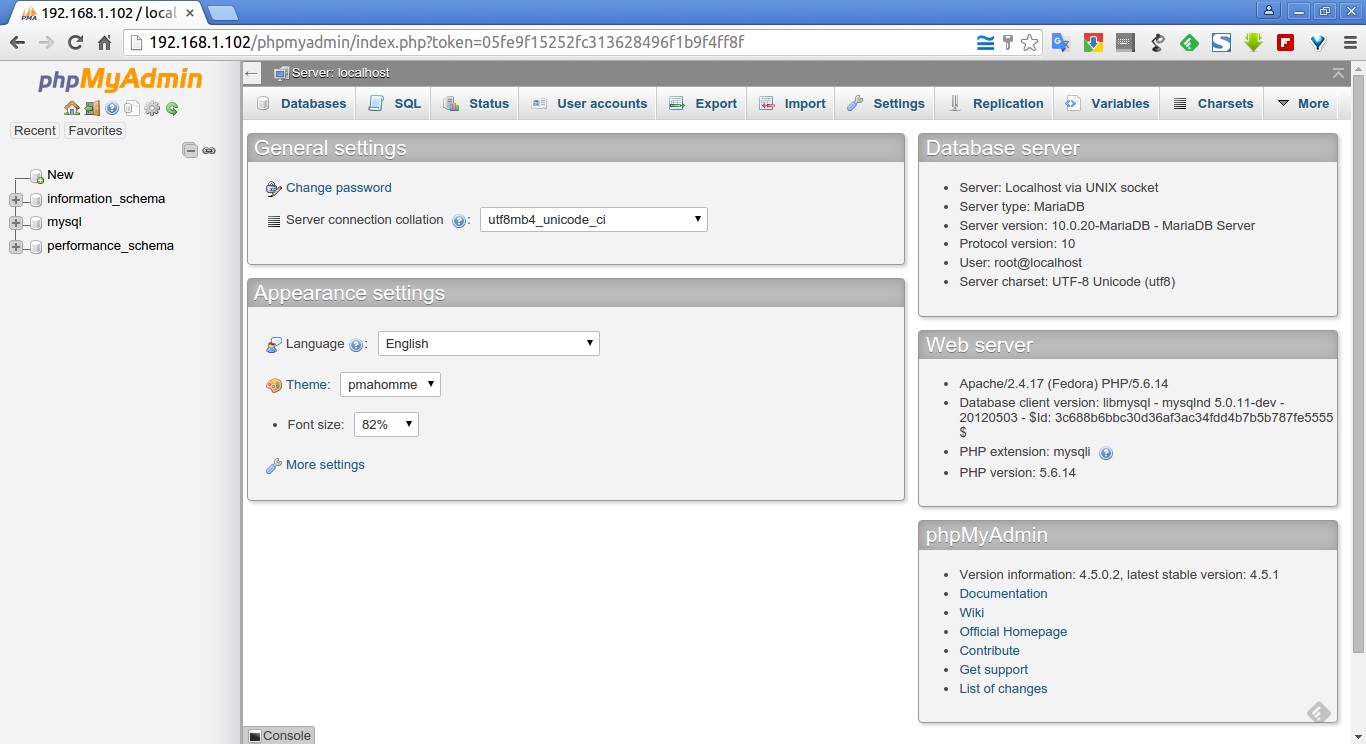
Here it is how my phpMyAdmin Dashboard looks like.
From here, you can create, delete or modify databases easily than from the command line.
That’s it. Start using LAMP stack on Fedora 23.


