Introduction – Ubuntu 17.04
In April 2017, Canonical finally released the new version of it’s GNU/Linux distribution, Ubuntu 17.04 – also named Zesty Zapus. In this article we’ll keep our focus on its Server edition, which brings an array of improvements from the last version. As we can see in the release notes, Ubuntu Server comes with: qemu 2.8, libvirt 2.5, LXD 2.12, DPDK 16.11.1, OpenStack Ocata and an updated cloud-init.
OpenStack Ocata includes the following components:
- OpenStack Identity – Keystone
- OpenStack Imaging – Glance
- OpenStack Block Storage – Cinder
- OpenStack Compute – Nova
- OpenStack Networking – Neutron
- OpenStack Telemetry – Ceilometer, Aodh and Gnochi
- OpenStack Orchestration – Heat
- OpenStack Dashboard – Horizon
- OpenStack Object Storage – Swift
- OpenStack Database as a Service – Trove
- OpenStack DNS – Designate
- OpenStack Bare-metal – Ironic
- OpenStack Filesystem – Manila
- OpenStack Key Manager – Barbican
This tutorial will take you through the process of installing the Ubuntu 17.04 Server. We will perform the installation on a virtual machine created on a machine running host: RHEL 7 and GNOME Boxes as a virtualization tool (which uses QEMU). The procedure is the same for installation on bare metal.
Note: Ubuntu 17.04 is not an LTS version.
Installation
Following these steps will guide you through the passages required for an Ubuntu 17.04 Server installation.
Language
First thing that will show up is the language panel. In this case, we’ll choose English
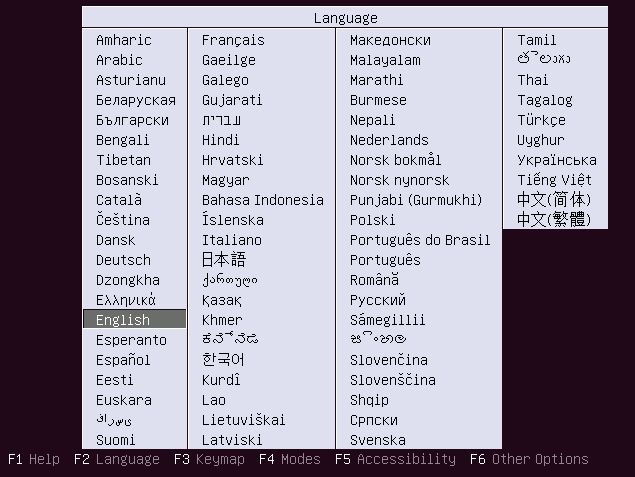
Press Enter.
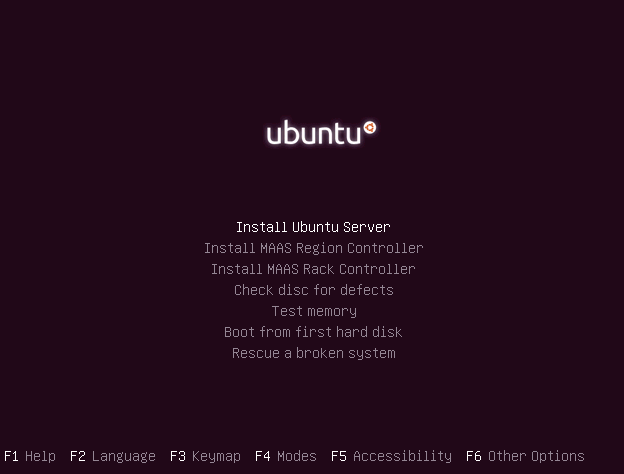
Starting point
The next step is to start the installation process. Select Install Ubuntu Server.
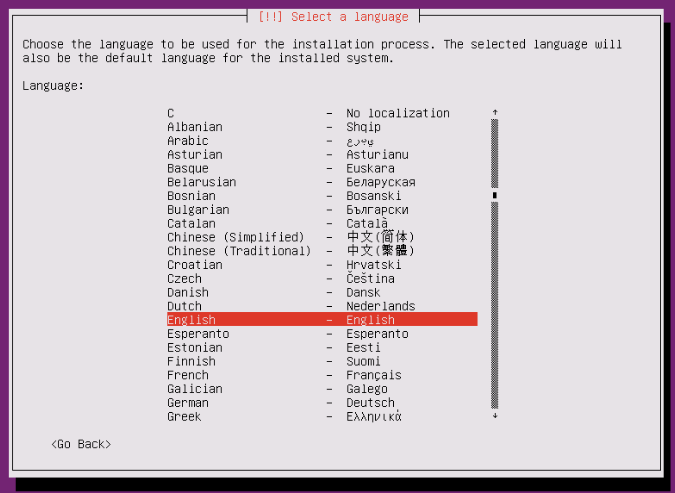
Select Installation Language
Now, we have to specify the language that will be used during the installation process. We’ll continue using English.
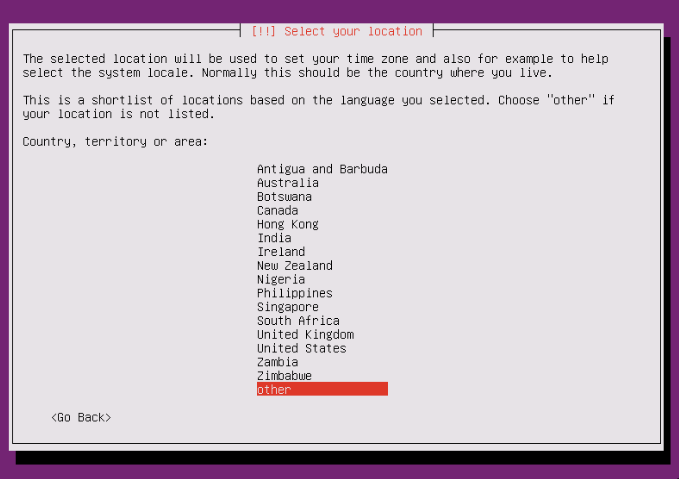
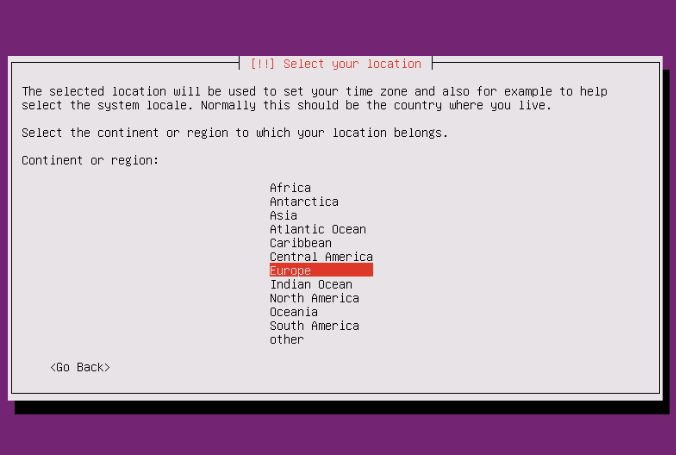
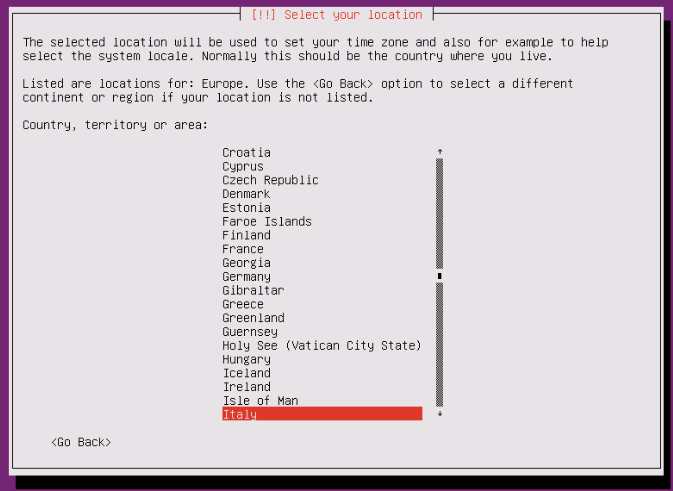
Select location
Now, we need to tell Ubuntu where we are located. In our case, we’ll select other/Europe/Italy.
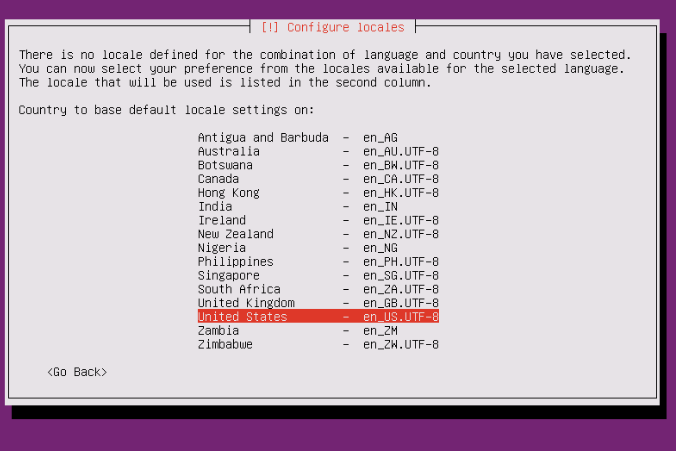
Configure locale
Choose the locale. In our case, we’ll just use en_US.UTF-8.
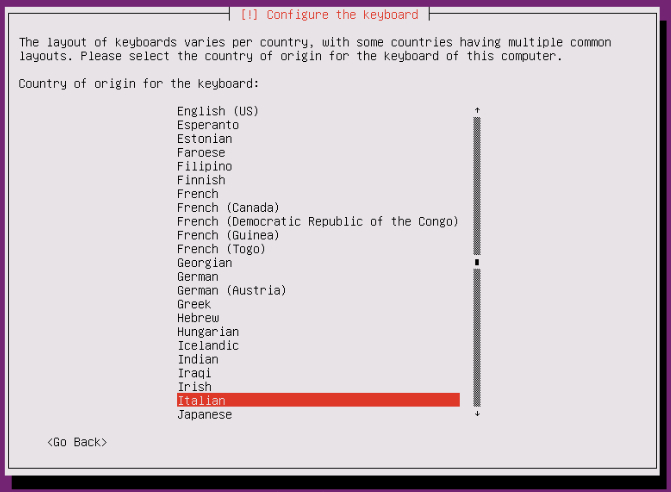
Keyboard layout
Configure the keyboard layout. First of all, the installer will ask if it can detect the layout. We’ll select No here.
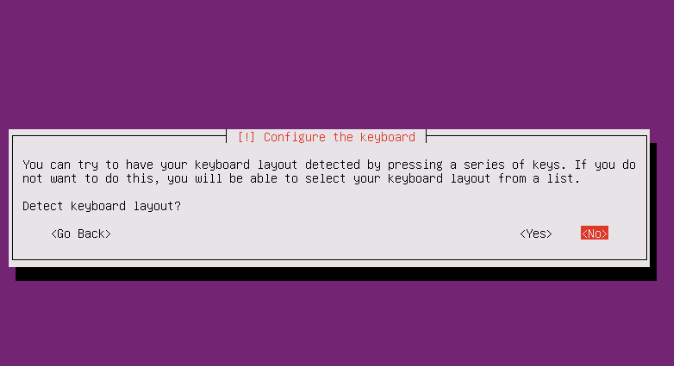
Next, we’ll choose the Italian layout.

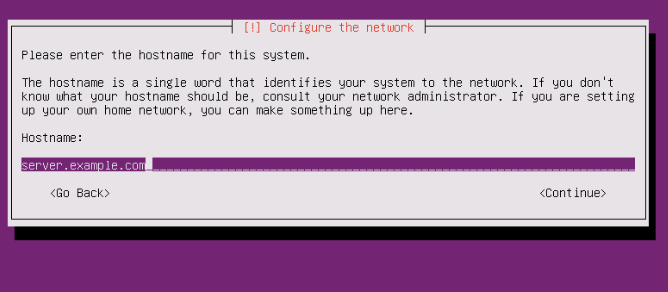
Hostname
Set the hostname. We’ll use server.example.com.
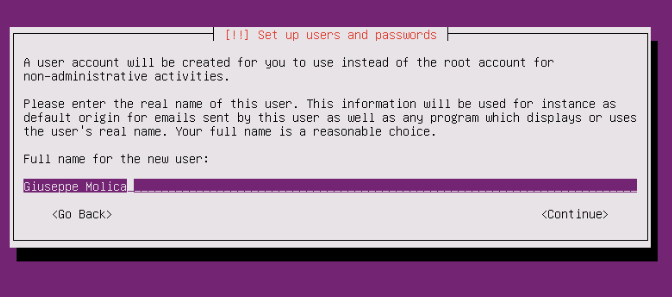
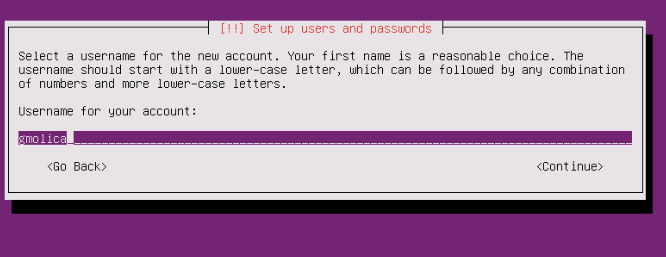
Create a new account
The next step is to create a new user account. You’ll need to fill in the forms with your data.
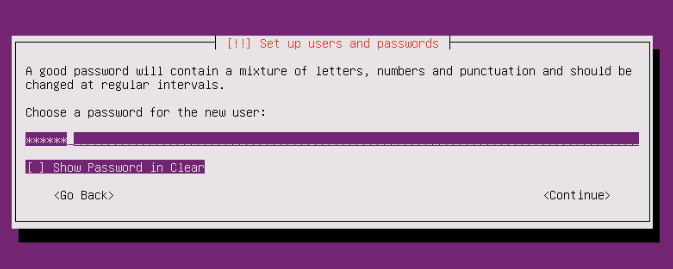
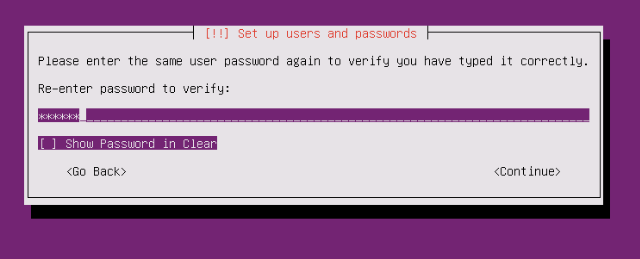
Enter a new password
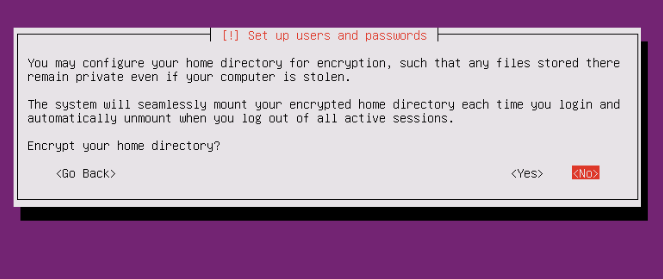
Do not encrypt home directory
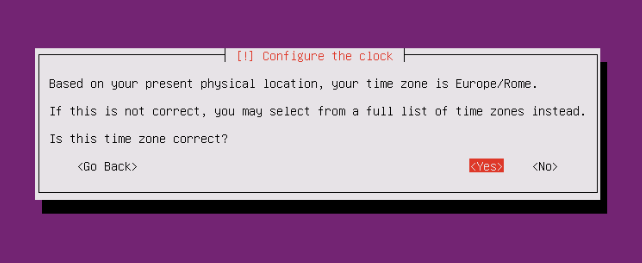
Configure the clock
The installer will try to automatically detect your timezone. In our case, Europe/Rome is correct, so we’ll just select Yes
Partitioning
Disk partitioning is one of the most important parts of the process. Nowadays it’s not necessary to manually partition disks with CLI tools, in fact the installer will automate most of the process. However, a good partition scheme is important, and it depends on several pieces of manually entered data.
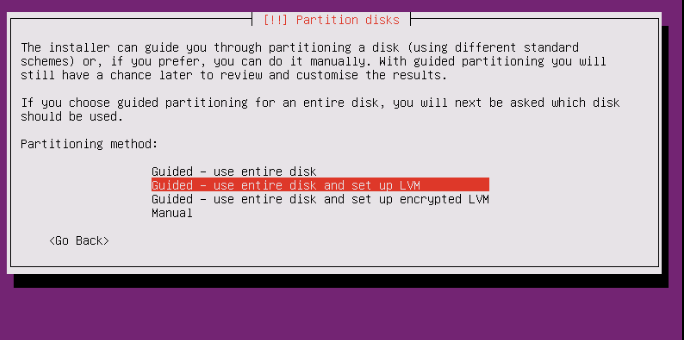
First, when asked choose the Guided – use entire disk and set up LVM option:
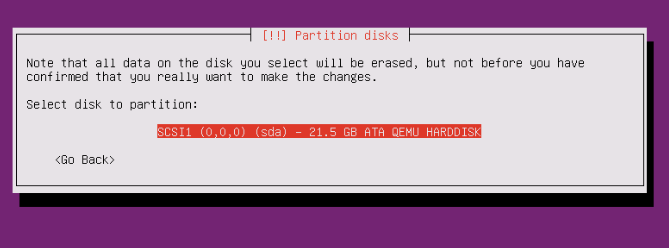
Select the disk that will be partitioned:

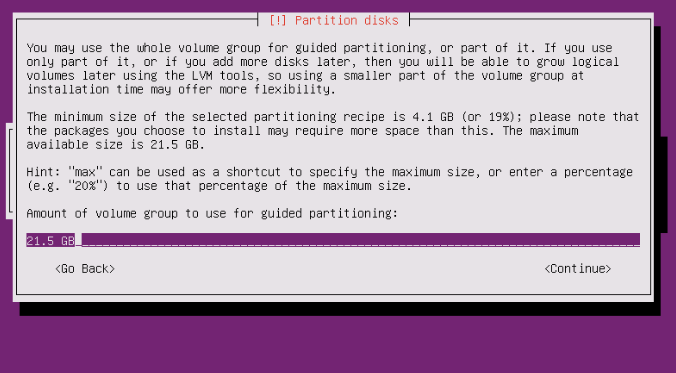
Select the ‘amount of volume group’. Of course, there are different options here, but we’ll keep it easy (since this is just an example installation) and choose the maximum size:
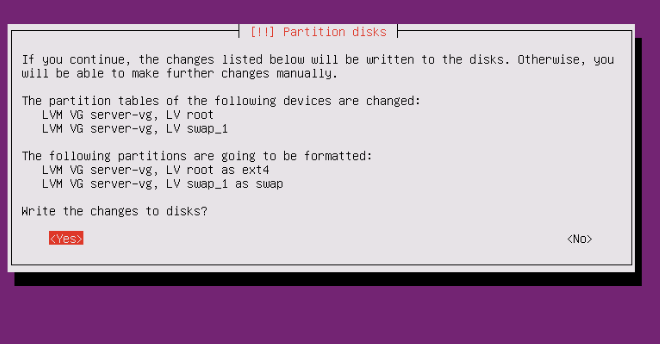
Check one last time and then allow the installer to write changes to disk:
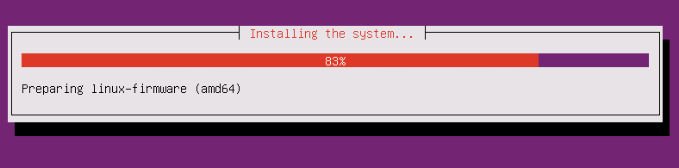
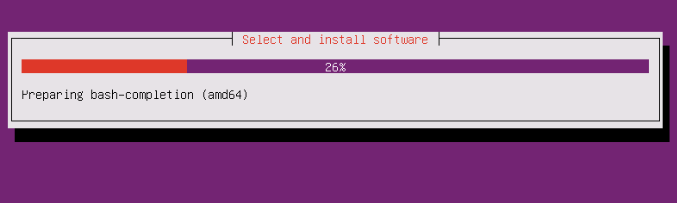
Next, the base system installation will start. Just wait…
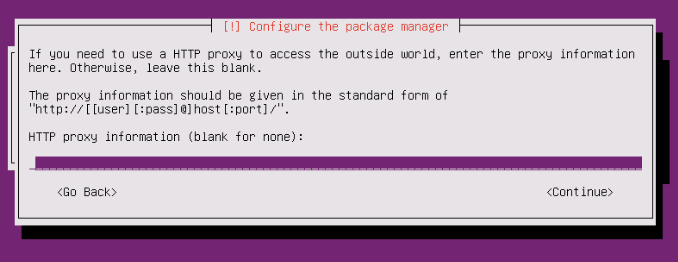
Configure the package manager
Now
will need some configuration. On the next screen just leave the line blank if you don’t want to use any proxy server to connect to the Internet:
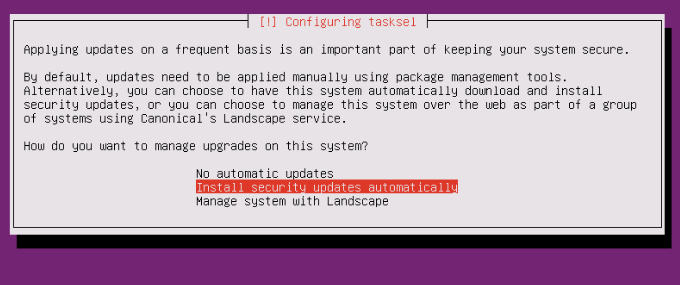
Configure updates
It is possible to install security updates automatically, or choose to do everything manually. This depends on the sysadmin personal preferences. In this tutorial, we’ll set up automatic updates:
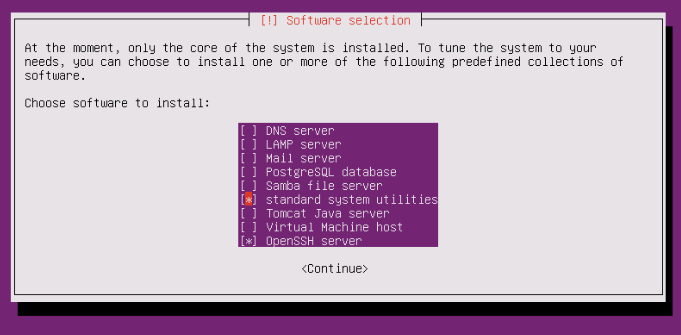
Software selection
Depending on what the server will do, it’s possible to select different collections of software. This tutorial is about a basic server, so we will just select standard system utilities and OpenSSH server:
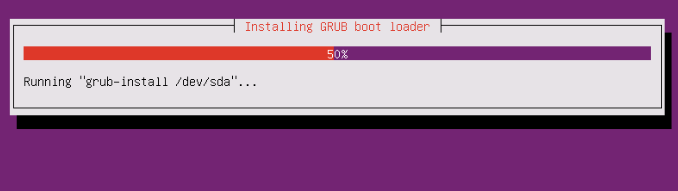
Install the boot loader
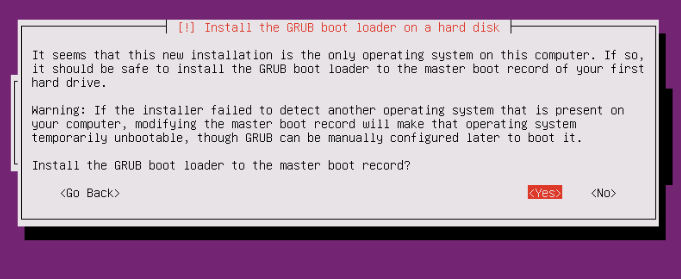
Select Yes for installing GRUB as boot loader:
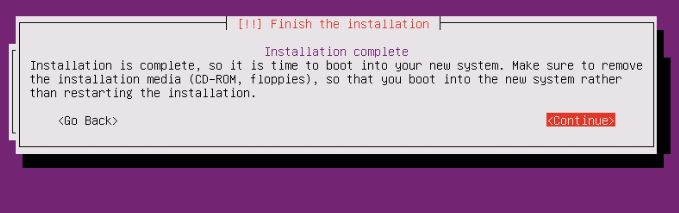
Finish installation
At the end the installer will ask you to remove the installation media. Select Continue and your machine will reboot:
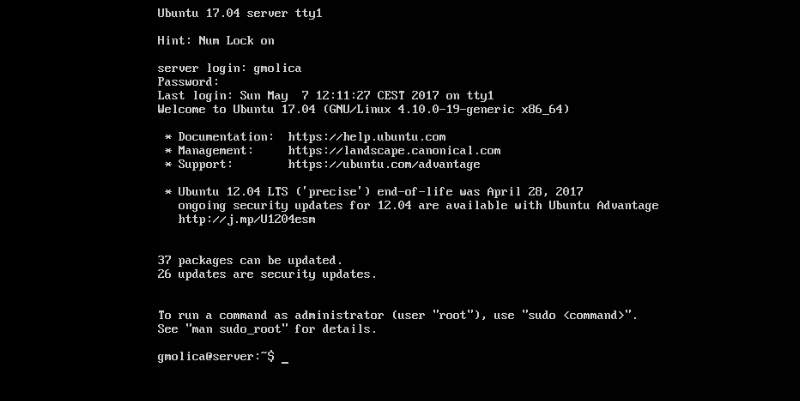
Basic configuration
After rebooting, log in with the account set up during the installation process:
Conclusion
In this tutorial we have seen how to install a basic Ubuntu 17.04 Server. This is a solid basis for any kind of “specialized” server.
Keep in mind that we have not configured a static IP address. Our server, right now, is just using DHCP for dynamic allocation.

