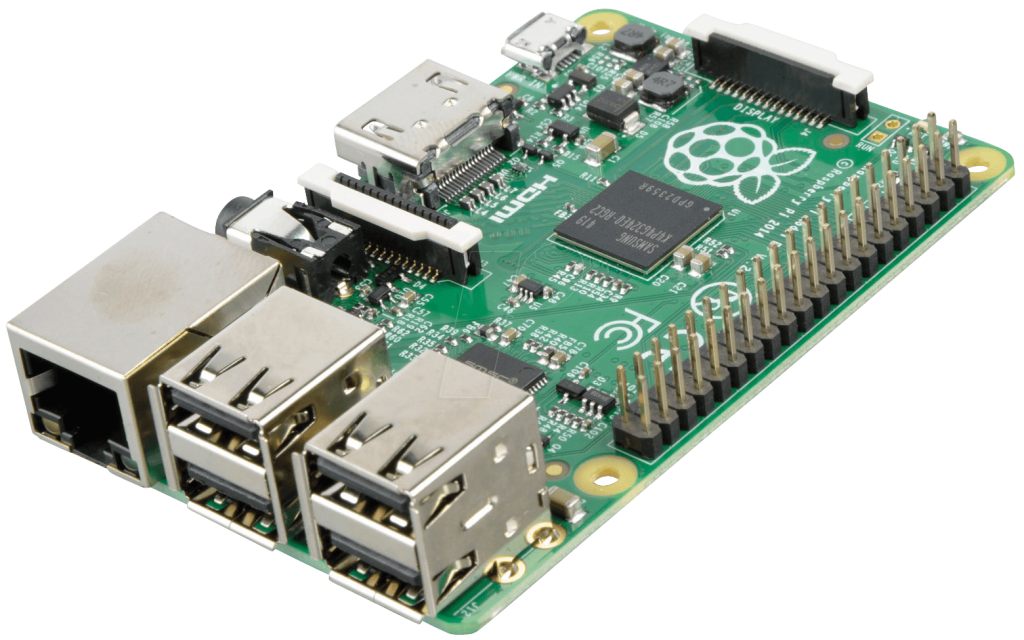
The Raspberry Pi is a low cost, credit-card sized computer that plugs into a computer monitor or TV, and uses a standard keyboard and mouse. It is a capable little device that enables people of all ages to explore computing, and to learn how to program in languages like Scratch and Python. It’s capable of doing everything you’d expect a desktop computer to do, from browsing the internet and playing high-definition video, to making spreadsheets, word-processing, and playing games.
Overview
The Raspberry Pi as an ARM-based device needs binaries compiled for this architecture. With the introduction of the Raspberry Pi 2 the packages needed now depend on which architecture the devices has:
- ARMv6 (BCM2835): Raspberry Pi Model A, A+, B, B+
- ARMv7 (BCM2836): Raspberry Pi 2 (based on Model B+)
In this tutorial will show you how to install Arch Linux on Raspberry PI B+ step by step.
Used Raspberry Pi B+ Specification:
- Device Type: Single Board
- Model: Raspberry Pi Version: B+
- Platform: Broadcom BCM2835
- Instruction Set: ARMv6
- CPU MHz: 700
- Flash MB: microSD
- RAM MB: 512
- Ethernet 100M ports: 1
- USB ports: 4x 2.0
- Power Supply: Micro USB (1A)
Preparing and first boot
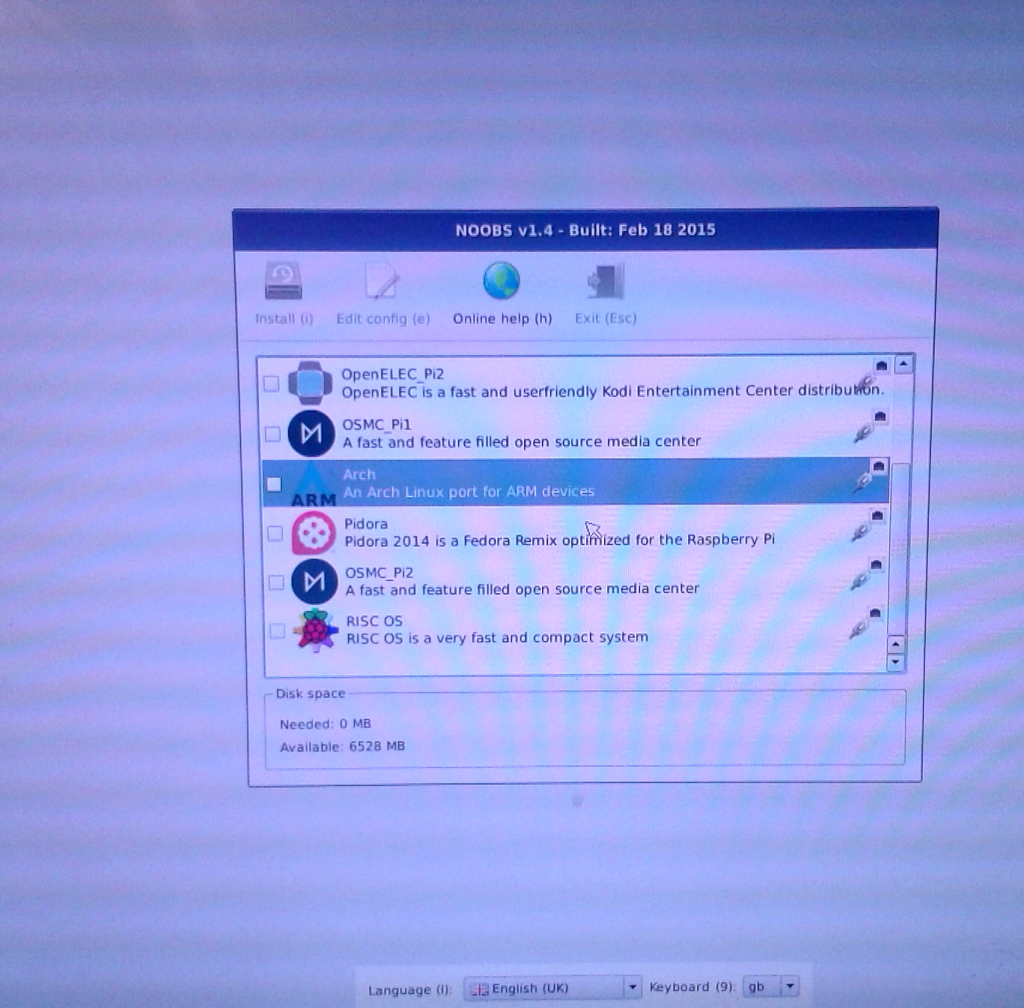
The best way to install Arch Linux is to use NOOBS.
NOOBS is an easy operating system installer which contains Raspbian. It also provides a selection of alternative operating systems which are then downloaded from the internet and installed. Download full version of NOOBS to your PC. Uncompress and copy all files to formated microSD card (use FAT or FAT32).
When it’s done plug microSD card to your Pi, connect usb keyboard and mouse, connect monitor and Ethernet cable (will not be used for installation).
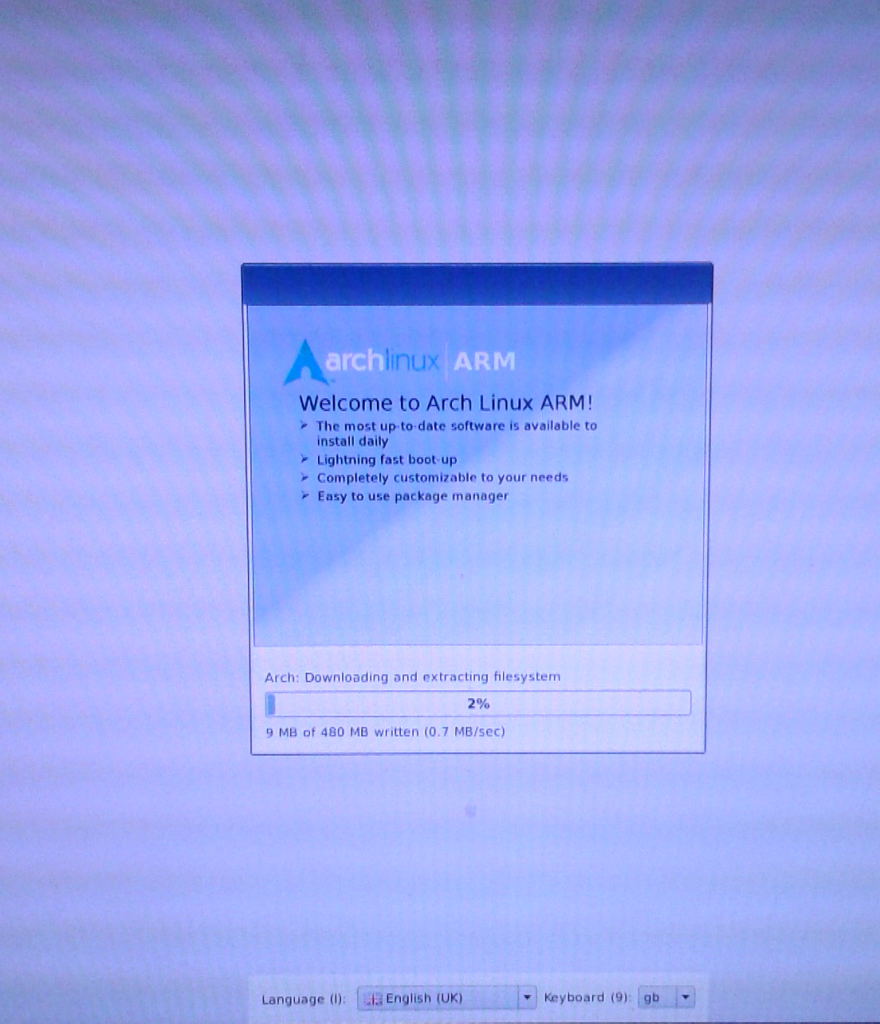
Now you can plug USB cable to power on your Pi. After booting you can select your preferred distribution – of course Arch Linux – and start installation. It takes a few minutes. When installation is done – do reboot and voila – Pi is powered by Arch Linux.
Post-installation tuning
After rebooting Pi your Arch linux will boot and you can login via keyboard or via SSH. Root password is root.
Firstly, we upgrade system:
# pacman-key --init
# pacman -Syu
install sudo:
# pacman -S sudo
prepare regular user for using sudo:
# EDITOR=nano visudo
add these line:
unixmen ALL=(ALL) ALL
Make regular user and set new password for this user:
# useradd -m -G users,audio,games -s /bin/bash unixmen
# passwd unixmen
Install some helpful programs:
# pacman -S mc htop tigervnc python python2 gcc geany
Lightweight desktop environment
My favorite xfce4:
# pacman -S xfce4
Xorg
# pacman -S xorg xorg-xinit xorg-server xorg-server-utils xterm
Audio
# pacman -S alsa-utils alsa-firmware alsa-lib alsa-plugins
GPIO
To enable add the following line device_tree_param=spi=on to /boot/config.txt
# nano /boot/config.txt
Overclocking/underclocking
The Pi can be overclocked by editing
, for example:
arm_freq=800
arm_freq_min=100
core_freq=300
core_freq_min=75
sdram_freq=400
over_voltage=0
Reboot your Pi:
# reboot
Now you can login as a regular user and work with your Arch & Pi via keyboard, mouse and monitor.
Type at Pi console as regular user unixmen:
$vncserver
You will require a password to access your desktops.

Password:     #add your vnc password
Verify:       #verify password
Would you like to enter a view-only password (y/n)? n
xauth: file /home/unixmen/.Xauthority does not exist

New 'alarmpi:1 (unixmen)' desktop is alarmpi:1

Creating default startup script /home/unixmen/.vnc/xstartup
Starting applications specified in /home/unixmen/.vnc/xstartup
Log file is /home/unixmen/.vnc/alarmpi:1.log
Make config file for vnc access:
$ nano /home/unixmen/.vnc/xstartup
and add these lines:
#!/bin/sh
export XKL_XMODMAP_DISABLE=1
exec startxfce4
and make it executable:
chmod +x /home/unixmen/.vnc/xstartup
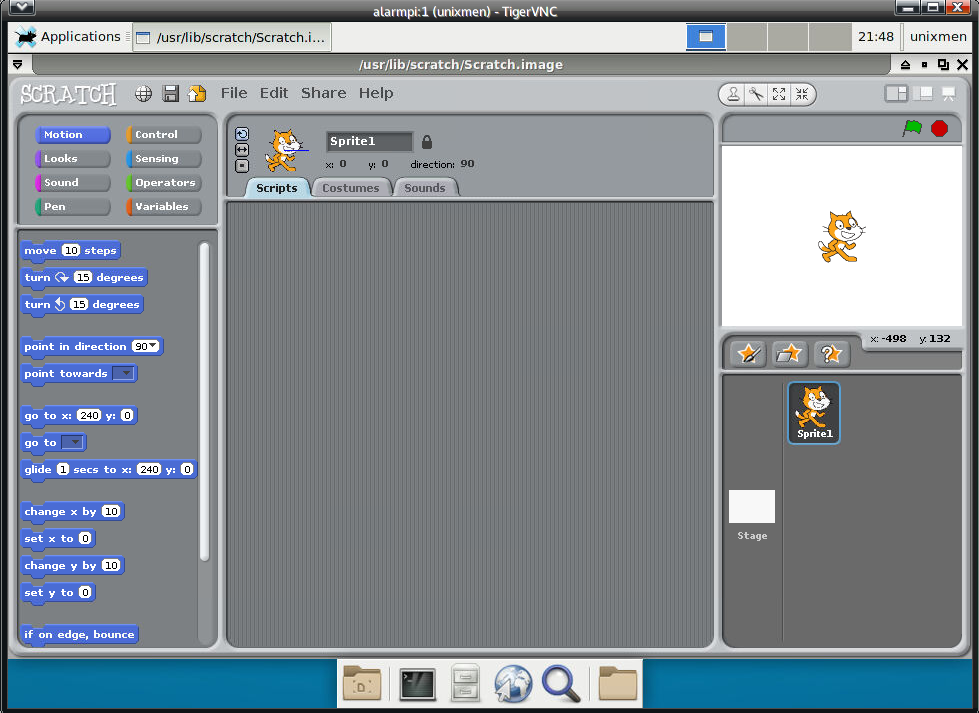
Access Pi from your computer remotely via ssh, vnc:
$ ssh unixmen@IP_OF_YOUR_PI
or
$ vncviewer alarmpi:1
or
$ vncviewer IP_OF_YOUR_PI:1

If you have problem with read-only system:
Temporary solution:
# mount -o remount,rw /
Or permanent solution:
# nano /boot/cmdline.txt
Add rw just before rootwait
Happy playing with your Arch Linux and Raspberry Pi 🙂
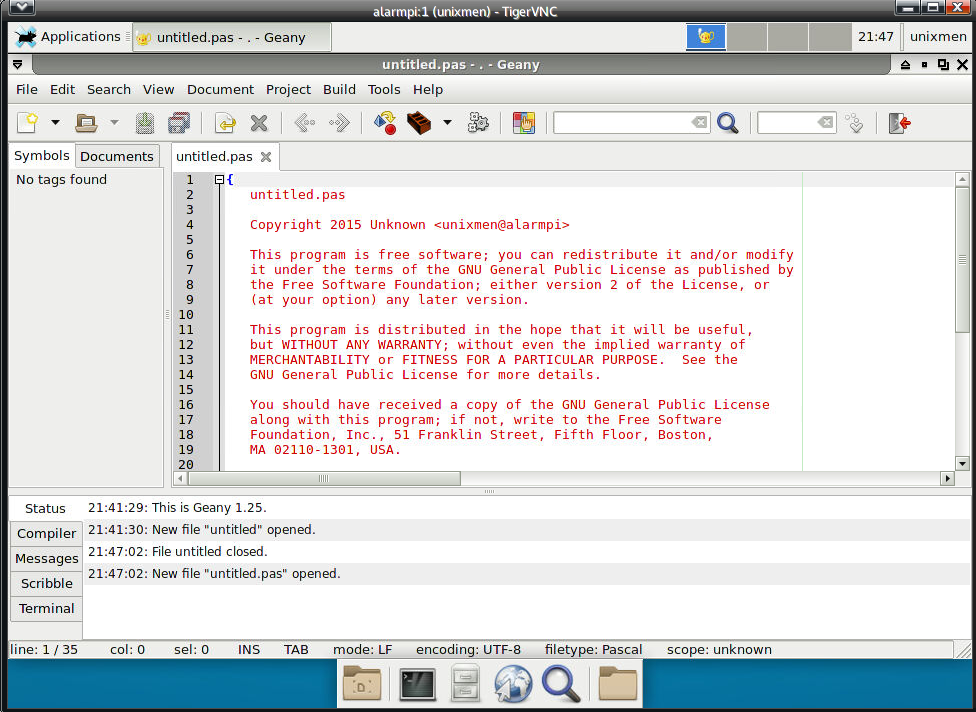
Some examples
Conclusion
Just now you have fully working Arch linux with Raspberry Pi or Raspberry Pi powered by Arch Linux. You can use and play it by your mind – try to control machines, robots, makes firewalls, small servers. I think google is your friend and you can find many, many examples how to use Pi. And, if there will be an interest, I can show you some useful and interesting usage.
HAPPY PLAYING!!


