What is Ghost?
In the Web 2.0 era, blogs are an important part of like for many people, and the popularity of WordPress and Tumblr, for instance, demonstrates fact.
Today we’ll talk about a platform for building and running online publications (like blogs, magazines, etc) called Ghost. This tool is open source and fully hackable, written in JavaScript and running on Node.js.
In this tutorial, we’ll see how to install – configure Ghost on openSUSE Leap 42.2, using Apache as the web server.
Node.js version
Ghost runs on top of Node.js. To be more exact, developers decided to support only LTS versions. In this tutorial we will be using version 4.2.x.
Even if this means that Ghost cannot use the latest features of Node.js, the choice seems reasonable as it leaves room for them to spend their time in building new features and fixing bugs rather than tracking changes in Node and having to retest their platform for every release.
For final users and admins, this results in a more stable and supported platform which many find appealing.
Getting started – Install Node.js and npm
Node.js version 4 is available already in openSUSE. To install it, just use
:
# zypper in nodejs
The following NEW package is going to be installed:
  nodejs4

1 new package to install.
Overall download size: 3.3 MiB. Already cached: 0 B. After the operation, additional
12.7 MiB will be used.
Continue? [y/n/? shows all options] (y): y
Retrieving package nodejs4-4.6.1-3.1.x86_64        (1/1),   3.3 MiB ( 12.7 MiB unpacked)
Retrieving: nodejs4-4.6.1-3.1.x86_64.rpm ...........................[done (846.4 KiB/s)]
Checking for file conflicts: .....................................................[done]
(1/1) Installing: nodejs4-4.6.1-3.1.x86_64 .......................................[done]
Next, install
:
# zypper in npm
Check the version:
$ npm --version
2.15.9
Installing Ghost
Change the directory to
and download Ghost:
# cd /srv/www
# wget https://ghost.org/zip/ghost-latest.zip
Unzip it in a new directory named
using the following code:
# unzip -d ghost ghost-latest.zip
Go to this new directory and install Ghost with
:
# cd ghost
# npm install --production
Configure Ghost
The
directory contains an example of the configuration file. Use this.
# cp config.example.js config.js
Next, create a new user named ghostusr:
# useradd -d /srv/www -s /bin/bash -U ghostusr
# passwd ghostusr
Set this user to be the owner of the ghost directory:
# chown -R ghostusr:ghostusr /srv/www/ghost
Now, it’s possible to test Ghost with
by executing the following commands:
# su - ghostusr
$ cd ghost
$ npm start --production
It should result in output similar to this:
Migrations: Creating tables...
Migrations: Creating table: posts
Migrations: Creating table: users
Migrations: Creating table: roles
Migrations: Creating table: roles_users
Migrations: Creating table: permissions
Migrations: Creating table: permissions_users
Migrations: Creating table: permissions_roles
Migrations: Creating table: permissions_apps
Migrations: Creating table: settings
Migrations: Creating table: tags
Migrations: Creating table: posts_tags
Migrations: Creating table: apps
Migrations: Creating table: app_settings
Migrations: Creating table: app_fields
Migrations: Creating table: clients
Migrations: Creating table: client_trusted_domains
Migrations: Creating table: accesstokens
Migrations: Creating table: refreshtokens
Migrations: Creating table: subscribers
Migrations: Running fixture populations
Migrations: Creating owner
Ghost is running in production...
Your blog is now available on http://my-ghost-blog.com
Open a new terminal window and test to see if Ghost is effectively running by executing the following command:
$ curl -I localhost:2368
HTTP/1.1 200 OK
X-Powered-By: Express
Cache-Control: public, max-age=0
Content-Type: text/html; charset=utf-8
Content-Length: 4554
ETag: W/"11ca-93Do3c+nffISfn1kLrmRZg"
Vary: Accept-Encoding
Date: Mon, 13 Mar 2017 07:59:39 GMT
Connection: keep-alive
In the terminal window running Ghost, stop it by entering CTRL+C.
Now, create a new systemd service:
# $EDITOR /etc/systemd/system/ghost.service
And paste the following configuration there:
[Unit]
Description=Ghost Blog - Publication platform
After=network.target

[Service]
Type=simple
# Ghost installation Directory
WorkingDirectory=/srv/www/ghost
User=ghostusr
Group=ghostusr
ExecStart=/usr/bin/npm start --production
ExecStop=/usr/bin/npm stop --production
Restart=always
SyslogIdentifier=Ghost

[Install]
WantedBy=multi-user.target
Reload systemd daemon:
# systemct daemon-reload
and then start the new service:
# systemctl start ghost
Check the status:
# systemctl status ghost
And it will show the folowing:
ghost.service - Ghost Blog - Publication platform
   Loaded: loaded (/etc/systemd/system/ghost.service; disabled; vendor preset: disabled)
   Active: active (running) since Mon 2017-03-13 09:06:41 CET; 5s ago
To make it start up at boot time:
# systemctl enable ghost
Installing and configuring Apache
Install Apache 2 with
:
# zypper in apache2
And create a new Virtual Host for Ghost:
# $EDITOR /etc/apache2/sites-available/ghost.conf
There, paste:
 <VirtualHost *:80>
    #Domain Name
    ServerName myghostblog.com
    ServerAlias www.myghostblog.com

    #HTTP proxy/gateway server
    ProxyRequests off
    ProxyPass / http://127.0.0.1:2368/
    ProxyPassReverse / http:/127.0.0.1:2368/
</VirtualHost>
Save and exit.
Activate the proxy module, activate Ghost and restart everything:
# a2enmod proxy proxy_http
# ln -s /etc/apache2/sites-available/ghost.conf /etc/apache2/sites-enabled/ghost.conf
# systemctl restart apache2
# systemctl restart ghost
Open a web browser and visit http://localhost:2368, and:
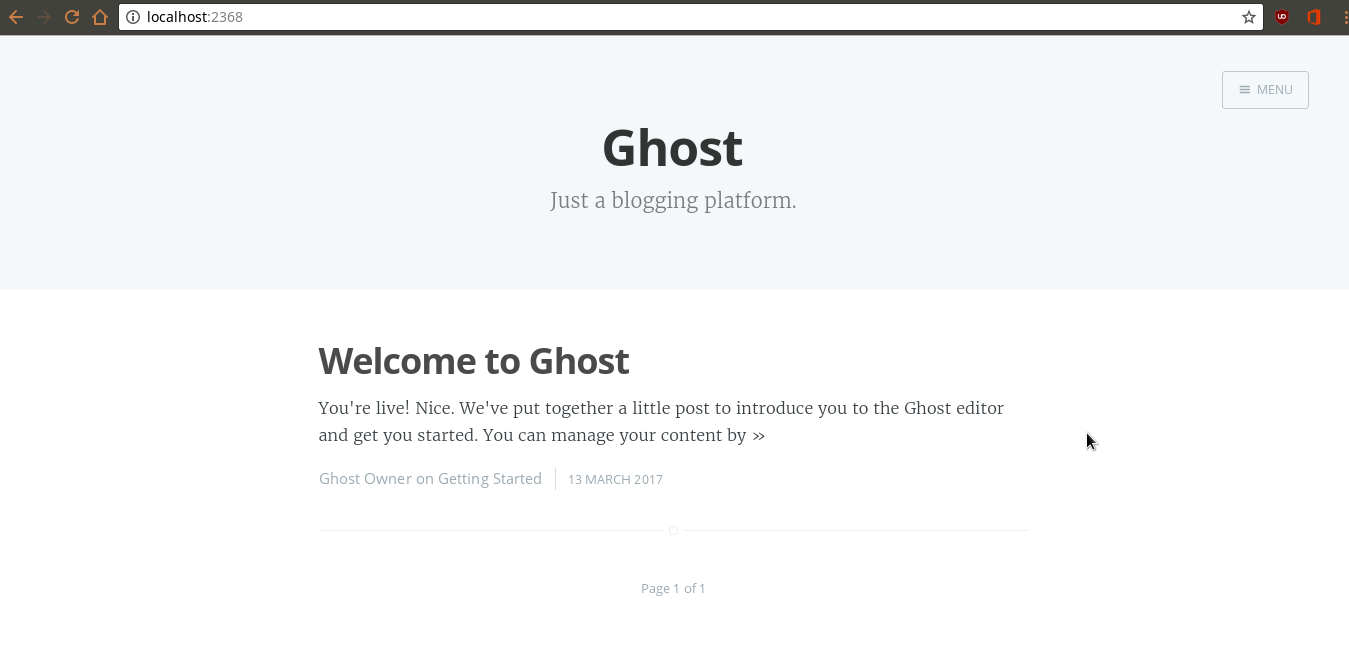
Ghost is up and running!
Enable SSL
Create a new directory which will contain certificates:
# mkdir -p /etc/apache2/certs
And generate a new certificate there:
# openssl req -x509 -nodes -days 365 -newkey rsa:4096 -keyout /etc/apache2/certs/ghost.key -out /etc/apache2/certs/ghost.crt
Change permissions:
# chmod 600 /etc/apache2/certs/*
Finally, edit the Virtual Host configuration to enable SSL:
# $EDITOR /etc/apache2/sites-available/ghost.conf
<VirtualHost *:80>
    ServerName myghostblog.com
    ServerAlias www.myghostblog.com

    # Force http to https
    Redirect permanent / https://myghostblog.com/
#    ProxyRequests off
#    ProxyPass / http://127.0.0.1:2368/
#    ProxyPassReverse / http:/127.0.0.1:2368/
</VirtualHost>

<VirtualHost *:443>

   ServerName myghostblog.com

   SSLEngine on
   SSLCertificateFile /etc/apache2/certs/ghost.crt
   SSLCertificateKeyFile /etc/apache2/certs/ghost.key

   ProxyPass / http://127.0.0.1:2368/
   ProxyPassReverse / http:/127.0.0.1:2368/
   ProxyPreserveHost   On

   RequestHeader set X-Forwarded-Proto "https"

</VirtualHost>
Save, exit, and restart Apache:
# a2enmod ssl headers
# systemctl restart apache2
Conclusion
Ghost is now up and running. Go to localhost:2368/ghost/ to finish the set up of the admin account, and then start blogging!


