About Easy Hosting Control Panel
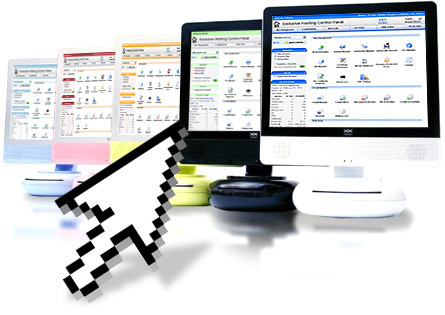
Easy Hosting Control Panel, also known as EHCP, is an open-source and powerful hosting control panel that lets you to host any websites, create email accounts, create additional (sub) domains, and create FTP accounts and many more via a web browser. It is only the first hosting control panel that provide the built-in support for nginx with PHP-FPM.
Prominent features
EHCP has many unique features compared to other control panels.
Here is the list of general Features of EHCP:
- Full php, full opensource, easily modifiable, customazible, ehcp templates ;
- Unlimited “resellers, panel users, domains, ftp users, emails, mysqls” ;
- Domains, subdomains, ftp, mysql, dns (automatic), email etc. management ;
- Password protected domains ;
- Email forwarding, autoreply, catch-all emails ;
- Web-stats (webalizer) ;
- Web-ftp (net2ftp) ;
- Easy Install Scripts/Programs (programs such as wordpress, durpal easily downloaded and copied by means of server; no need to deal with ftp etc. A total of 51 programs) ;
- Add/setup domain & install wordpress in single step ;
- Add domain, easy add domain, add domain to existing ftp, (use sub-ftp accounts) ;
- Add ftp in main ftp, add custom ftp space (custom location) ;
- Disk quota control ;
- Custom http, custom dns, domain aliases, domain redirect ;
- Ssl support ;
- Different languages, templates support, a few lang/templates included ;
- Different Menus/pages for Server Admin, Reseller, domain admin, email user ;
- Server backup/restore ;
- Domain transfer to another ehcp user ;
- Simple, light, fast, host hundreds of domains in it ;
- Free, full php, object oriented, modular, easily modifiable/extendable design ;
- Add domain to my ftp ;
- Add ftp with any directory under home ;
- Add ftp with subdomain ;
- Add ftp with subdirectory under domain name ;
- Edit dns/apache template for a domain ;
- Domain aliases ;
- Email forwardings ;
- Catch all email ;
- Default domain settable for ehcp gui ;
- Apache ssl support ;
- More “easy install scripts”, a total of 30 scripts ;
- Disk quota support ;
- Smtp auth support ;
- Bulk add domain feature ;
- Separate mysql server support ;
- And many.
Install Easy Hosting Control Panel In Ubuntu 14.04
In this How-to, we are going to setup EHCP in Ubuntu 14.04 64 bit Server. Also, It should work well on all other distributions such as Debian, RHEL and CentOS.
First, head over to EHCP download page and get the latest version of EHCP.
Or download the EHCP installation script using the following command:
wget http://www.ehcp.net/ehcp_latest.tgz
Extract the downloaded file using command:
tar -zxvf ehcp_latest.tgz
Now, switch to the extracted folder and run the installation script using the following commands:
cd ehcp/
sudo ./install.sh
Read the installer instructions very carefully and follow the instructions. The installer will install all the necessary packages like Apache, MySQL, Postfix and PHP. And also during the installation it will ask you to configure some services and to enter the passwords for EHCP admin accounts. The installation will take nearly 1 hour depending upon your internet speed. Make sure you have uninterrupted Internet connection.
Press enter to continue:
STAGE 1
=====================================================================

--------------------EHCP PRE-INSTALLER 0.35.3 -------------------------
-----Easy Hosting Control Panel for Ubuntu, Debian and alikes--------
-------------------------www.ehcp.net--------------------------------
---------------------------------------------------------------------

Now, ehcp pre-installer begins, a series of operations will be performed and main installer will be invoked.
if any problem occurs, refer to www.ehcp.net forum section, or contact me, mail/msn: info@ehcp.net
Please be patient, press enter to continue
Again press Enter to continue:
Note that ehcp can only be installed automatically on Debian based Linux OS'es or Linux'es with apt-get enabled..(Ubuntu, Kubuntu, debian and so on) Do not try to install ehcp with this installer on redhat, centos and non-debian Linux's... To use ehcp on no-debian systems, you need to manually install..
this installer is for installing onto a clean, newly installed Ubuntu/Debian. If you install it on existing system, some existing packages will be removed after prompting, if they conflict with packages that are used in ehcp, so, be careful to answer yes/no when using in non-new system
Actually, I dont like saying like, 'No warranty, I cannot be responsible for any damage.... ', But, this is just a utility.. use at your own.
ehcp also sends some usage data to developer for statistical purposes
press enter to continue
Press Enter to continue:
---------------------------------------------------------------------
-----------------------EHCP MAIN INSTALLER---------------------------
------Easy Hosting Control Panel for Ubuntu, Debian and alikes ------
--------------------------www.ehcp.net-------------------------------

---------------------------------------------------------------------
ehcp version 0.35.3
ehcp installer version 0.35.3

starting ehcp install, please read prompts/questions carefully !
Some install/usage info and your name/email is sent to ehcp developpers for statistical purposes and for improvements
Also note that, a reseller account of 'ehcp' is setup by default to support ehcp. you may delete it after install. (Please don't)

press enter to continue:
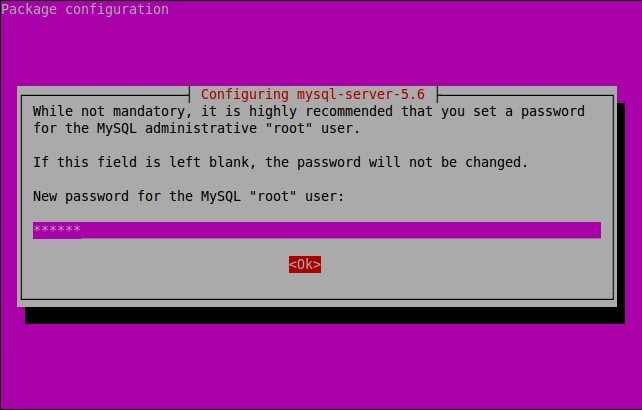
Enter the password for the MySQL “root” user and click OK.
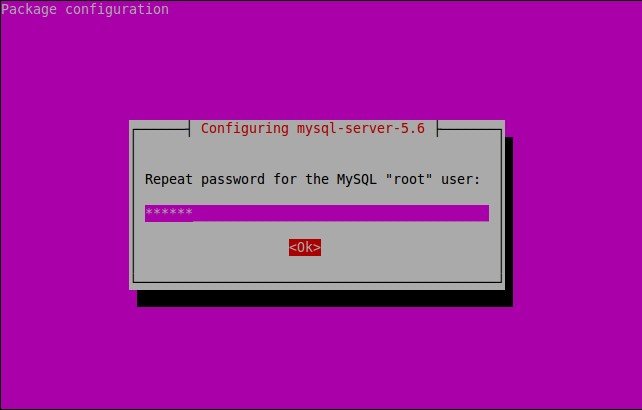
Re-enter the password and click OK.
Enter your name and Email id:
==========================================================================
EHCP INSTALL - INPUTS/SETTINGS SECTION:
THIS SECTION IS VERY IMPORTANT FOR YOUR EHCP SECURITY AND PASSWORD SETTINGS.
 PLEASE ANSWER ALL QUESTIONS CAREFULLY
Please enter your name:SK
Please enter your/admin email (used to send your panel info, ehcp news)- Enter an already working email:sk@unixmen.com
Enter your MySQL “root” user password which we have setup earlier. In my case, MySQL “root” user password is ubuntu:
=======> MYSQL PASSWORD SETTINGS IS VERY IMPORTANT - YOUR EHCP MAY NOT FUNCTION IF YOU MISS SOMETHING HERE.. ehcp related information will be stored in your local mysql server ==========
Enter your current MYSQL ROOT PASSWORD:ubuntu
Then, enter password for mysql user of ‘ehcp’:
Enter NEW PASSWORD for mysql user of `ehcp` (default 1234):
Please pay attention that, you cannot use sign # in your password:ubuntu
Enter the EHCP panel admin user password twice:
Enter ehcp panel admin NEW PASSWORD (default 1234):ubuntu
Enter ehcp panel admin NEW PASSWORD AGAIN:ubuntu
Enter your hostname, IP address, preferred language etc. If you want to leave defaults, just press Enter. In my case, I go with defaults.
---------------------------------------------------------------------
Your hostname seems to be server, if it is different, enter it now, leave blank if correct

Hostname is set as server
Your ip seems to be 192.168.1.200, if it is different or you want to use a different (external) ip, enter it now, leave blank if correct

ip is set as (192.168.1.103) in ehcp, (Your server's actual ip is not changed)

LANGUAGE SELECTION:

ehcp currently supports English,Turkish,German,Spanish,French (some of these partial) except installation
enter language file you want to use (en/tr/german/spanish/nl/fr/lv [default en]):

Do you want to install some additional programs which are not essential but useful for a hosting environment, such as ffmpeg,... etc.. ? Answer no if you have small ram or you need a light/fast system (y/[n])
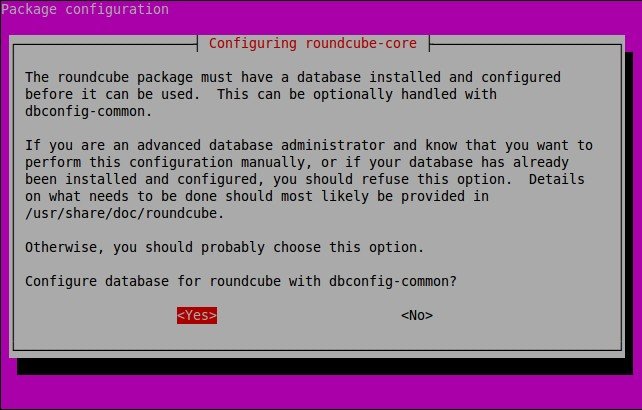
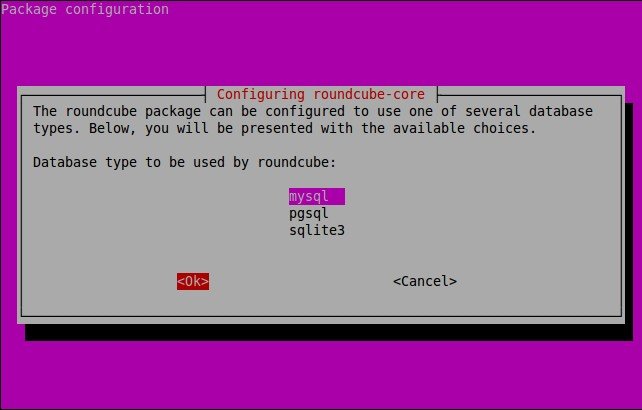
After few minutes, you’ll be asked configure database for roundcube with dbconfig-common. Select Yes and press Enter.
Select the database used by roundcube. I select MySQL.
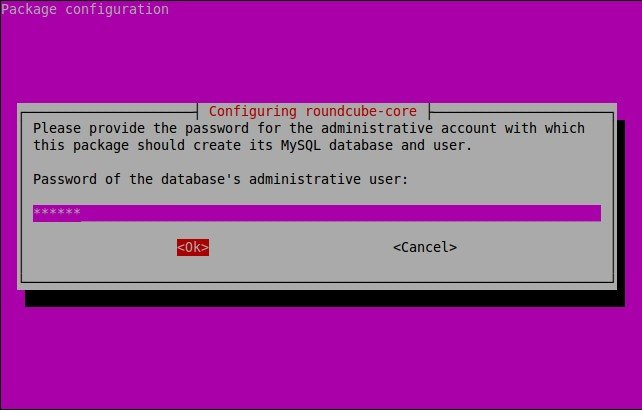
Enter password of the database’s administrative user:
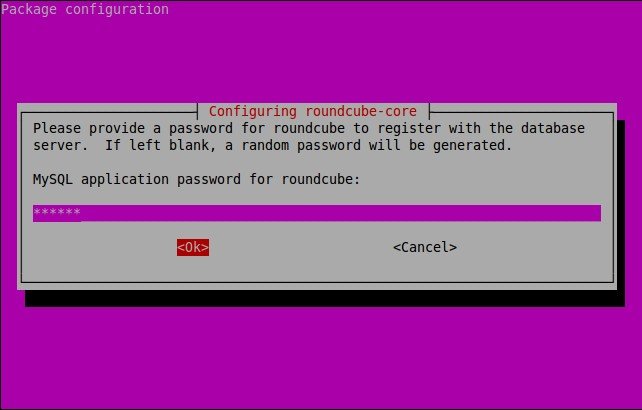
Enter MySQL application password for roundcube:
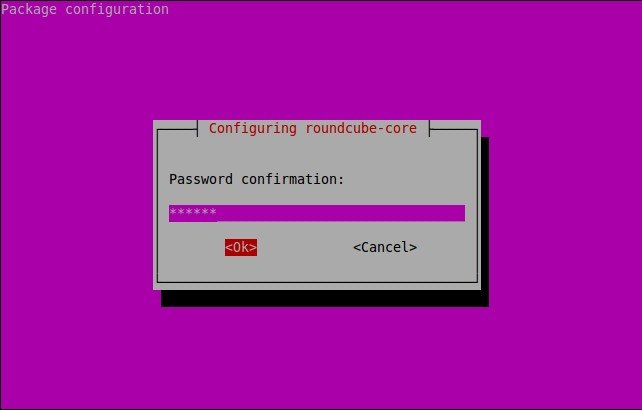
Confirm password:
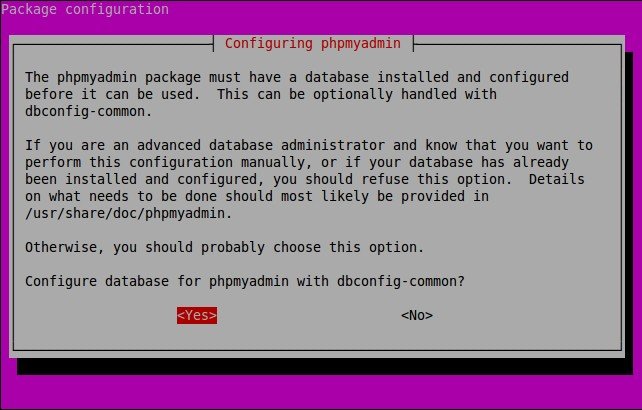
The phpmyadmin package must have a database installed and configured before it can be used. This can be optionally handled with dbconfig-common.
Select “Yes” to configure database for phpmyadmin with dbconfig-common and press Enter.
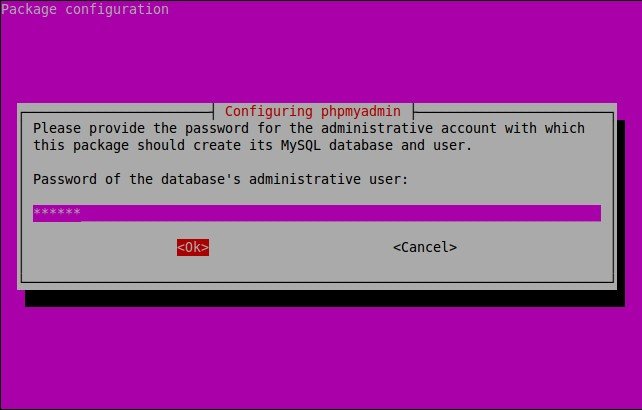
Enter password of the database’s administrative user:
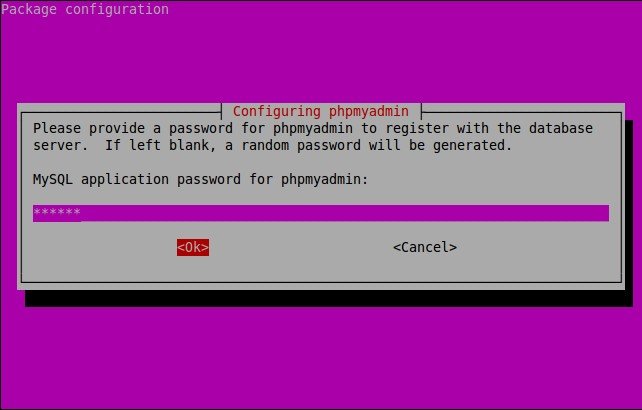
Enter MySQL application password for phpmyadmin:
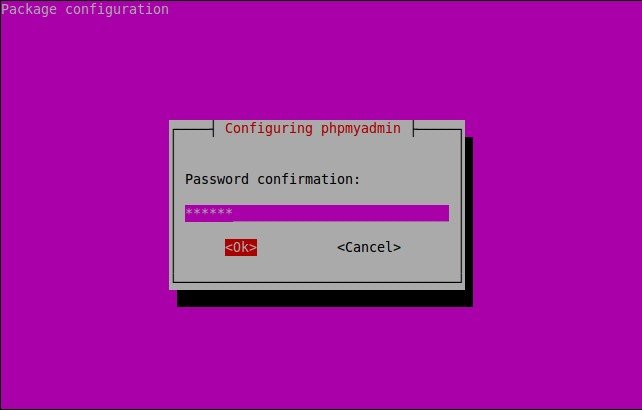
Confirm password:
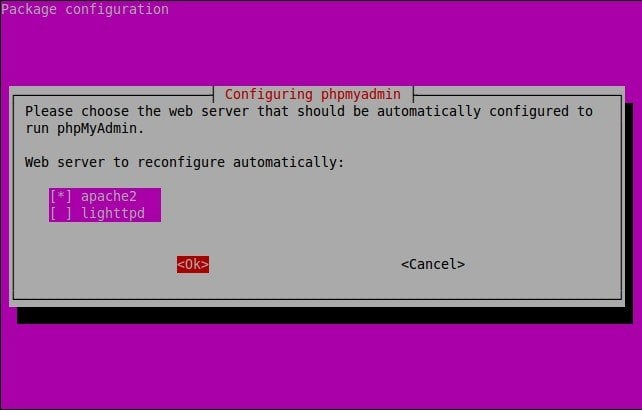
Now, choose the web server that should be automatically configured to run phpMyAdmin. I chose Apache.
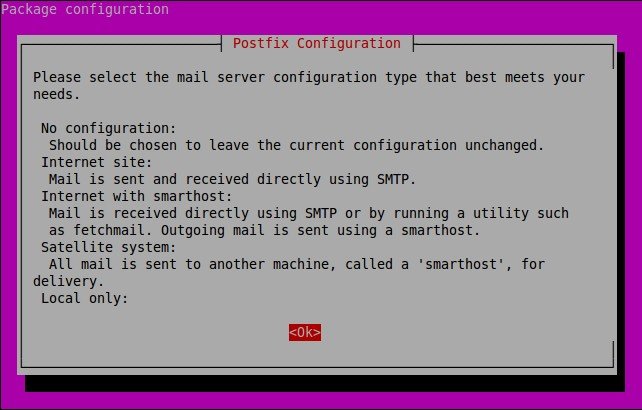
Now, It is time to select the mail server configuration type.
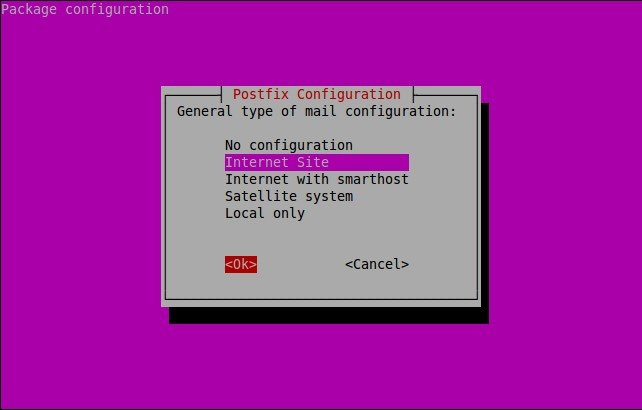
Select the type of your mail configuration. I go with default selection.
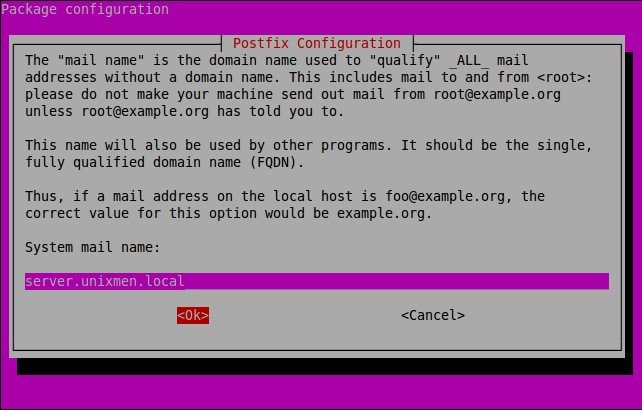
Enter the mail server name. If you want to use your system’s FQDN, just leave the defaults and select OK and press Enter.
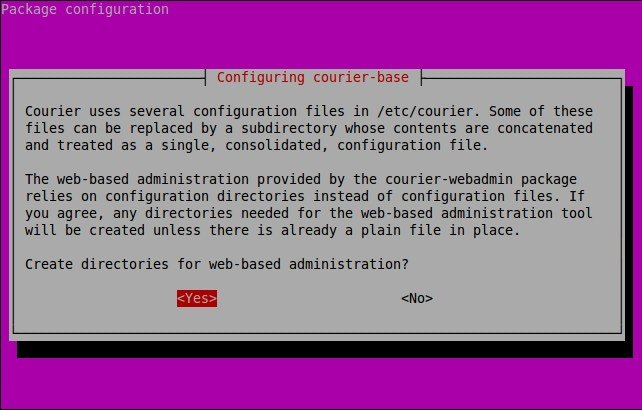
Select “Yes” to create directories for web-based administration.
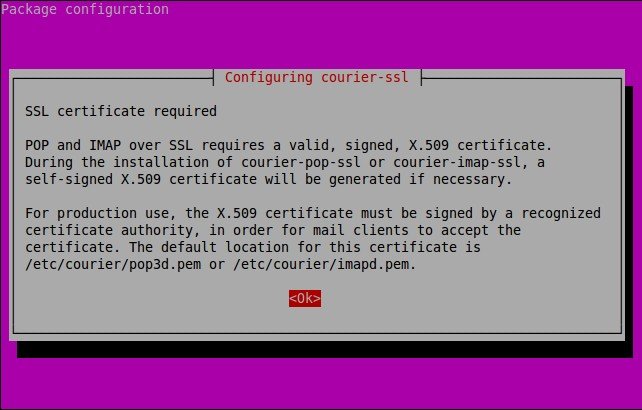
Press enter to create necessary SSL certificate:
Note: Skip nginx webserver installation if you are asked to install it. Because, we already chose Apache webserver in our earlier steps. Simply type “n” and press enter to skip nginx installation wherever you are asked to do.
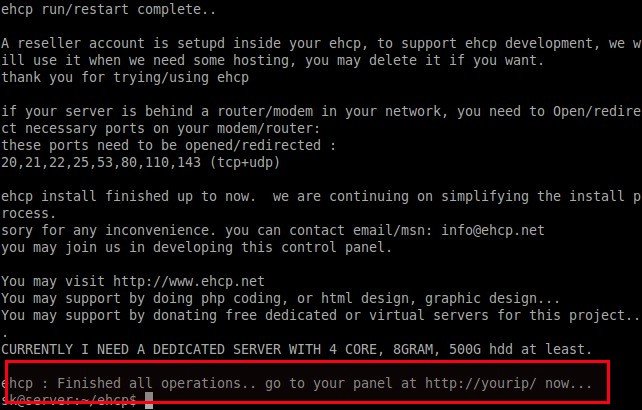
That’s it. The installation is now complete.
Access EHCP Dashboard
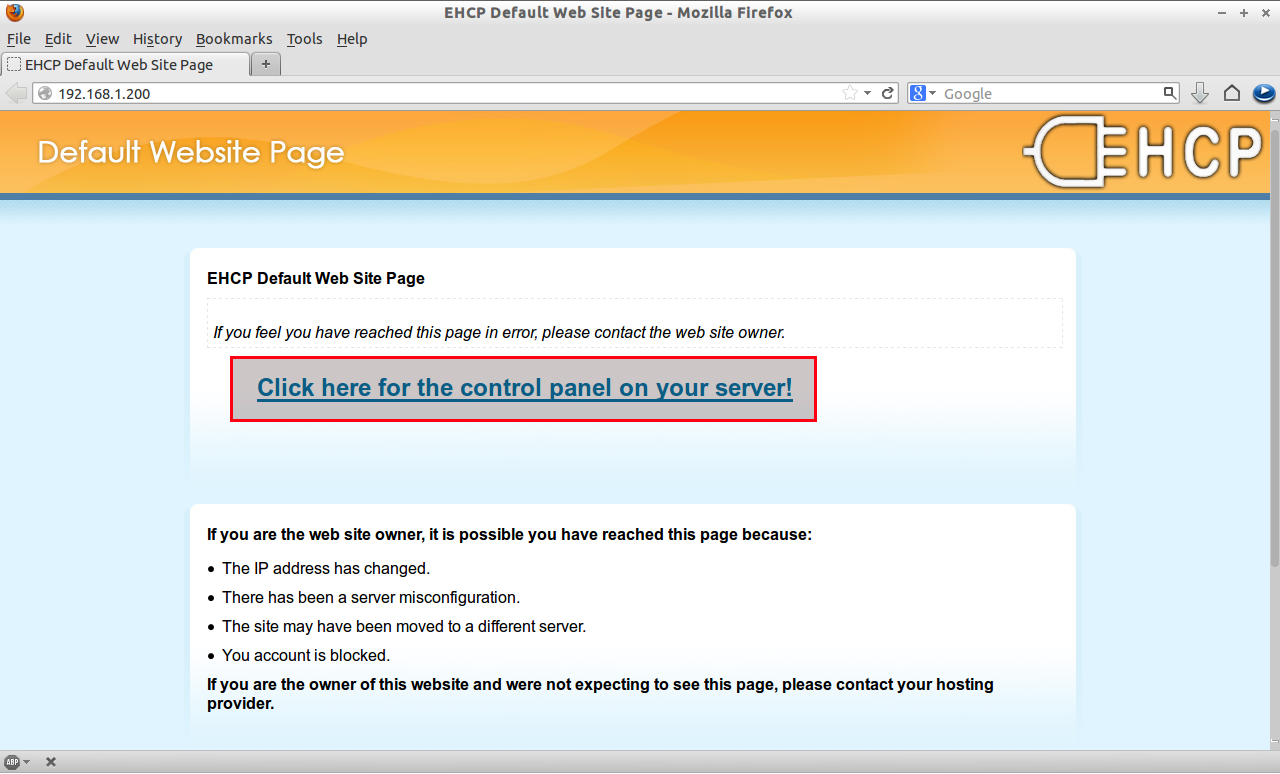
Now open the EHCP web console by pointing your web browser with “http://ip-address/” or “http://localhost”.
Click on the link “Click here for the control panel on your server”.
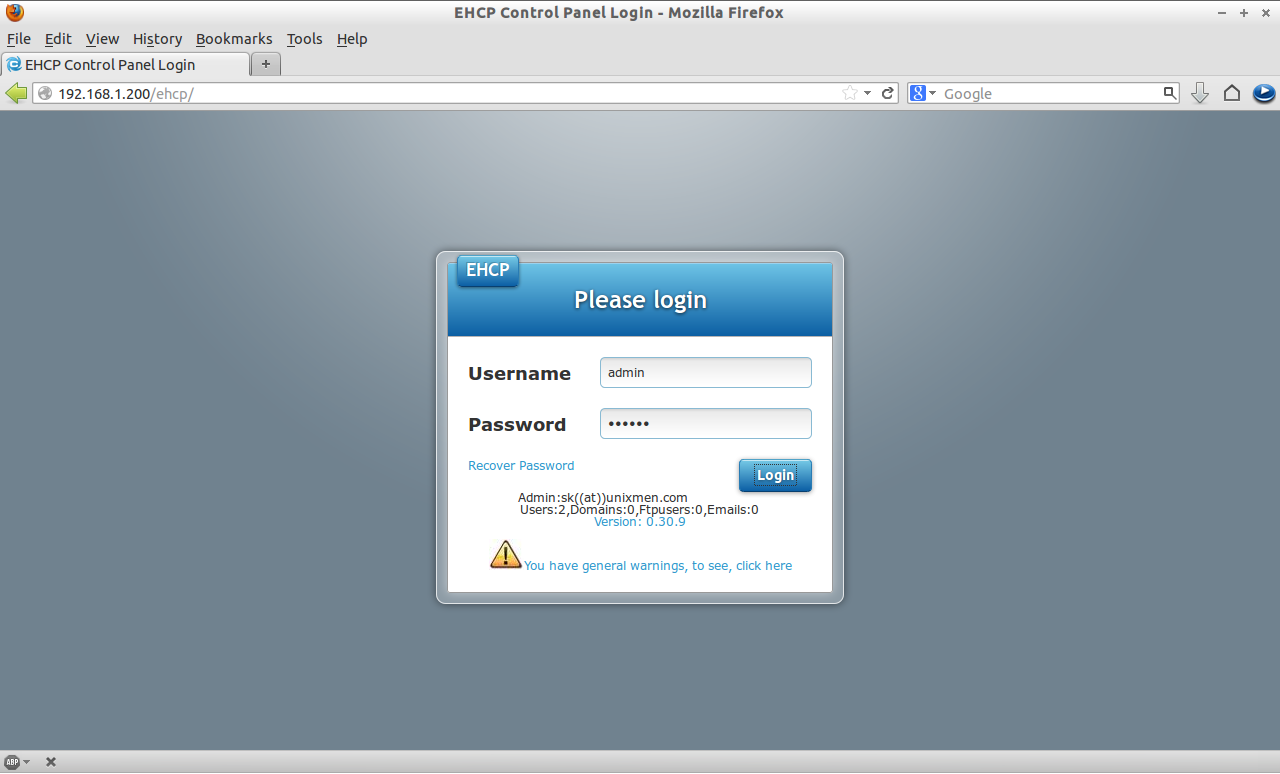
Enter the administrative credentials. The default username is admin and the password for admin account is the one you setup during installation. If you haven’t setup any password for admin account, then the default password is 1234.
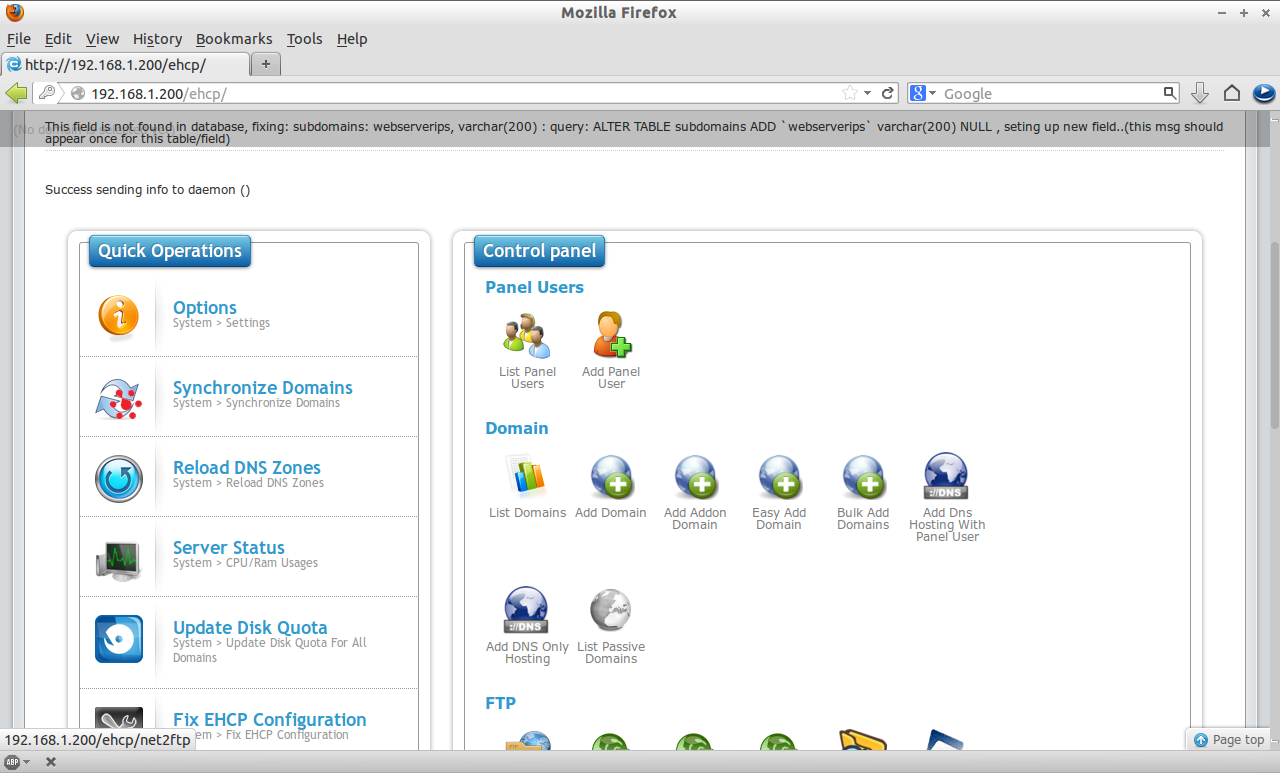
The main console window EHCP will look like below.
From here, you can create domains, users, FTP accounts and databases and email accounts for the domains.


