
About Froxlor
Froxlor is a server management panel used to manage multiple-users services. It can be used to manage domain services, email accounts or web server etc. It is a good alternative of cpanel or webmin.
Features
- Enable customers to store ssl certificates per domain and determine which port should use ssl.
- You can choose which IP address and which port should be used per domain.
- Comes with an added layer of customer management, allow customers to create support tickets and enable them to reply within froxlor with online/offline indicator.
- Comes with customizable themes, you can create your own themes.
- Save diffrent php configuration and choose which php.ini should be used.
- All http, mail and ftp traffic logs are stored and could be monitored with via interactive graphs.
- Users can upload or download theirs files directory via browser with the help of web-ftp.
Install Froxlor
We will install demo setup on Ubuntu 15.04. You have to Install all prerequisites like Mysql, apache, or python packages.
Add froxlor repo:
$ sudo add-apt-repository "deb http://debian.froxlor.org wheezy main"
Update your server
$ sudo apt-get update
I got following error while updating server
W: GPG error: http://debian.froxlor.org wheezy Release: The following signatures couldn't be verified because the public key is not available: NO_PUBKEY F6B4A8704F9E9BBC
So i search and got a software key for froxlor, we have to add that key then again update server.
$ sudo apt-key adv --keyserver pool.sks-keyservers.net --recv-key FD88018B6F2D5390D051343FF6B4A8704F9E9BBC
Install froxlor package:
$ sudo apt-get install froxlor php5-curl
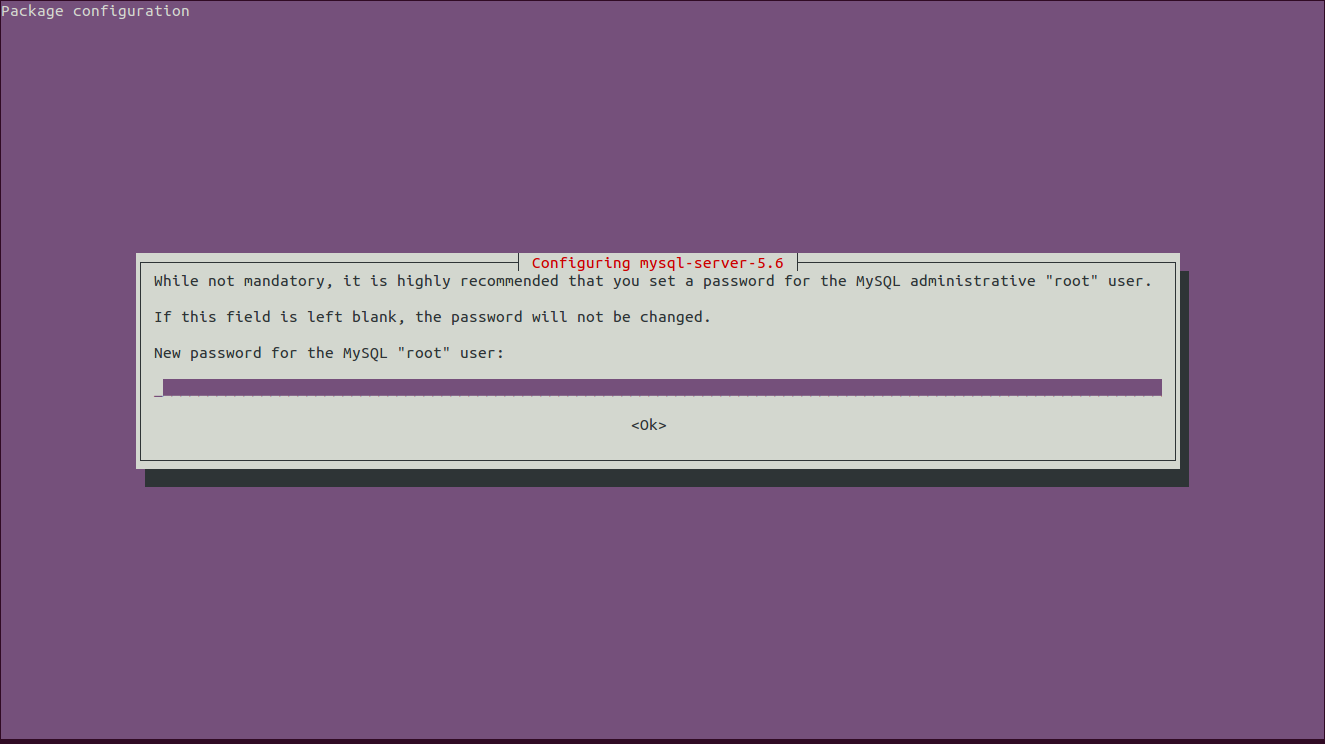
During installation, you’ll be asked to enter few details.
First, provide mysql password:
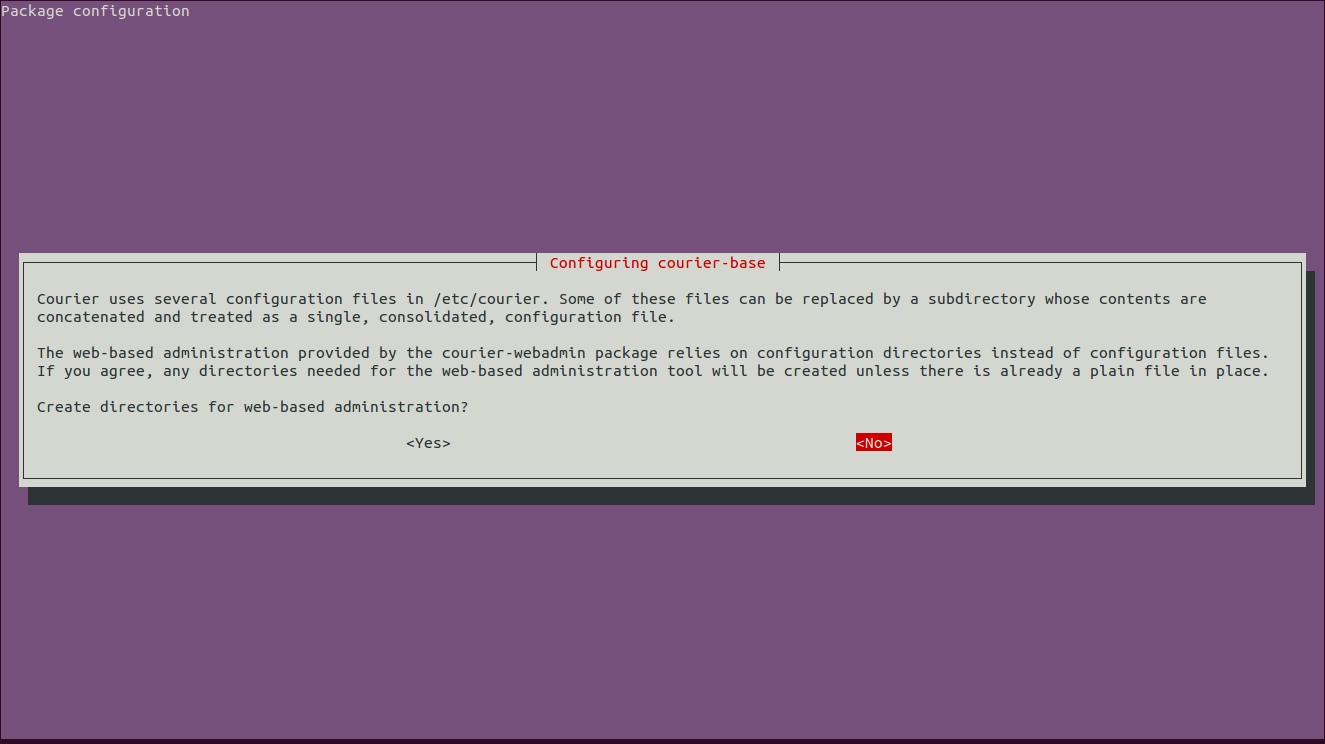
Select yes and press enter for below step.
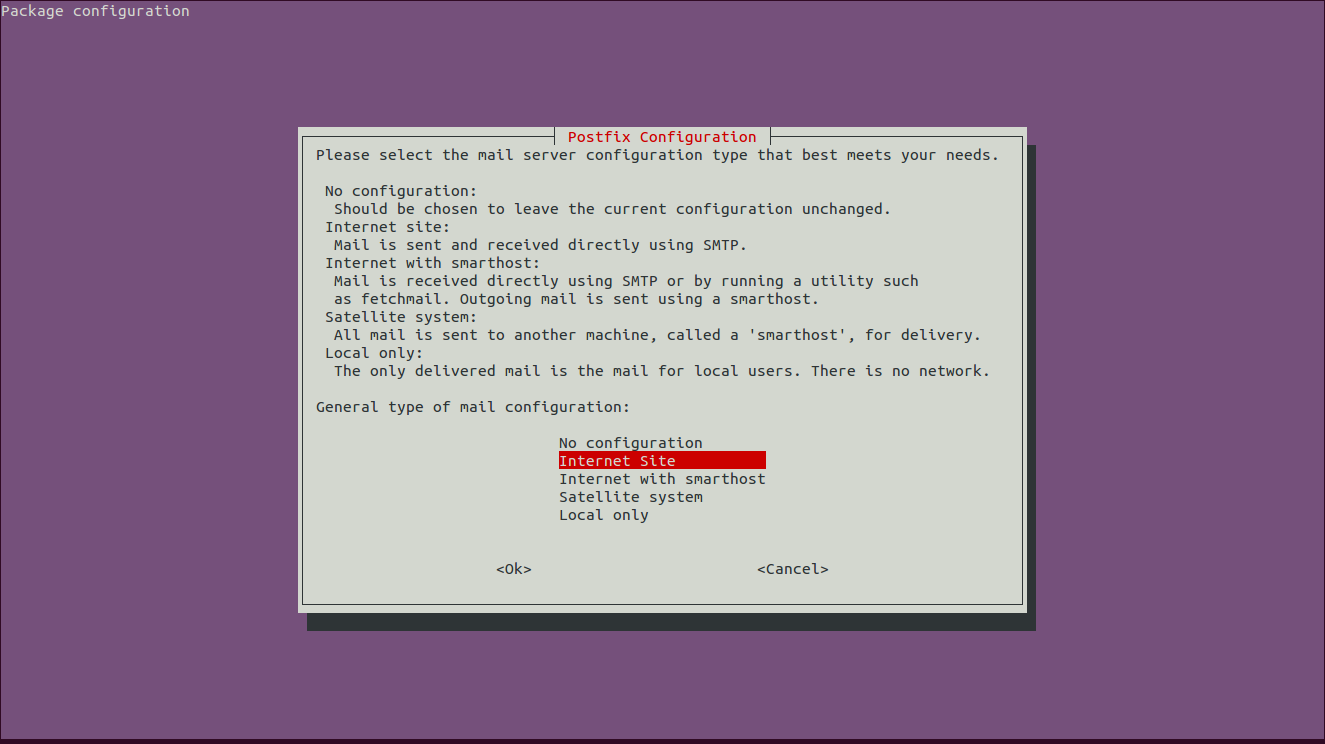
Select Internet Site (default), press enter.
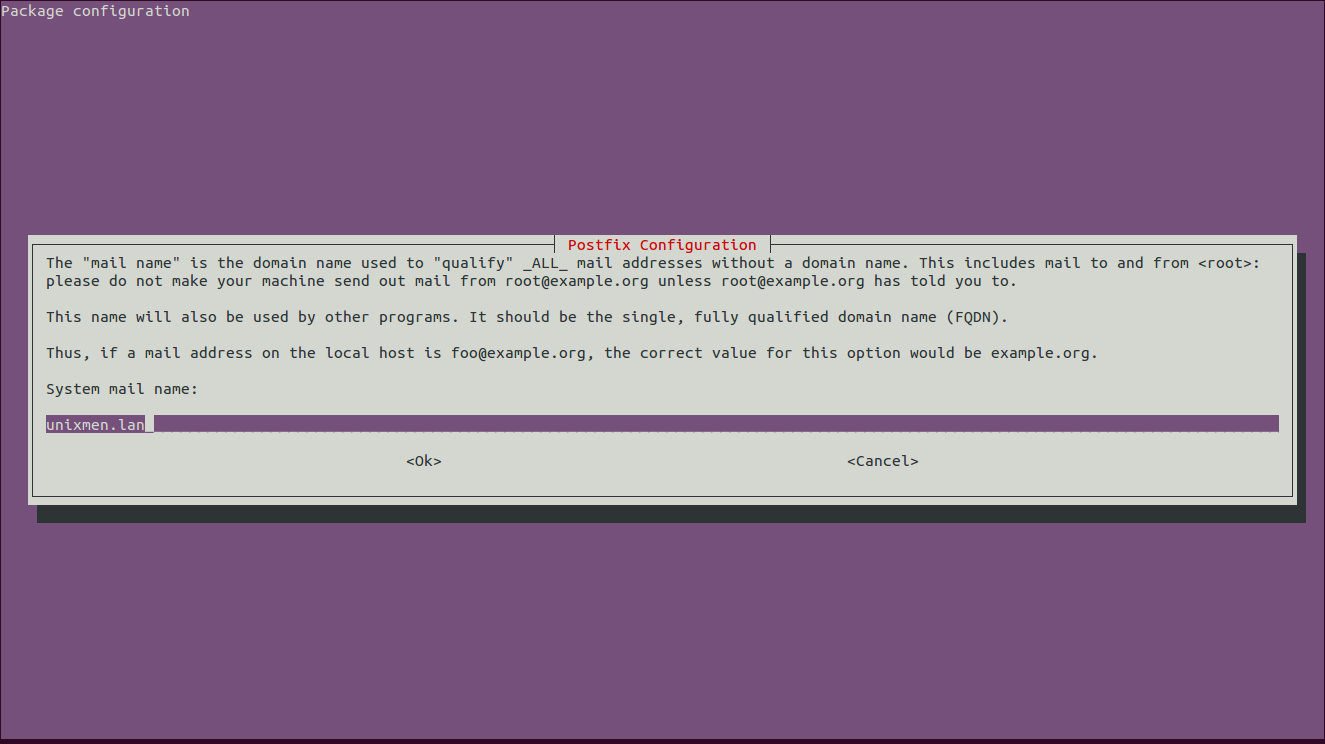
I opted ‘unixmen.lan’ as mail name.
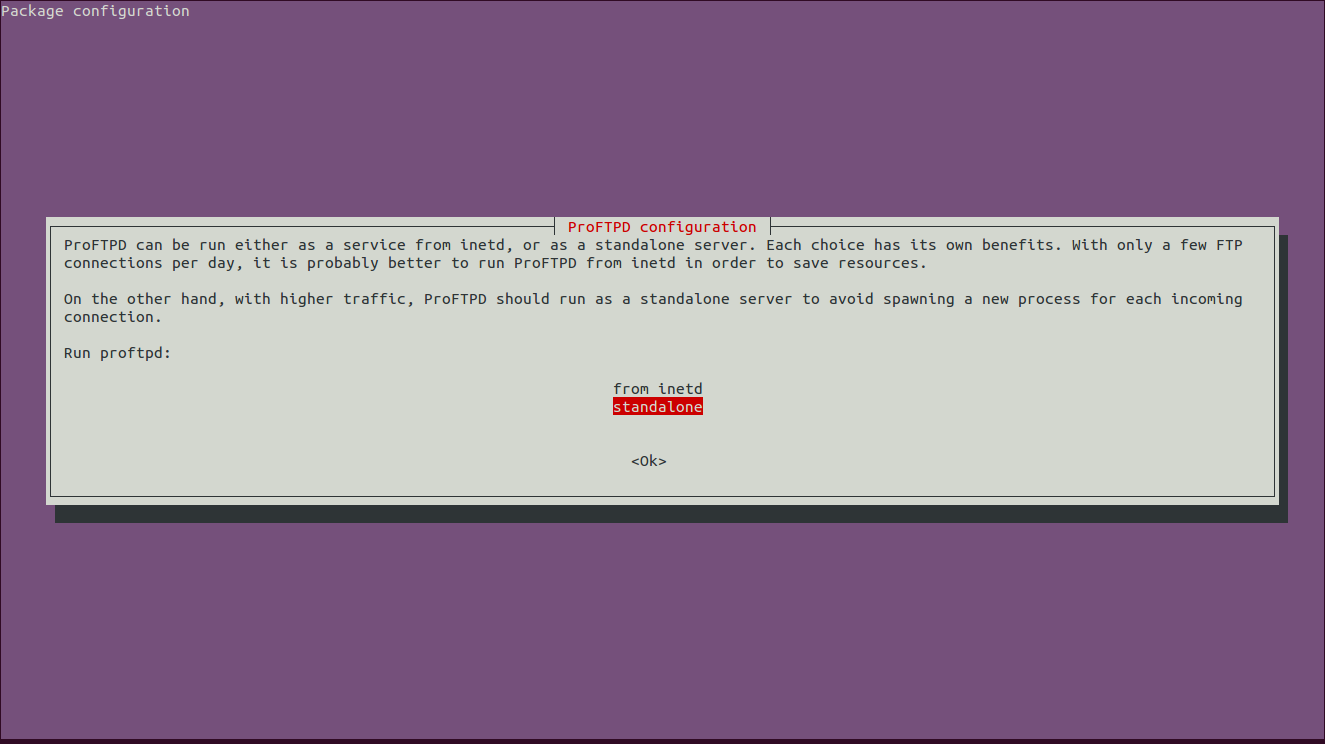
keep proFTPD option as default on standalone.
Restart apache service
$ sudo /etc/init.d/apache2 restart
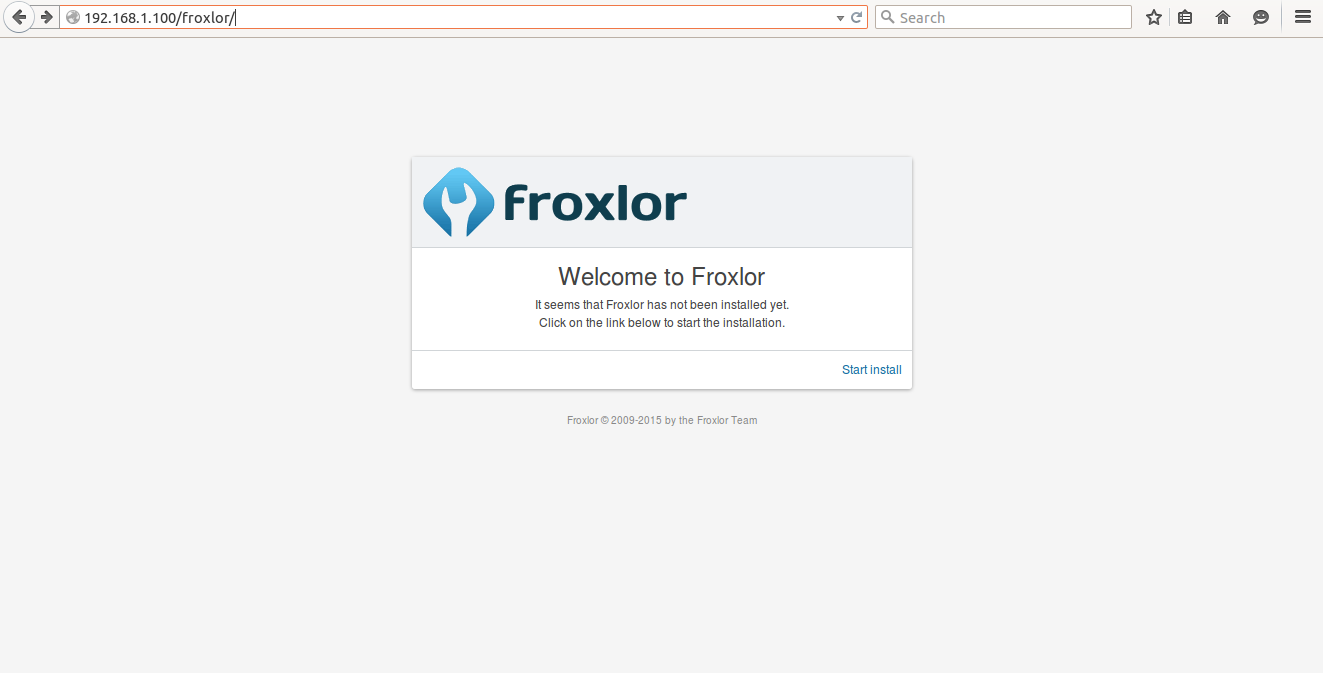
Open Browser and type <Ip_address>/froxlor
Important: At this step i got web server 404 error, so i simply move froxlor directory (which was installed by default with froxlor package) from /var/www to /var/www/html, and then open in browser it was working without any error.
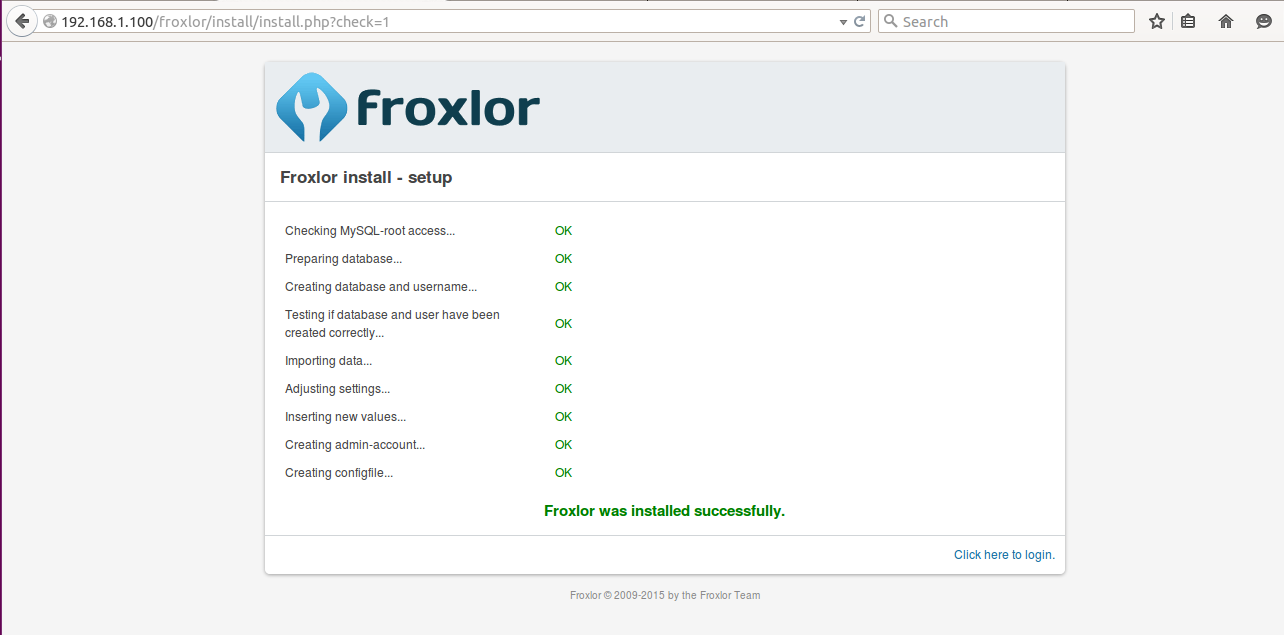
Click to start install:
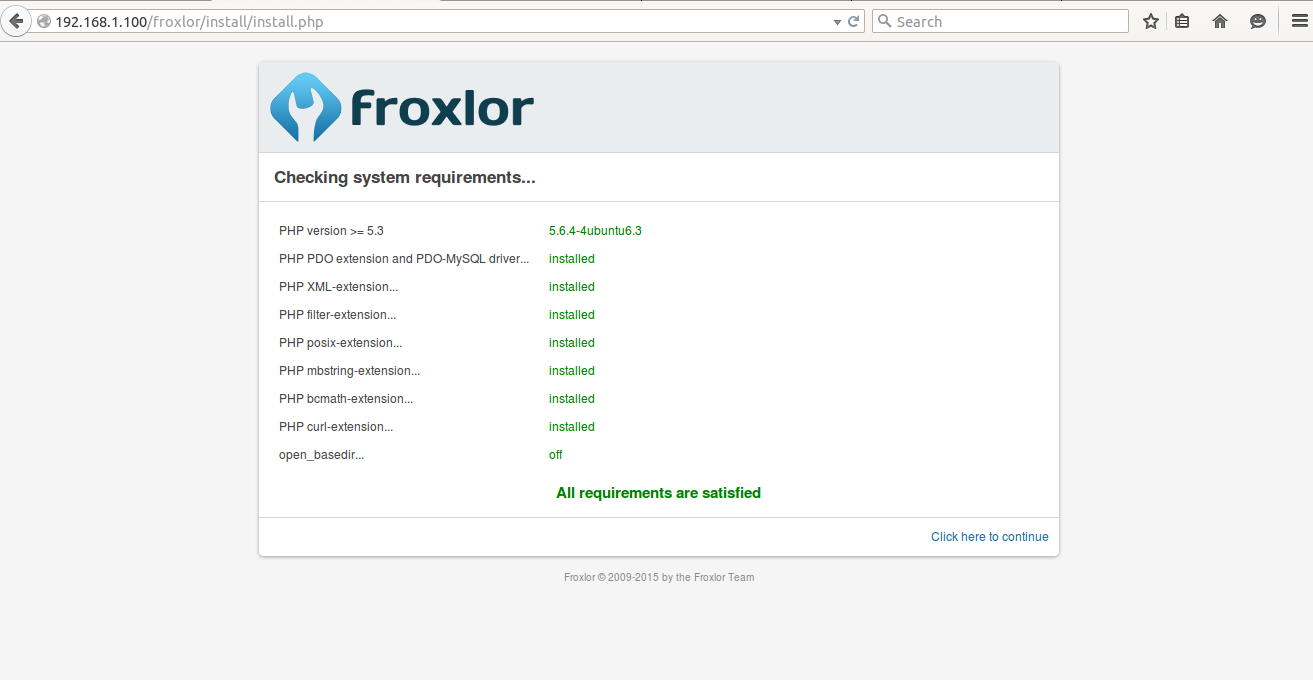
Verify whether all requirements are fulfilled or not then click to continue.
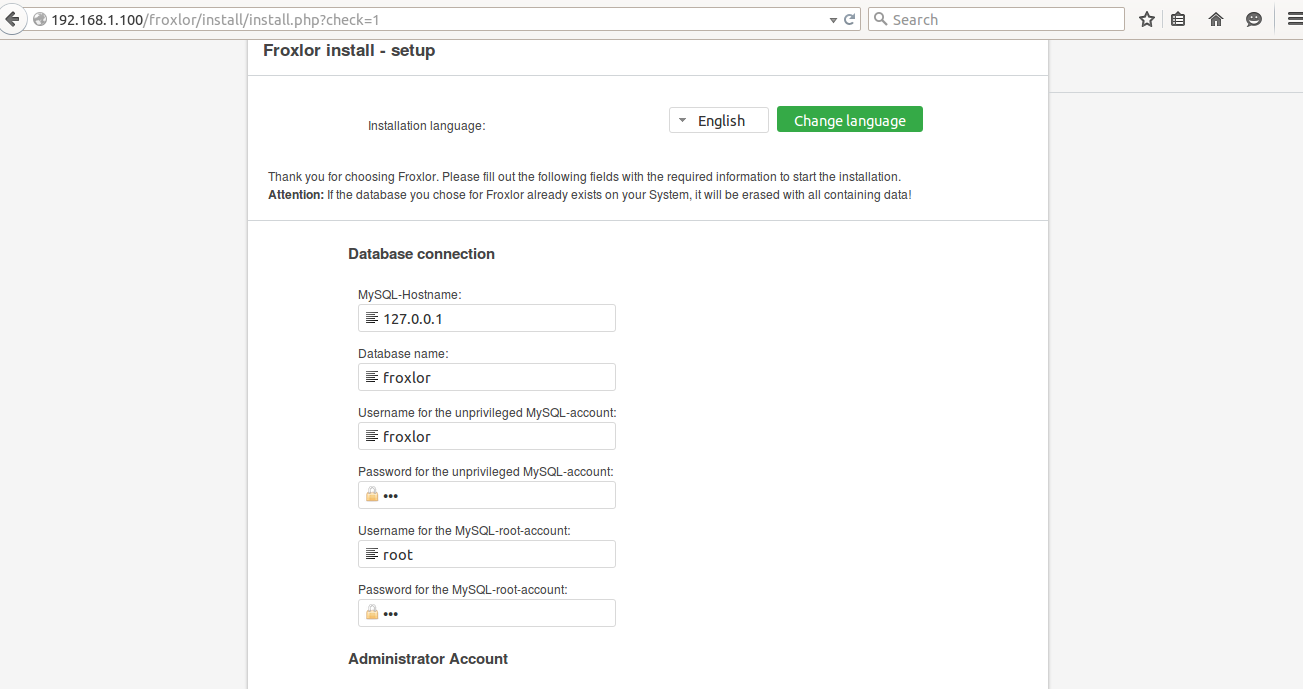
 Provided required Mysql, FQDN, Admin etc credentials, click next.
Make sure all services are functional, click next.
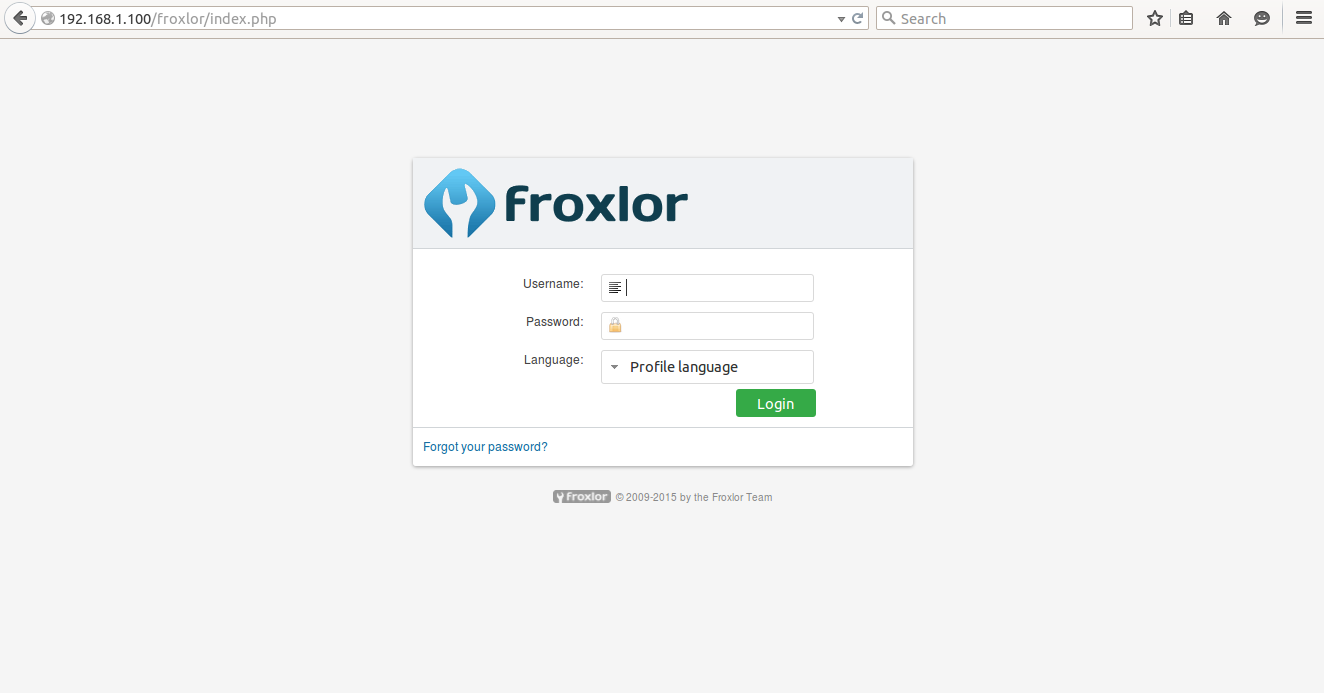
Login with username ‘admin’ and password assigned by you during installation.
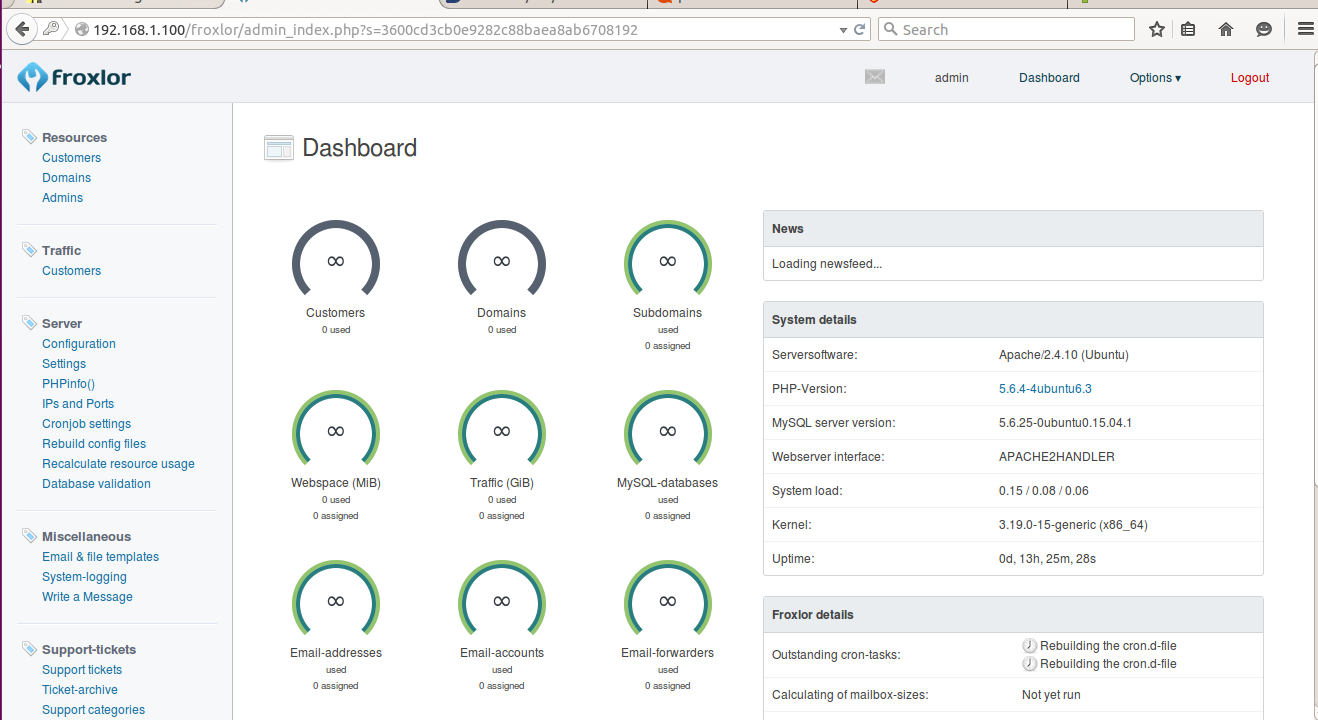
Dashboard will look something like below.
Examples
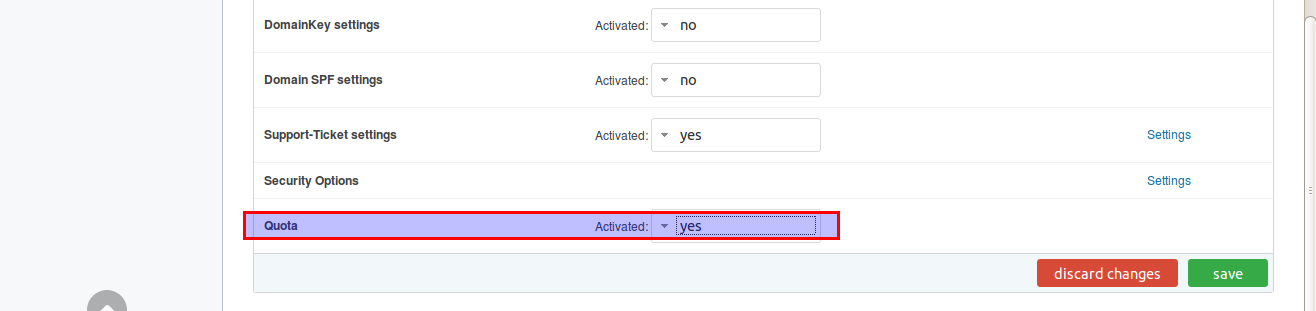
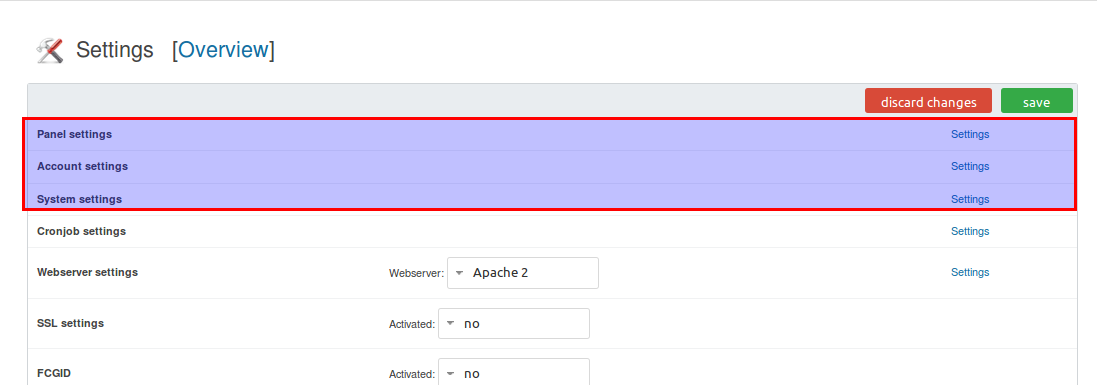
Go to server hyperlink in right side menu, click settings-> Select web server settings.

Enable quota and save changes.
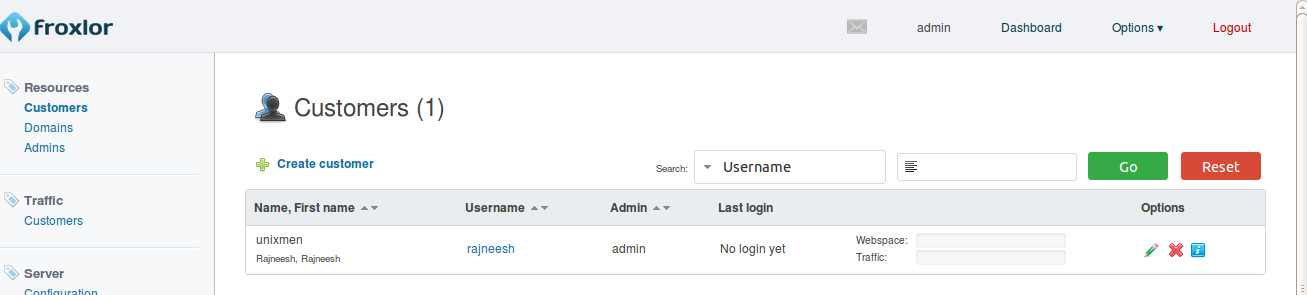
Click resources under customer hyperlink, provide credentials including email id.

Click to save.
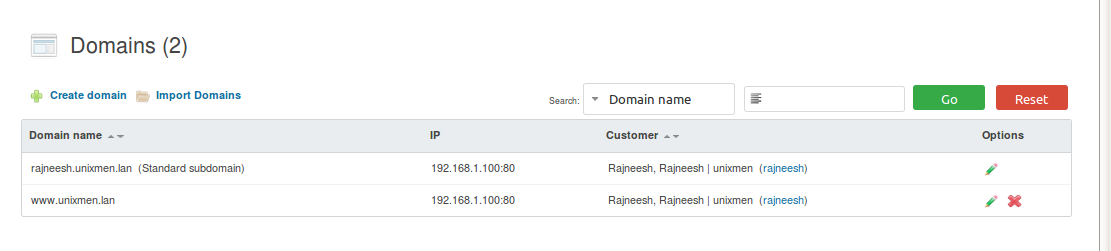
Click to domains, create a domain, select customer created in previous step, provide date in added at registry section, leave Document root section as default, leave IP Address section as default.
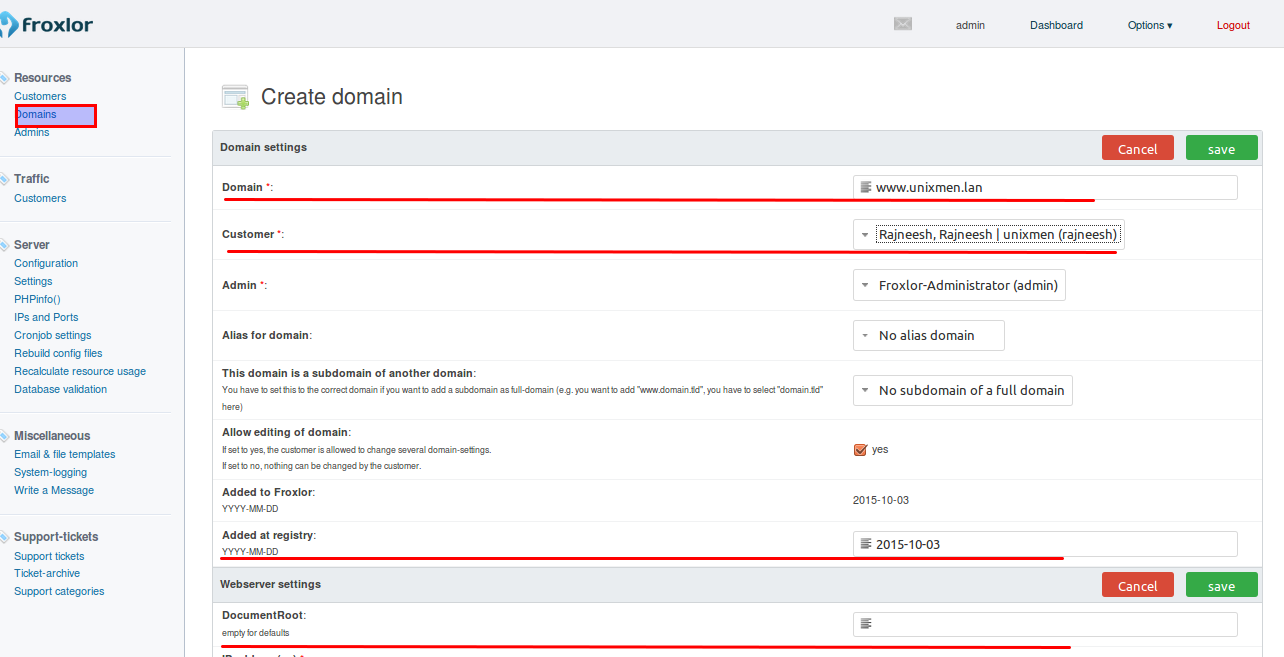
Save above settings.
In the same manner configure your panel setting.
Conclusion
As far as I tested froxlor, It is one of the best and top 5 available web based control panels. It is very easy to install and use. The froxlor documentation states that root directory is /var/www/froxlor, but when i setup demo installation it was working properly with document root /var/www/html/froxlor and be mindful that the package does not come with ready to use LAMP package you have to install that manually.
That’s all for now. Let us know what do you think about this panel in the comment section.
Cheers!

