Open Atrium is a set of tools for better team collaboration. It is based on Drupal and uses its strengths to develop a secure, scaleable, highly customizable websites. It comes with builtin tools like blog, a wiki, a calendar, a case tracker, a shoutbox, and a dashboard etc to successfully develop and manage your websites. You can develop highly interactive, responsive and good looking websites with this tool.The installation process for this application is documented below.
Installing Open Atrium on Ubuntu 15.04
Installing Lamp-Stack
This tool is developed in PHP, and needs Apache web server to run, so we will have to install Lamp-stack on our Ubuntu system. Run following command to install it.
During the installation process, it will launch a pop up to specify MySQL root login, note down the root password you set here as it will be used later when installing Atrium. Once the installation of Lamp-stack is complete, run following command to start Apache web server
Configuring PHP
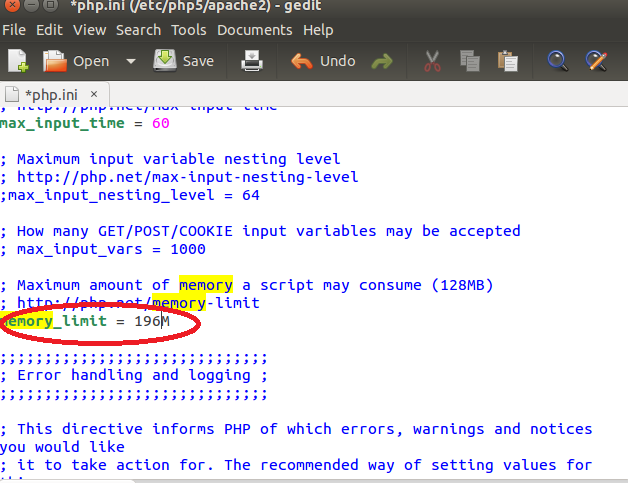
For Atrium to install and run properly, we need to have PHP memory limit value set to minimum 196 MB. Edit your php.ini file in Gedit text editor by running the following command:
Change the value of “memory_limit” to 196 MB and save the file (As shown in the following screenshot).
Restart Apache web server so that this change might take effect.
Creating Database for Atrium:
Let’s create a database for open Atrium, login your MySQL console and run following command to create database.
The following screenshot should depict the whole process.
Installing Atrium
First of all download Atrium from following URL.
Once the download process is complete, go to the download location via terminal and run following command to move the downloaded file to Apache document root directory (/var/www/html).
Go to the Apache Document root directory:
Here run following command to extract the Atrium’s tar file.
Now rename the extracted directory to something more meaningful.
Grant writable permissions to this directory for the installation purposes.
Let’s duplicate the default setting file located inside “sites/default” directory; it is one of the pre-requisite for the installation process.
The rest of the installation process is web based, launch your browser and load http://localhost/openatrium , here is the very first screen it should show you. Choose you language for the installation here and click “save and continue”.
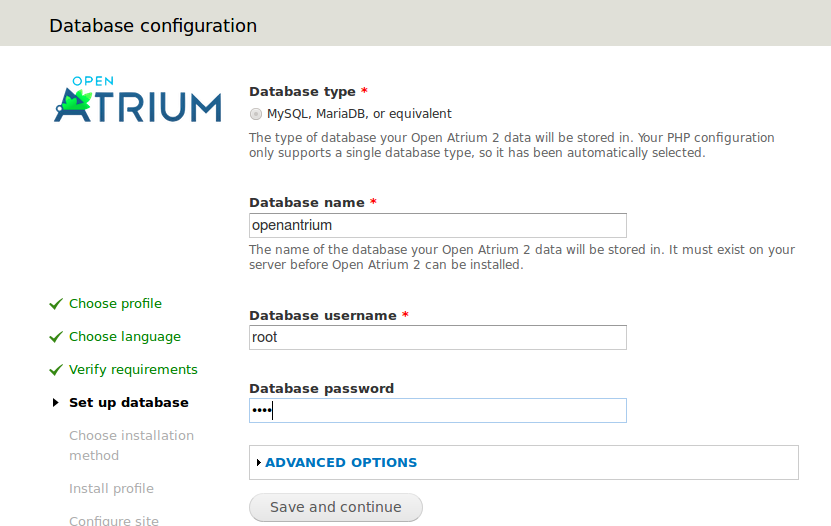
It will verify that all requirements for the new installation are fulfilled, and will take you to the “Database Configuration” stage. Here specify your database name, MySQL logins and click “save and continue”.
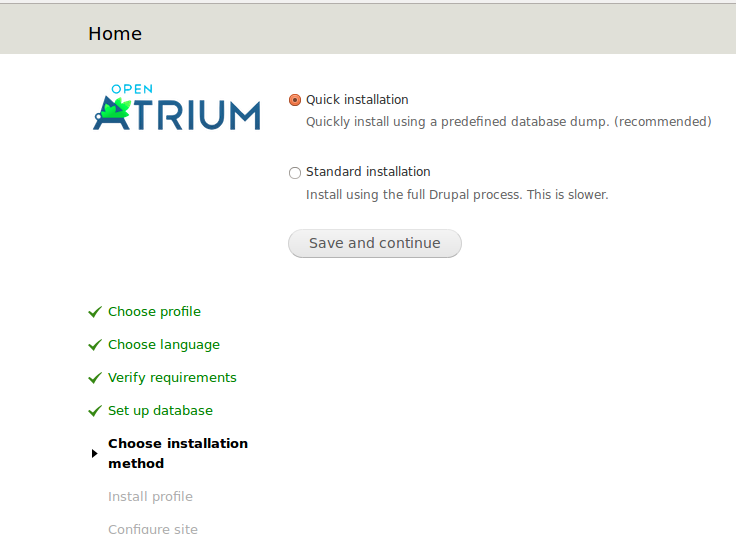
Here choose your installation method, “Quick” and “Standard” are the two choices. Quick installation process works bit faster, click “save and continue” to proceed further.
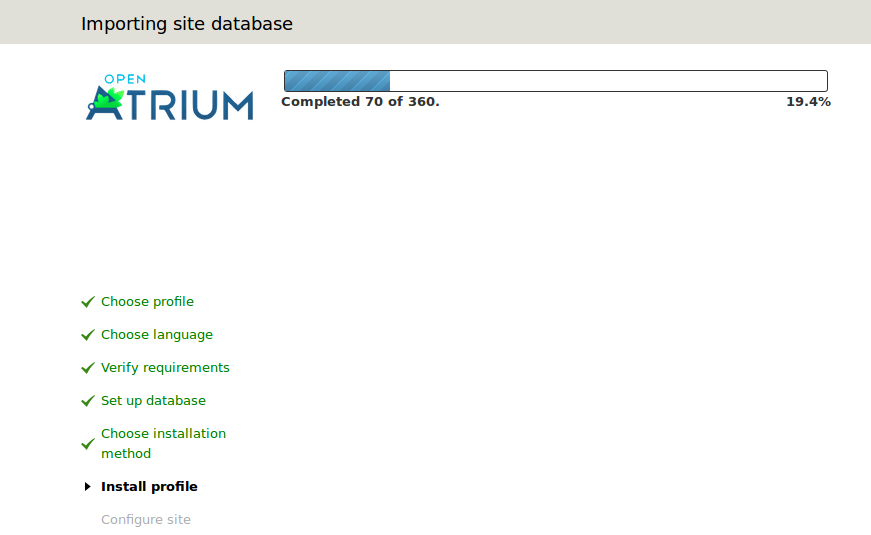
The installation process is in progress now, sit tight, it should take a bit to complete.
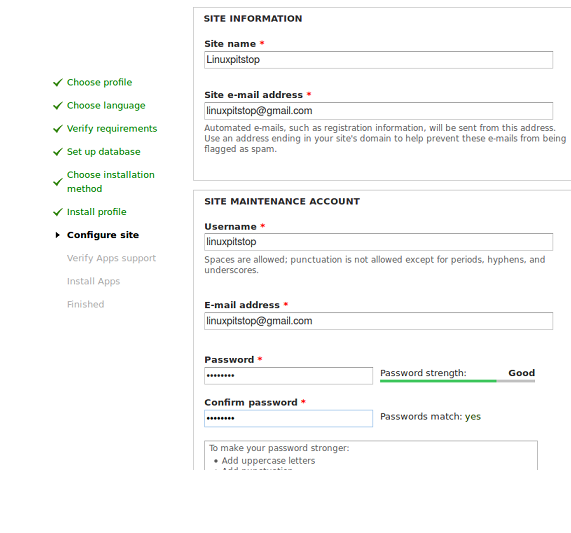
During the installation process, it will ask you to provide your site information and site maintenance account.
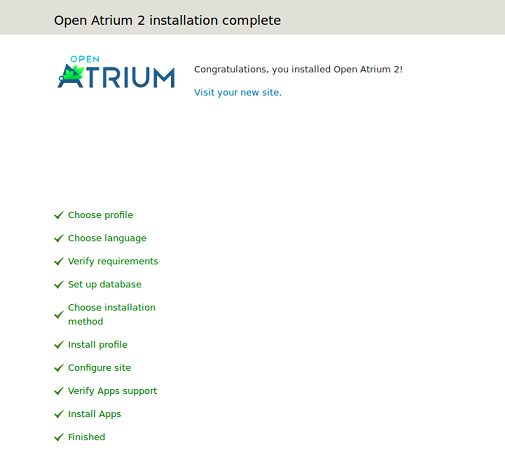
That’s it, the installation is complete now.
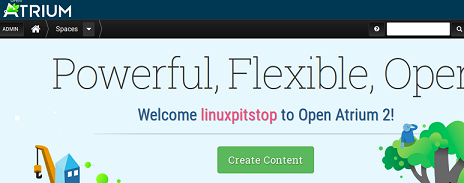
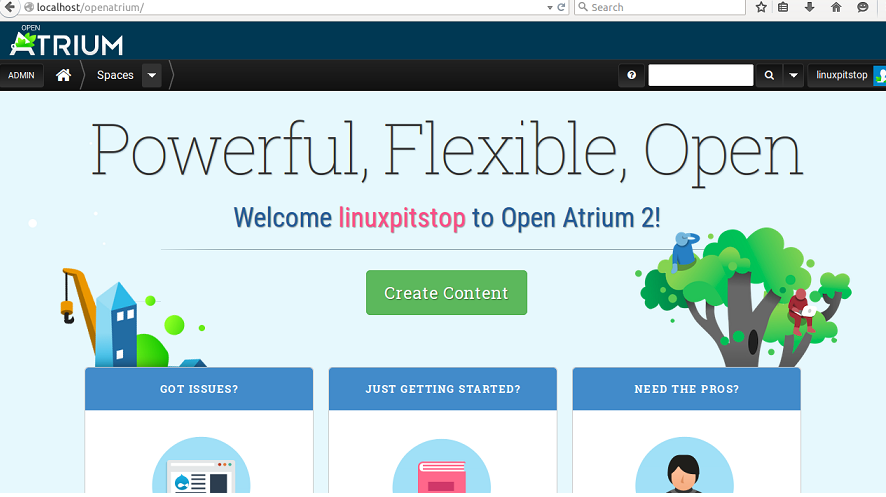
Click “Visit your new site” option to access your Atrium based website.
Conclusion
Atrium is a feature rich and extensible collaboration framework, you can use it to build highly interactive websites in no time. For production environments, it is recommended to install and run Atrium on some reliable Virtual Private Server. Linuxpitstop recommends HostGator VPS Services .
.


