OpenVas
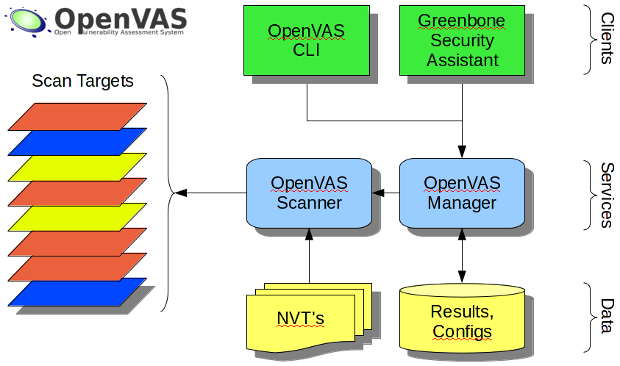
The Open Vulnerability Assessment System (OpenVAS) is a framework of several services and tools offering a comprehensive and powerful vulnerability scanning and vulnerability management solution. All OpenVAS products are Free Software. Most components are licensed under the GNU General Public License (GNU GPL).
This is a great alternative to Nessus, and some of the other commercial security scanners like Nexpose, QualysGuard etc. Let’s get started:
we have to login as a root user to install openvas package
First you need to add atomic repository to install openvas as follows
[root@localhost ~]# wget -q -O - http://www.atomicorp.com/installers/atomic |sh
Atomic Free Unsupported Archive installer, version 2.0.15
BY INSTALLING THIS SOFTWARE AND BY USING ANY AND ALL SOFTWARE
PROVIDED BY ATOMICORP LIMITED YOU ACKNOWLEDGE AND AGREE:
For supported software packages please purchase a Nucleus license:
https://www.atomicorp.com/products/nucleus.html
All atomic repository rpms are UNSUPPORTED.
Do you agree to these terms? (yes/no) [Default: yes] yes

Configuring the [atomic] yum archive for this system

Installing the Atomic GPG keys: OK

Downloading atomic-release-1.0-20.el7.art.noarch.rpm:
 Preparing...                          ################################# [100%]
Updating / installing...
   1:atomic-release-1.0-20.el7.art    ################################# [100%]
OK

Enable repo by default? (yes/no) [Default: yes]: yes


The Atomic Rocket Turtle archive has now been installed and configured for your system
The following channels are available:
  atomic          - [ACTIVATED] - contains the stable tree of ART packages
  atomic-testing  - [DISABLED]  - contains the testing tree of ART packages
  atomic-bleeding - [DISABLED]  - contains the development tree of ART packages
Now install Openvas by using following command in terminal by using yum
(some of the ouput is omitted)
[root@localhost ~]# yum -y install openvas
Loaded plugins: fastestmirror, langpacks
atomic                                                                                                                                           | 3.4 kB  00:00:00
base                                                                                                                                             | 3.6 kB  00:00:00
extras                                                                                                                                           | 3.4 kB  00:00:00
updates                                                                                                                                          | 3.4 kB  00:00:00
(1/5): base/7/x86_64/group_gz                                                                                                                    | 155 kB  00:00:01
(2/5): extras/7/x86_64/primary_db                                                                                                                | 117 kB  00:00:02
(3/5): updates/7/x86_64/primary_db                                                                                                               | 4.1 MB  00:00:04
(4/5): base/7/x86_64/primary_db                                                                                                                  | 5.3 MB  00:00:08
(5/5): atomic/7/x86_64/primary_db                                                                                                                | 847 kB  00:00:15
Determining fastest mirrors
 * atomic: mirror1.34sp.com
 * base: ftp.iitm.ac.in
 * extras: ftp.iitm.ac.in
 * updates: ftp.iitm.ac.in
Resolving Dependencies
--> Running transaction check
---> Package openvas.noarch 0:1.0-22.el7.art will be installed
--> Processing Dependency: wapiti for package: openvas-1.0-22.el7.art.noarch
--> Processing Dependency: tex(attachfile.sty) for package:
      2:texlive-showexpl-svn27790.v0.3j-38.el7.noarch
---> Package texlive-subfig.noarch 2:svn15878.1.3-38.el7 will be installed
--> Running transaction check
---> Package texlive-attachfile.noarch 2:svn21866.v1.5b-38.el7 will be installed
---> Package texlive-pst-math.noarch 2:svn20176.0.61-38.el7 will be installed
---> Package texlive-varwidth.noarch 2:svn24104.0.92-38.el7 will be installed
--> Finished Dependency Resolution

Dependencies Resolved

====================================================================================
 Package                                       Arch       Version    Repository  Size
====================================================================================
Installing:
 openvas                                       noarch     1.0-22.el7.art atomic  15 k
Installing for dependencies:
 dirb                                          x86_64     221-2.el7.art atomic   46 k
Dependency Updated:
  nmap-ncat.x86_64 2:6.47-8.el7.art

Complete!
[root@localhost ~]#
Once the installation is complete start the setup process by using the command openvas-setup. This is going to take some time. You will be prompted for some information shortly
START AND STOP THE OPENVAS SERVICE
[root@localhost ~]# openvas-setup
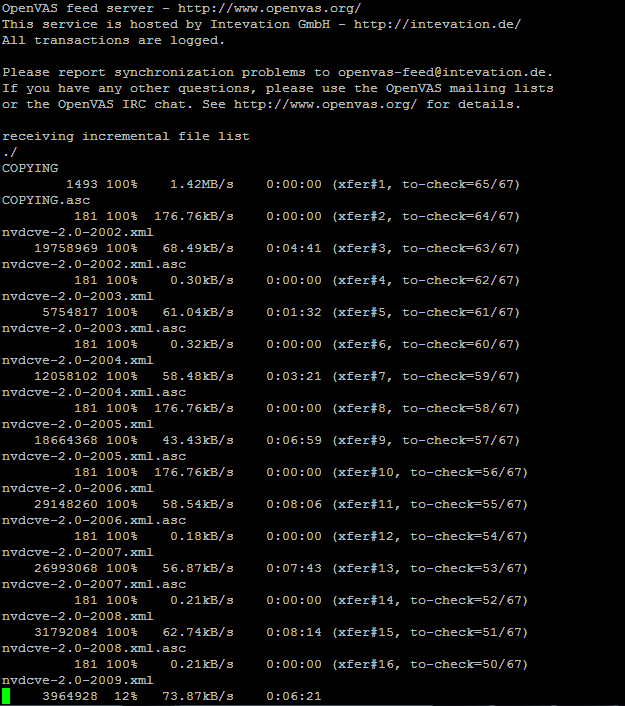
It downloads the latest databases once it completed, enter the Administrator password
Step 2: Configure GSAD
The Greenbone Security Assistant is a Web Based front end
for managing scans. By default it is configured to only allow
connections from localhost.

Allow connections from any IP? [Default: yes]
Allow connections from any IP? [Default: yes] Redirecting to /bin/systemctl restart
  gsad.service

Step 3: Choose the GSAD admin users password.
The admin user is used to configure accounts,
Update NVT's manually, and manage roles.

Enter administrator username [Default: admin] : Enter Administrator Password:
Verify Administrator Password:
Empty password not allowed.

Enter Administrator Password:
Verify Administrator Password:
Redirecting to /bin/systemctl start redis.service

Setup complete, you can now access GSAD at:
 https://<IP>:9392
once completed, you are able to login.Before that, we’re just going to disable firewalld service an ake that shouldn’t start a system boot time.
systemctl stop firewalld
systemctl mask firewalld
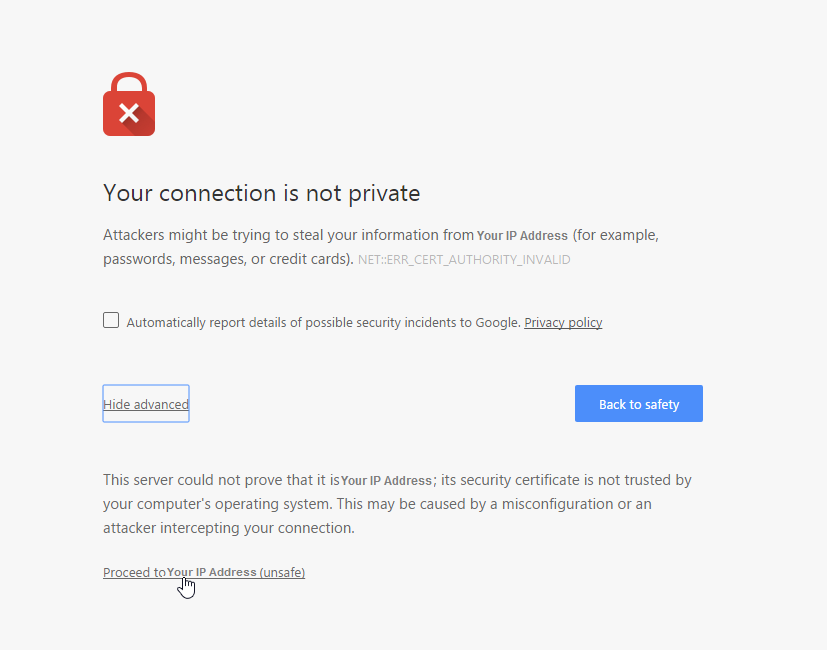
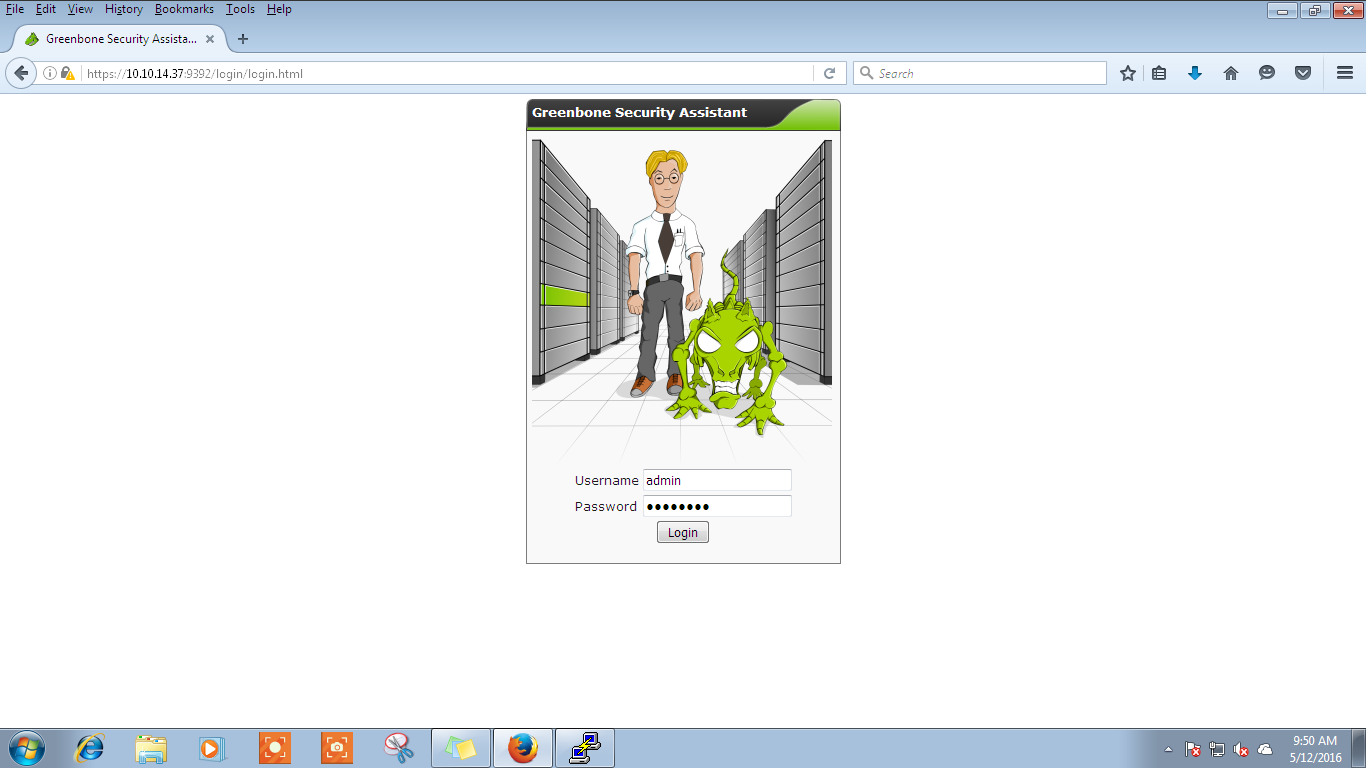
Go to your web browser, type the url as https://ipaddress:9392(here my ip address is 10.10.14.37) default username is admin and enter the password entered during setup, and you should be able to login.
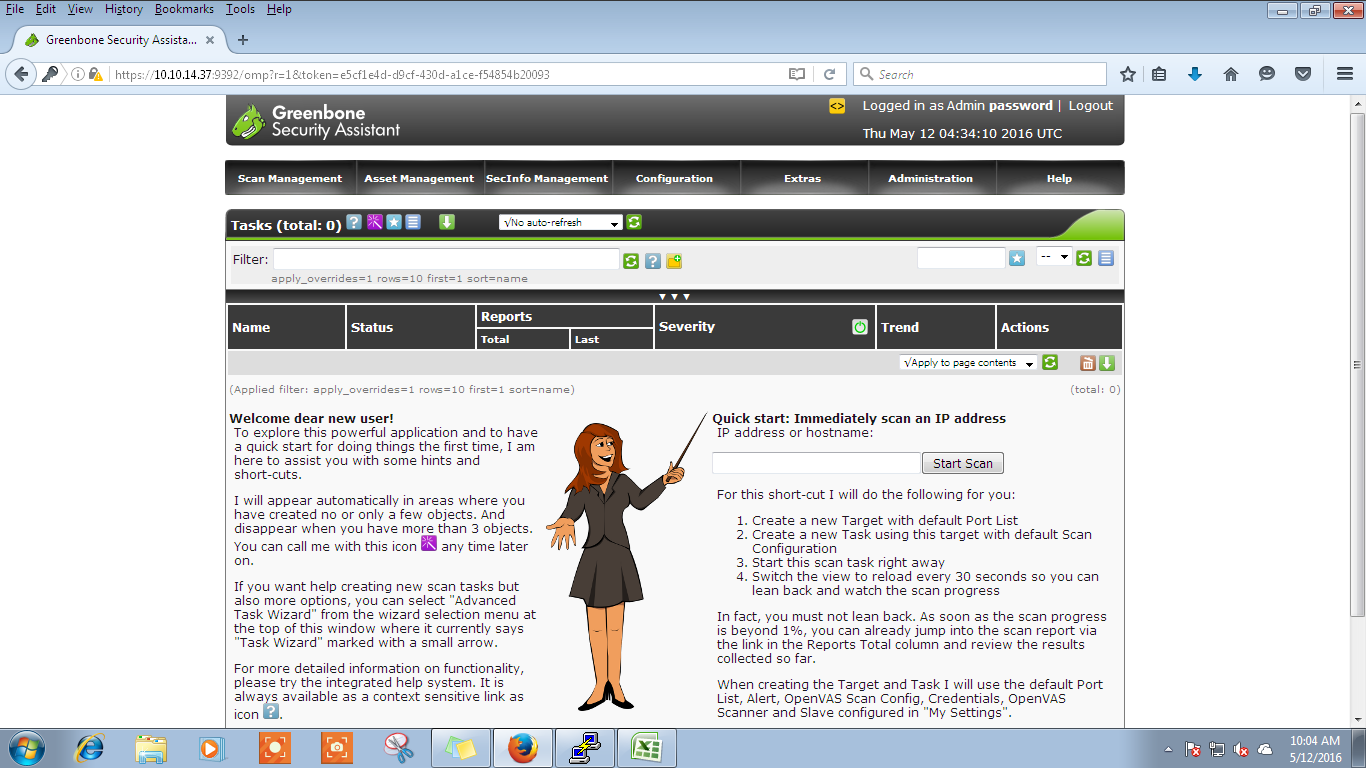
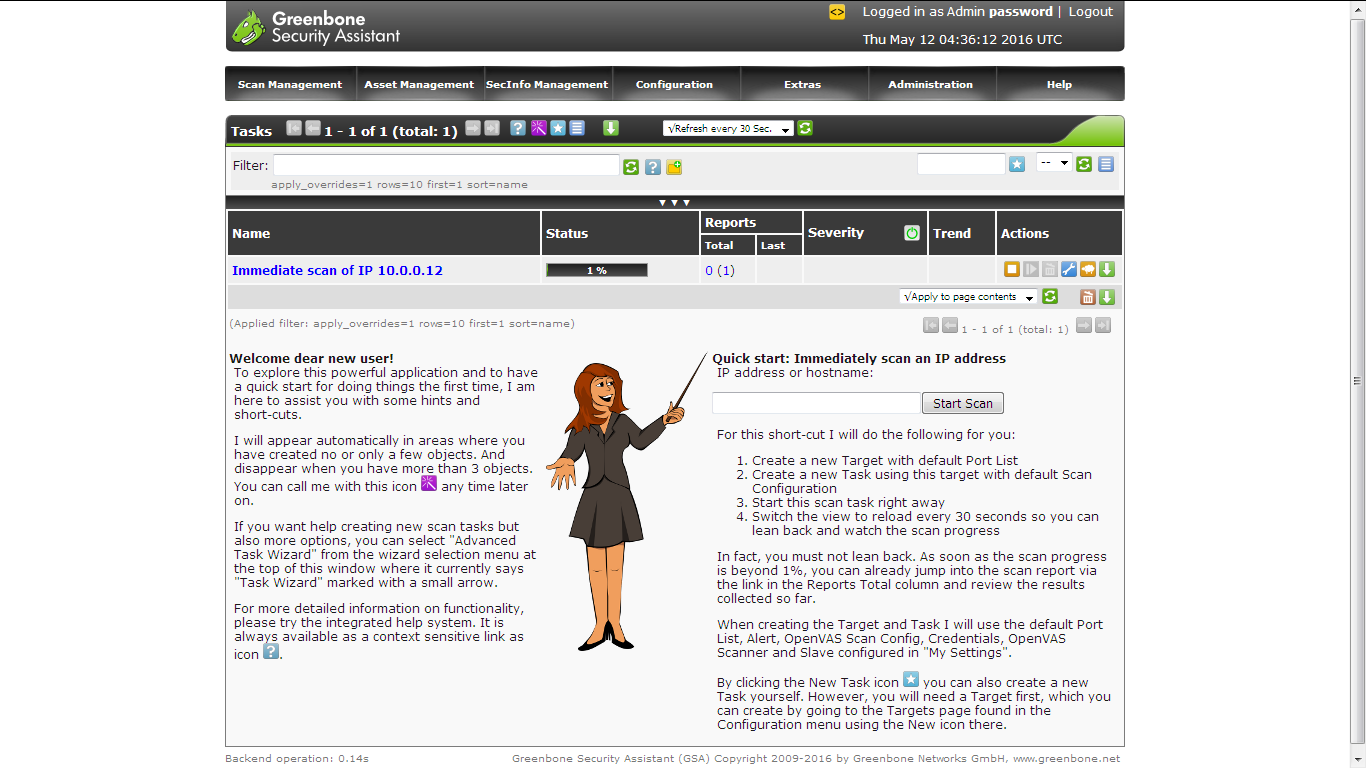
To start a scan, enter an IP in the start scan area.
Click on the task details, Check the report by clicking on Immediate scan.
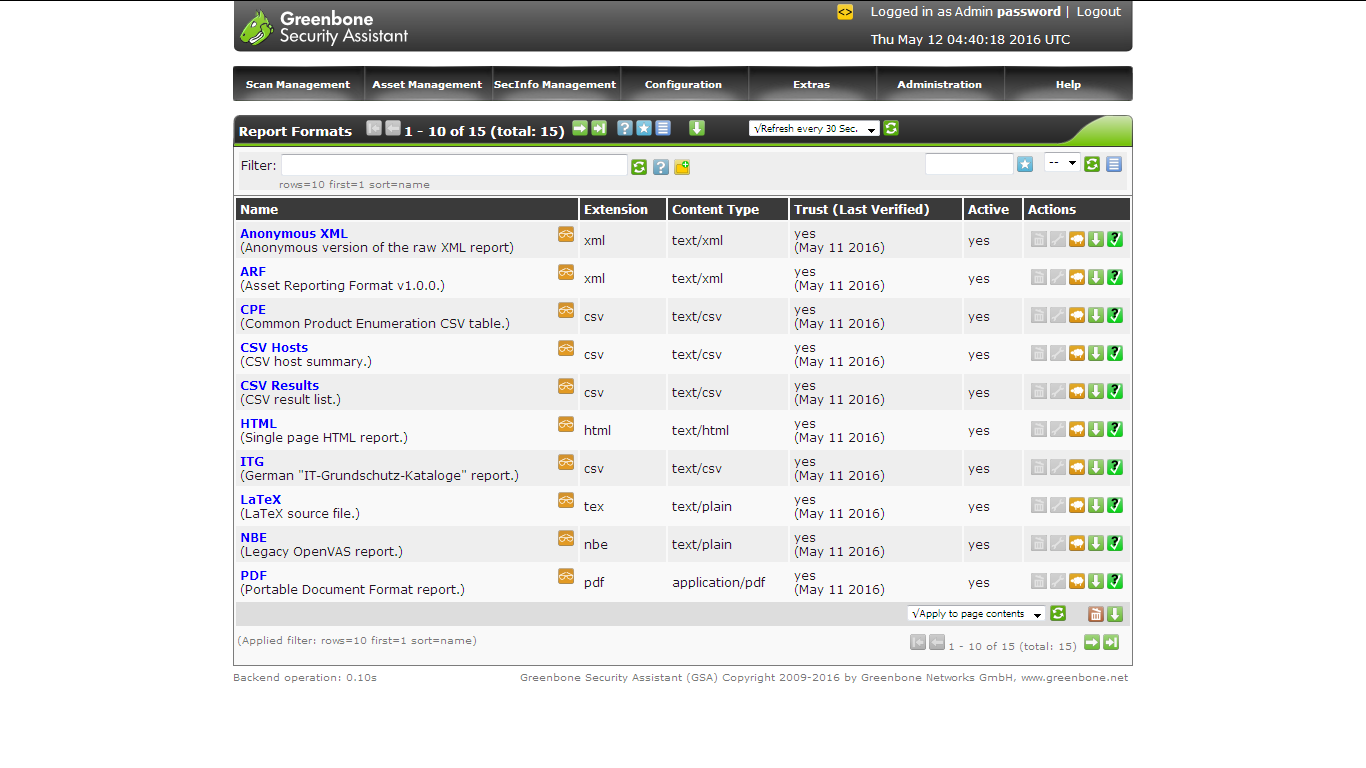
You can also configure the report format by going into Configuration section.
That’s it
Enjoy using it


