Web analytics – a general overview
Those who own a website probably know what “web analytics” refers to. It’s a general term indicating the study of the impact of a website on its users. A business based on Internet services, like e-commerce, needs to find statistical information about people who visit the site, and this data is provided by web analytics software.
According to W3Techs, the most used is Google Analytics. But, if you don’t want to use a remote-hosted service, you may want to give Piwik a chance.
Piwik is an open source project with advanced privacy features that is executed by your own server.
Interested? This tutorial will explain how to set up Piwik on an Ubuntu Server 16.04 machine:
Prerequisites
If your server is up and running, you probably already have the LAMP stack, but, if you don’t, just follow our tutorial on how to install it on Ubuntu 16.04.
Piwik has the following requirements:
- Webserver such as Apache, Nginx, IIS, or others;
- PHP 5.5.9 (recommendend PHP 7);
- MySQL >5.7, or MariaDB;
- PHP extensions:
php5-curl php5-gd php5-cli php5-geoip php5-mysql
Getting started
If your system has all the required components, enter the following commands to download the latest version of Piwik:
cd /var/www/html/
wget http://builds.piwik.org/latest.zip
unzip latest.zip
Assign permissions
In
you should now have a folder named
. Change its permissions with the following commands:
	chown -R www-data:www-data /var/www/html/piwik
	chmod -R 0755 /var/www/html/piwik/tmp
Configure MySQL
You will need to specify a MySQL user with permission to create and edit tables in the database.
For creating a new one, enter the following commands on your shell:
$ mysql -u root -p
mysql> CREATE DATABASE piwik_database;
mysql> CREATE USER 'piwik'@'localhost' IDENTIFIED BY 'password_here';
mysql> GRANT SELECT, INSERT, UPDATE, DELETE, CREATE, DROP, ALTER, CREATE TEMPORARY TABLES, LOCK TABLES ON piwik_database.* TO 'piwik'@'localhost';
mysql> exit
Note: pikiw_database is the name of a database which should only have Piwik tables.
Now, you can begin to configure Piwik. In your browser, go to
. You’ll see the following page:
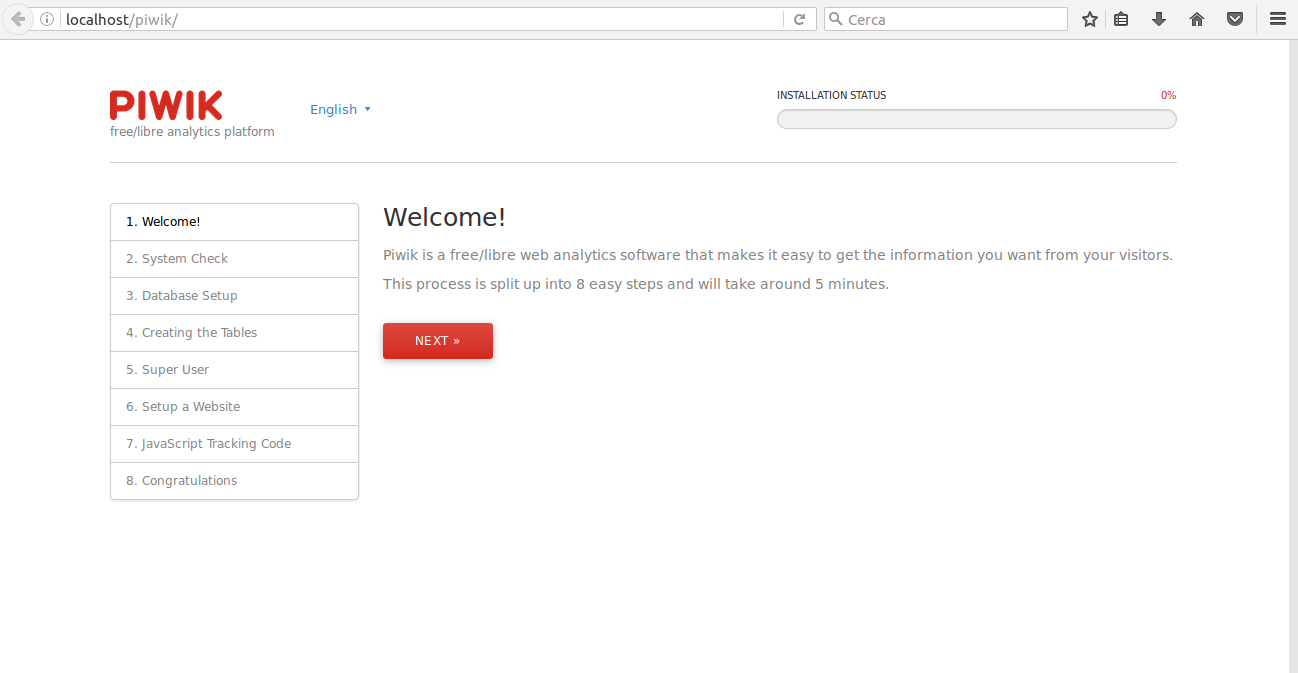
Click Next, and you’ll see:
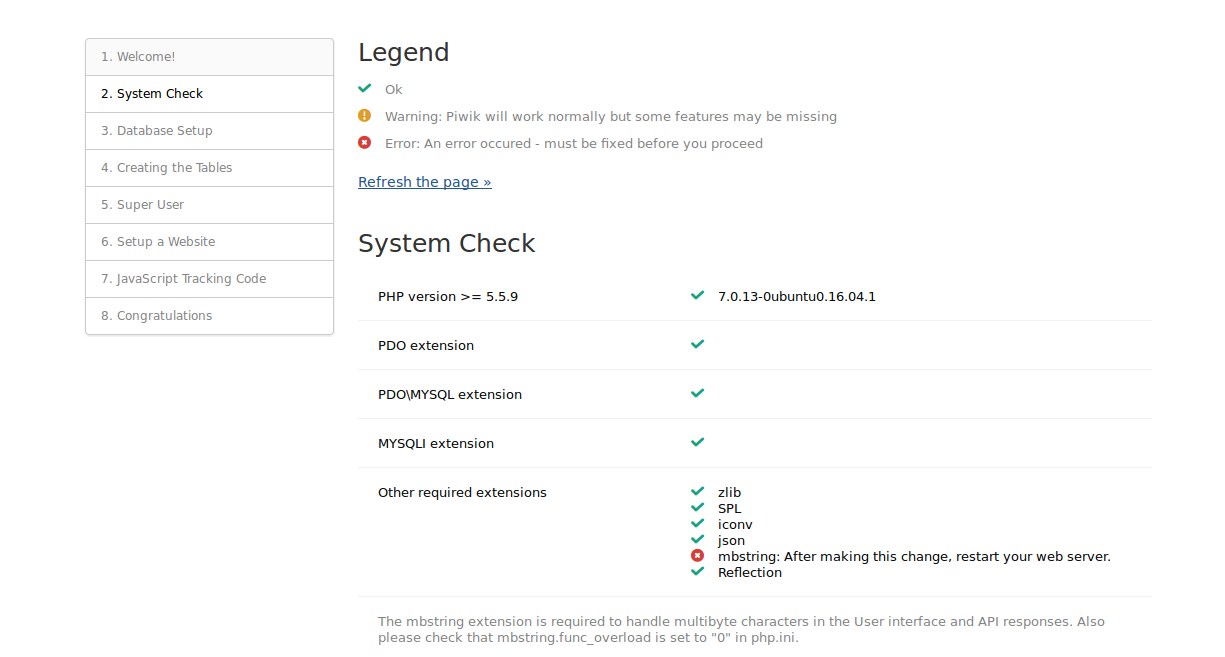
In this case, you can see that my system needs the PHP extension mbstrings. After enabling it, just reloading the page should reset it, and then it will be possible to go on.
Next, Piwik will ask you to setup a database. Enter your username and password, and click on Next. Piwik will create the required tables, and check everything.
The following page is really important:
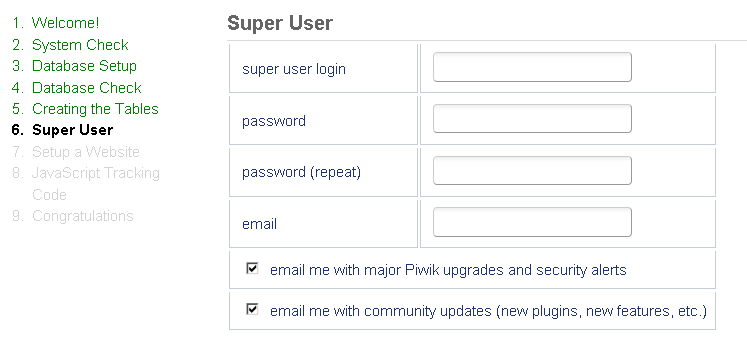
The super user is the user that you create when you install Piwik and it has the highest permissions. Enter the required information, and be sure to keep your super user login data safe, because it’s the only way you can access Piwik for the first time.
The super user can perform administrative tasks including adding new websites to monitor, adding users, changing user permissions, and enabling and disabling plugins.
When you finish, click Next
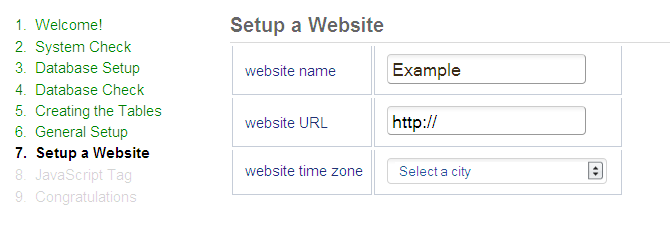
Set up a web site
Enter website URL, name and time zone. This will be the first site Piwik will track. Of course, you can add more once the installation is complete.
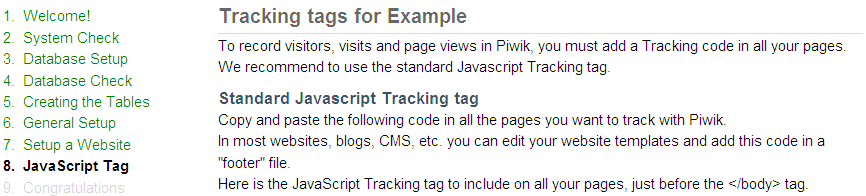
Last thing to do is setting up a JavaScript Tag. A Tracking code is required to record visitors, visits and page views in Piwik. If you use a CMS, like WordPress, you should use an add-on, extension or plugin to make sure this tag appears where it needs to.
Click on Next, and that’s all! You have completed your Piwik installation!
First access
Log in to the dashboard using the super user data entered during the installation process. From the dashboard you can see all tracking data, which will be updated in real-time. It’s also easy to add new sites, if you need, or other users.
Medium and High-Traffic Websites
If you own (or manage) a website with many visitors (more than a few hundred per day), the Piwik team recommends setting up auto-archiving cron task so that Piwik calculates periodical reports. This is due to the fact that, by default, Piwik will recalculate statistics every time a report is visited, slowing down the system and increasing the load on the database.


