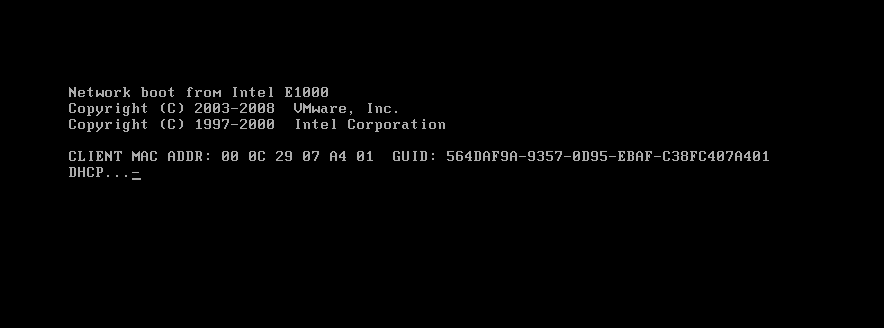
A PXE server allows your client computers to boot and install a Linux distribution over the network, without the need of burning Linux iso images, or human interaction.
For this test, I use vmware worksation (Bridged IP).
- My IP = 192.168.0.199 (Required STATIC IP).
- Selinux Disabled.
- FirewallCMD disabled.
To install a PXE server, you will need the following components:
- DHCP Server
- TFTP Server
- NFS/FTP/HTTPD server (to store installing files)
Note:
- DHCP Server will listen only on eno16777736 (old name etho).
In this tutorial, I will use vsftpd server.
1. Install required packages
yum install dhcp tftp tftp-server syslinux wget vsftpd
2. Configure DHCP Server
vim /etc/dhcp/dhcpd.conf
 # DHCP Server Configuration file.
 #   see /usr/share/doc/dhcp*/dhcpd.conf.example
 #   see dhcpd.conf(5) man page
 #
 # option definitions common to all supported networks...
 ddns-update-style interim;
 ignore client-updates;
 authoritative;
 allow booting;
 allow bootp;
 allow unknown-clients;
 # A slightly different configuration for an internal subnet.
 subnet 192.168.0.0 netmask 255.255.255.0 {
 range 192.168.0.50 192.168.0.253;
 option domain-name-servers 192.168.0.199;
 option domain-name "server1.example.com";
 option routers 192.168.0.199;
 option broadcast-address 10.5.5.31; #not important
 default-lease-time 600;
 max-lease-time 7200;

 # PXE SERVER IP
 next-server 192.168.0.199; #  DHCP server ip
 filename "pxelinux.0";
 }
3. Configure TFTP Server. Set disable from yes to no, and change the root directory on startup to /tftpboot
Please note, that the standard TFTP directory is /var/lib/tftpboot
vim /etc/xinetd.d/tftp
service tftp
 {
 socket_type             = dgram
 protocol                = udp
 wait                    = yes
 user                    = root
 server                  = /usr/sbin/in.tftpd
 server_args             = -s /tftpboot
 disable                 = no
 per_source              = 11
 cps                     = 100 2
 flags                   = IPv4
 }
4. Setup TFTP Server network boot files
mkdir -p /tftpboot
chmod 777 /tftpboot
 cp -v /usr/share/syslinux/pxelinux.0 /tftpboot
 cp -v /usr/share/syslinux/menu.c32 /tftpboot
 cp -v /usr/share/syslinux/memdisk /tftpboot
 cp -v /usr/share/syslinux/mboot.c32 /tftpboot
 cp -v /usr/share/syslinux/chain.c32 /tftpboot
mkdir /tftpboot/pxelinux.cfg
mkdir -p /tftpboot/netboot/
5. Mount Cenots ISO to FTP folder /var/ftp/pub.
mount Centos7_xx.iso /var/ftp/pub
6. Copy initrd.img and vmlinuz from FTP folder to /tftpboot/netboot/.
cp /var/ftp/pub/images/pxeboot/vmlinuz /tftpboot/netboot/
cp /var/ftp/pub/images/pxeboot/initrd.img /tftpboot/netboot/
7. Encode root password used for clients
Example: 000000
 openssl passwd -1 "000000"
 $1$w2UlrRDP$rk9zBcY1PP3fUC3Xv6P6i/
8. Create a new kickstart file (you can change it for your needs)
 vim /var/ftp/pub/ks.cfg
 #platform=x86, AMD64, or Intel EM64T
 #version=DEVEL
 # Firewall configuration
 firewall --disabled
 # Install OS instead of upgrade
 install
 # Use NFS installation media
 url --url="ftp://192.168.0.199/pub/"
 # Root password [i used here 000000]
 rootpw --iscrypted $1$xYUugTf4$4aDhjs0XfqZ3xUqAg7fH3.
 # System authorization information
 auth  useshadow  passalgo=sha512
 # Use graphical install
 graphical
 firstboot disable
 # System keyboard
 keyboard us
 # System language
 lang en_US
 # SELinux configuration
 selinux disabled
 # Installation logging level
 logging level=info
# System timezone
 timezone Europe/Amsterdam
 # System bootloader configuration
 bootloader location=mbr
 clearpart --all --initlabel
 part swap --asprimary --fstype="swap" --size=1024
 part /boot --fstype xfs --size=200
 part pv.01 --size=1 --grow
 volgroup rootvg01 pv.01
 logvol / --fstype xfs --name=lv01 --vgname=rootvg01 --size=1 --grow

%packages
 @core
 wget
 net-tools
 %end
 %post
 %end
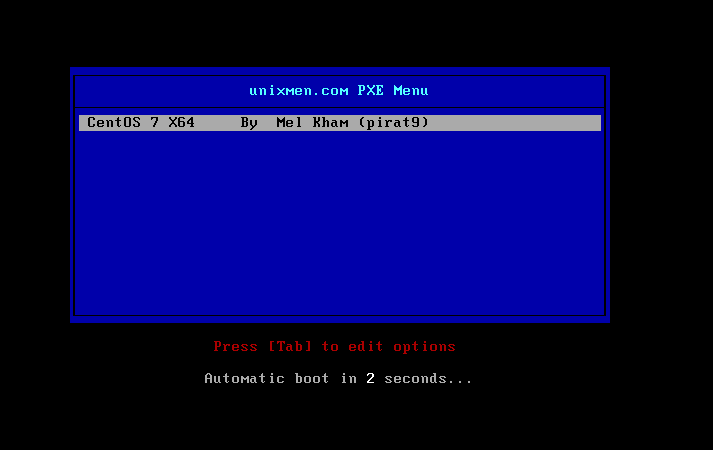
9. Create PXE menu file
vim /tftpboot/pxelinux.cfg/default
 default menu.c32
 prompt 0
 timeout 30
 MENU TITLE unixme.com PXE Menu

 LABEL centos7_x64
 MENU LABEL CentOS 7 X64
 KERNEL /netboot/vmlinuz
 APPEND  initrd=/netboot/initrd.img  inst.repo=ftp://192.168.0.199/pub  ks=ftp://192.168.0.199/pub/ks.cfg
10. Final service setup
 chkconfig dhcpd on
 chkconfig xinetd on
 chkconfig vsftpd on
11. Restart the services
 Service vsftpd  restart
 service dhcpd restart
 service xinetd   restart
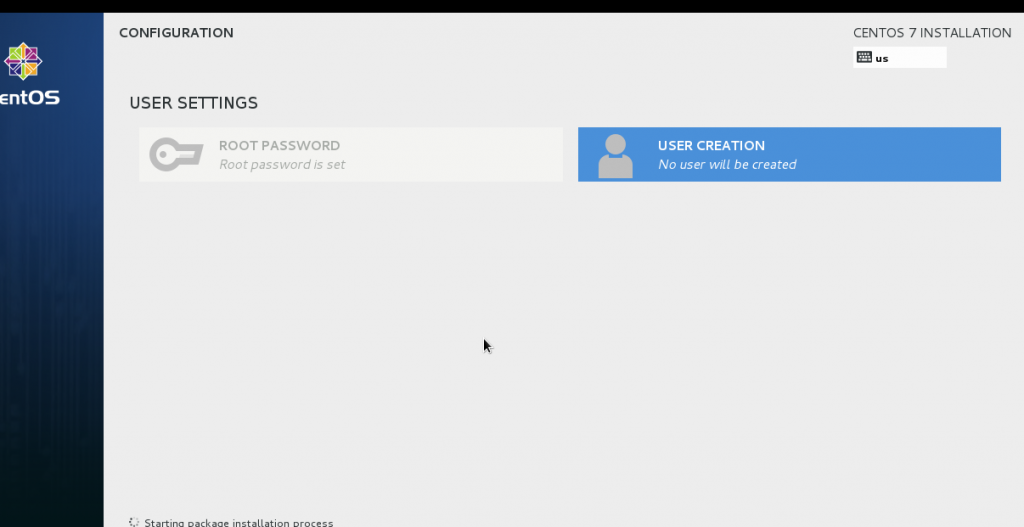
12. Now create new virtual machine and start from network and enjoy.
Enjoy.


