
Today we will install ClamAV on our OpenSUSE 42.1 Linux distribution & perform a scan with ClamAV. You can do the same process for almost any Linux distributions to install ClamAV and perform a scan for your system with a little changes.
Let’s start.
What is antivirus?
We all know about Antivirus. Right? Antivirus is a computer program or software which prevent, detect and heal viruses and suspicious harmful malicious softwares from our computers / servers / workstations. That’s where it’s get the name from actually.
Now a days, Anti virus features are extended such as blocking malicious URLs of web browsers, spam mails, scam and phishing attacks, worms, trojans, adware and defensing DDoS attacks etc.
What is ClamAV & why we need that?
Clam AntiVirus (ClamAV) is a free and open-source, cross-platform antivirus software and a tool-kit able to detect many types of different malicious software, including viruses. One of its main uses and most common use of ClamAV is on mail servers as a server-side email virus scanner. The application was developed for Unix and has third party versions available for AIX, BSD, HP-UX, Linux, OS X, OpenVMS, OSF (Tru64) and Solaris.
ClamAV includes a number of utilities such as a command-line scanner, an automatic database updater and a scalable multi-threaded daemon, running on an anti-virus engine.
It is widely used for mail gateway scanning software. ClamAV includes a multi-threaded scanner daemon, command line utilities for on demand file scanning and automatic signature updates which makes it power full.
Download & install ClamAV
You can download the source of ClamAV from this link. This is the official download site for ClamAV. Here is a direct download link for the source for the current version.
After downloading the ClamAV source archive file, you need to compile it. Also, you can install it by using zypper. Let’s install it by using zypper. Open a terminal and issue the below command.
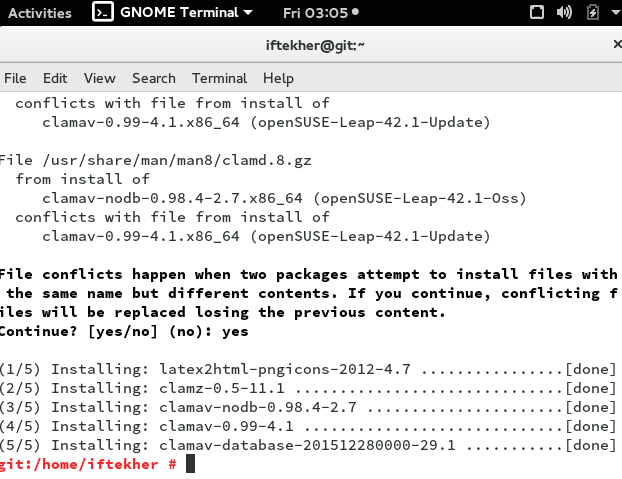
sudo zypper install pcre-devel clamav clamav-database clamav-nodb clamz
The above command will download all the necessary packages that needs to run ClamAV on your system. Depending on your internet speed, it will take time to get finished downloading all the packages. After successful installation, you will see something like below image.
Installing from sources
This is a alternative way to install ClamAV without using Zypper command. Open a terminal and issue the following command to download the source first.
sudo wget "http://www.clamav.net/downloads/production/clamav-0.99.tar.gz"
This will download the source file with a gunzip file format. Let’s unzip it and then we need to compile it also.
To unzip the tar.gz archive
sudo tar -zvxf clamav-0.99.tar.gz
Now, change directory or path to the extracted folder and compile it by issuing the following commands one by one.
sudo ./configure
sudo make clean
sudo make
sudo make install
This will compile the source and install the package and daemon in the system.
Updating virus database signatures
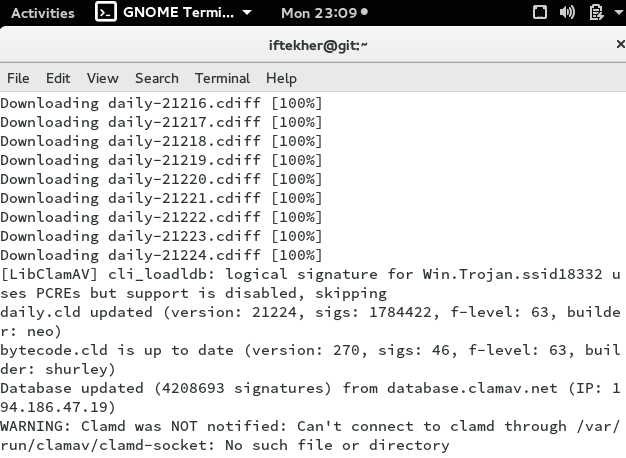
So, by this time, ClamAV is already installed on your system. Though we had downloaded the ClamAV database but still we need to update the virus definition database or virus signature database just to make sure that we are up to date. This is the virus database used by the clamAV to search for a virus or threat. Issue the following command in the terminal to update your database . You will see that it will download the latest database to match any virus. It will download main.cvd, daily.cvd and bytecode.cld files.
sudo freshclam
You will see something like this in your terminal
Checking ClamAV version
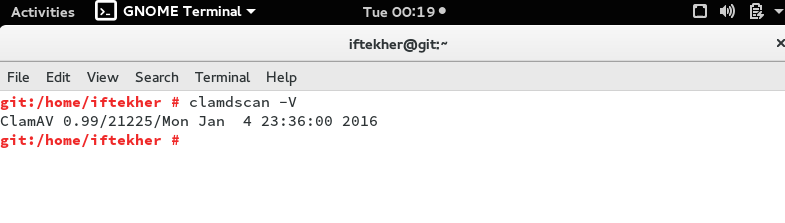
To know the version of ClamAV, please issue the below command in the terminal.
sudo clamdscan -V
Scanning with ClamAV
To scanning your files by using ClamAV from terminal by using command line interface for home directories.
To check files in the all users issue the following command in the terminal.
sudo clamscan -r /home
To check all files on the computer, issue the following command in the terminal.
sudo clamscan -r /
Note: Above command will slows down your server performance and may take a long time depending on the size of the disk and the capacity of the disk.
Please issue the following command in the terminal to check all files on the computer, but only display infected files and ring a bell when found a threat.
sudo clamscan -r --bell -i /
Here, -r is for recursive search and -i is for showing infected files only.
After finishing the scanning, it will show a summary report of the scanning just like below image.

To put all the infected files list on a particular file, please issue the following command in the terminal.
sudo clamscan -r /folder/to/scan/ | grep FOUND >> /path/to/save/report/myfile.txt
Here, /folder/to/scan & /path/to/save/ are folder path or folder name and the above command will take the output of the clamscan command and put it for the input for grep command by using pipe command and which will match the word “FOUND” and redirects all those infected files list to a file named myfile.txt by appending it.
Scheduling ClamAV for scanning
For scheduling ClamAV for running on a particular time, issue the following command in the terminal.
sudo crontab -e
This will open cronjob for you.
Now append the file by putting following line at the bottom of the file.
00 00 * * * clamscan -r /location_of_files_or_folder
The above cronjob will run ClamAV for scanning on your sever on that particular folder directory everyday at midnight. By doing so, everyday at midnight, your system will be scanned by ClamAV without your interaction.
That’s all for today. I hope you enjoy it.


