
Introduction
There are few and straight forward administration guides are available for snort on the web. Today, we will try to explain anatomy of snort step by step. Snort is an NIDS (Network Intrusion and Detection System) used to detects and prevent intrusions over the network. Through protocol searching, content analysis and various preprocessors, snort detects thousands of worms and vulnerability attempts. Snort comes with an excellent feature including detection of various types of attacks, buffer overflow, stealth port scan, CGI Attacks etc.
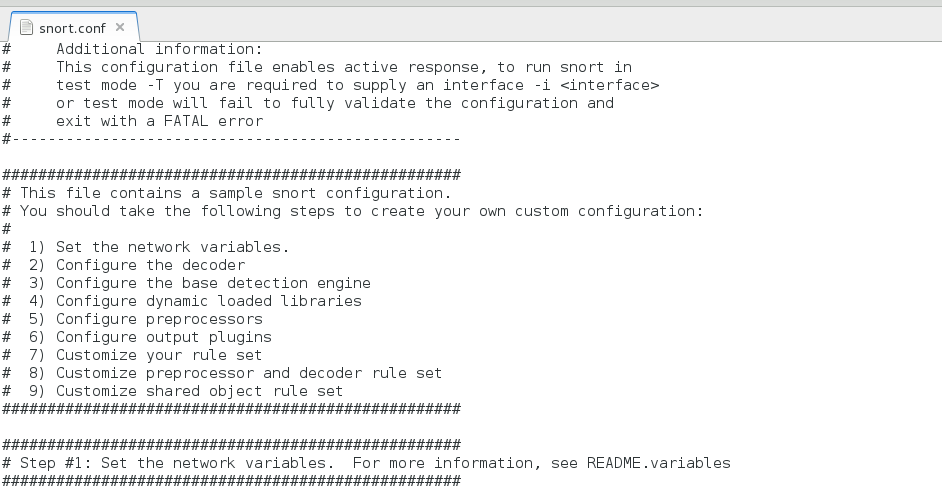
Configuration file of Snort configuration is /etc/snort/snort.conf in which information of network under investigation is determined.
Sample configuration file
Snort can be configured in three modes.
A. Sniffer Mode
Output will dump to the terminal in this mode, it is used to display packets in continuous flow to the user in live mode, in live mode or sniffer mode data packet losses are very high so it is recommended to used sniffer mode NIDS only for small networks only.
B. Packet Logger Mode
Output will get logged to the disk, which can be monitored later on.
snort -l <Log_Directory> is the option which is used for logging mode.
C. Network IDS Mode
In IDS mode some parameters are configured that allow snort to match defined parameters while scanning the network, parameters are used defined in this mode.
Prerequisites for Installation
Make sure that following packages are already installed with the system you are going to configure snort-
CentOS 7.0, Snort latest, DAQ (Data Acquisition Package) Available with Snort.
Snort and DAQ latest version can be obtain from this link.
Download and Install DAQ
[root@localhost ~]# yum install https://www.snort.org/downloads/snort/daq-2.0.6-1.centos7.x86_64.rpm Download Snort
Download and Install Snort
[root@localhost ~]# yum install https://www.snort.org/downloads/snort/snort-2.9.7.5-1.centos7.x86_64.rpm
Important: If you install snort first instead of DAQ there could be some decency issue with yum.
Install Snort Rules
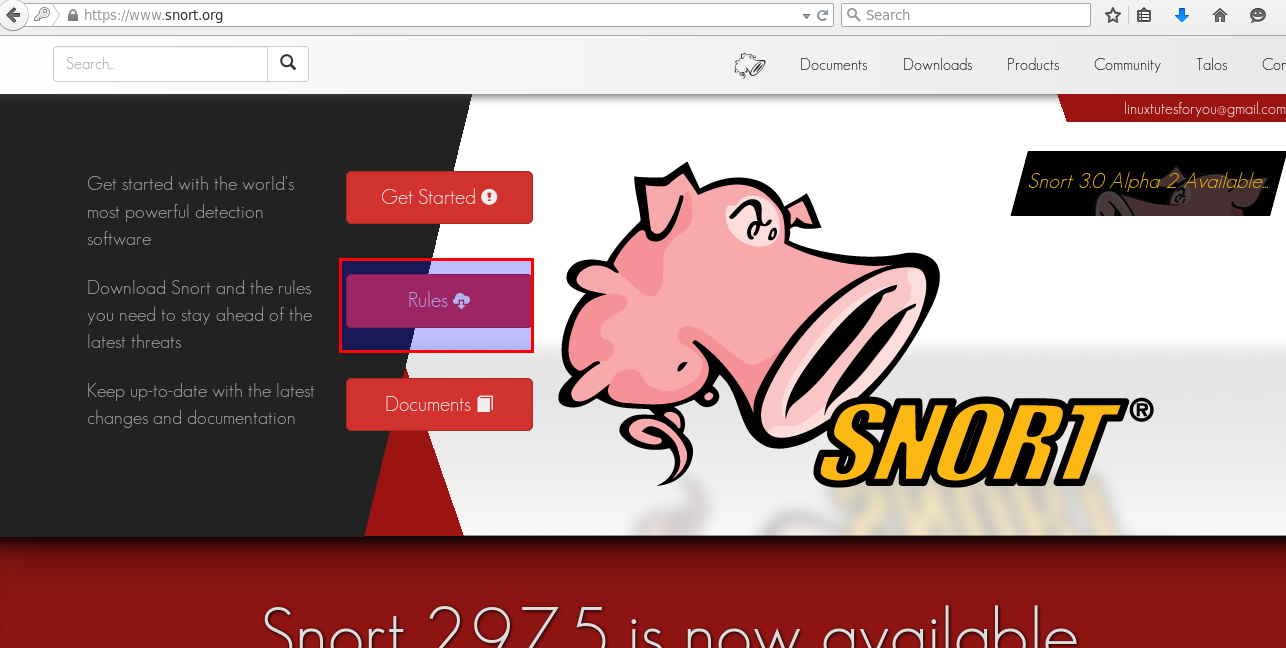
To install snort rules you must register to this link then we will be able to download rules for snort configuration.
Download Rules
To manage Snort rules pulledpork package is available on Git hub, which can be downloaded with following command.
[root@localhost ~]# git clone https://github.com/shirkdog/pulledpork.git

Let us Configure pulledpork
Go to the downloaded directory
[root@localhost ~]# cd pulledpork/
Copy pulledpork.pl to /usr/local/bin
[root@localhost pulledpork]# cp pulledpork.pl /usr/local/bin
Change permissions of pullerpork.pl
[root@localhost pulledpork]# chmod +x /usr/local/bin/pulledpork.pl
[root@localhost pulledpork]# cp -v etc/*.conf /etc/snort
‘etc/disablesid.conf’ -> ‘/etc/snort/disablesid.conf’
‘etc/dropsid.conf’ -> ‘/etc/snort/dropsid.conf’
‘etc/enablesid.conf’ -> ‘/etc/snort/enablesid.conf’
‘etc/modifysid.conf’ -> ‘/etc/snort/modifysid.conf’
‘etc/pulledpork.conf’ -> ‘/etc/snort/pulledpork.conf’
[root@localhost snort]# mkdir /etc/snort/rules/iplists
[root@localhost iplists]# touch /etc/snort/rules/iplists/default.blacklist
Test pulledPork Configuration
[root@localhost iplists]# /usr/local/bin/pulledpork.pl -V

Configure Dynamic Rules for Snort
Edit /etc/snort/snort.conf to enable dynamic rules setup, search and make sure following three line are uncomment in /etc/snort/snort.conf.
# path to dynamic preprocessor libraries
dynamicpreprocessor directory /usr/lib64/snort-2.9.7.5_dynamicpreprocessor/

# path to base preprocessor engine
dynamicengine /usr/lib64/snort-2.9.7.5_dynamicengine/libsf_engine.so

# path to dynamic rules libraries
dynamicdetection directory /usr/local/lib/snort_dynamicrules
Execute following Command
[root@localhost rules]# echo "include \$RULE_PATH/so_rules.rules" >> /etc/snort/snort.conf
[root@localhost rules]# echo "include \$RULE_PATH/local.rules" >> /etc/snort/snort.conf
[root@localhost rules]# echo "include \$RULE_PATH/snort.rules" >> /etc/snort/snort.conf
Restart Snort Service
[root@localhost rules]# systemctl restart snortd
Some Snort Examples
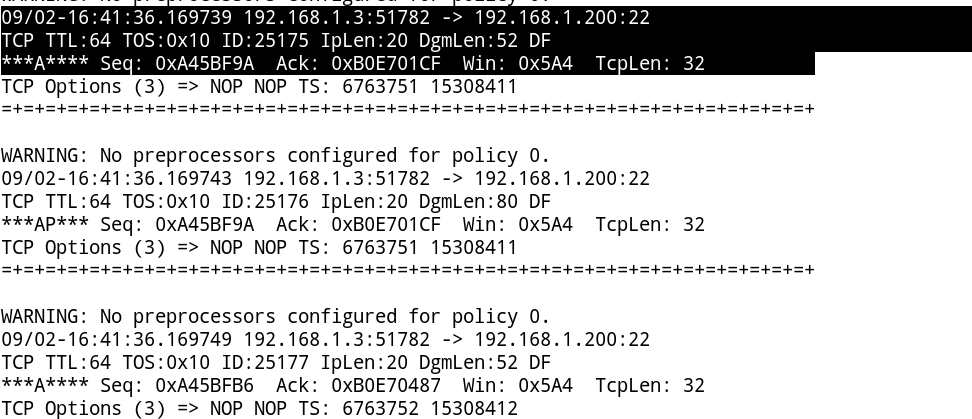
To get TCP/IP header in report, You can see IP address with this option, type
# snort -v
Sample Output:
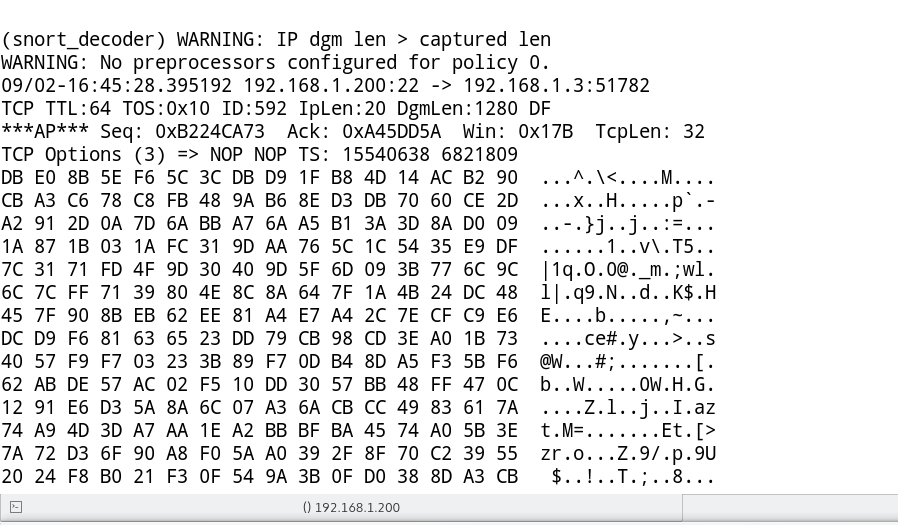
To get application Layer information along-with IP related info, type
# snort -vd
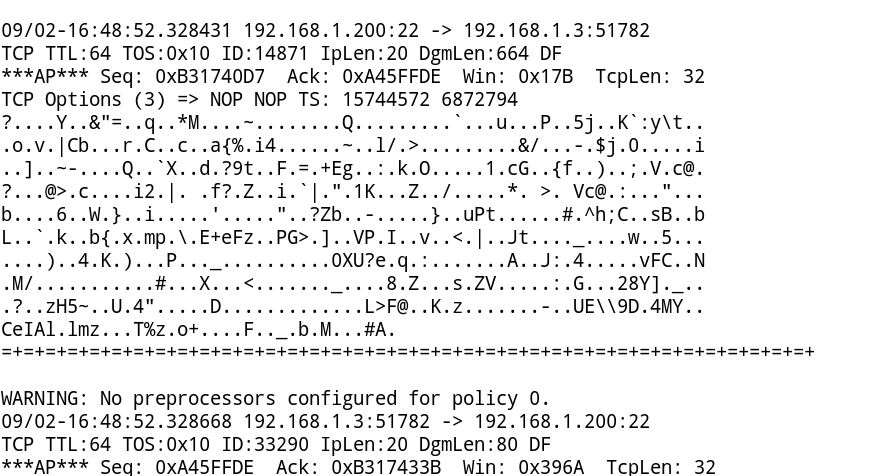
To get rid of hex in output, type
# snort -vdC
-C option will remove hex valued from output
Sample Output:
You can get information of all 6 Layers of OSI Model Except Layer 1, with:
# snort -vdeC
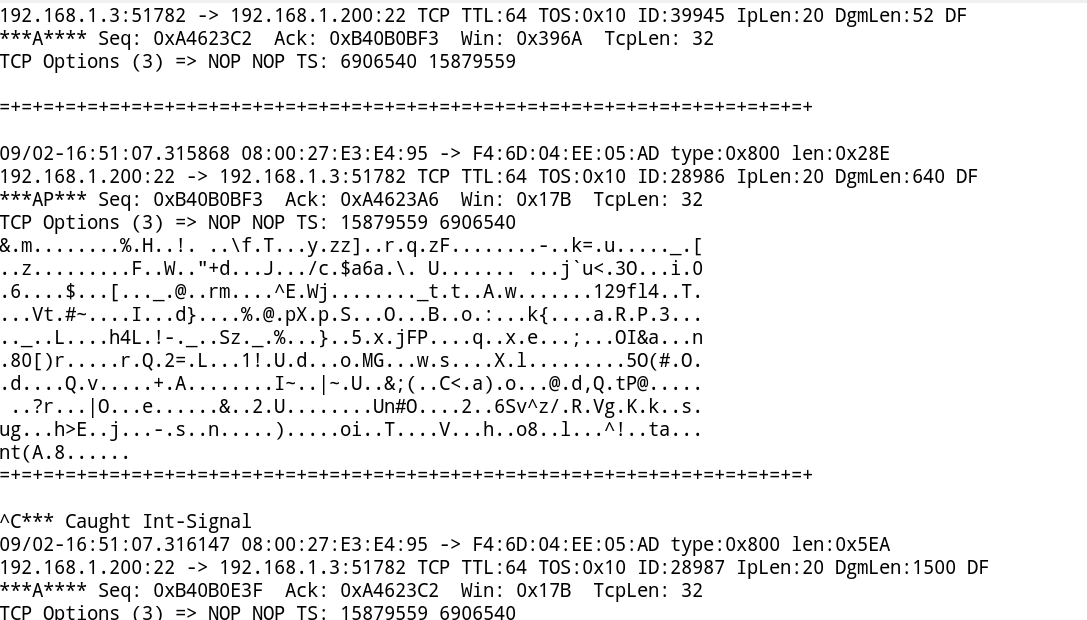
Have a try! and let us know what do you think about Snort.
Reference links:


 used to detects and prevent intrusions over the network.)