Hi All, today we are going to show you installation steps of Suricata IDS on Ubuntu 16.04 LTS. Suricata is a high performance Network IDS, IPS and Network Security Monitoring engine. Open Source and owned by a community run non-profit foundation, the Open Information Security Foundation (OISF). Suricata is developed by the OISF and its supporting vendors. The funding for the OISF comes from several US government agencies and private firms, but since Suricata is licensed under the common “GPLv2 and later” license, it is true open source and also freely available.
Suricata is a rule-based ID/PS engine that utilises externally developed rule sets to monitor network traffic and provide alerts to the system administrator when suspicious events occur. Designed to be compatible with existing network security components, Suricata features unified output functionality and pluggable library options to accept calls from other applications. As a multi-threaded engine, Suricata offers increased speed and efficiency in network traffic analysis. In addition to hardware acceleration (with hardware and network card limitations), the engine is build to utilise the increased processing power offered by the latest multi-core CPU chip sets.
Prerequisites:
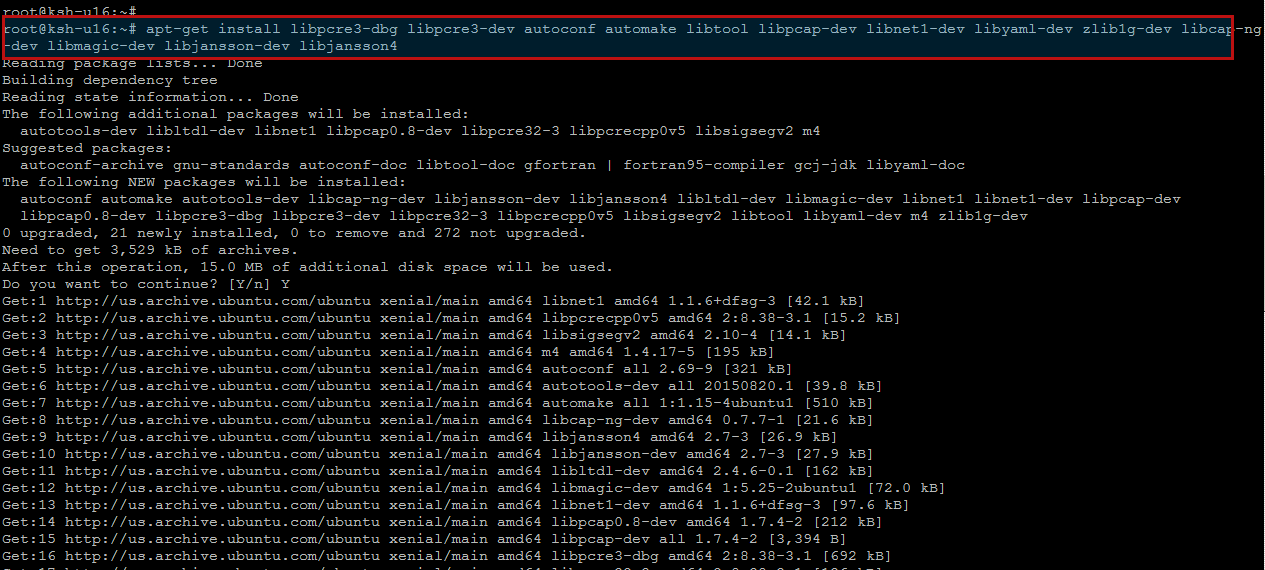
Before you can build Suricata for your system, first update your system and then run the following command to ensure that you have everything you need for the installation.
HTP is bundled with Suricata and installed automatically. By default, Suricata works as an IDS, if you want to use it as a IDS and IPS program, the use below command to install its required packages.
Installing Suricata:
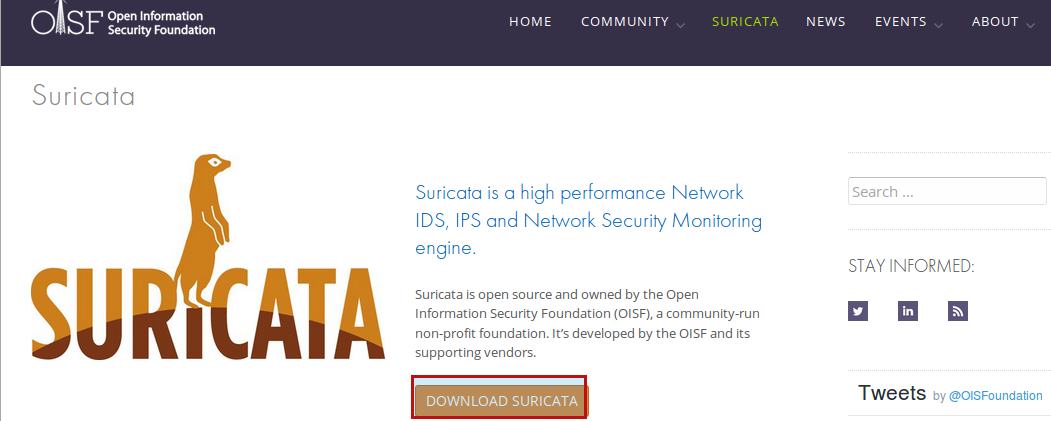
To download and build Suricata, Open the Suricata download Page to get the latest package.
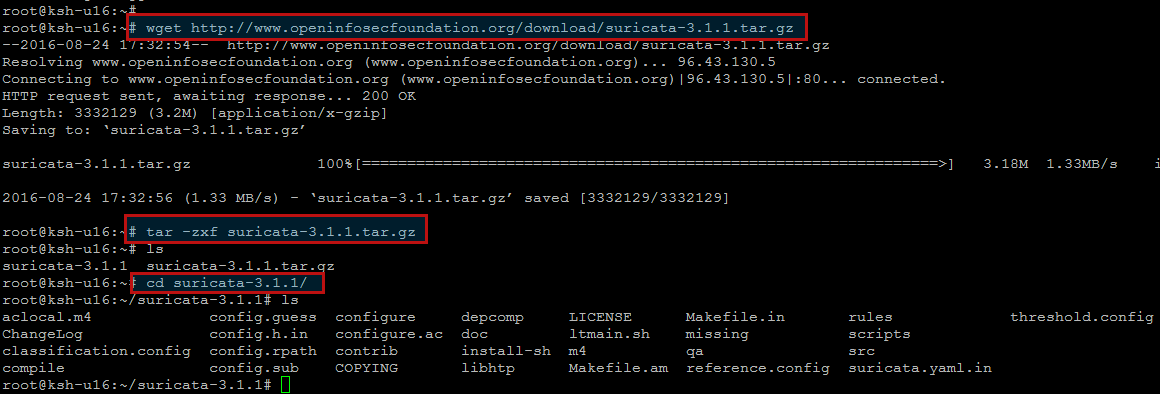
Or enter the below commands to download the package and then extract it as shown.
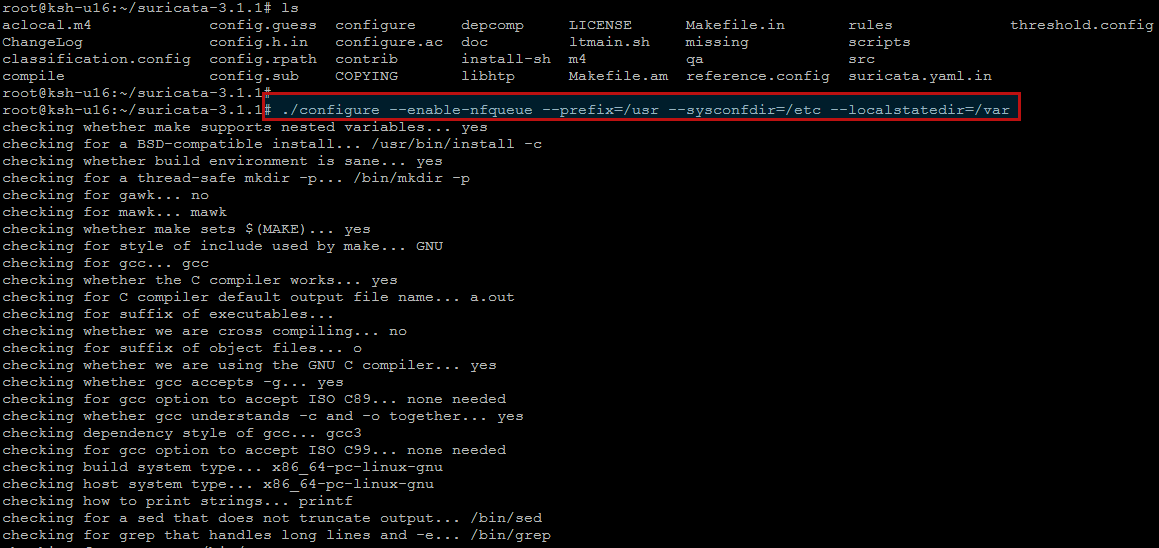
After changing directory into the extracted package, to build Suricata with IPS capabilities, run the following command.
After the end of the suricata compilation and its engine installation, you will find the default parameters under ‘Suricata Configuration’, ‘Development settings’ and ‘Generic build parameters’.
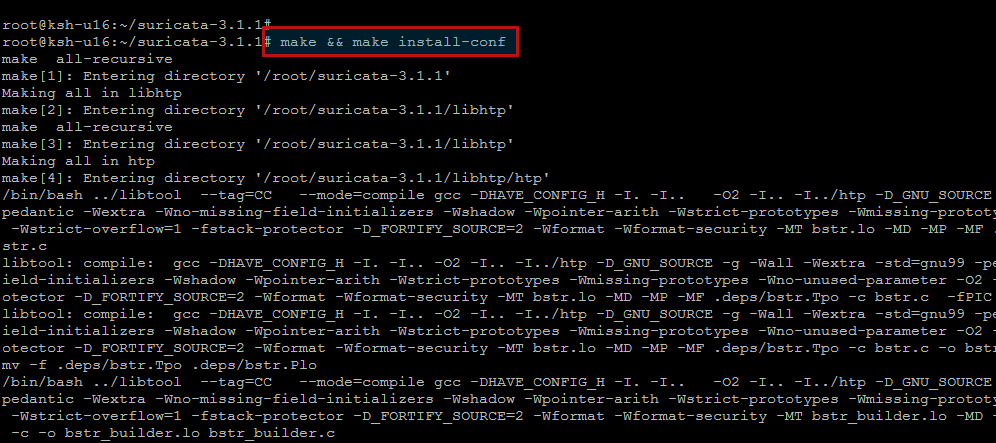
Now to build and install run ‘make’ and ‘make install’.
You can run ‘make install-conf’ if you want to install initial configuration
files to ‘/etc/suricata/’. Running ‘make install-full’ will install configuration
and rules and provide you a ready-to-run suricata.
To install Suricata into ‘/usr/bin/suricata’, have the config in
/etc/suricata and use /var/log/suricata as log dir, use:
‘./configure –prefix=/usr/ –sysconfdir=/etc/ –localstatedir=/var/’.
Suricata source code comes with default configuration files. Let’s install these default configuration files as follows.
Suricata IDS Configurations:
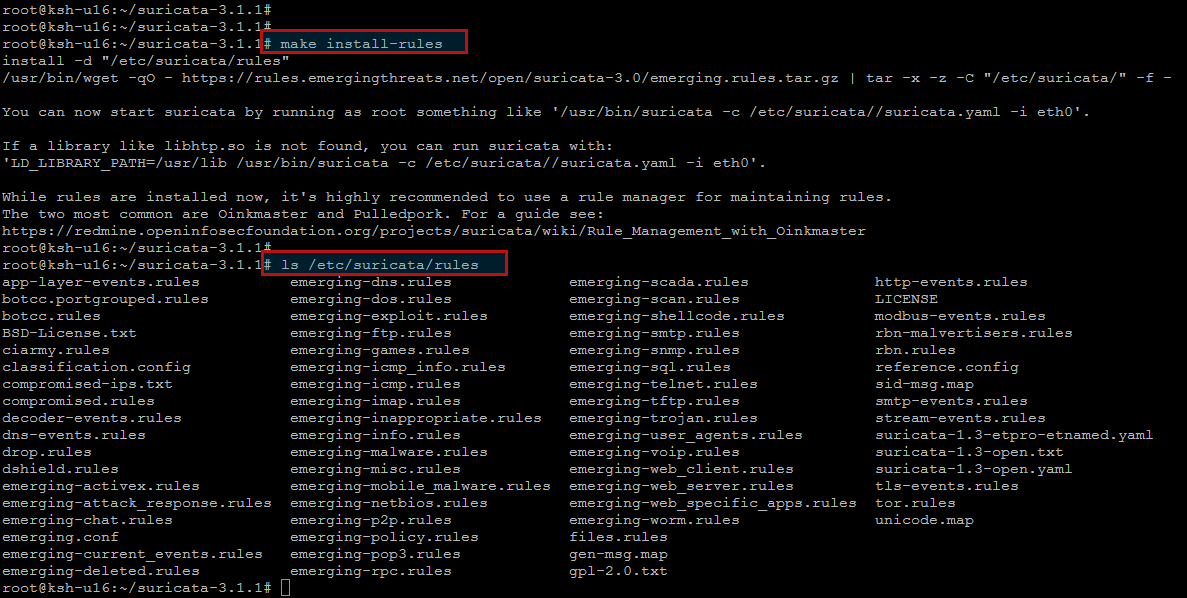
As you know, Suricata is useless without IDS rule sets. Conveniently, the Makefile comes with IDS rule installation option. To install IDS rules, run the following command.
The above rule installation command will download the current snapshot of community rulesets available from EmergingThreats.net, and store them under ‘/etc/suricata/rules’.
Now it’s time to configure Suricata. The configuration file is located at ‘/etc/suricata/suricata.yaml’. Open the file with a text editor for editing.
Under “vars” section, you will find several important variables used by Suricata. “HOME_NET” should point to the local network to be inspected by Suricata. “!$HOME_NET” (assigned to EXTERNAL_NET) refers to any other networks than the local network. “XXX_PORTS” indicates the port number(s) use by different services. Note that Suricata can automatically detect HTTP traffic regardless of the port it uses. So it is not critical to specify the HTTP_PORTS variable correctly.
For more information about Suricata configuration, you can read the default configuration file itself, which is heavily commented for clarity.
Using Suricata to Perform Intrusion Detection:
Now it’s time to test-run Suricata , but remember When you are using pcap capture mode, it is highly recommended to turn off any packet offloead features (e.g., LRO/GRO) on the NIC which Suricata is listening on, as those features may interfere with live packet capture.
Here is how to turn off LRO/GRO on the network interface which is ens160 on our Ubuntu 16.04 server.
The default runmode used by Suricata is autofp stands for “auto flow pinned load balancing”. In this mode, packets from each distinct flow are assigned to a single detect thread. Flows are assigned to threads with the lowest number of unprocessed packets.
Now start Suricata in pcap live mode, by using the following command.
After several minutes later, check the engine is correctly working and receives and inspects traffic. Watch “stats.log” file and make sure the displayed information is up-dated in real time.
Conclusion:
At the end of this article, now are able to install and setup Suricata IDS on oyour Ubuntu 16.04 LTS server and use it to get valuable information on your network. Suricata provides speed and importance in network traffic determination. The engine is developed to apply the increased processing power offered by modern multi-core hardware chip sets. If you face any difficulty, do not forget to share with us. We feel pleasure to assist in you.


