
Today, we will discuss how we can install and configure and use Webmin on OpenSuse. Let’s began without wasting any time.
What is Webmin?
Webmin is a web-based interfaces for the system administrations those who use Unix, Linux for administering their server & other system. You can use any modern web browser to use Webmin once you installed Webmin. It will provide a web-based panel so that you can setup user accounts, Apache, DNS, file sharing using samba, NFS, FTP and lot other things by using your favorite web browser and yes it is graphical as well.
Webmin simplifies the process of managing a Linux or Unix based system so that you can easily manage it.
As it is graphical, it gives the freedom not to edit any configuration files manually by using terminal and an editor. Though you can still manage any systems from the console or remotely via SSH. Now a days, Webmin is also available for windows OS as well.
Webmin is based on Perl and by default it runs on port 10000.
How I can download Webmin?
You can download Webmin from here. Download the proper version according to your OS version. You can check the git repository as well from here.
Install Webmin On openSUSE 42.1
I am assuming that you are running OpenSuse 42.1. Also you must have Apache or any other Web Server installed on your system.
To install apache as web server, please issue the following command
sudo zypper -n install apache2
To install few dependencies of Webmin, open a terminal and issue the following commands one after another.
sudo zypper -n install openssl openssl-devel
The above command will install openssl into your system.
Next, issue the following command in the terminal for installing Perl and other Perl related components. Note again that Webmin is based on Perl.
sudo zypper -n install perl perl-Net-SSLeay perl-Crypt-SSLeay
Let’s download Webmin now. We will use wget command in the terminal to download the latest Webmin version.
sudo wget http://prdownloads.sourceforge.net/webadmin/webmin-1.770-1.noarch.rpm
Wait until download completes.
Now, issue the following command in the terminal so that you can install Webmin.
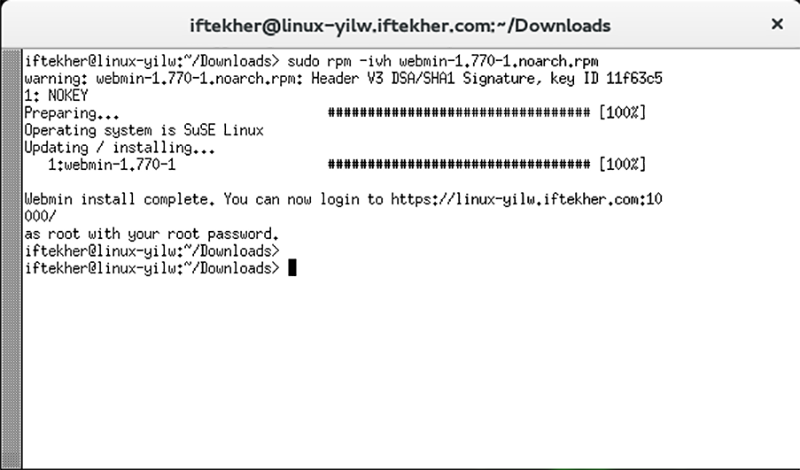
rpm -ivh webmin-1.770-1.noarch.rpm
If you don’t encounter any error, then we are done installing Webmin into your system. After installing Webmin, you will see something like this in your terminal.
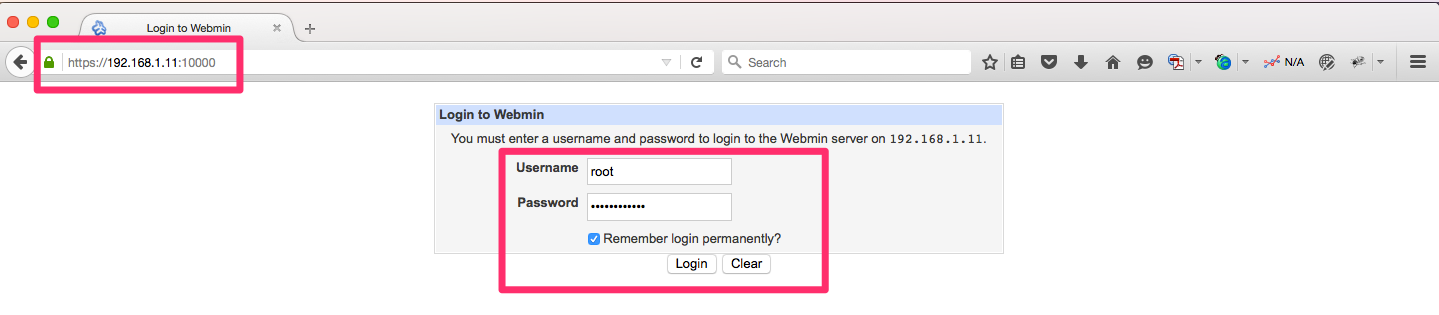
Now Let’s access it by using any web browser. I will use Mozilla Firefox. Type the following in the address bar of your web browser to access Webmin.
localhost:10000
You can replace the term localhost with your host name or IP address as well. You will see something like below image. Use user name as root and use your password to login into Webmin.
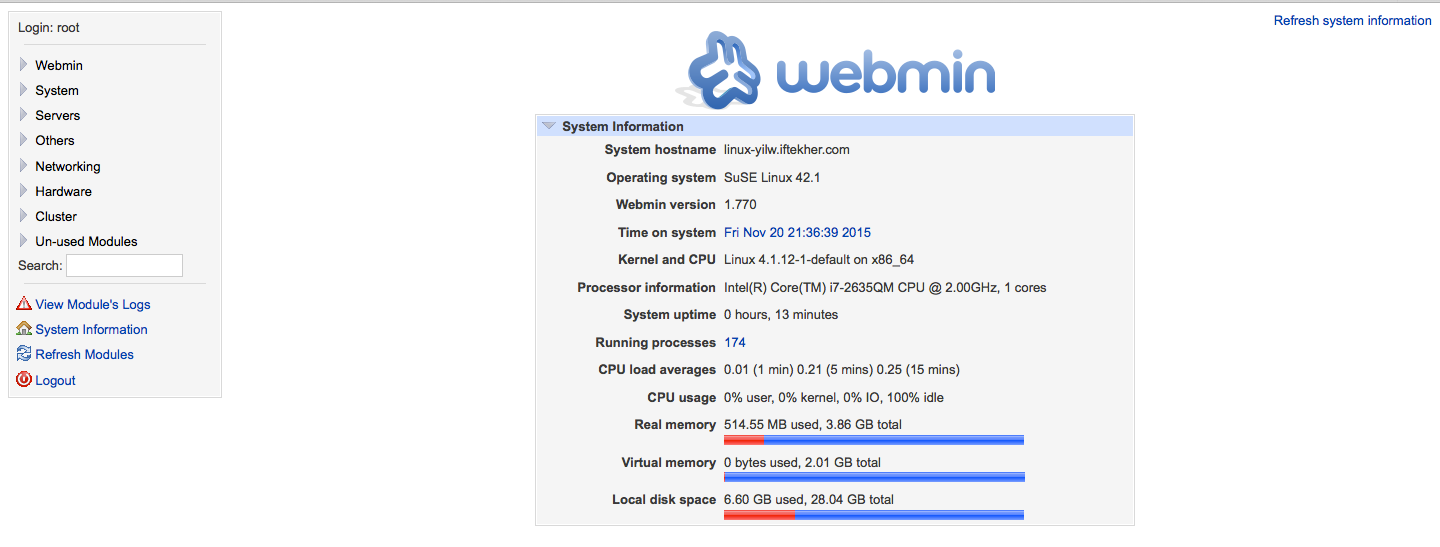
After login into Webmin, you will see something like this. This is the web UI of Webmin with a summary report of your server on the right hand side.
Let’s explore Webmin a bit more. But, I will not dive deep into it. As it is graphical and almost self explanatory, you can easily explore it by yourself.
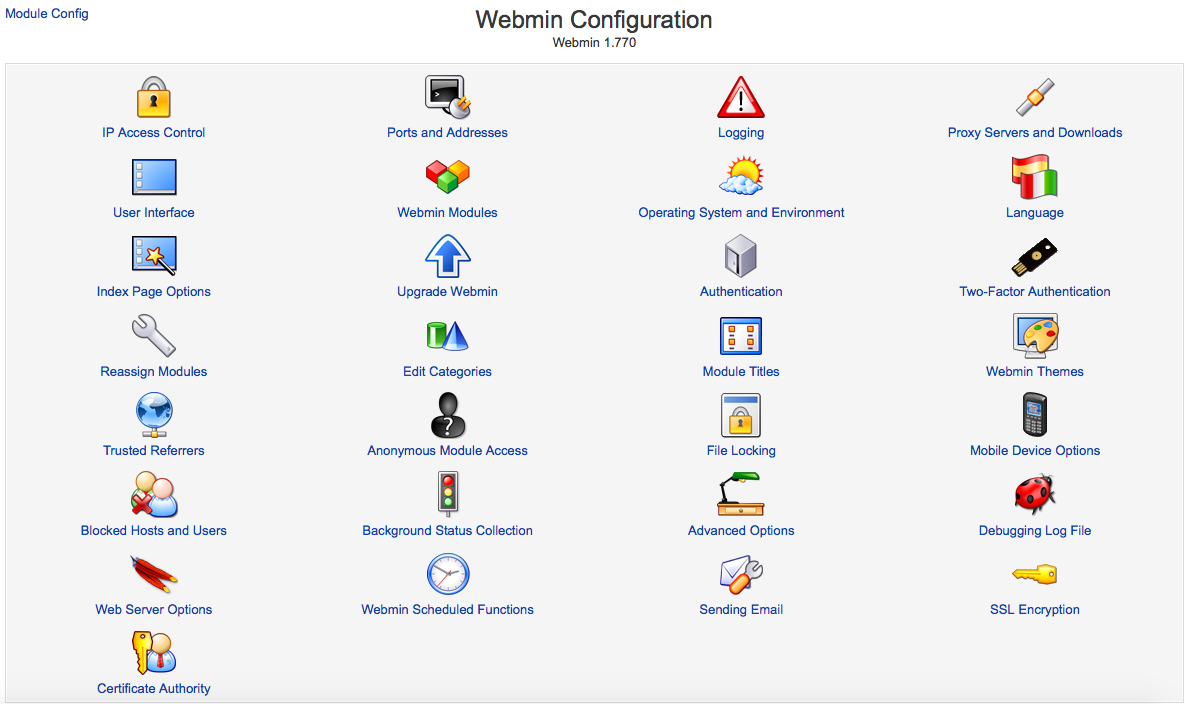
Webmin Configuration
On the left hand side, click on the Webmin link to reveal all the menu items. Here you will find a sub menu named “Webmin Configuration”. Click on “Webmin Configuration”. This will open a new window on the web browser. This is where you can find all the necessary configuraiton of Webmin. I am not covering it in details but it is very much easy to explore. Webmin Configuration will look like following picture.
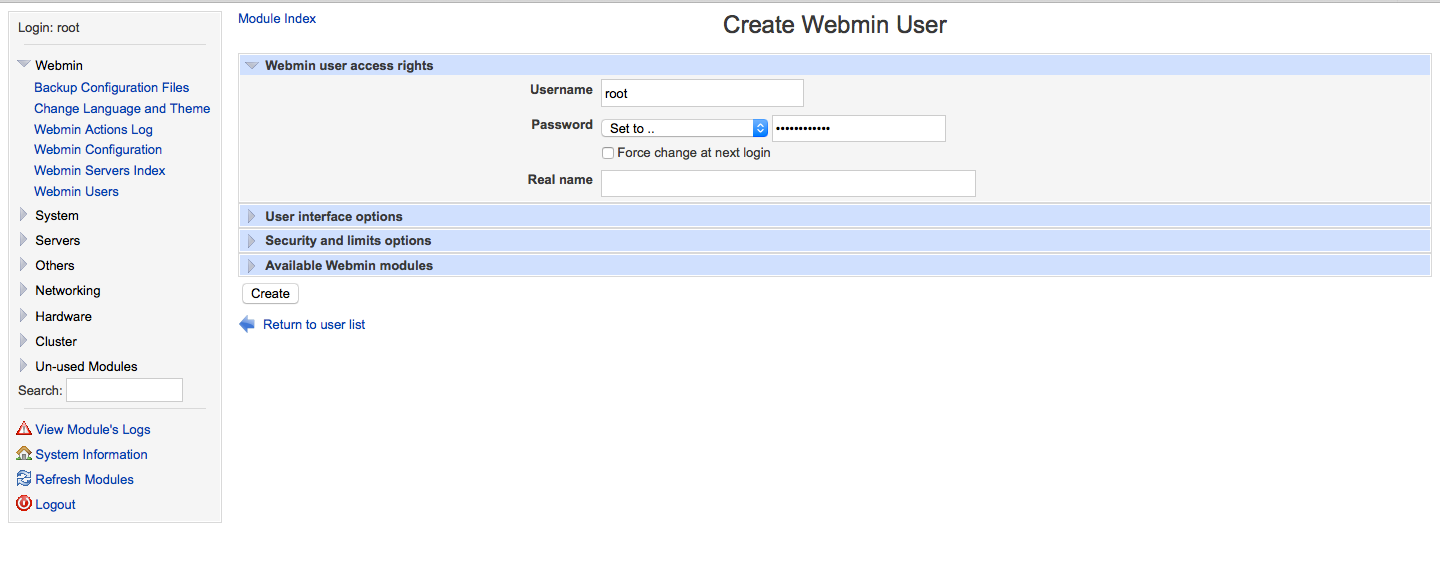
Adding a Webmin User
On the left hand side, click on the Webmin link to reveal all the menu items. Here you will find a sub menu named “Webmin Users”. Click on “Webmin Users”. This will open a new window on the web browser. Now, click on “Create a new Webmin user” to create a new user for Webmin.
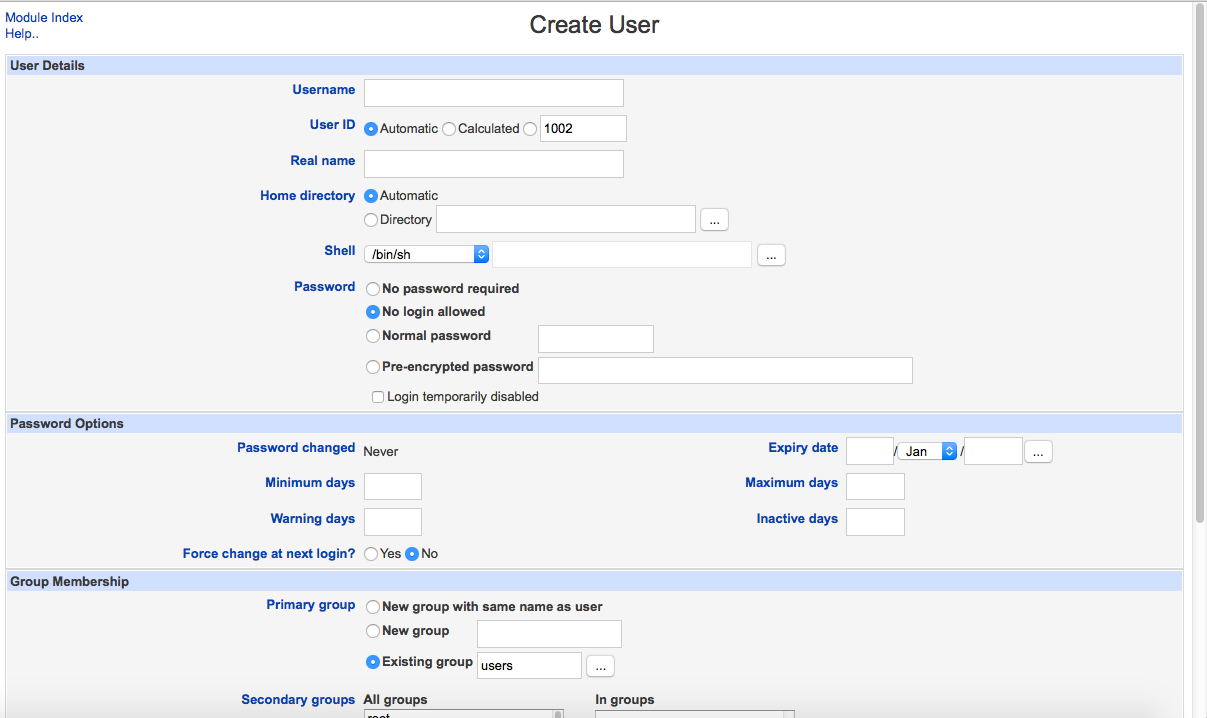
Adding a User
On the left hand side, click on the System link to reveal all the menu items. Here you will find a sub menu named “Users and Groups”. Click on “Users and Groups”. This will open a new window on the web browser. Now, click on “Create a new user” to create a new user on the system.
In this article, I tried to cover the the very basics of Webmin. There are hundreds of great features of Webmin. So, For further more reading, please visit this page. For Webmin documentation, please read this page. For Webmin modules, please have a look at this.
Hope you enjoy reading the article. Thank you.


